Struggling with a thin, weak projection from your acoustic guitar? Even high-end instruments can sound boxy or quiet due to stock plastic parts that dampen string vibration. Upgrading to premium materials like bone or TUSQ dramatically improves energy transfer from strings to the soundboard, resulting in louder, more articulate tone.
In this advanced guide, you'll learn to assess your guitar, source high-quality parts, and perform precise installations for optimal projection. We'll cover saddle, bridge pins, and nut upgrades—the most impactful mods for projection without invasive surgery. Expect professional results rivaling luthier work.
This process takes 2-4 hours total, spread over a day for drying times. It's advanced: requires filing skills, steady hands, and guitar setup knowledge. If you're new to mods, practice on a beater guitar first.
▸What You'll Need
- •Precision files or nut/saddle file set (required for shaping)
- •Sandpaper (400-2000 grit, required)
- •Superglue or bone glue (required for nut install)
- •Bridge pin puller or pliers with rubber jaws (required)
- •Electronic tuner and feeler gauges (required for setup)
- •New bone or TUSQ saddle blank (required)
- •Bone or ebony bridge pins set (required)
- •Slotted bone nut blank (optional, if upgrading nut)
- •String winder and clippers (recommended)
- •Lubricant like Lipstick or Nut Sauce (recommended)
- •Soft cloth and masking tape (required for protection)
Estimated Time: 2-4 hours (plus 24 hours drying for glue)
Difficulty: advanced
▸Step-by-Step Instructions
Step 1: Assess Current Projection and Identify Upgrade Targets
Play your guitar unplugged in a quiet room. Strum chords and pick single notes, noting volume, sustain, and clarity. Compare to a reference guitar with known good projection. Inspect the saddle (should be bone/TUSQ, not plastic), bridge pins (check material/condition), and nut (look for grooves deeper than 0.5mm).
Why it matters: Stock plastic parts absorb vibration, killing projection. Target saddle first (40% gain), then pins (20%), nut (15%). Success: List weak areas (e.g., 'muddy lows, weak highs').
Image Description: Close-up of acoustic guitar bridge with annotations labeling saddle, pins, and soundhole.
💡 Tips:
- •Record yourself for objective comparison.
- •Tap the bridge lightly—dull thud means poor material.
⚠️ Warnings:
- •Don't rush: Misdiagnosis leads to wasted upgrades.
Step 2: Prepare Workspace and Disassemble Safely
Clear a well-lit bench with soft padding. Loosen strings halfway. Tape off the bridge and soundboard to protect finish. Remove all strings using a winder.
Why: Prevents scratches and string whip. Expect exposed saddle slot and pin holes. Success: Guitar stable, parts accessible.
Pro tip: Work in 70-80°F humidity to avoid wood swelling.
💡 Tips:
- •Label strings for reinstall order.
⚠️ Warnings:
- •Avoid metal tools on finish—use plastic/rubber.
Step 3: Remove and Measure Old Saddle
Grip saddle with pliers (rubber jaws) and rock it out gently. Clean slot with compressed air. Measure height (top/bottom), thickness, length, and radius with calipers.
Why: Ensures new saddle fits perfectly for action. Plastic saddles are soft—bone is denser for better transfer. Success: Measurements noted (e.g., 3/32" height, 1/8" thick).
💡 Tips:
- •Heat lightly with hairdryer if stuck.
⚠️ Warnings:
- •Don't pry—crack the bridge plate below.
Step 4: Shape and Install New Saddle
Select bone/TUSQ blank matching measurements. File bottom flat to seat fully, top to 90-100° angle for string break. Sand radius to match fretboard (usually 16"). Test fit—should sit flush without glue first.
Apply thin glue, tap in with plastic hammer. Trim excess. Why: Proper angle maximizes downward force for projection. Success: Saddle protrudes 1/16-1/8" above slot for low action.
Reinstall strings loosely.
💡 Tips:
- •File in small increments—measure often.
- •Use Dremel with diamond bit for speed.
⚠️ Warnings:
- •Over-file height = buzz; under-file = high action.
Step 5: Upgrade Bridge Pins
Pull old pins with puller. Clean holes. Insert new bone/ebony pins—twist while pushing for tight fit. They should sit flush with dot inlays aligned.
Why: Better materials reduce slippage, improve vibration transfer. Expect brighter, louder tone immediately. Success: Pins secure, no rattle when strummed.
💡 Tips:
- •Lubricate with graphite if tight.
⚠️ Warnings:
- •Mismatched taper sizes cause poor seating.
Step 6: Upgrade the Nut (Advanced Optional)
Remove strings fully. Tap old nut out from behind headstock (gentle chisel). File new slotted bone nut: Match string spacing (use gauge), depth 0.020-0.030" at 1st fret.
Glue in, clamp 30min. Why: Low nut slots reduce friction for open-string projection. Success: Open strings ring clear without dead spots.
💡 Tips:
- •Pre-cut slots deeper, file from back.
⚠️ Warnings:
- •Wrong slot depth = fretting out or slips.
Step 7: Re-string, Intonate, and Set Action
Install fresh strings (light gauge for projection). Tune to pitch, stretch. Check action (2-3mm at 12th fret), adjust saddle height if needed. Check intonation with tuner.
Why: Upgrades shine with proper setup. Success: Balanced action, even frets.
💡 Tips:
- •Use 12th-fret harmonic vs. fretted note for intonation.
⚠️ Warnings:
- •Too low action buzzes on upstrokes.
Step 8: Test Projection and Fine-Tune
Play loudly—note volume gain (expect 20-30% louder). Adjust truss/neck if needed. Let settle 24hrs.
Success: Punchier attack, fuller lows/highs.
💡 Tips:
- •Compare pre/post recordings.
⚠️ Warnings:
- •Over-tightening neck relief warps wood.
▸Pro Tips
- •Buy slightly oversized blanks—easier to file down than up.
- •Use a saddle radius sanding jig for perfect curve ($20 investment).
- •Bone > plastic > graphite for projection; TUSQ for consistency.
- •Fresh strings amplify gains—upgrade every 3 months.
- •Humidity control (45-55%) prevents cracks post-install.
- •Practice on cheap parts first to hone filing.
- •Lube nut slots with Lipstick for 10% sustain boost.
▸Common Mistakes to Avoid
- •Filing saddle too low: Causes fret buzz—measure 10x.
- •Ignoring neck relief: New parts expose setup issues—check first.
- •Wrong pin taper: Pins pop out—match your bridge exactly.
- •Gluing saddle permanently first try: Test fit dry always.
- •Skipping intonation: Sounds great open, sour up the neck.
▸Troubleshooting
Problem: Buzzing after saddle install
Solution: Raise saddle height 0.5mm or check nut slots. Truss rod half-turn clockwise.
Problem: Pins won't stay in
Solution: Wrong taper—swap set or sand pins lightly. Clean holes.
Problem: No projection gain
Solution: Bridge cracked or braces loose—seek luthier. Wrong string gauge.
Problem: High action persists
Solution: Nut too high—file slots or replace. Check bridge height.
Problem: Finish damage
Solution: Minor: Touch-up with guitar polish. Major: Pro refinish.
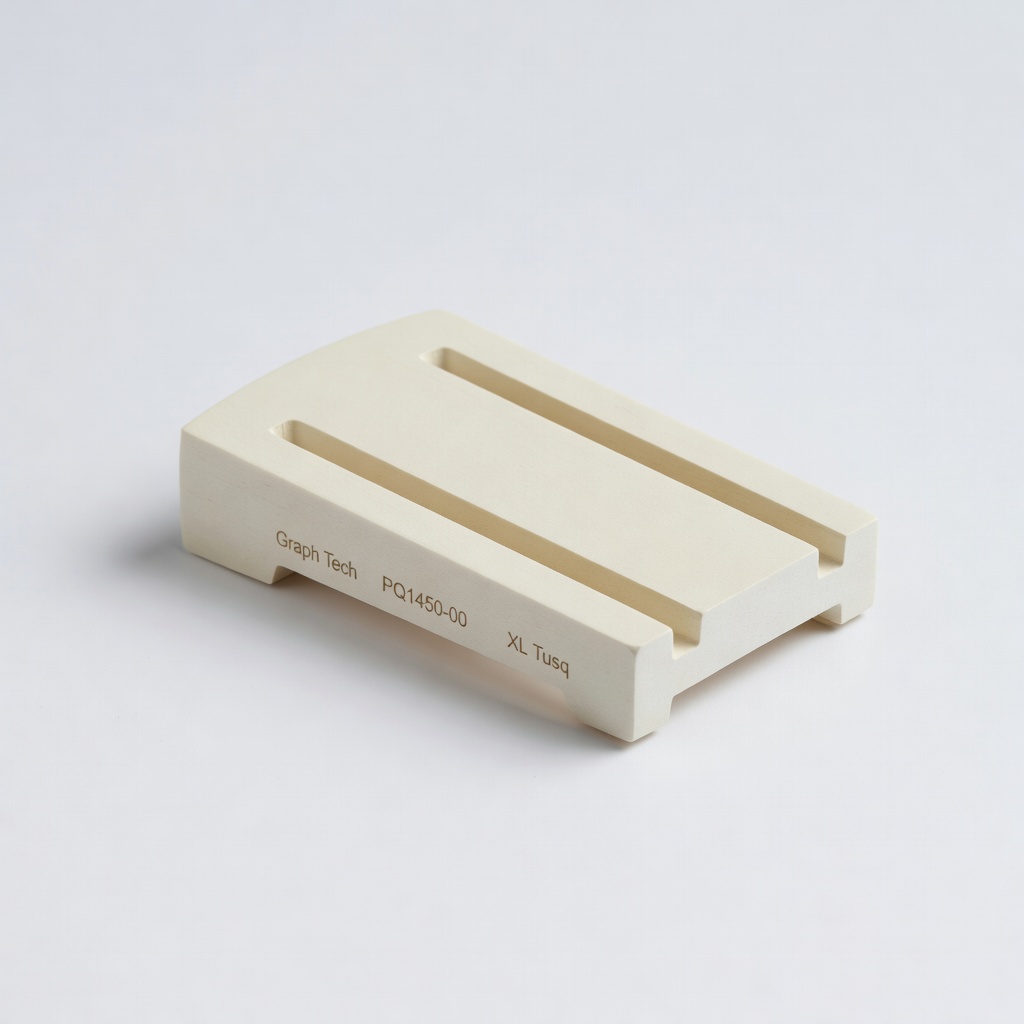
Graph Tech XL Tusq Acoustic Saddle (PQ-1450-00)
Superior vibration transfer over plastic for immediate projection boost; pre-shaped for most acoustics.
Best for: Drop-in upgrade for saddles under 4mm thick.
Price Range: $12-15
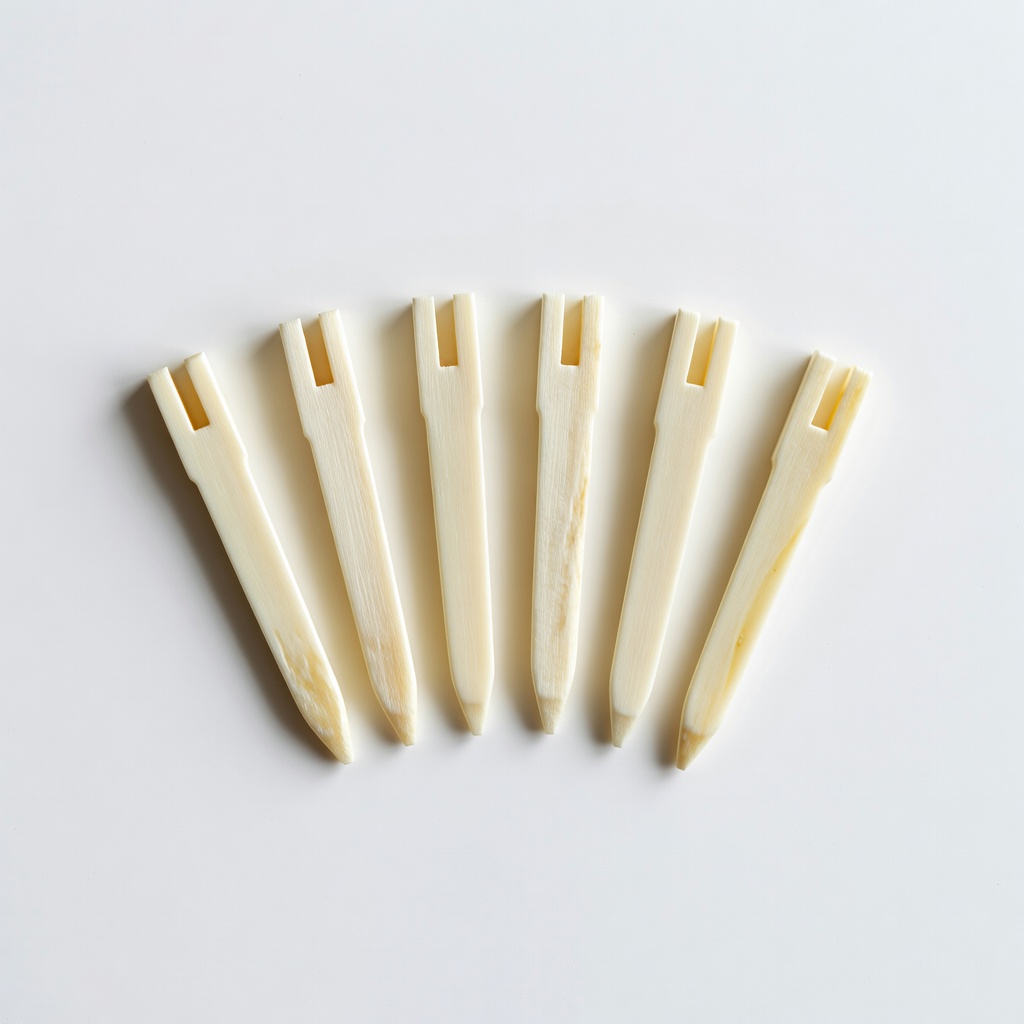
Blisstime 6Pcs Real Bone Bridge Pins
Dense bone material enhances string-to-top energy for louder, clearer tone; fits most pins.
Best for: Standard 71-degree taper acoustics like Martin/Taylor.
Price Range: $9.99
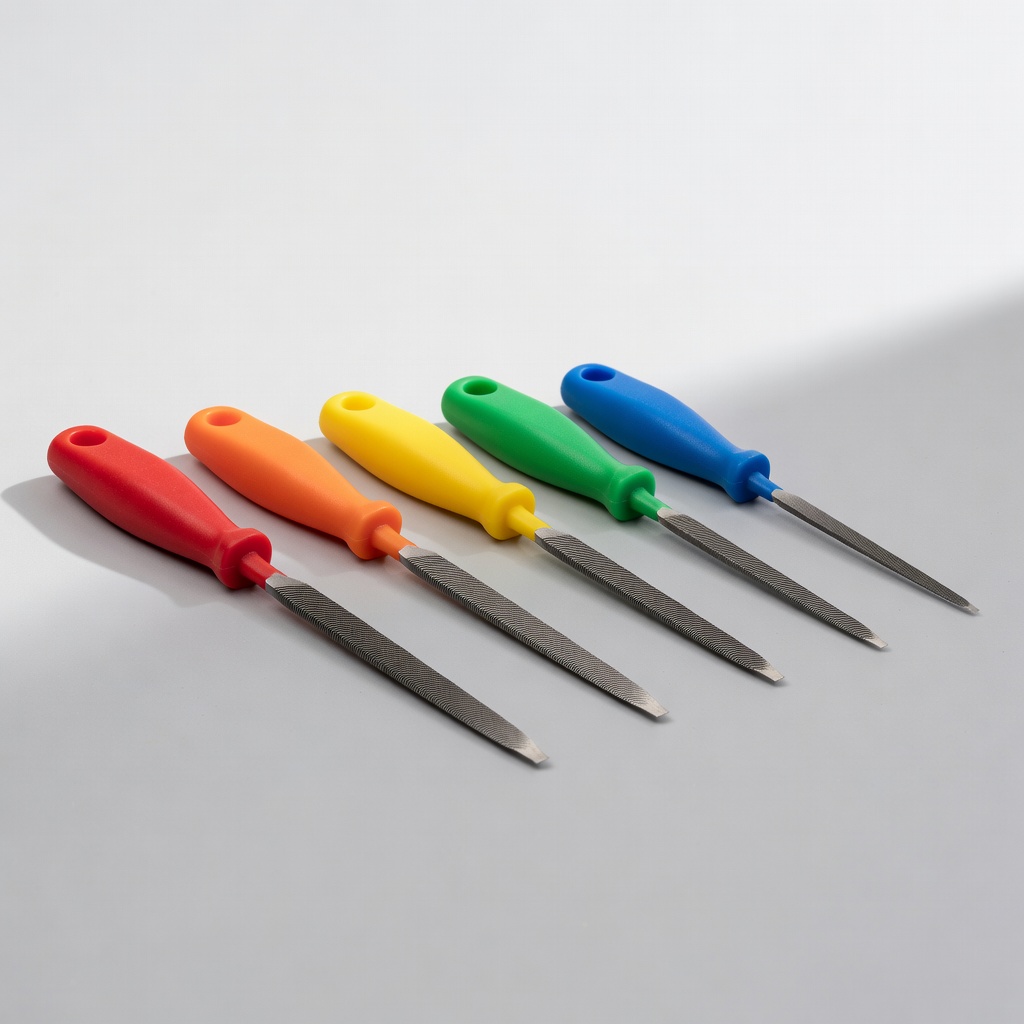
StewMac Nut Slotting Files Set
Precision files ensure perfect nut slots without binding; essential for pro installs.
Best for: Shaping bone nuts accurately.
Price Range: $70-90
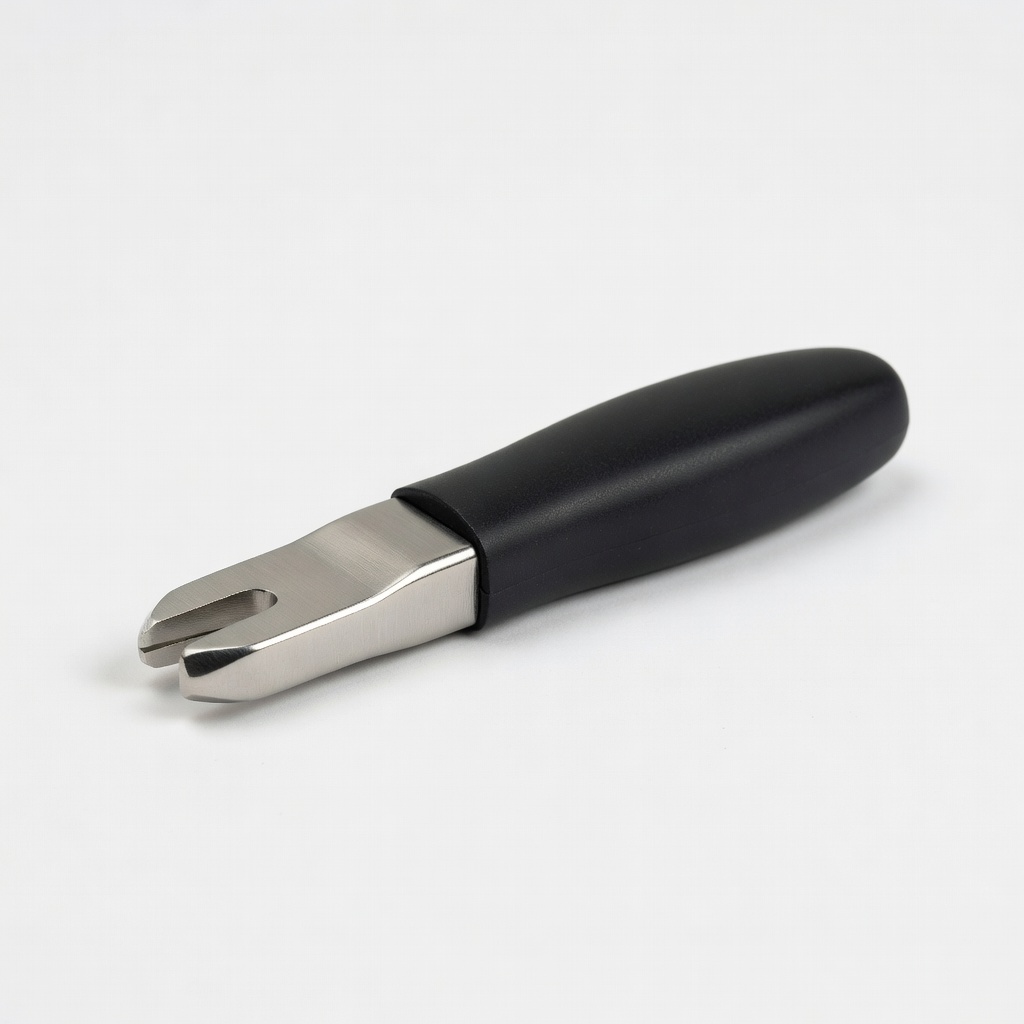
Ernie Ball Bridge Pin Puller
Rubber jaws prevent scratches; makes removal effortless.
Best for: Safe pin extraction on any acoustic.
Price Range: $10-12
Musiclily Bone Guitar Saddle Blank
High-quality unslotted bone; affordable for custom shaping.
Best for: Full custom saddle fits odd-sized bridges.
Price Range: $7.99