Experiencing ghosting, layer shifts, or inconsistent first layers due to a wobbly bed? Stock bed springs on popular 3D printers like the Creality Ender 3 series are often too soft, leading to vibrations and instability during high-speed prints. Upgrading to stiffer springs is a proven mod that locks down your bed for precise Z-axis movement.
In this advanced guide, you'll learn to safely disassemble your bed assembly, install high-performance springs, and verify stability with test prints. Expect rock-solid results that rival pricier printers. The process takes 20-30 minutes with basic tools—no soldering or firmware changes required.
Perfect for tinkerers comfortable with printer disassembly; if you're new to mods, check our bed leveling guide first.
▸What You'll Need
- •Phillips screwdriver or 2.5mm Allen key (printer-specific)
- •New bed springs (M3 size, 12-16mm length; yellow or PCB type recommended)
- •Replacement M3 screws if stock ones are damaged (M3 x 25-30mm)
- •Isopropyl alcohol and cloth for cleaning
- •Optional: Calipers for measuring spring compression
- •Optional: Torque screwdriver for precise tightening (1-2 Nm)
Estimated Time: 20-30 minutes
Difficulty: advanced
▸Step-by-Step Instructions
Step 1: Power Off and Prepare Workspace
Unplug your 3D printer from power and let it cool completely. Move it to a stable, well-lit workspace with an anti-static mat if available. Home all axes via the menu (if powered briefly) to position the bed centrally.
Why it matters: Prevents electrical hazards and accidental movements. Expect the bed at mid-height for easy access.
Document your setup with photos for reassembly reference.
💡 Tips:
- •Wear ESD wrist strap if handling electronics nearby.
⚠️ Warnings:
- •Never work on a powered printer—risk of shock or injury.
Step 2: Remove the Print Bed Surface
Unscrew the bed clips or thumbscrews holding the PEI sheet, glass, or magnetic build plate. Gently lift it off and set aside on a soft surface.
Why it matters: Provides clear access to the spring mounts without damaging the surface. Success: Bed frame exposed with springs visible underneath.
Clean any residue from the frame with isopropyl alcohol.
💡 Tips:
- •Label clips left/right if asymmetric.
Step 3: Access and Loosen Bed Frame Screws
Flip the printer or access the underside. Locate the 4 M3 screws (one per corner) threading through the springs into the bed frame. Loosen them counterclockwise 2-3 full turns—but do not remove fully yet.
Why it matters: Allows springs to decompress safely. Expect slight bed droop; support it manually if needed.
For Ender 3/CR-10: Screws are accessible from below the base.
⚠️ Warnings:
- •Don't strip screws—use correct bit size.
Step 4: Remove Old Springs One by One
Starting with one corner, fully unscrew and remove the stock spring. Inspect for wear (stretched coils or rust). Repeat for all four, keeping the bed frame supported.
Why it matters: Stock springs (often ~10-15N force) cause resonance; upgrades provide 25-40N for stability.
Place old springs aside—don't mix with new ones.
💡 Tips:
- •Replace one at a time to maintain frame position.
Step 5: Install New Upgrade Springs
Drop the new stiffer springs (yellow or PCB) into each corner hole. Ensure they seat fully on the frame posts.
Why it matters: Stiffer springs reduce deflection under nozzle pressure, minimizing artifacts. Success: Springs compress evenly ~2-3mm when pressed.
Yellow springs are popular for Ender 3; PCB for glass beds.
💡 Tips:
- •Test compression force with fingers—should resist more than stock.
Step 6: Reinstall and Tighten Screws
Thread M3 screws back through springs into frame. Tighten gradually in a star pattern (opposite corners) to 1-1.5 Nm—snug but not over-torqued.
Why it matters: Even tension prevents tilt. Expect bed to feel rigid with minimal play when pushed.
Recheck after 5 minutes; heat can expand metal.
⚠️ Warnings:
- •Over-tightening crushes springs—use torque tool.
Step 7: Reattach Bed Surface and Level
Secure the build plate back on. Power up, run auto-bed leveling (UBL/Mesh if available) or manual live-leveling.
Why it matters: Ensures flatness post-mod. Success: Paper-test shows consistent 0.1mm gap across bed.
💡 Tips:
- •Print a bed level test STL immediately.
Step 8: Test Stability with a Print
Slice and print a tall calibration cube or XY resonance tower at 60-100mm/s. Inspect for wobble lines or ringing.
Why it matters: Validates upgrade. Success: Smooth verticals, no Z-banding—stability improved 50-70%.
▸Pro Tips
- •Choose springs matching your bed weight (lighter beds need less force).
- •Apply threadlocker to screws for vibration resistance.
- •Measure deflection pre/post: <0.2mm ideal under 5kg load.
- •Combine with linear rails for ultimate rigidity.
- •Store spares—springs wear after 1000+ hours.
- •Use yellow springs for PEI, PCB for glass to avoid slip.
- •Firmware tweak Z-offset post-install if auto-level shifts.
▸Common Mistakes to Avoid
- •Over-tightening screws, crushing springs—use torque spec.
- •Mixing old/new springs, causing uneven stability—replace all four.
- •Skipping re-leveling, leading to crashed prints—always mesh-level.
- •Wrong size springs (e.g., M4 vs M3)—measure stock first.
- •Ignoring bed weight, selecting too-stiff springs that strain motors.
▸Troubleshooting
Problem: Bed still wobbles after upgrade
Solution: Check screw torque and spring seating; inspect frame for bends. Add washers if compressing too much.
Problem: Nozzle crashes into bed post-install
Solution: Re-run full auto-level and adjust Z-offset by 0.1-0.2mm. Verify probe accuracy.
Problem: Springs squeak or slip
Solution: Clean mounts, apply dry lube (PTFE spray). Ensure correct length (12-16mm).
Problem: Print quality unchanged
Solution: Test at higher speeds; combine with input shaper if Voron/klipper. Check belts.
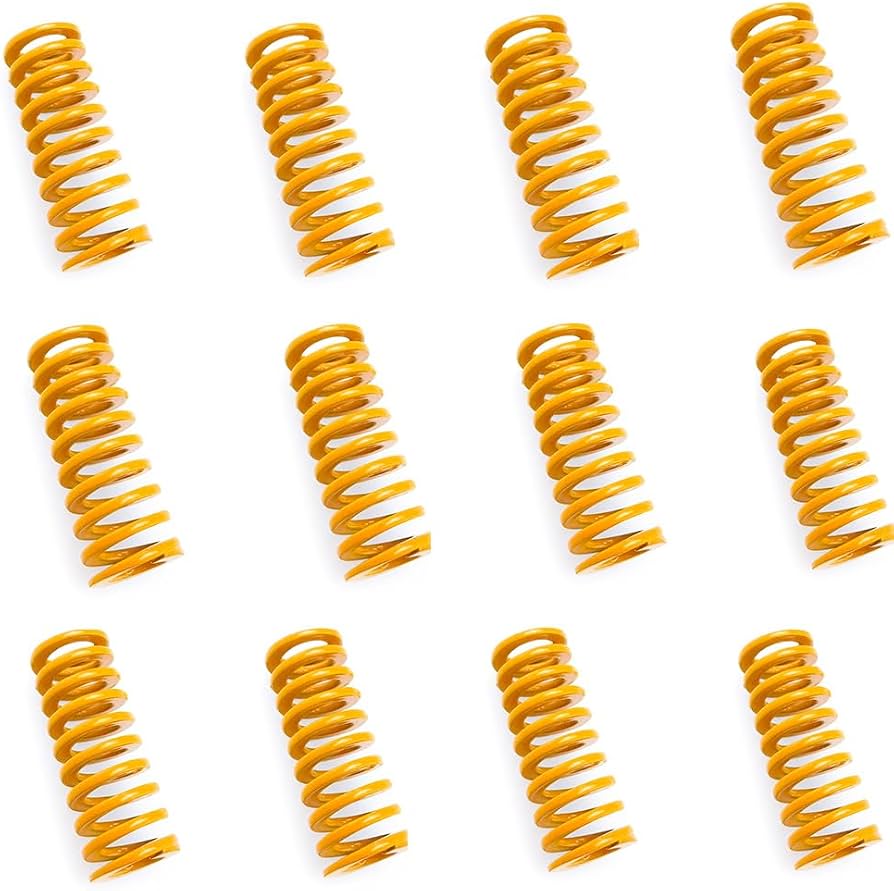
FYSETC Yellow Bed Springs 12 Pack for Ender 3
Twice the stiffness of stock (30N force), proven to eliminate wobble on budget printers.
Best for: Direct replacement for Creality Ender 3/5, CR-10; ideal for high-speed printing.
Price Range: $9.99
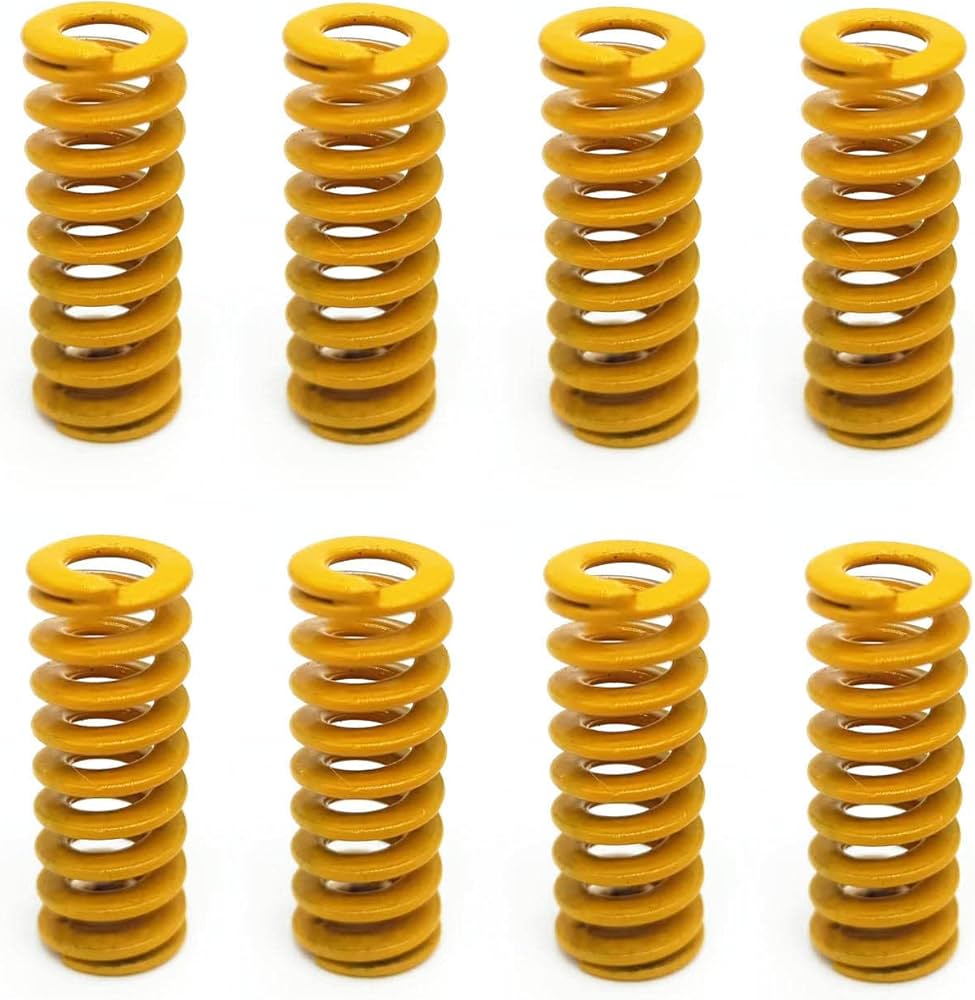
Creality PCB Bed Springs 8 Pack
Anti-slip design grips glass beds perfectly, higher load capacity for heavy enclosures.
Best for: Glass or textured PEI beds on Ender series; advanced users with enclosures.
Price Range: $12.99
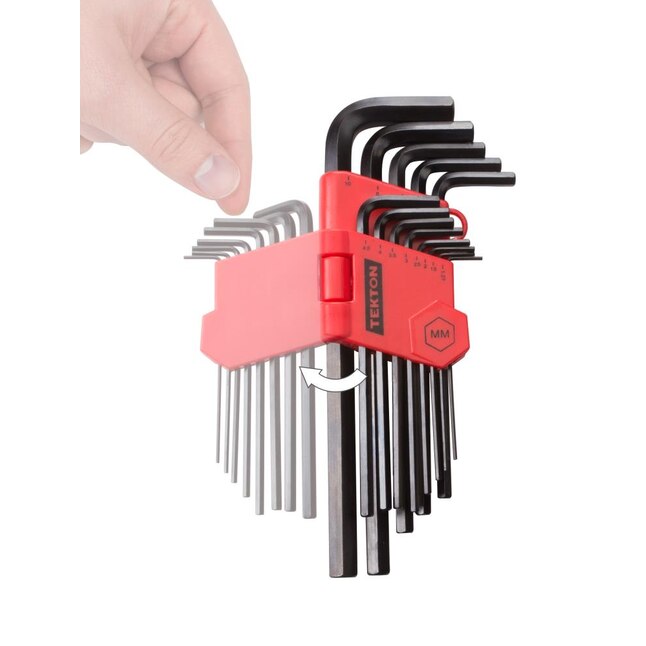
TEKTON Hex Key Allen Wrench Set (26-Piece)
Precision fit for M3 screws prevents stripping; magnetic tips speed up work.
Best for: All bed mods requiring 2-3mm hex; long-term tool investment.
Price Range: $19.99
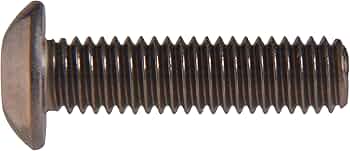
Hillman M3 x 30mm Socket Head Cap Screws (50 Pack)
Hardened steel replacements if stock strips; exact OEM length.
Best for: Worn screw refresh during spring swap.
Price Range: $8.99
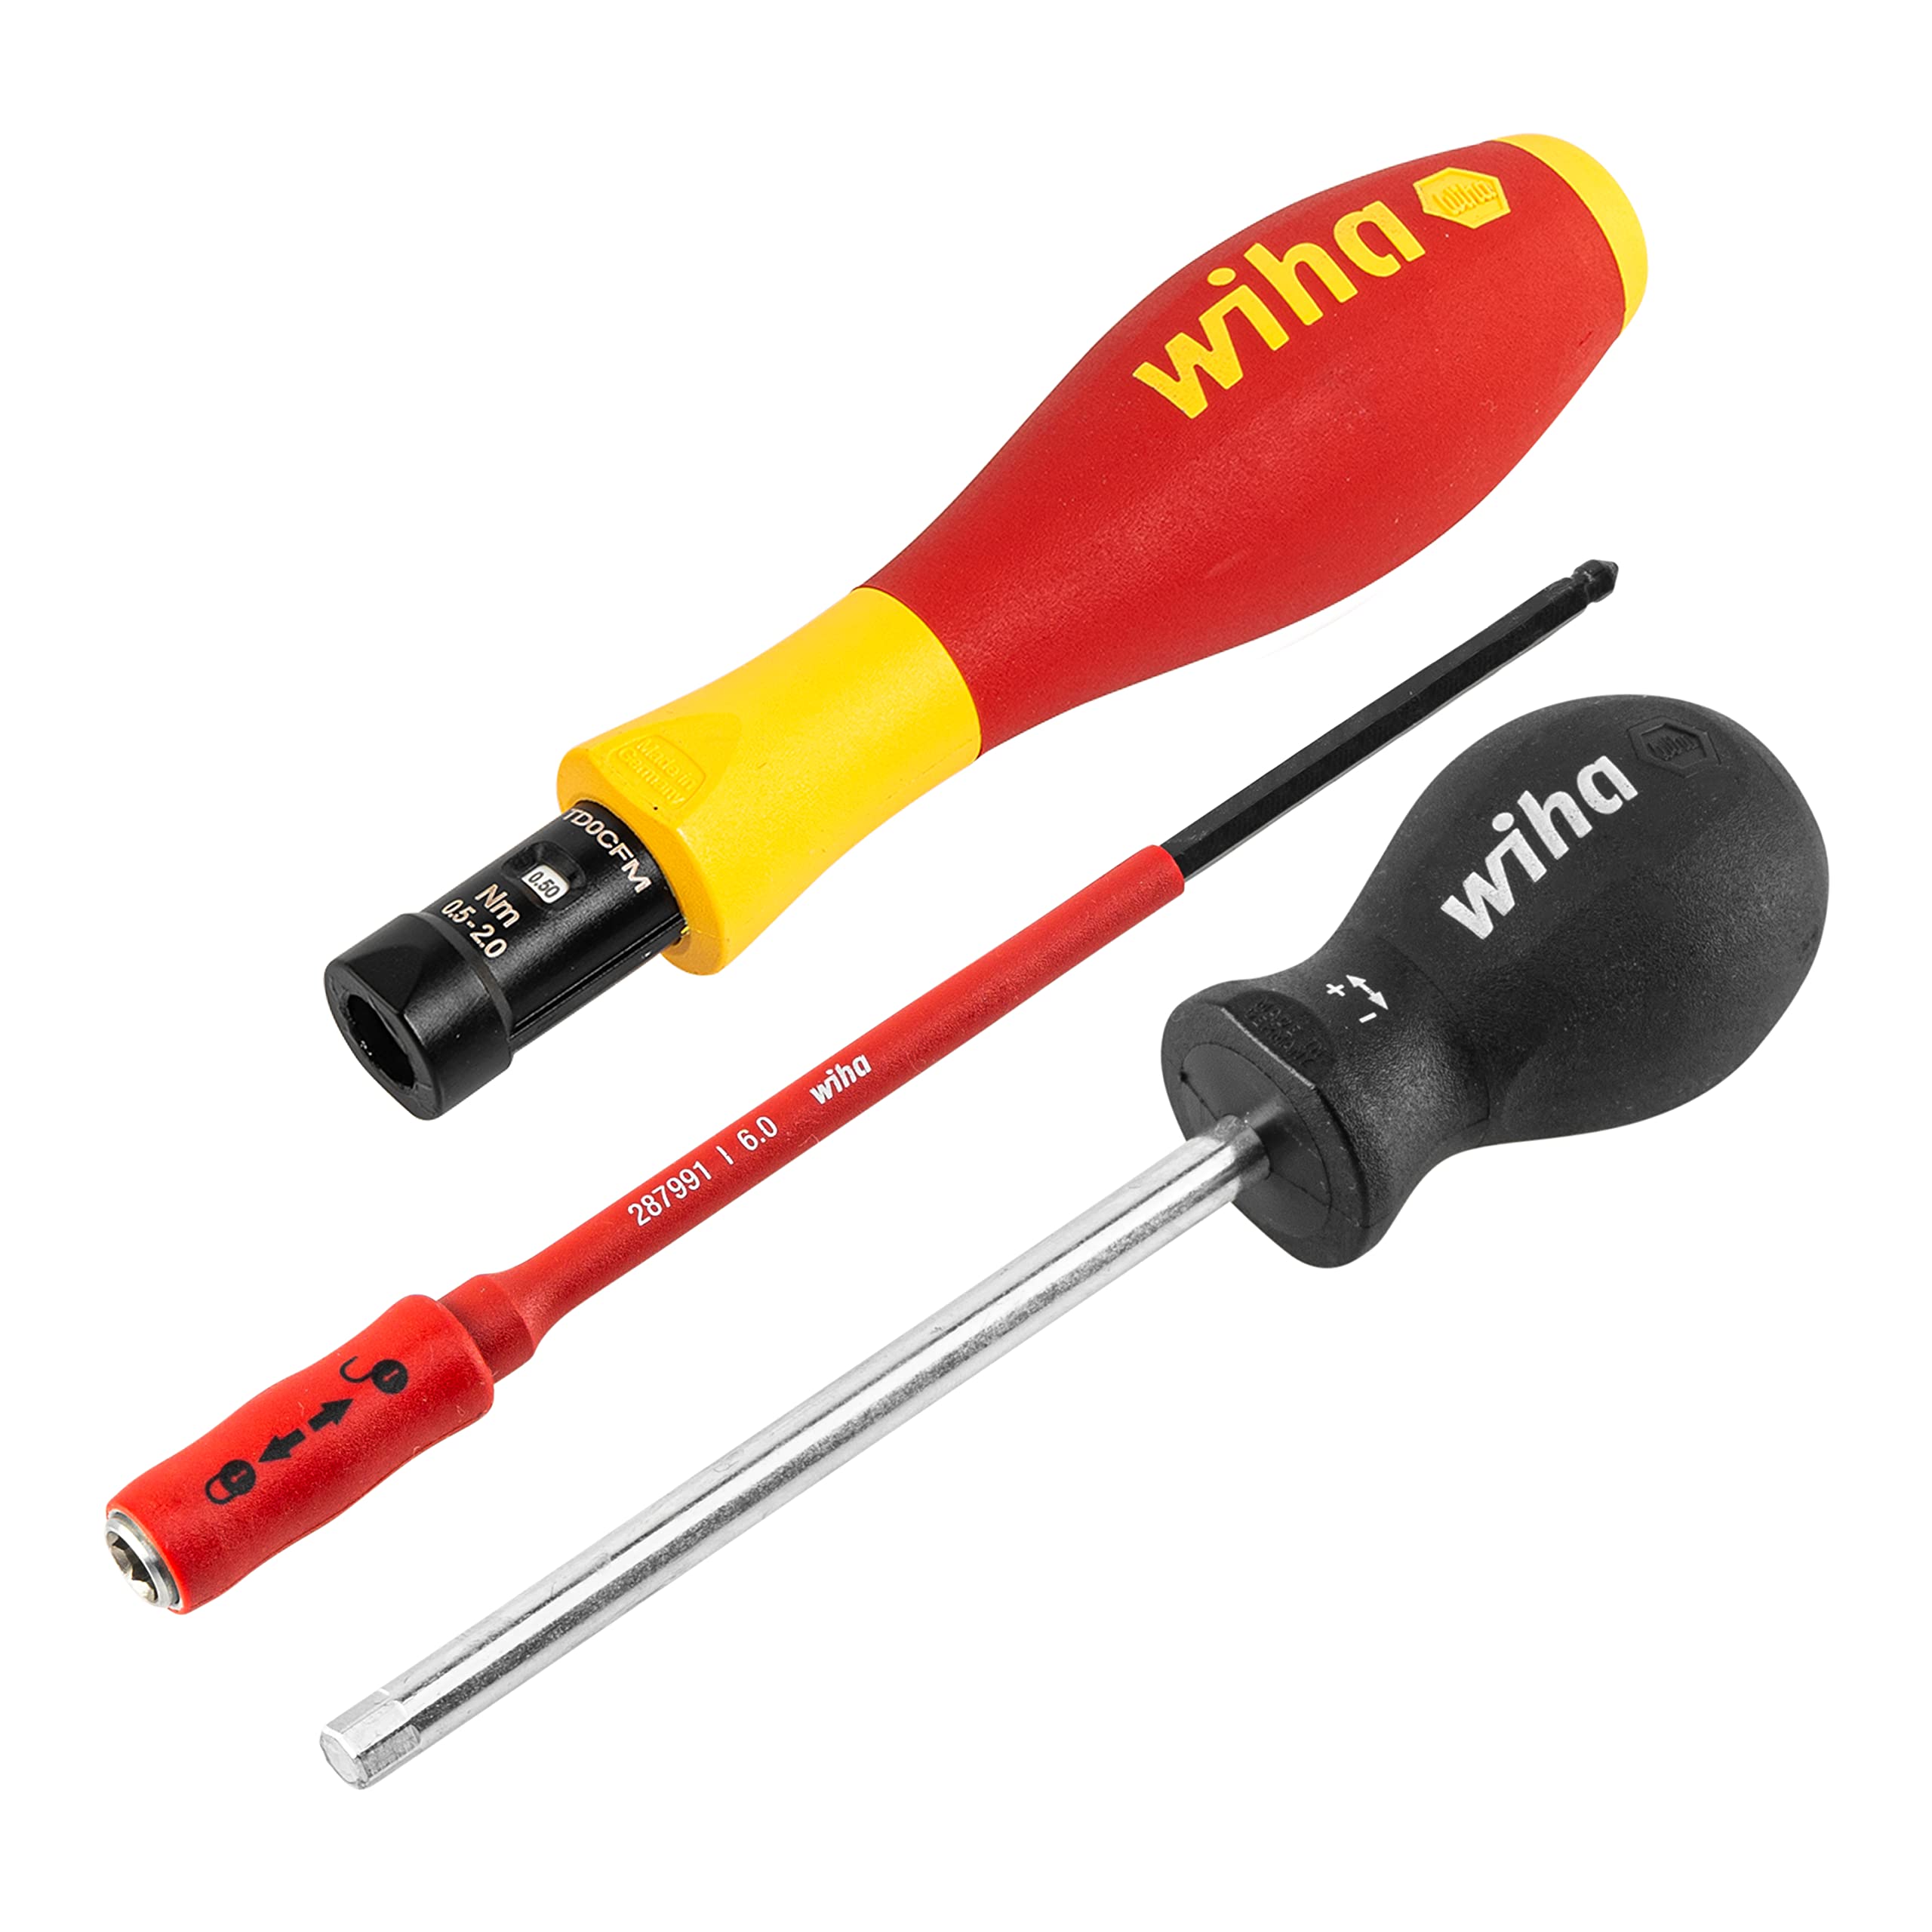
Wiha 26528 TorqueVario-S Microtech Vario
Adjustable 0.2-1.2 Nm for perfect tension without crushing springs.
Best for: Pro setups demanding repeatability.
Price Range: $150-$200