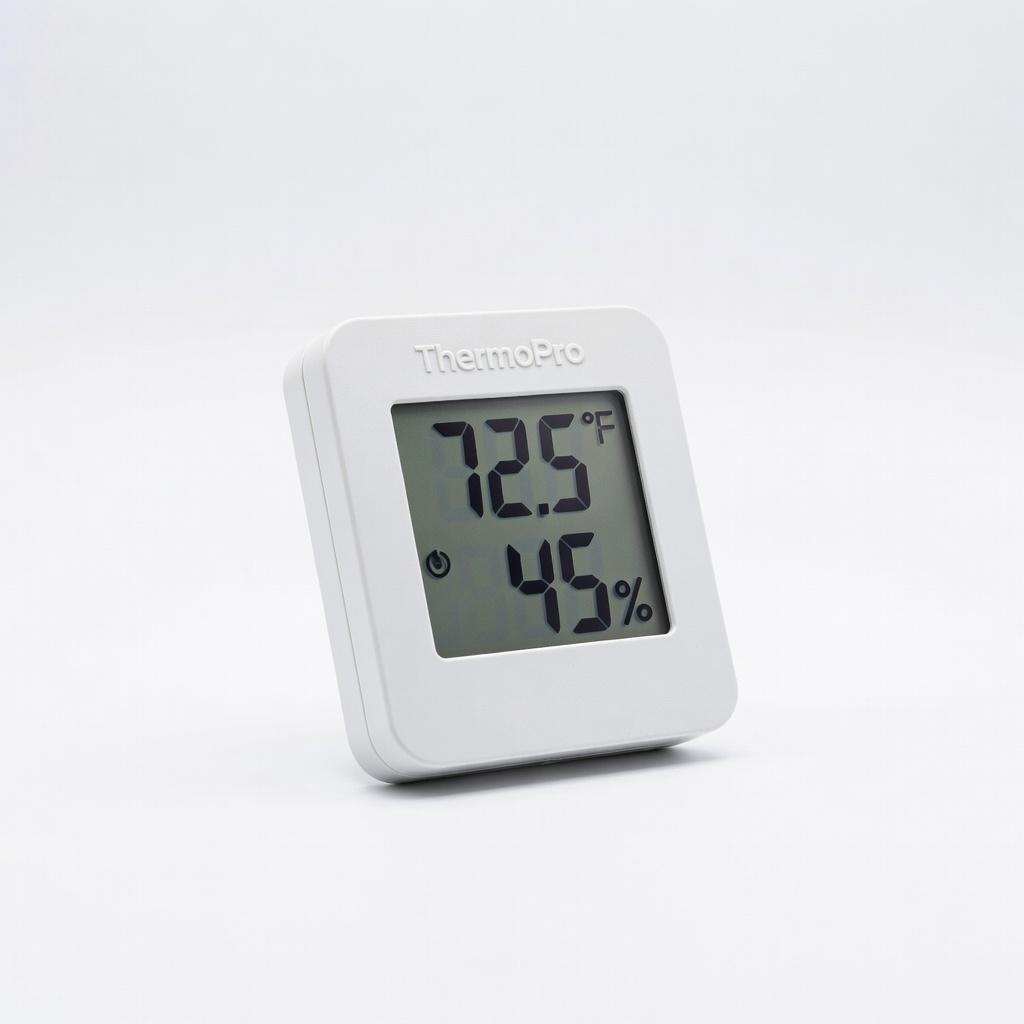
ThermoPro TP49 Digital Hygrometer Thermometer
Place on shelves during diagnosis and ongoing checks.
$9.99
ThermoPro TP49 Digital Hygrometer Thermometer Accurate wireless monitoring of multiple fridge spots to pinpoint uneven temps.
Get the App
Better experience on mobile
Diagnose and resolve uneven cooling in your refrigerator with this step-by-step guide to ensure even temperatures and prevent food spoilage.
Nothing frustrates homeowners more than opening the fridge to find some areas freezing solid while others feel lukewarm, risking food safety and waste. Uneven cooling is a common issue in refrigerators, often due to simple fixes like dirty coils or poor airflow, but it can signal bigger problems if ignored. This guide empowers you to troubleshoot effectively without calling a costly technician right away.
You'll learn to check settings, clean components, and test key parts systematically. By the end, your fridge will cool evenly, saving energy and extending its life. The process takes 30-60 minutes for most cases and requires basic tools—no advanced skills needed.
Expect straightforward steps from basic checks to deeper inspections, with clear signs of success at each stage. If issues persist, we'll guide you on when to seek pro help.
Estimated Time: 30-60 minutes Difficulty: intermediate
Start by unplugging your refrigerator from the wall outlet to ensure safety—this prevents electrical shocks during inspection. Move the fridge away from the wall (about 2-3 feet) if possible, using help for heavy models. Place towels underneath to catch debris.
Why it matters: Electricity and tight spaces are hazards; this step creates a safe, accessible workspace. Success looks like: Fridge powered off, confirmed by no hum or lights, and ample room to work.
Wipe down the exterior and floor for cleanliness.
💡 Tips:
⚠️ Warnings:
Locate the thermostat control inside the fridge (usually on the wall) or on the back panel. Set it to mid-range (around 37°F for fridge, 0°F for freezer). Wait 24 hours if recently changed, but note current reading now.
Why it matters: Incorrect settings cause uneven cooling. Success: Dial is mid-range; temps should stabilize evenly later.
Test by placing a thermometer in multiple spots after plugging back in briefly.
💡 Tips:
⚠️ Warnings:
Place thermometers in fridge (top, middle, bottom shelves) and freezer. Plug in fridge, wait 30 minutes, then read temps. Ideal: Fridge 35-38°F evenly, freezer 0°F.
Why it matters: Confirms uneven cooling (e.g., top warm, bottom cold). Success: Data logged; variations >5°F indicate issues.
Note variations for later steps.
💡 Tips:
Clean seals with warm soapy water, then dry. Test: Close a dollar bill in door—if it pulls out easily, seal is bad. Check all doors/gaskets.
Why it matters: Leaky seals let warm air in, causing uneven temps. Success: Bill resists pulling; seals feel pliable, no gaps.
Replace if cracked (see products).
💡 Tips:
⚠️ Warnings:
Locate coils (back or bottom panel—remove with screwdriver). Vacuum dust with brush attachment, then use coil brush/compressed air.
Why it matters: Dirty coils make compressor overwork, causing uneven cooling. Success: Coils shiny, no dust bunnies.
Reattach panel securely.
💡 Tips:
⚠️ Warnings:
Inside fridge: Ensure vents (back/top) are clear of food. Check damper (airflow door near vents)—should open/close smoothly.
Why it matters: Blockages restrict cold air flow. Success: Air blows freely from vents; no ice blockages.
Rearrange shelves/food for 2-3 inches clearance.
💡 Tips:
Place bubble level on top. Adjust front feet (clockwise to raise) until level side-to-side and slightly forward tilt (back higher).
Why it matters: Unlevel fridge causes doors to not seal and poor air circulation. Success: Bubble centered; doors self-close.
Tighten locks if present.
💡 Tips:
Plug in, listen for evaporator/condenser fans (whooshing sound). Use multimeter on fan wires if silent (continuity test).
Why it matters: Faulty fans = poor circulation. Success: Even cooling after 24 hours; fans spin freely.
Monitor temps; call pro if no improvement.
💡 Tips:
⚠️ Warnings:
Problem: Still uneven after cleaning/leveling?
Solution: Check evaporator fan/defrost timer with multimeter. Run a defrost cycle.
Problem: Noisy fans or compressor?
Solution: Clean debris; lubricate if accessible. Replace if damaged.
Problem: Frost buildup on one side?
Solution: Defrost fully; test defrost heater/thermostat.
Problem: No cooling at all?
Solution: Suspect sealed system leak—call professional.
Accurate wireless monitoring of multiple fridge spots to pinpoint uneven temps.
Best for: Place on shelves during diagnosis and ongoing checks.
Price Range: $9.99
Tests fan motors, thermostat continuity safely for electrical troubleshooting.
Best for: Verify if fans or defrost components are faulty.
Price Range: $14.99
Flexible design reaches tight coils without damage, speeding cleaning.
Best for: Essential for thorough coil dust removal.
Price Range: $9.99
Precise and affordable for ensuring proper fridge leveling.
Best for: Check and adjust feet accurately.
Price Range: $6.99
No-rinse foam dissolves heavy grease/dirt on coils for pro-level clean.
Best for: For very dirty coils in pet-heavy homes.
Price Range: $15.99
Place on shelves during diagnosis and ongoing checks.
ThermoPro TP49 Digital Hygrometer Thermometer Accurate wireless monitoring of multiple fridge spots to pinpoint uneven temps.
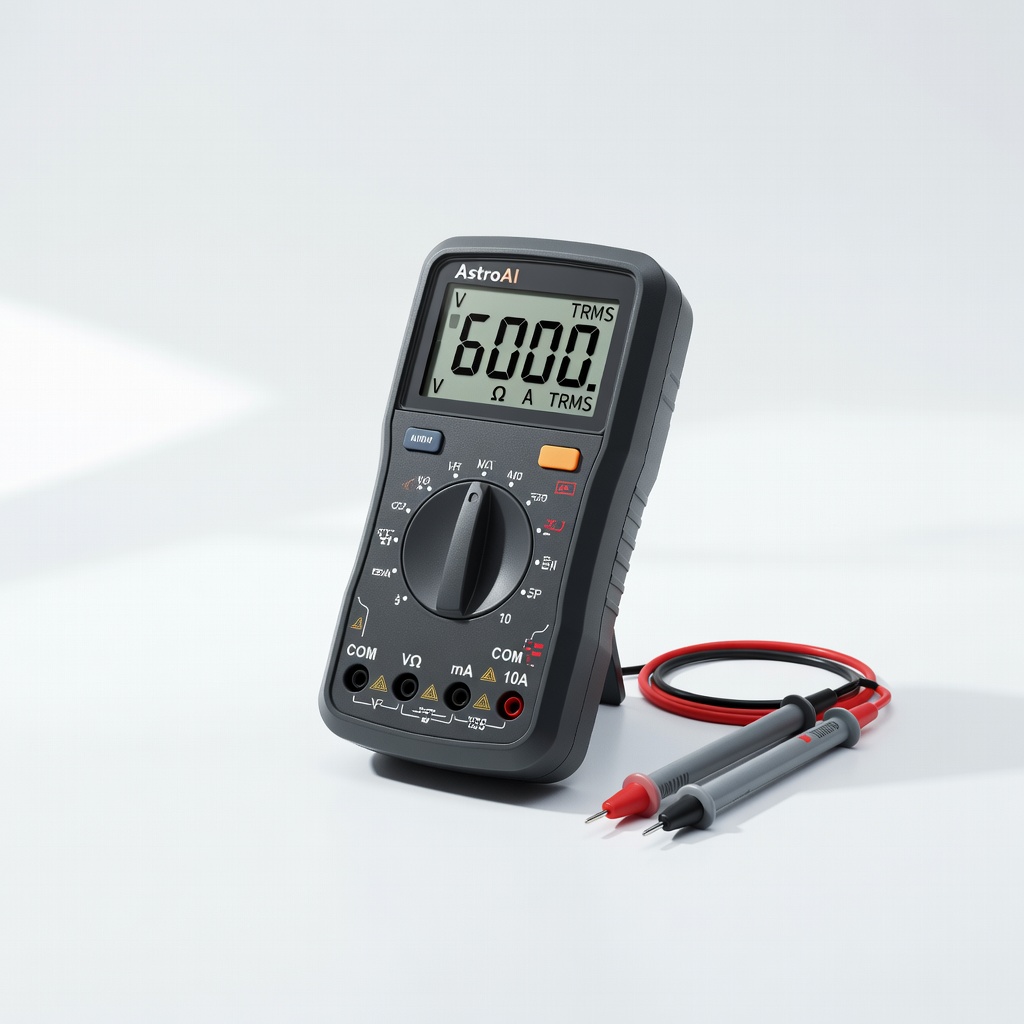
Verify if fans or defrost components are faulty.
AstroAI Digital Multimeter TRMS 6000 Counts Tests fan motors, thermostat continuity safely for electrical troubleshooting.
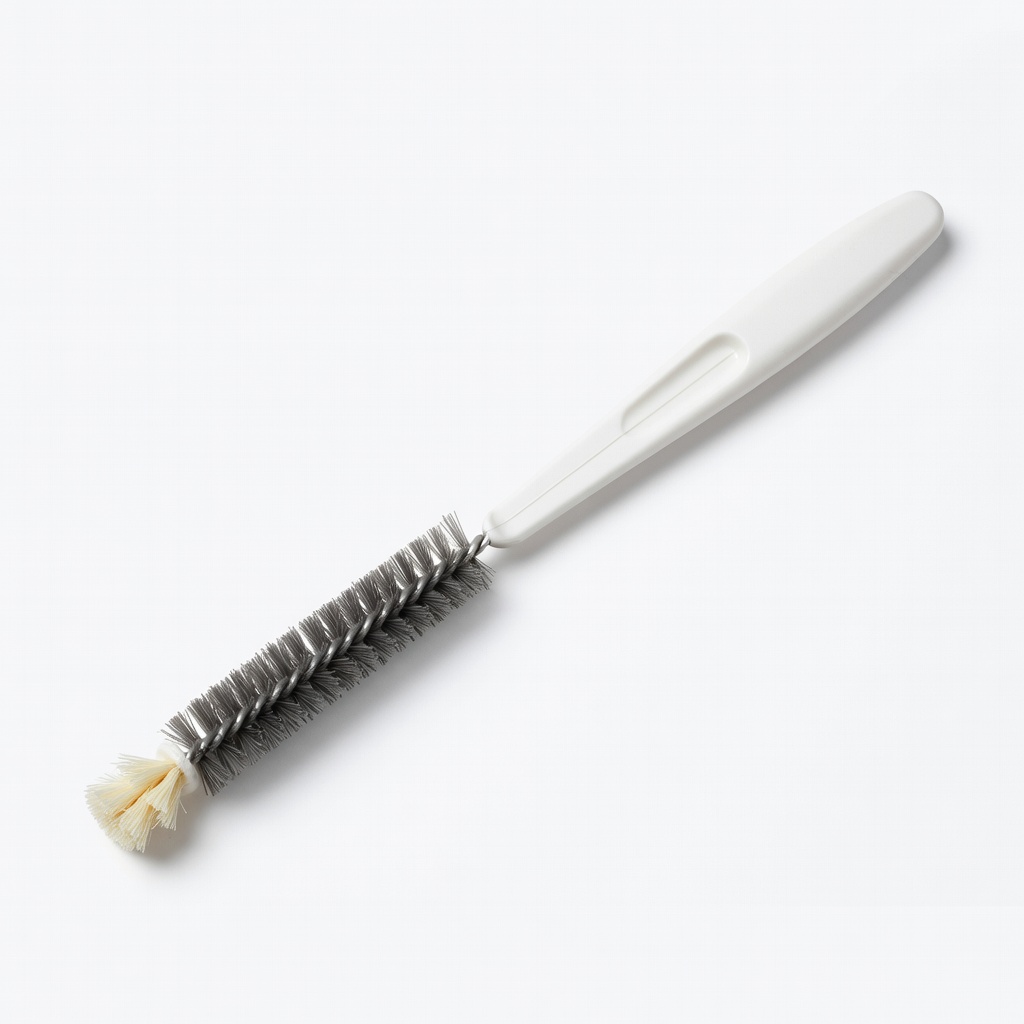
Essential for thorough coil dust removal.
SUPTAVA Refrigerator Condenser Coil Brush Flexible design reaches tight coils without damage, speeding cleaning.
Check and adjust feet accurately.
Amazon Basics Bubble Level 9-Inch Precise and affordable for ensuring proper fridge leveling.
For very dirty coils in pet-heavy homes.
Nu-Calgon 4171-75 Evap Foam Coil Cleaner No-rinse foam dissolves heavy grease/dirt on coils for pro-level clean.