
Klein Tools NCVT-1 Non-Contact Voltage Tester
Quick outlet and cord testing on any appliance.
$20-$25
Klein Tools NCVT-1 Non-Contact Voltage Tester Safely detects live wires without contact, essential for beginners avoiding shocks.
Get the App
Better experience on mobile
Master step-by-step troubleshooting to safely diagnose power issues in washers, dryers, ovens, and more—often without calling a pro.
Nothing's more frustrating than an appliance that won't power up right when you need it most—like a washer mid-cycle or an oven before dinner. These dead appliances often stem from simple power supply problems, not major breakdowns, saving you hundreds in repair fees if you troubleshoot smartly.
In this guide, you'll learn a systematic process to check outlets, cords, breakers, and internals for common culprits. We'll cover safety first and when to stop for pros. Expect 30-60 minutes per appliance, suitable for intermediate DIYers with basic tools.
By the end, you'll revive most non-starting appliances or pinpoint the issue for targeted fixes.
Estimated Time: 30-60 minutes per appliance Difficulty: intermediate
Before touching anything, unplug the appliance from the wall outlet. If it's hardwired like a dryer or oven, turn off the circuit breaker labeled for it at your electrical panel.
Why? Live wires can shock you even if the appliance seems dead. Locate your breaker box (usually in basement or garage) and flip the switch to OFF. Confirm no lights or displays are on.
Success: Appliance is fully de-energized; no humming or lights.
💡 Tips:
⚠️ Warnings:
Grab your non-contact voltage tester and hold it near the outlet prongs. A light or beep means power is present.
Plug in a known working device (like a lamp) to double-check. For GFCI outlets (common in kitchens/baths), press RESET button.
No power? Outlet is faulty. Success: Tester confirms 110-120V AC.
💡 Tips:
Examine the cord for frays, bends, or burn marks. Wiggle it while plugged into a working outlet—does the appliance respond?
Use multimeter on continuity mode: Set to ohms (Ω), touch probes to cord ends (unplugged). Zero resistance means good; infinite means broken.
Success: Cord passes visual and electrical test or identified as bad.
⚠️ Warnings:
At the breaker panel, look for tripped breakers (middle position). Flip fully OFF then ON.
Check home fuses if old house. For appliance fuses (door panels on dryers), inspect for blown ones—glass blackened or filament broken.
Success: Breaker holds position; fuses intact.
💡 Tips:
Power back on safely. Check if child lock, demo mode, or Sabbath mode is engaged (consult manual). Press power button firmly; listen for clicks.
Clean sticky buttons with isopropyl alcohol.
Success: Controls respond or reset.
Unplug again. Remove back/side panels (screws vary by model). Locate thermal fuse (small white cylinder) near heating elements.
Multimeter on continuity: Good fuse shows low resistance. Replace if open.
Success: Fuse tests good or replaced.
⚠️ Warnings:
Inspect door ajar switches—depress fully by hand. Multimeter continuity test across switch terminals.
Clean lint/dirt buildup. Common on washers/dryers.
Success: Switches click and test continuous.
💡 Tips:
Replace panels, plug in, turn on. Run a short cycle.
If still dead, note error codes.
Success: Appliance powers on and functions.
Problem: Multimeter reads erratic
Solution: Check battery; clean probes. Test on known good circuit.
Problem: Breaker trips immediately
Solution: Short circuit—inspect wiring for melts. Call electrician.
Problem: No continuity on good-looking cord
Solution: Internal break; replace cord (under $20).
Problem: Appliance hums but no action
Solution: Bad motor capacitor—replace or pro help.
Safely detects live wires without contact, essential for beginners avoiding shocks.
Best for: Quick outlet and cord testing on any appliance.
Price Range: $20-$25
Instantly diagnoses faulty wiring, GFCI issues—covers 90% outlet problems.
Best for: Kitchen/bathroom appliances with GFCI outlets.
Price Range: $10-$15
Accurate continuity/voltage tests for fuses, cords, switches—pro-level for intermediates.
Best for: Internal component diagnostics on washers, dryers.
Price Range: $30-$40
Magnetic tips for tiny appliance screws; prevents stripping.
Best for: Opening panels on ovens, microwaves.
Price Range: $15-$20
All-in-one for serious DIY; includes spudgers for safe prying.
Best for: Complex appliances like refrigerators.
Price Range: $65-$75
Quick outlet and cord testing on any appliance.
Klein Tools NCVT-1 Non-Contact Voltage Tester Safely detects live wires without contact, essential for beginners avoiding shocks.
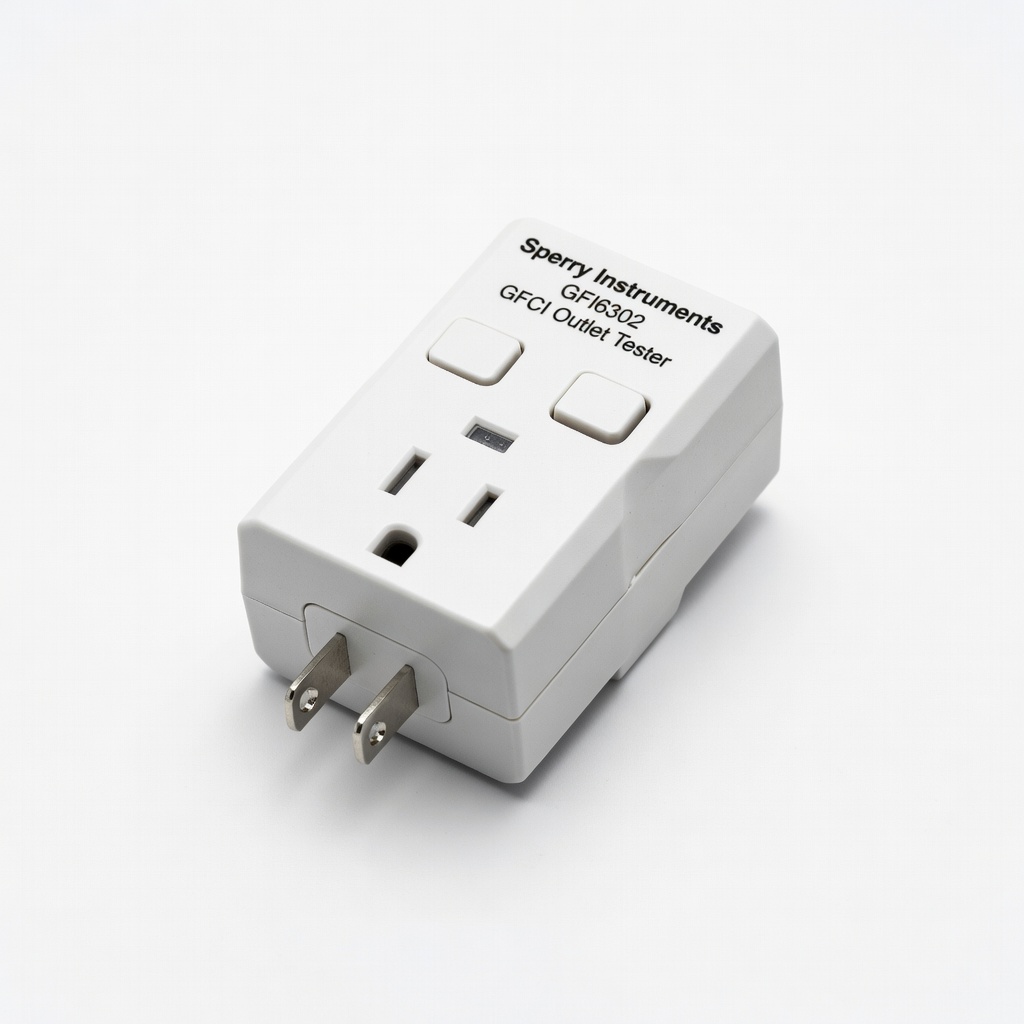
Kitchen/bathroom appliances with GFCI outlets.
Sperry Instruments GFI6302 GFCI Outlet Tester Instantly diagnoses faulty wiring, GFCI issues—covers 90% outlet problems.
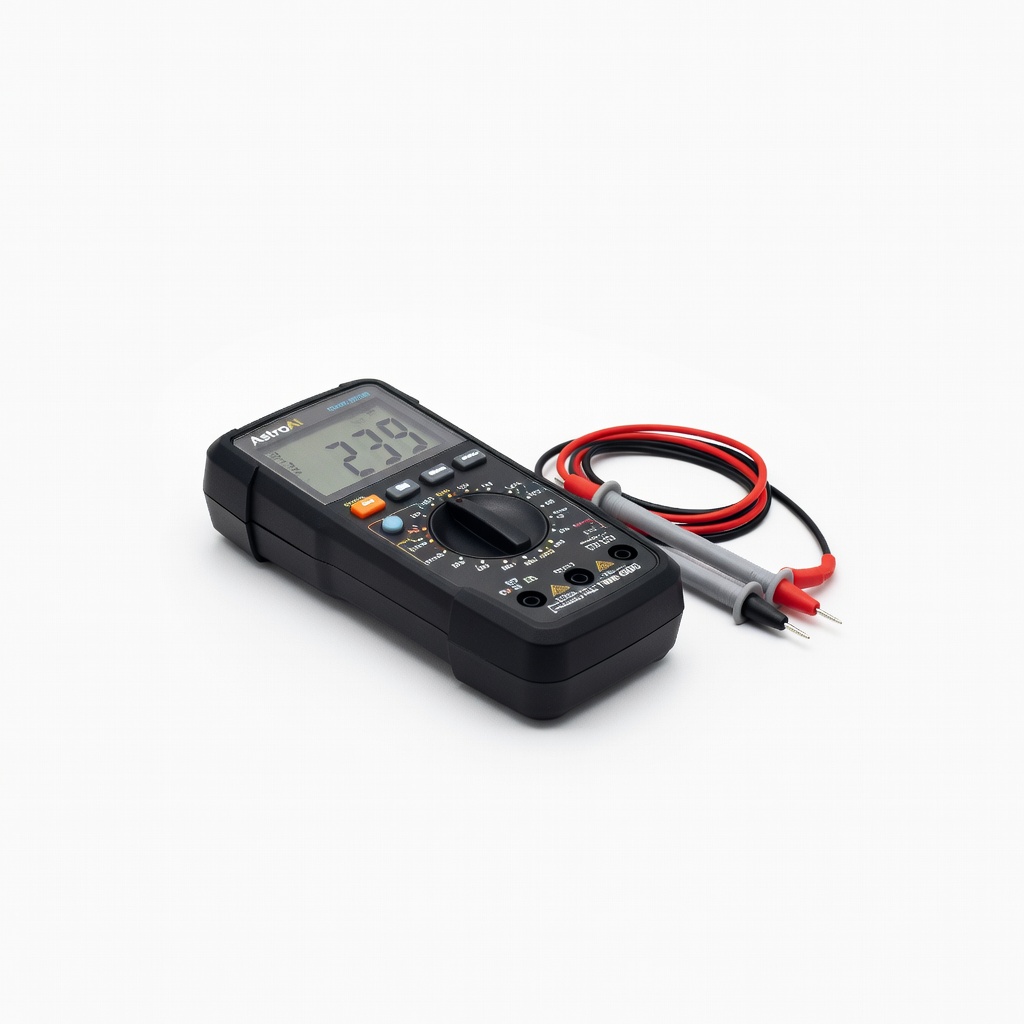
Internal component diagnostics on washers, dryers.
AstroAI Digital Multimeter TRMS 6000 Accurate continuity/voltage tests for fuses, cords, switches—pro-level for intermediates.
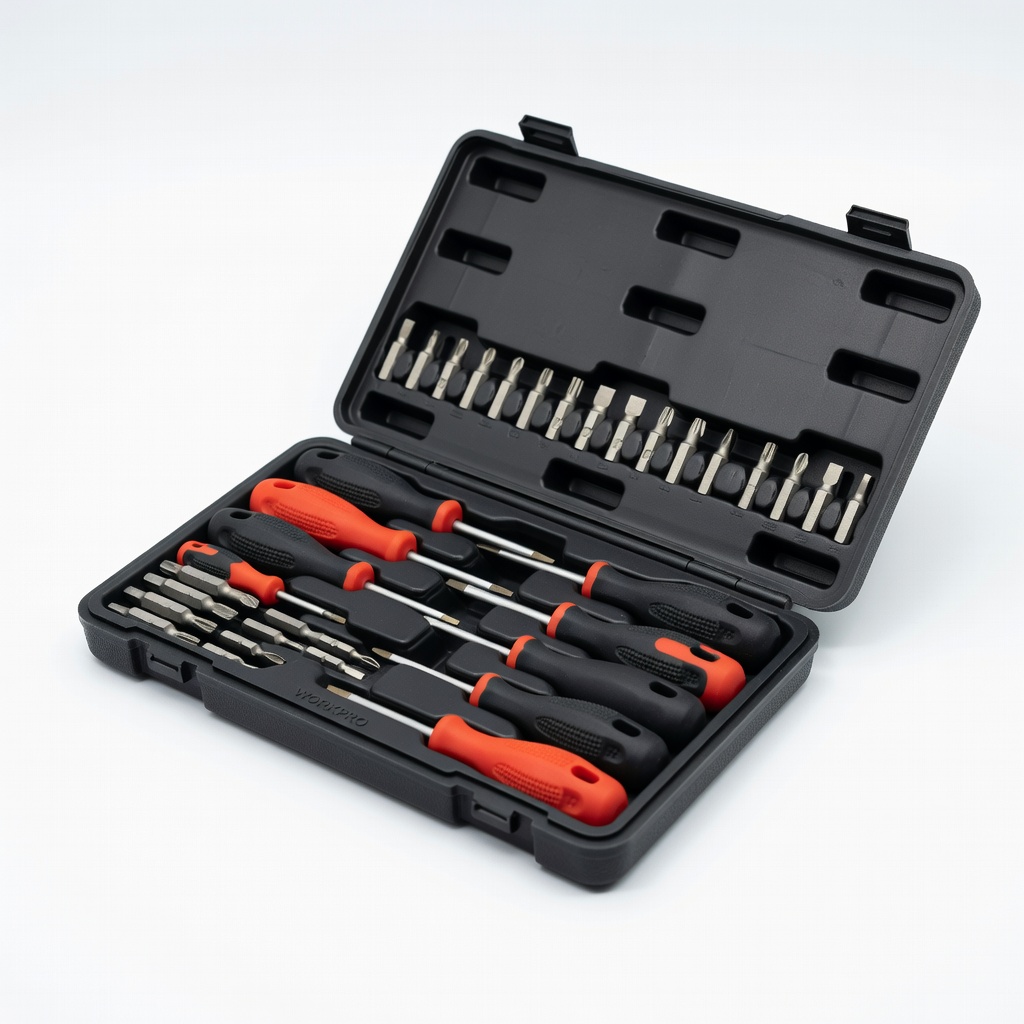
Opening panels on ovens, microwaves.
WORKPRO 25-Piece Precision Screwdriver Set Magnetic tips for tiny appliance screws; prevents stripping.
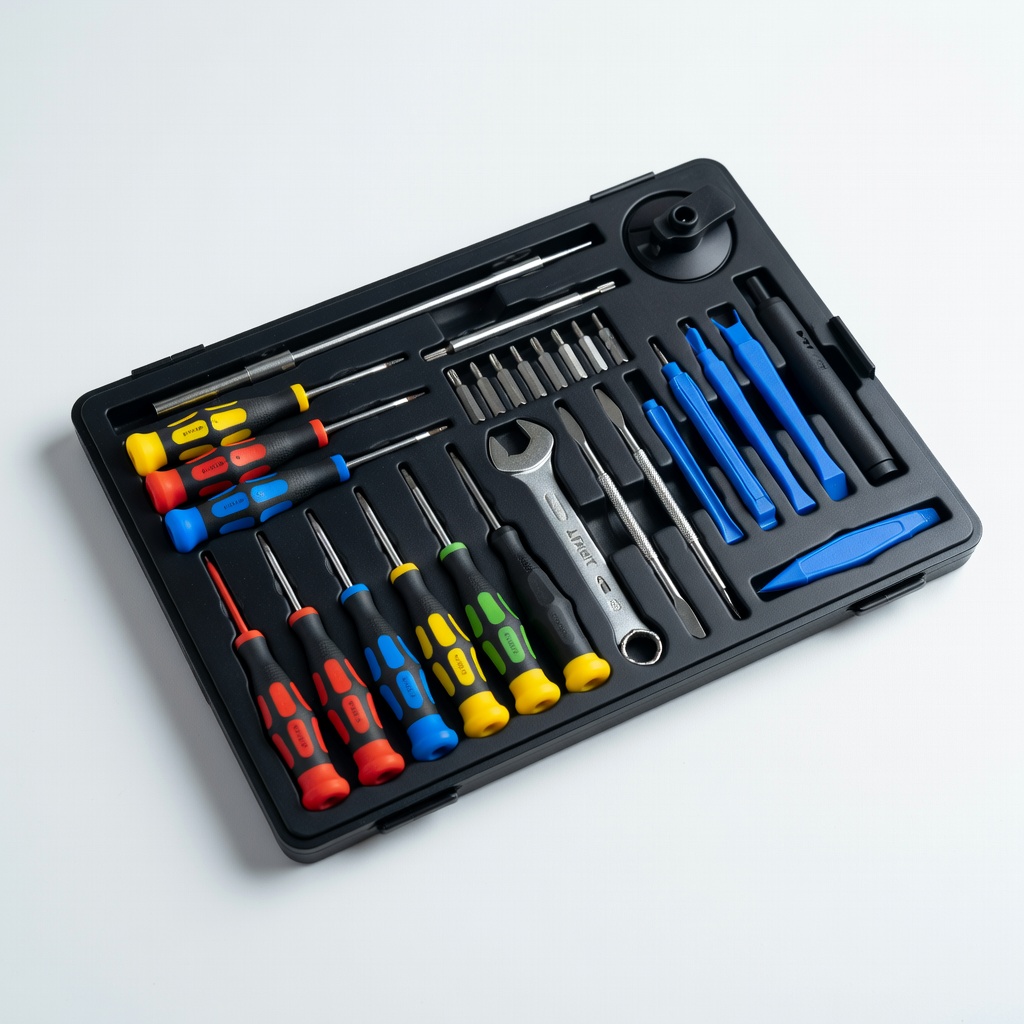
Complex appliances like refrigerators.
iFixit Pro Tech Toolkit All-in-one for serious DIY; includes spudgers for safe prying.