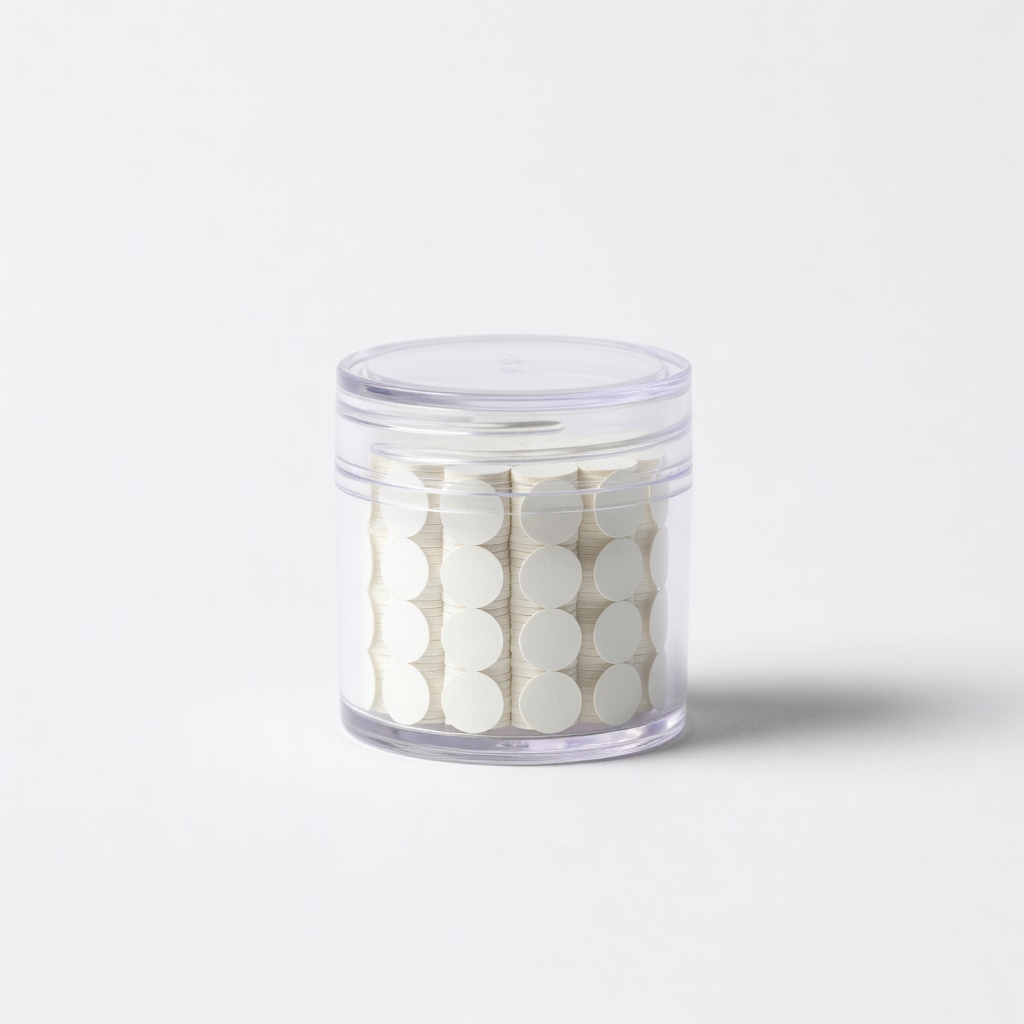
Adhesive dots are a scrapbooker's best friend for quick, precise bonding, but when they don't stick, ooze, or leave residue, it can halt your creative flow and ruin your layouts. Whether your dots are dried out, contaminated, or just finicky, these issues are common for beginners and easily fixed with simple troubleshooting.
In this guide, you'll learn to diagnose problems, apply fixes, and prevent future headaches. Follow our 7-step process to get your adhesive dots working perfectly again. It's beginner-friendly, takes just 10-20 minutes, and uses household items—no advanced skills needed.
By the end, your scrapbook pages will hold strong without messy failures, saving time and frustration.
▸What You'll Need
- •Adhesive dots dispenser or roll (your problematic one)
- •Tweezers (precision craft tweezers recommended)
- •Rubbing alcohol or isopropyl alcohol (70% or higher)
- •Microfiber cloth or cotton swabs
- •Craft knife or scraper (plastic preferred to avoid scratches)
- •Scrap paper for testing
- •Optional: Backup adhesive dots or glue runner
- •Optional: Goo Gone for tough residue
Estimated Time: 10-20 minutes
Difficulty: beginner
▸Step-by-Step Instructions
Step 1: Inspect the Adhesive Dots and Surfaces
Start by examining your adhesive dots closely. Pull out a few dots and check for dryness (crumbly or hard), oozing (too sticky/gummy), dust/debris, or if the liner backing peels easily. Also, inspect your scrapbook paper, photos, or embellishments for oils, dust, or previous residue—these block adhesion.
Why it matters: Most problems stem from contamination or degradation, not defective product. Expect to identify the main symptom (e.g., 'dots won't stick').
Success looks like: Clear diagnosis, like 'dots are clean but paper is dusty.'
💡 Tips:
- •Use a magnifying glass for tiny dots.
- •Note the storage conditions—heat/humidity often causes oozing.
⚠️ Warnings:
- •Don't touch dots with fingers; skin oils ruin stickiness.
Step 2: Test Adhesion on Scrap Paper
Apply 3-5 dots to a scrap piece of paper matching your project's weight/thickness. Press firmly for 10 seconds, then try peeling off an embellishment or photo. Note if it sticks weakly, tears paper, or leaves residue.
This isolates if the issue is dots, surfaces, or application. Success: Dots hold without slipping but release cleanly from test paper.
💡 Tips:
- •Test different pressures—too light fails weak dots.
Step 3: Clean Surfaces and Dots
Wipe project surfaces with a microfiber cloth dampened in rubbing alcohol. For dots, gently dab exposed ones with alcohol on a swab (avoid soaking). Let dry 1-2 minutes.
Why: Removes oils/dust invisible to the eye. Expect a tacky, clean feel post-drying. This fixes 70% of non-stick issues.
⚠️ Warnings:
- •Test alcohol on colored paper first—may bleed inks.
Step 4: Remove Problematic Dots
Use tweezers or craft knife to gently lift failed dots. For residue, apply rubbing alcohol or Goo Gone, wait 30 seconds, then scrape with plastic edge.
Buff area dry. Success: Smooth, residue-free surface ready for reapplication.
💡 Tips:
- •Roll residue off with finger in plastic bag to avoid mess.
Step 5: Check and Fix Dot Dispenser
Inspect dispenser for jams or old dots blocking feed. Clear with tweezers; if dried, discard roll section. For oozing, store in cool, dry place.
Why: Dispensers gum up easily. Expect smooth dispensing after.
⚠️ Warnings:
- •Don't force jammed dots—replace roll if severe.
Step 6: Reapply and Test Fixed Dots
Dispense fresh dots onto cleaned surface, press 10-15 seconds with bone folder or finger. Let set 1 minute, then check bond by gently tugging.
Success: Secure hold without bubbles or slippage.
💡 Tips:
- •Use even pressure; bone folders prevent fingerprints.
Step 7: Prevent Future Issues with Proper Storage
Store dots in airtight container away from heat/sunlight/humidity. Label with date; replace after 1-2 years.
Why: Prolongs life. Expect no repeats if followed.
💡 Tips:
- •Silica packets absorb moisture in storage.
▸Pro Tips
- •Always work in a dust-free area—close windows during crafting.
- •For humid climates, refrigerate dots briefly before use (let warm 5 min).
- •Use a dot dispenser with retractable nozzle to avoid drying.
- •Layer dots for 3D effects, but test thickness first.
- •Keep a 'test station' with scrap paper always ready.
- •Mix sizes: micro dots for paper, larger for heavy embellishments.
- •Burnish (rub firmly) after application for max stick.
▸Common Mistakes to Avoid
- •Applying to dirty/oily surfaces—always wipe first to avoid weak bonds.
- •Storing in hot cars or bathrooms—leads to oozing; use cool, dry spots.
- •Overpressing thin paper—causes tears; use light pressure.
- •Ignoring expiration—dots dry out; check dates yearly.
- •Using fingers to press—transfers oils; opt for tools.
▸Troubleshooting
Problem: Dots still won't stick after cleaning
Solution: Surfaces incompatible (e.g., laminate)—switch to glue dots or spray adhesive. Or replace with fresh roll.
Problem: Excessive oozing in heat
Solution: Chill dispenser 10 min; use foam squares instead for hot environments.
Problem: Dispenser jams repeatedly
Solution: Clean with alcohol; if broken, replace dispenser (see recommendations).
Problem: Residue won't budge
Solution: Soak in Goo Gone 2 min, scrape gently; avoid metal tools.
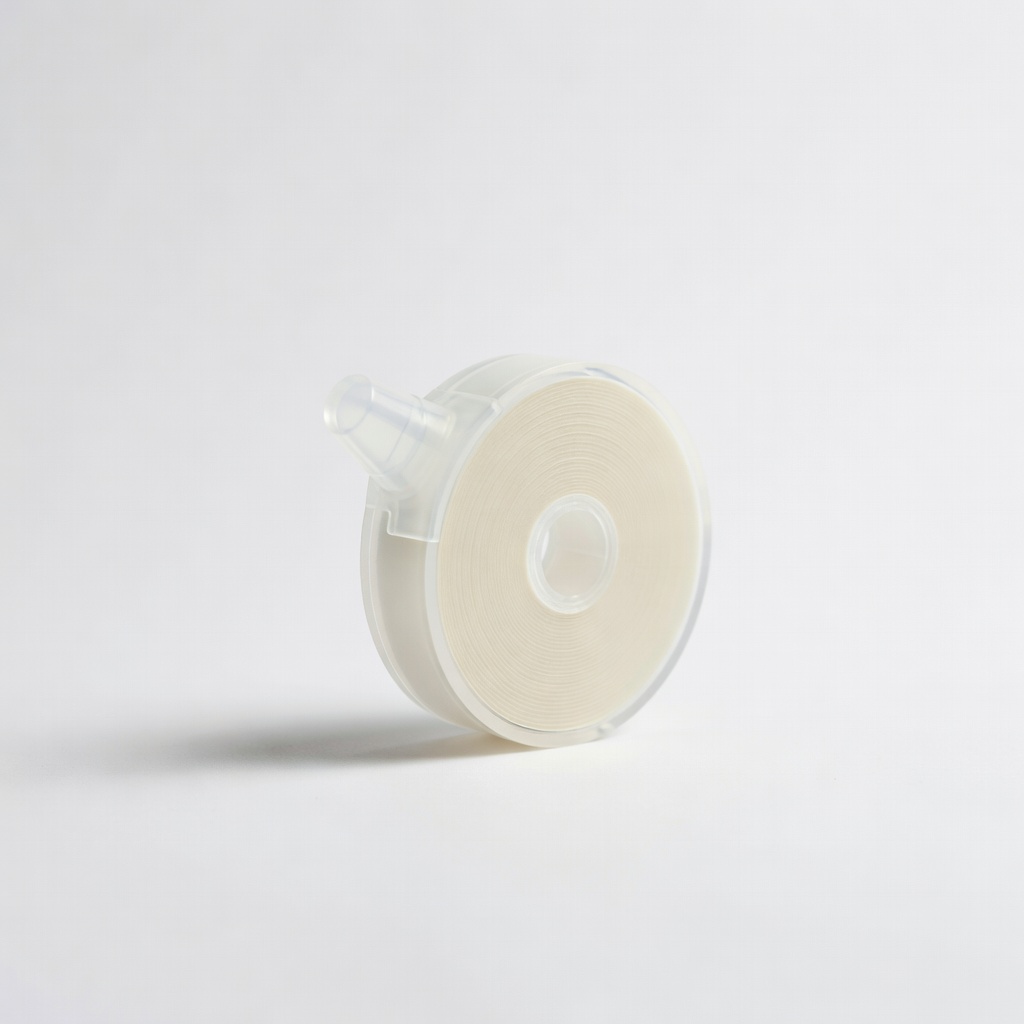
3L Scrapbook Adhesives E-Z Dots Permanent Refill
Reliable dispenser refills that resist drying out and provide consistent adhesion for beginners.
Best for: Replace faulty rolls during troubleshooting for immediate fixes.
Price Range: $6.99-$8.99
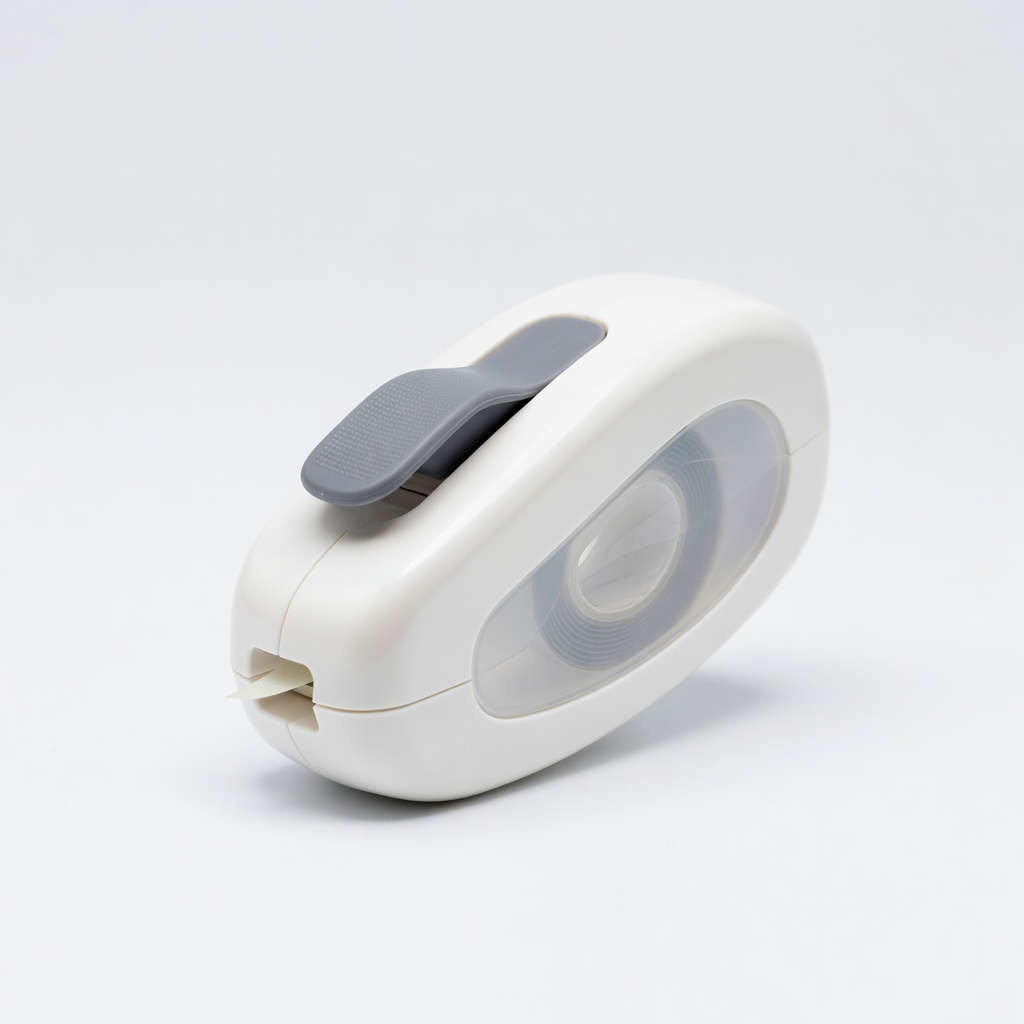
Scrapbook Adhesives by 3L E-Z Runner Retractable Dispenser
Easy-to-use dispenser prevents jams and exposure, solving common feed issues.
Best for: Primary tool for applying dots cleanly post-troubleshoot.
Price Range: $4.99-$6.99
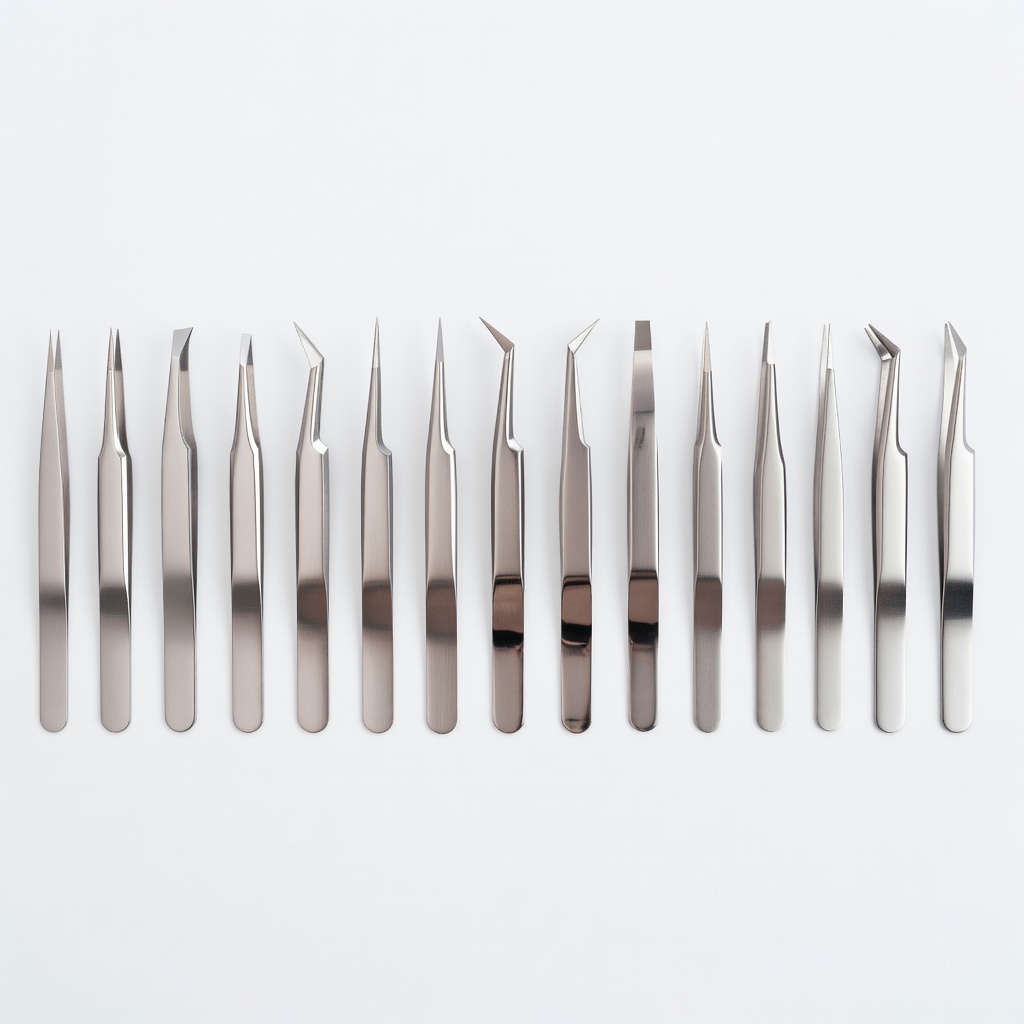
Niutop Craft Tweezers Set
Precision tips for safe dot removal without damaging paper.
Best for: Essential for picking off residue or jammed dots.
Price Range: $8.99-$12.99
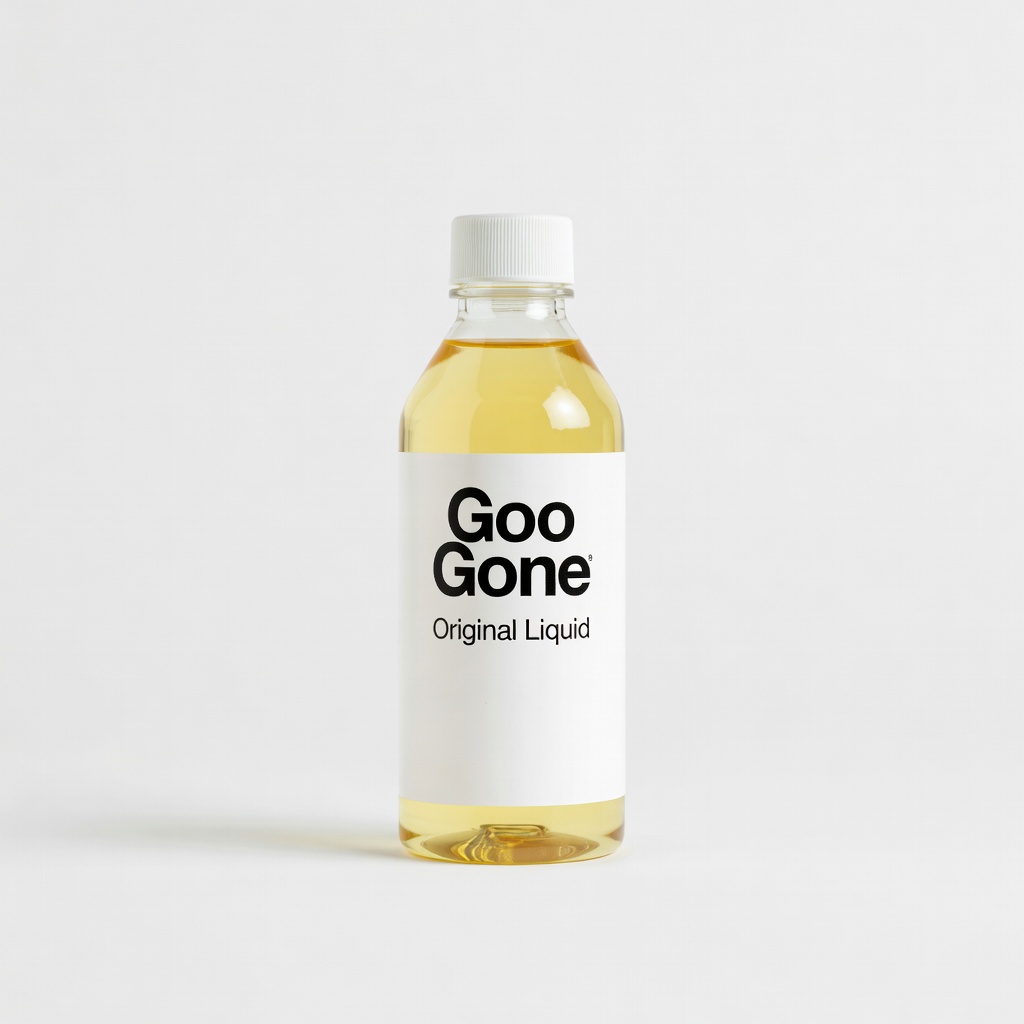
Goo Gone Original Liquid
Dissolves tough adhesive residue quickly without harming paper.
Best for: Stubborn goo after failed dots.
Price Range: $9.99-$14.99
Therm-O-Web Adhesive Dots Mini
Premium dots less prone to common issues like oozing.
Best for: Upgrade for prevention after fixing.
Price Range: $5.99-$7.99