Nothing's more frustrating than loading your dryer with wet clothes only to find they're still damp after a full cycle. A dryer that won't heat up can disrupt your routine, leading to longer drying times or even spoiled loads. Whether it's an electric or gas model, common culprits include clogged vents, faulty fuses, or worn-out elements. The good news? Many issues are DIY-fixable with basic tools and safety precautions.
In this guide, you'll learn how to systematically troubleshoot and potentially resolve the problem yourself. We'll cover safety checks, electrical testing, and part replacements for both electric and gas dryers. By the end, you'll know if it's a simple fix or time to call a professional. Expect 30-60 minutes for the process, depending on your model's complexity—perfect for intermediate DIYers comfortable with basic wiring and disassembly.
We'll start with the easiest checks and progress to more involved ones, ensuring you don't overlook anything. Always prioritize safety to avoid shocks or gas leaks.
▸What You'll Need
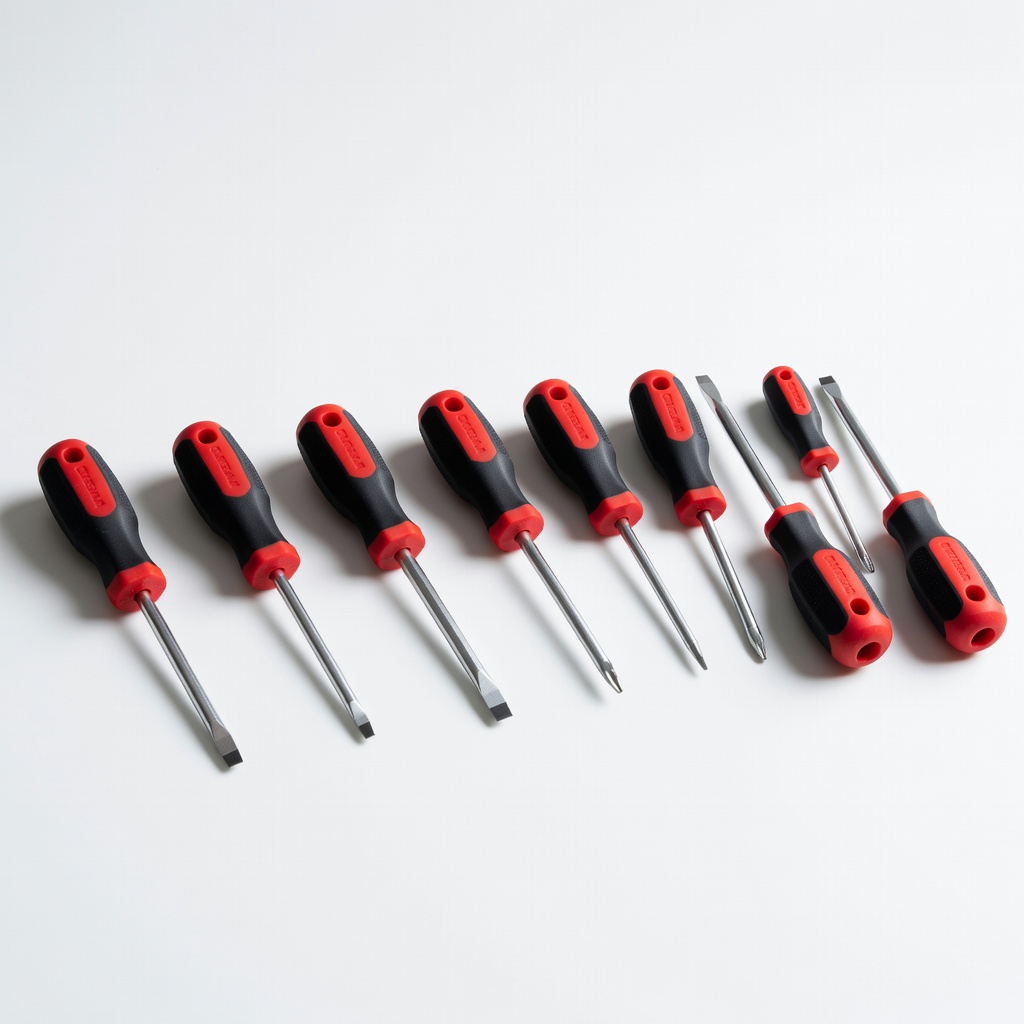
- •Screwdriver set (Phillips and flathead, required)
- •Multimeter (for electrical testing, required for electric dryers)
- •Nut driver or socket set (for panel removal, required)
- •Vacuum with hose attachment (for vent cleaning, required)
- •Replacement parts like thermal fuse or heating element (optional, buy after diagnosis)
- •Work gloves and safety glasses (recommended for protection)
Estimated Time: 30-60 minutes
Difficulty: intermediate
▸Step-by-Step Instructions
Step 1: Unplug the Dryer and Ensure Safety
Before touching anything, disconnect the dryer from power. For electric dryers, unplug from the outlet. For gas models, turn off the gas supply valve (usually behind the unit) and unplug. This prevents electrical shocks or gas hazards.
Why it matters: Dryers involve high voltage and potential gas lines, so safety first avoids injuries. Expect a quiet, powered-down machine ready for inspection. If you're unsure about gas shutoff, consult your manual or a pro.
Slide the dryer away from the wall for access, but don't tip it yet.
💡 Tips:
- •Label cords before unplugging to avoid confusion during reassembly.
⚠️ Warnings:
- •Never bypass safety steps; improper handling can cause fires or explosions.
Step 2: Check the Power Supply and Circuit Breaker
Verify the outlet works by plugging in another appliance. For electric dryers, inspect the circuit breaker or fuse box for trips—reset if needed. Gas dryers still need electricity for the motor, so check the same.
This step rules out simple power issues, which cause 20-30% of no-heat problems. Success looks like the dryer powering on (drum turns, lights on) but no heat. If it doesn't power up, the issue is electrical supply, not heating.
Test voltage at the outlet with a multimeter (should read 110-120V); low voltage can mimic heating failure.
💡 Tips:
- •Use a voltage tester instead of a multimeter if you're new to electrical checks.
⚠️ Warnings:
- •Avoid overloading circuits; dryers need a dedicated 30-amp breaker.
Step 3: Clean the Lint Filter and Exhaust Vent
Remove and clean the lint screen thoroughly. Then, disconnect the vent hose from the back of the dryer and vacuum inside the hose and wall duct.
Clogged vents cause overheating, tripping safety fuses and stopping heat. Expect to remove a buildup of lint—success is clear airflow when you blow through the hose. Reconnect securely after cleaning.
For thorough cleaning, use a vent brush kit to reach deeper into the duct. This step often revives heat without further work.
💡 Tips:
- •Clean the vent annually to prevent future issues.
⚠️ Warnings:
- •Don't run the dryer without the vent reattached; it poses a fire risk.
Step 4: Inspect the Thermal Fuse
Remove the back or top panel (consult your model's manual for access—usually 4-6 screws). Locate the thermal fuse (small white plastic component on the blower housing or exhaust duct) and test continuity with a multimeter (set to ohms; it should read near zero if good).
The fuse blows from overheating (often vent-related), cutting power to the heating element. If no continuity, replace it—it's a $10 part. Success: Fuse tests good or new one installed, potentially restoring heat.
For gas dryers, also check the igniter, but focus on fuse first as it's common to both.
💡 Tips:
- •Take photos during disassembly for easy reassembly.
⚠️ Warnings:
- •Replace the fuse only if vents are clean; otherwise, it'll blow again.
Step 5: Test the Heating Element (Electric Dryers Only)
With panels off, find the heating element (coiled wire in a metal housing at the back). Disconnect wires, test continuity across terminals (should read 10-50 ohms).
A broken element won't produce heat—common in older dryers. If open circuit (infinite resistance), replace the element. Reconnect and test the dryer.
Gas dryers use an igniter instead; test for continuity similarly. Expect heat restoration if this was the issue.
💡 Tips:
- •Bend the element gently during inspection; brittle ones snap easily.
⚠️ Warnings:
- •High voltage here—double-check unplugging.
Step 6: Check Thermostats and Temperature Sensors
Locate high-limit thermostat and cycling thermostat (near the element or duct). Test each for continuity when cool (should close circuit).
Faulty thermostats prevent heating cycles. Clean any lint buildup first. Replace if no continuity. Success: All sensors test good, allowing full operation.
Reassemble panels, plug in, and run a test cycle on high heat.
💡 Tips:
- •Thermostats are inexpensive; stock a kit for your model.
⚠️ Warnings:
- •Overheating can damage boards—address root causes like vents.
Step 7: Test Run and Final Checks
Reassemble everything, plug in (or restore gas), and run a timed dry cycle with a load. Feel the exhaust air—it should be hot within 5-10 minutes.
This confirms the fix. If still no heat, the issue may be the control board or wiring—time for a pro. Document what worked for future reference.
For gas dryers, listen for the igniter click; no click means gas valve or igniter failure.
💡 Tips:
- •Run empty first to avoid scorching clothes.
⚠️ Warnings:
- •If gas smell is present, stop and call a technician immediately.
▸Pro Tips
- •Always refer to your dryer's manual for model-specific part locations to save time.
- •Invest in a universal part kit if you own an older dryer—prevents multiple trips to the store.
- •Clean vents every 6 months; it extends dryer life and prevents 90% of heat issues.
- •Use the multimeter's continuity buzzer mode for quicker testing without reading numbers.
- •Label wires with tape during disassembly to avoid incorrect reconnection.
- •For gas dryers, check the flame sensor for soot buildup and clean with fine sandpaper.
- •Test in short cycles first to avoid energy waste during troubleshooting.
▸Common Mistakes to Avoid
- •Ignoring vent cleaning first: It causes repeated fuse blows and frustration—always start here to avoid unnecessary part buys.
- •Not unplugging fully: Leads to shocks or shorts—double-check power before touching internals.
- •Assuming electric fixes apply to gas: Gas models need different checks like igniter; misdiagnosis wastes time.
- •Over-tightening screws on reassembly: Strips threads—use hand-tight plus a quarter turn.
- •Skipping continuity tests: Guessing parts leads to wrong replacements—always verify with tools.
▸Troubleshooting
Problem: Dryer powers on but drum won't turn
Solution: Check drive belt for breakage (under top panel). Replace if frayed; it's a $20 part.
Problem: Intermittent heating
Solution: Inspect wiring for loose connections or corrosion. Tighten and clean terminals.
Problem: Gas dryer won't ignite
Solution: Test igniter glow (visual) and gas valve solenoid continuity. Replace faulty parts.
Problem: Still no heat after fuse replacement
Solution: Recheck vents and thermostats. If all good, control board may be faulty—seek pro help.
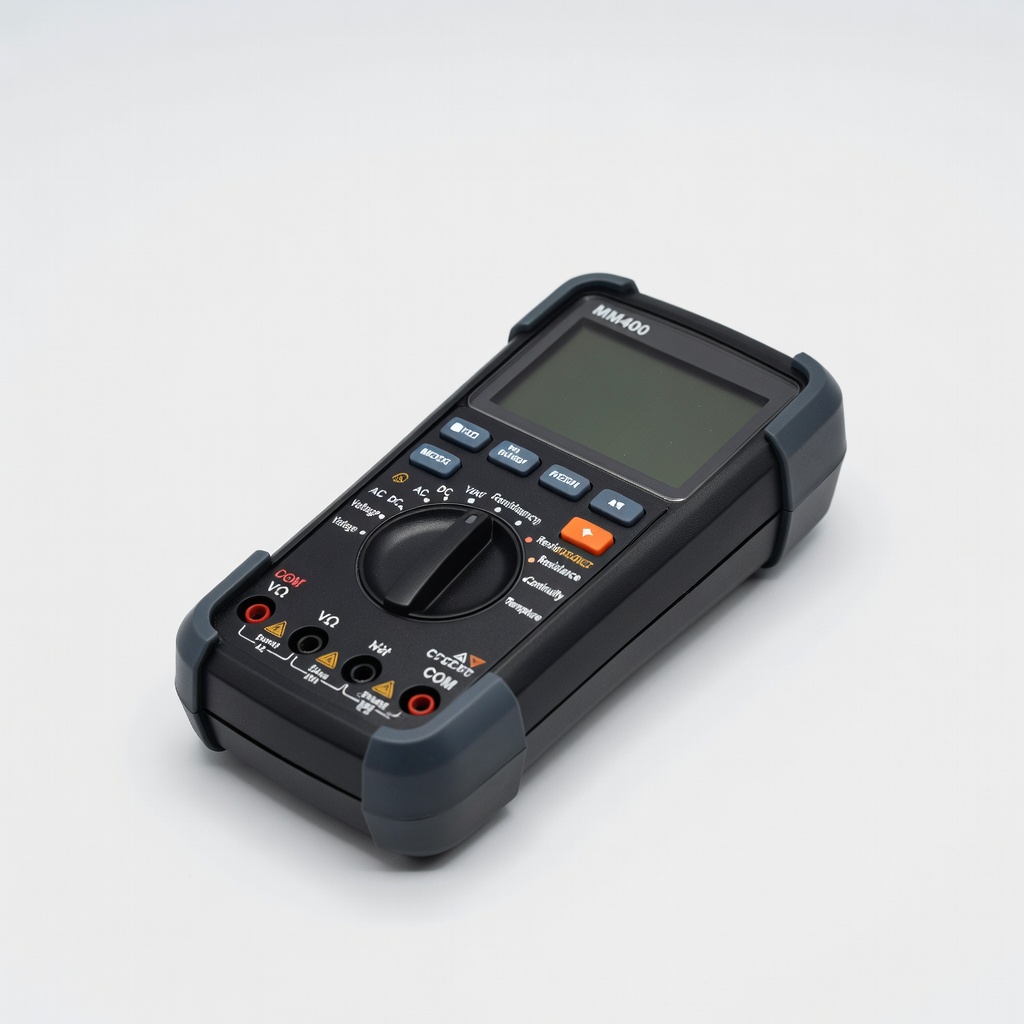
Klein Tools MM400 Digital Multimeter
Essential for accurate continuity and voltage testing on fuses, elements, and thermostats without guesswork.
Best for: Use during steps 2, 4, 5, and 6 for electrical diagnostics on any dryer model.
Price Range: $29.99
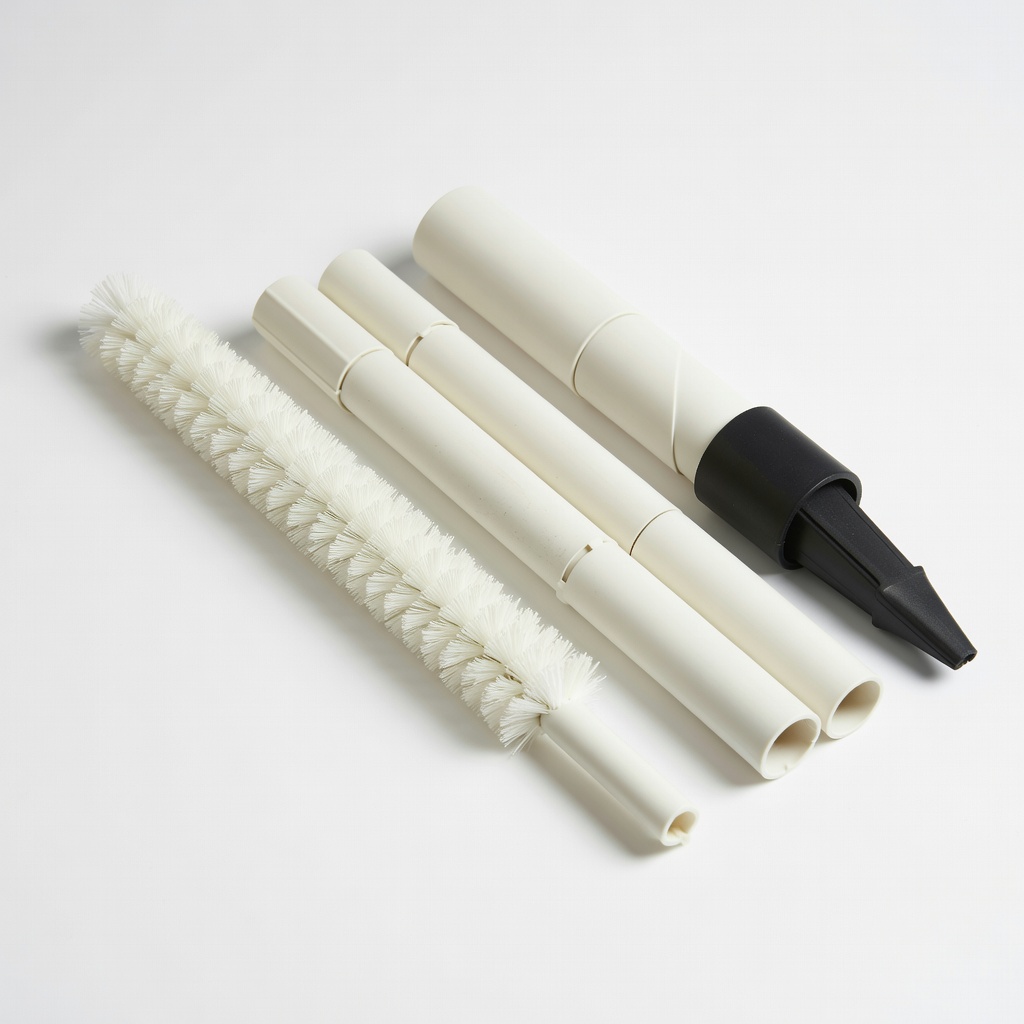
Deflecto Dryer Vent Cleaning Kit
Includes flexible rods and brush to thoroughly clean vents, preventing clogs that cause no-heat issues.
Best for: Ideal for step 3; reaches up to 12 feet into ducts for complete lint removal.
Price Range: $19.99
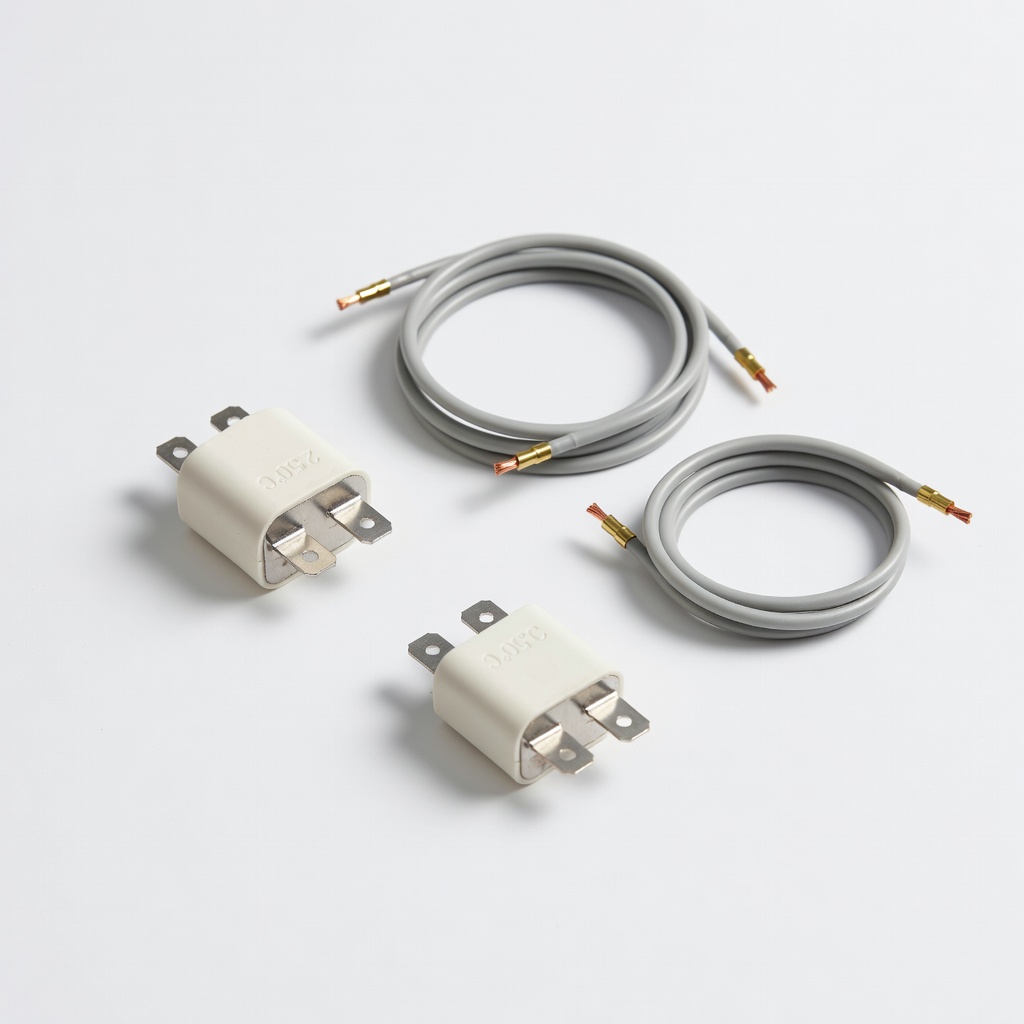
Upgraded Replacement Thermal Fuse Kit for Dryers
High-quality, compatible fuse that resets overheating protection; includes thermostat for full repair.
Best for: Direct replacement in step 4 for most Samsung, LG, and Whirlpool models after testing.
Price Range: $8.99
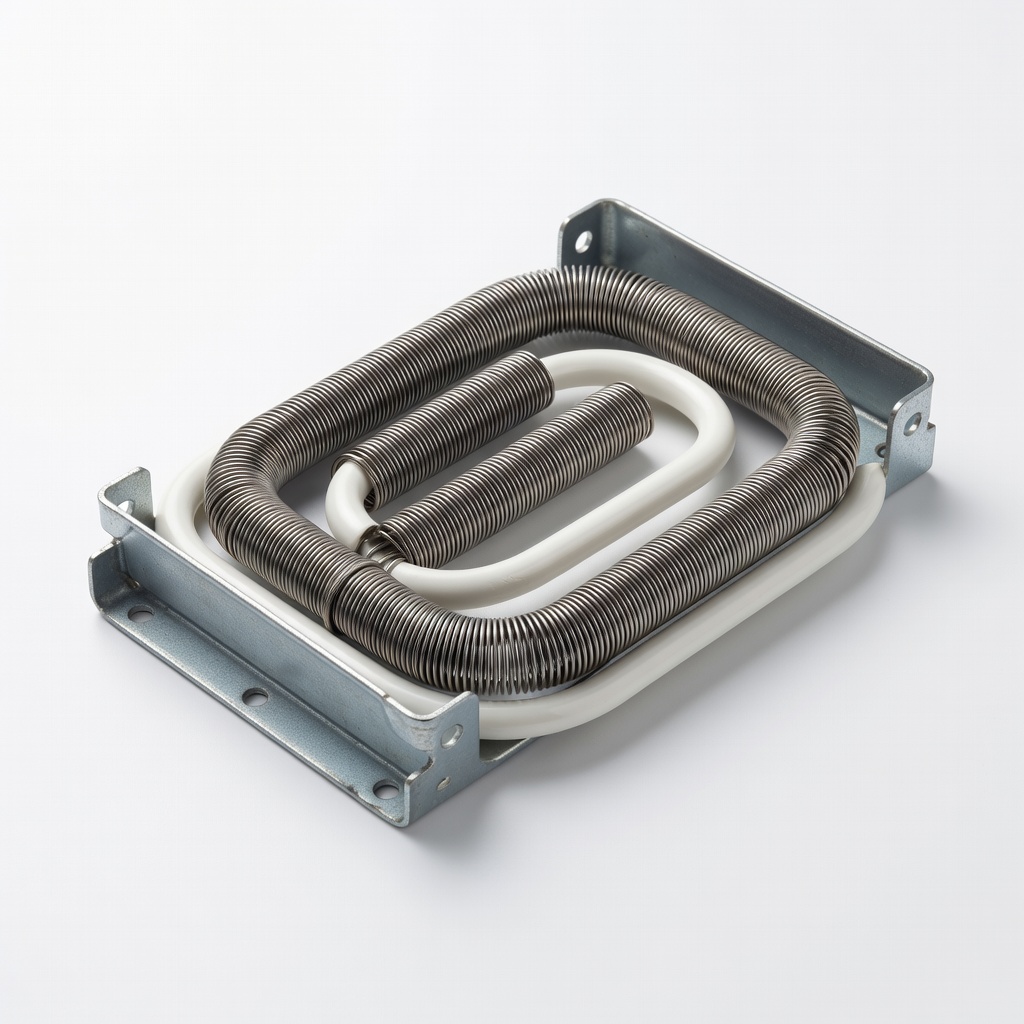
311005012 Dryer Heating Element for Electrolux
Durable coiled element restores heat in compatible models; exact OEM spec for reliable performance.
Best for: Replace in step 5 if your electric dryer tests faulty; fits Frigidaire and others.
Price Range: $25.00-$35.00
Craftsman 9-32132 Screwdriver Set
Versatile set with magnetic tips for easy panel removal without stripping screws.
Best for: Required for all disassembly steps (1-6); works on various dryer sizes.
Price Range: $15.99