
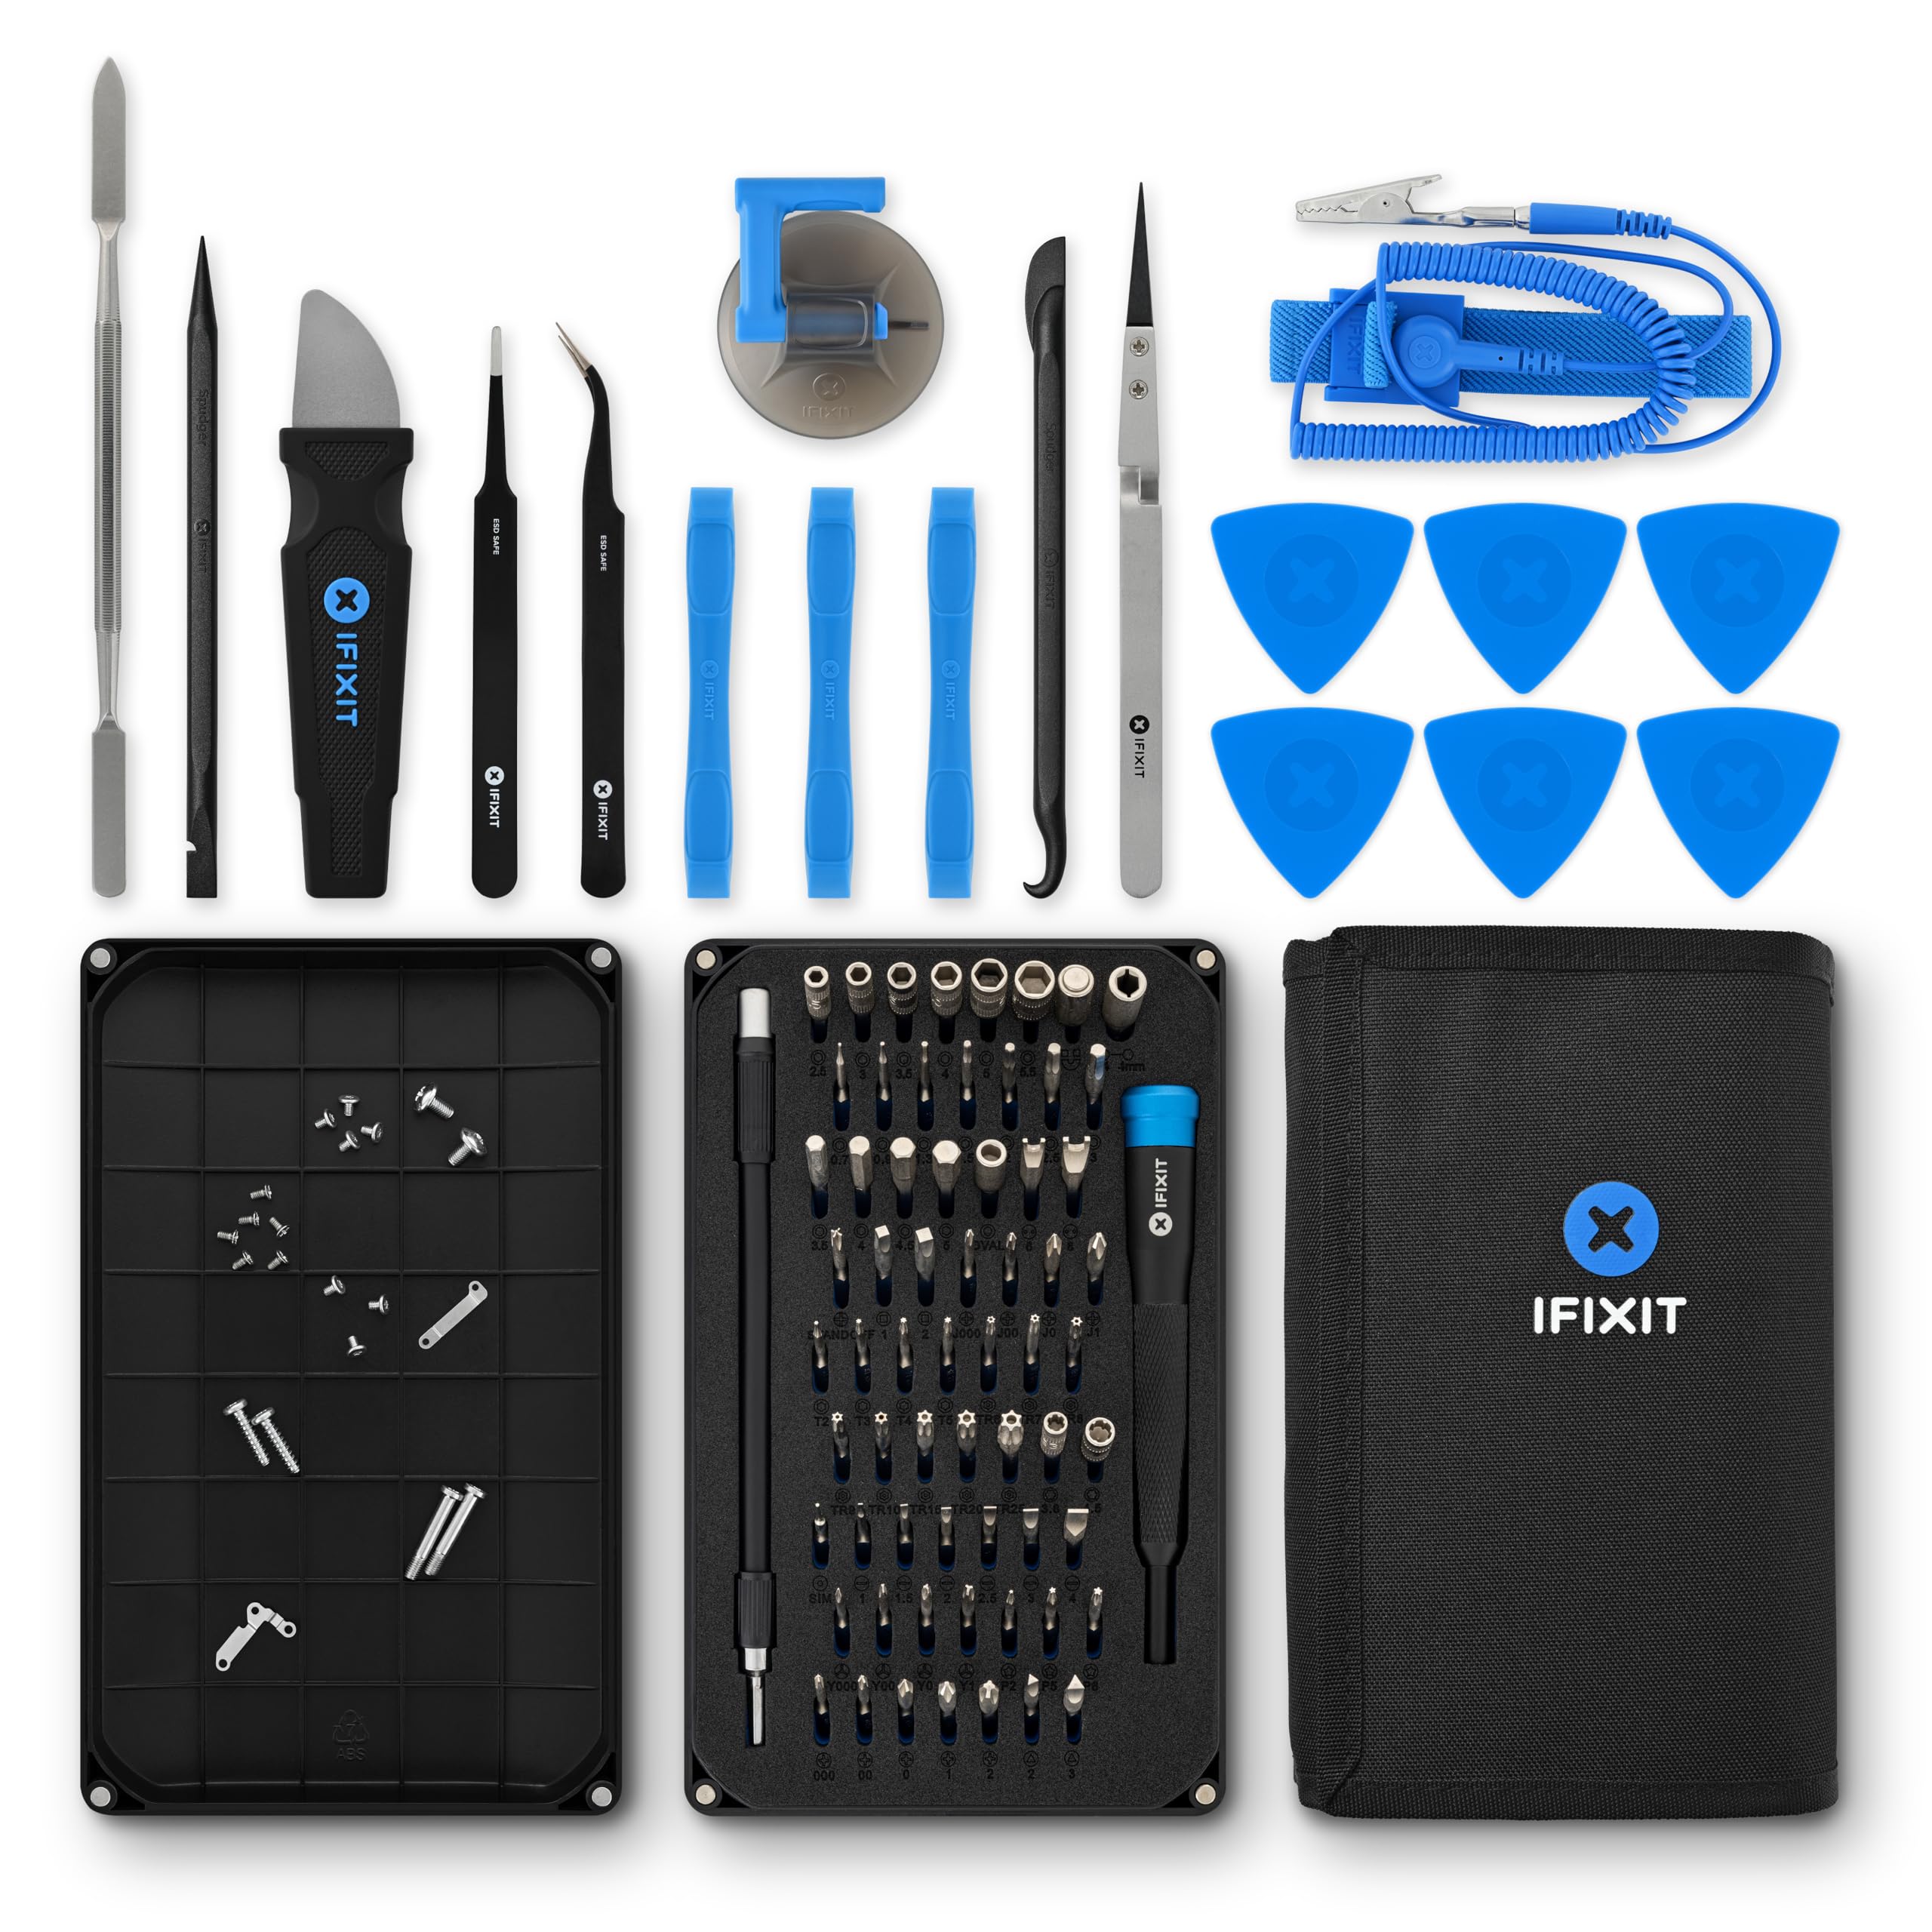
iFixit Pro Tech Toolkit
Disassembly steps 3-7.
$69.99
iFixit Pro Tech Toolkit Precision Phillips/Torx drivers perfect for 3DO screws without stripping.
Get the App
Better experience on mobile
Diagnose and resolve overheating in your 3DO console with advanced step-by-step troubleshooting to prevent hardware failure.
Overheating is a killer for vintage 3DO consoles, often caused by 30+ years of dust buildup, degraded thermal paste, or failing components, leading to crashes, shutdowns, or permanent damage. As a collector or enthusiast, ignoring it risks bricking your rare FZ-1 or Goldstar unit.
This guide teaches advanced users how to systematically troubleshoot and fix overheating, from basic cleaning to component inspection. You'll achieve a cooler-running console with stable gameplay sessions up to hours long.
Expect 1-2 hours of hands-on work in a static-free environment. Difficulty is advanced due to disassembly and electronics knowledge required—no soldering needed, but precision is key.
Estimated Time: 1-2 hours Difficulty: advanced
Unplug the 3DO console from power and AC outlet. Discharge capacitors by holding the power button for 30 seconds. Work on an anti-static mat in a well-lit, dust-free area.
Why it matters: Prevents electric shock or ESD damage to sensitive chips. Success: Console is powered off, no residual charge.
Wear an anti-static wrist strap grounded to the mat.
💡 Tips:
⚠️ Warnings:
Examine vents, intake/exhaust fans, and case for dust clogs or obstructions. Feel for hot spots on the exterior after a short powered test (5 mins max).
Why: Identifies ventilation blocks causing 80% of issues. Success: Clear paths, no excessive external heat (>50°C/122°F).
Gently blow out visible dust with compressed air (short bursts, can upside down).
💡 Tips:
⚠️ Warnings:
Remove screws (typically 8-12 Phillips/Torx around case). Carefully pry open top/bottom halves—note ribbon cable positions. Remove metal shielding over motherboard.
Why: Accesses internals for deep clean. Success: Board exposed without bent pins or torn cables. Refer to 3DO service manual diagrams online.
Store parts organized by removal order.
💡 Tips:
⚠️ Warnings:
Use compressed air to blast heatsinks, fans, and PCB. Dip microfiber in isopropyl alcohol for stubborn grime on heatsinks/case—wipe dry immediately.
Why: Dust insulates heat, raising temps 20-30°C. Success: Visible dust gone, surfaces shiny and dry (wait 10 mins evaporation).
Spin fans manually to check free movement.
💡 Tips:
⚠️ Warnings:
Locate PSU (internal/external). Use multimeter in DCV mode: check +5V/+12V rails under load (console on briefly). Look for bulging capacitors.
Why: Failing PSUs overload and generate excess heat. Success: Voltages stable (±5%), no >1V ripple.
Replace swollen caps if found (common Panasonic 1000uF).
💡 Tips:
⚠️ Warnings:
Remove CPU/GPU heatsinks (4 screws). Scrape old paste with alcohol-dipped cloth. Apply pea-sized new paste, reseat firmly.
Why: Dried paste (20+ years old) causes 50°C+ temp spikes. Success: Even paste spread, tight contact (use thermal pads if stock).
Torque screws evenly.
💡 Tips:
⚠️ Warnings:
Reverse disassembly, ensuring cables secure. Power on in open-air setup, monitor for 30 mins (feel vents, listen for fan spin).
Why: Verifies fixes. Success: No auto-shutdown, case <45°C idle.
Run a demanding game like Road Rash.
💡 Tips:
⚠️ Warnings:
Install temp monitoring (USB logger or software via AV mod). Play 1-hour sessions weekly, log peaks.
Why: Confirms sustained fix. Success: Sustained <70°C under load.
Improve airflow with console stand.
💡 Tips:
⚠️ Warnings:
Problem: Console shuts down immediately after fix
Solution: Recheck thermal paste contact and loose wires. Test PSU voltages again.
Problem: Fan not spinning post-clean
Solution: Lubricate bearings or replace with 80mm 12V PC fan (ASIN B07V4D2PGR).
Problem: Temps still high (>80°C)
Solution: Recap PSU or add auxiliary heatsink. Seek recap service if bulging caps persist.
Problem: No video after reassembly
Solution: Reseat ribbon cables and shielding. Professional if board damage.
Precision Phillips/Torx drivers perfect for 3DO screws without stripping.
Best for: Disassembly steps 3-7.
Price Range: $69.99
Non-conductive, high-pressure for deep dust removal without residue.
Best for: Cleaning steps 2 and 4.
Price Range: $9.99
Non-conductive, long-lasting for vintage CPUs—stays effective 8+ years.
Best for: Heatsink reapplication in step 6.
Price Range: $8.99
Accurate DCV/ACV for PSU diagnostics on retro voltages.
Best for: PSU testing in step 5.
Price Range: $59.97
Pure for safe PCB cleaning without residue or corrosion.
Best for: All cleaning steps.
Price Range: $14.99
Disassembly steps 3-7.
iFixit Pro Tech Toolkit Precision Phillips/Torx drivers perfect for 3DO screws without stripping.
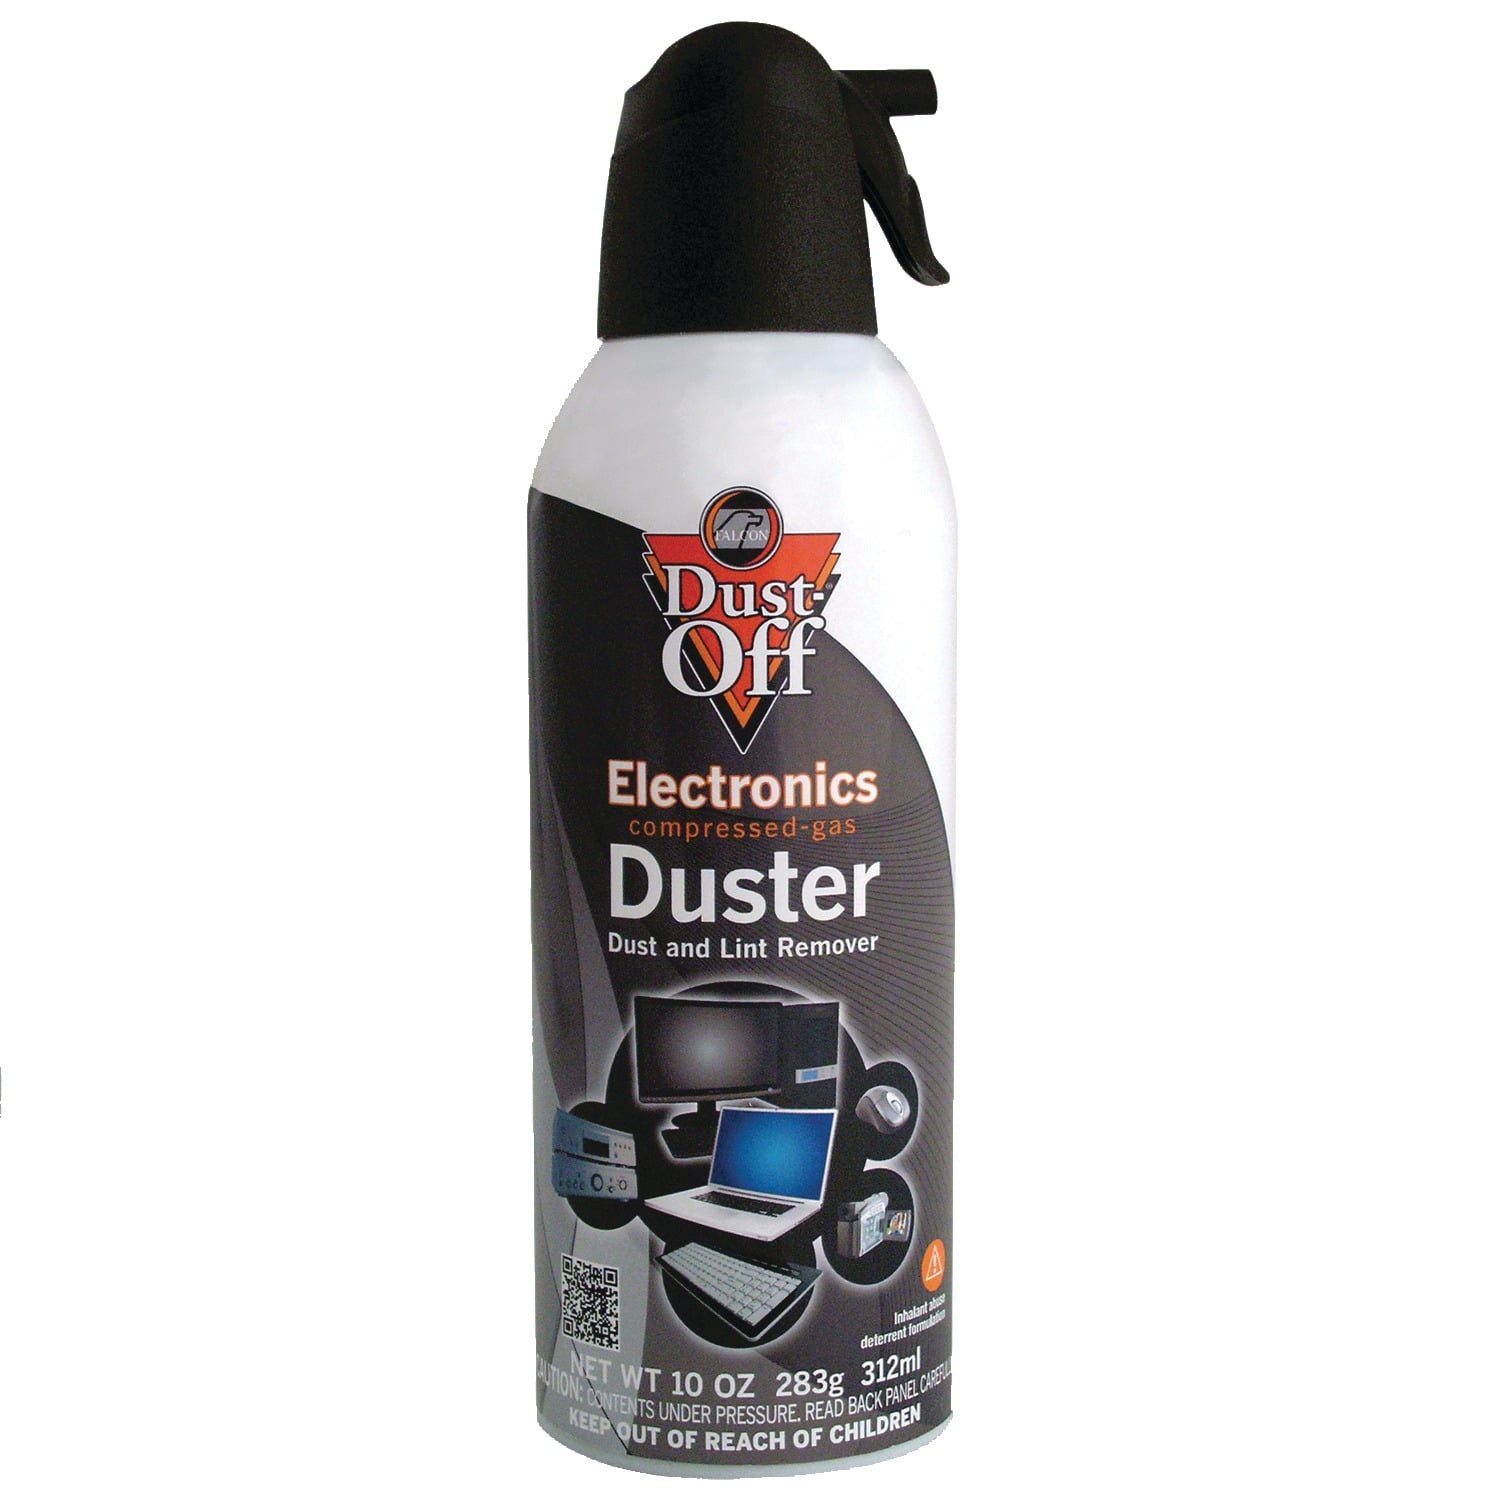
Cleaning steps 2 and 4.
Dust-Off Compressed Air Duster Non-conductive, high-pressure for deep dust removal without residue.
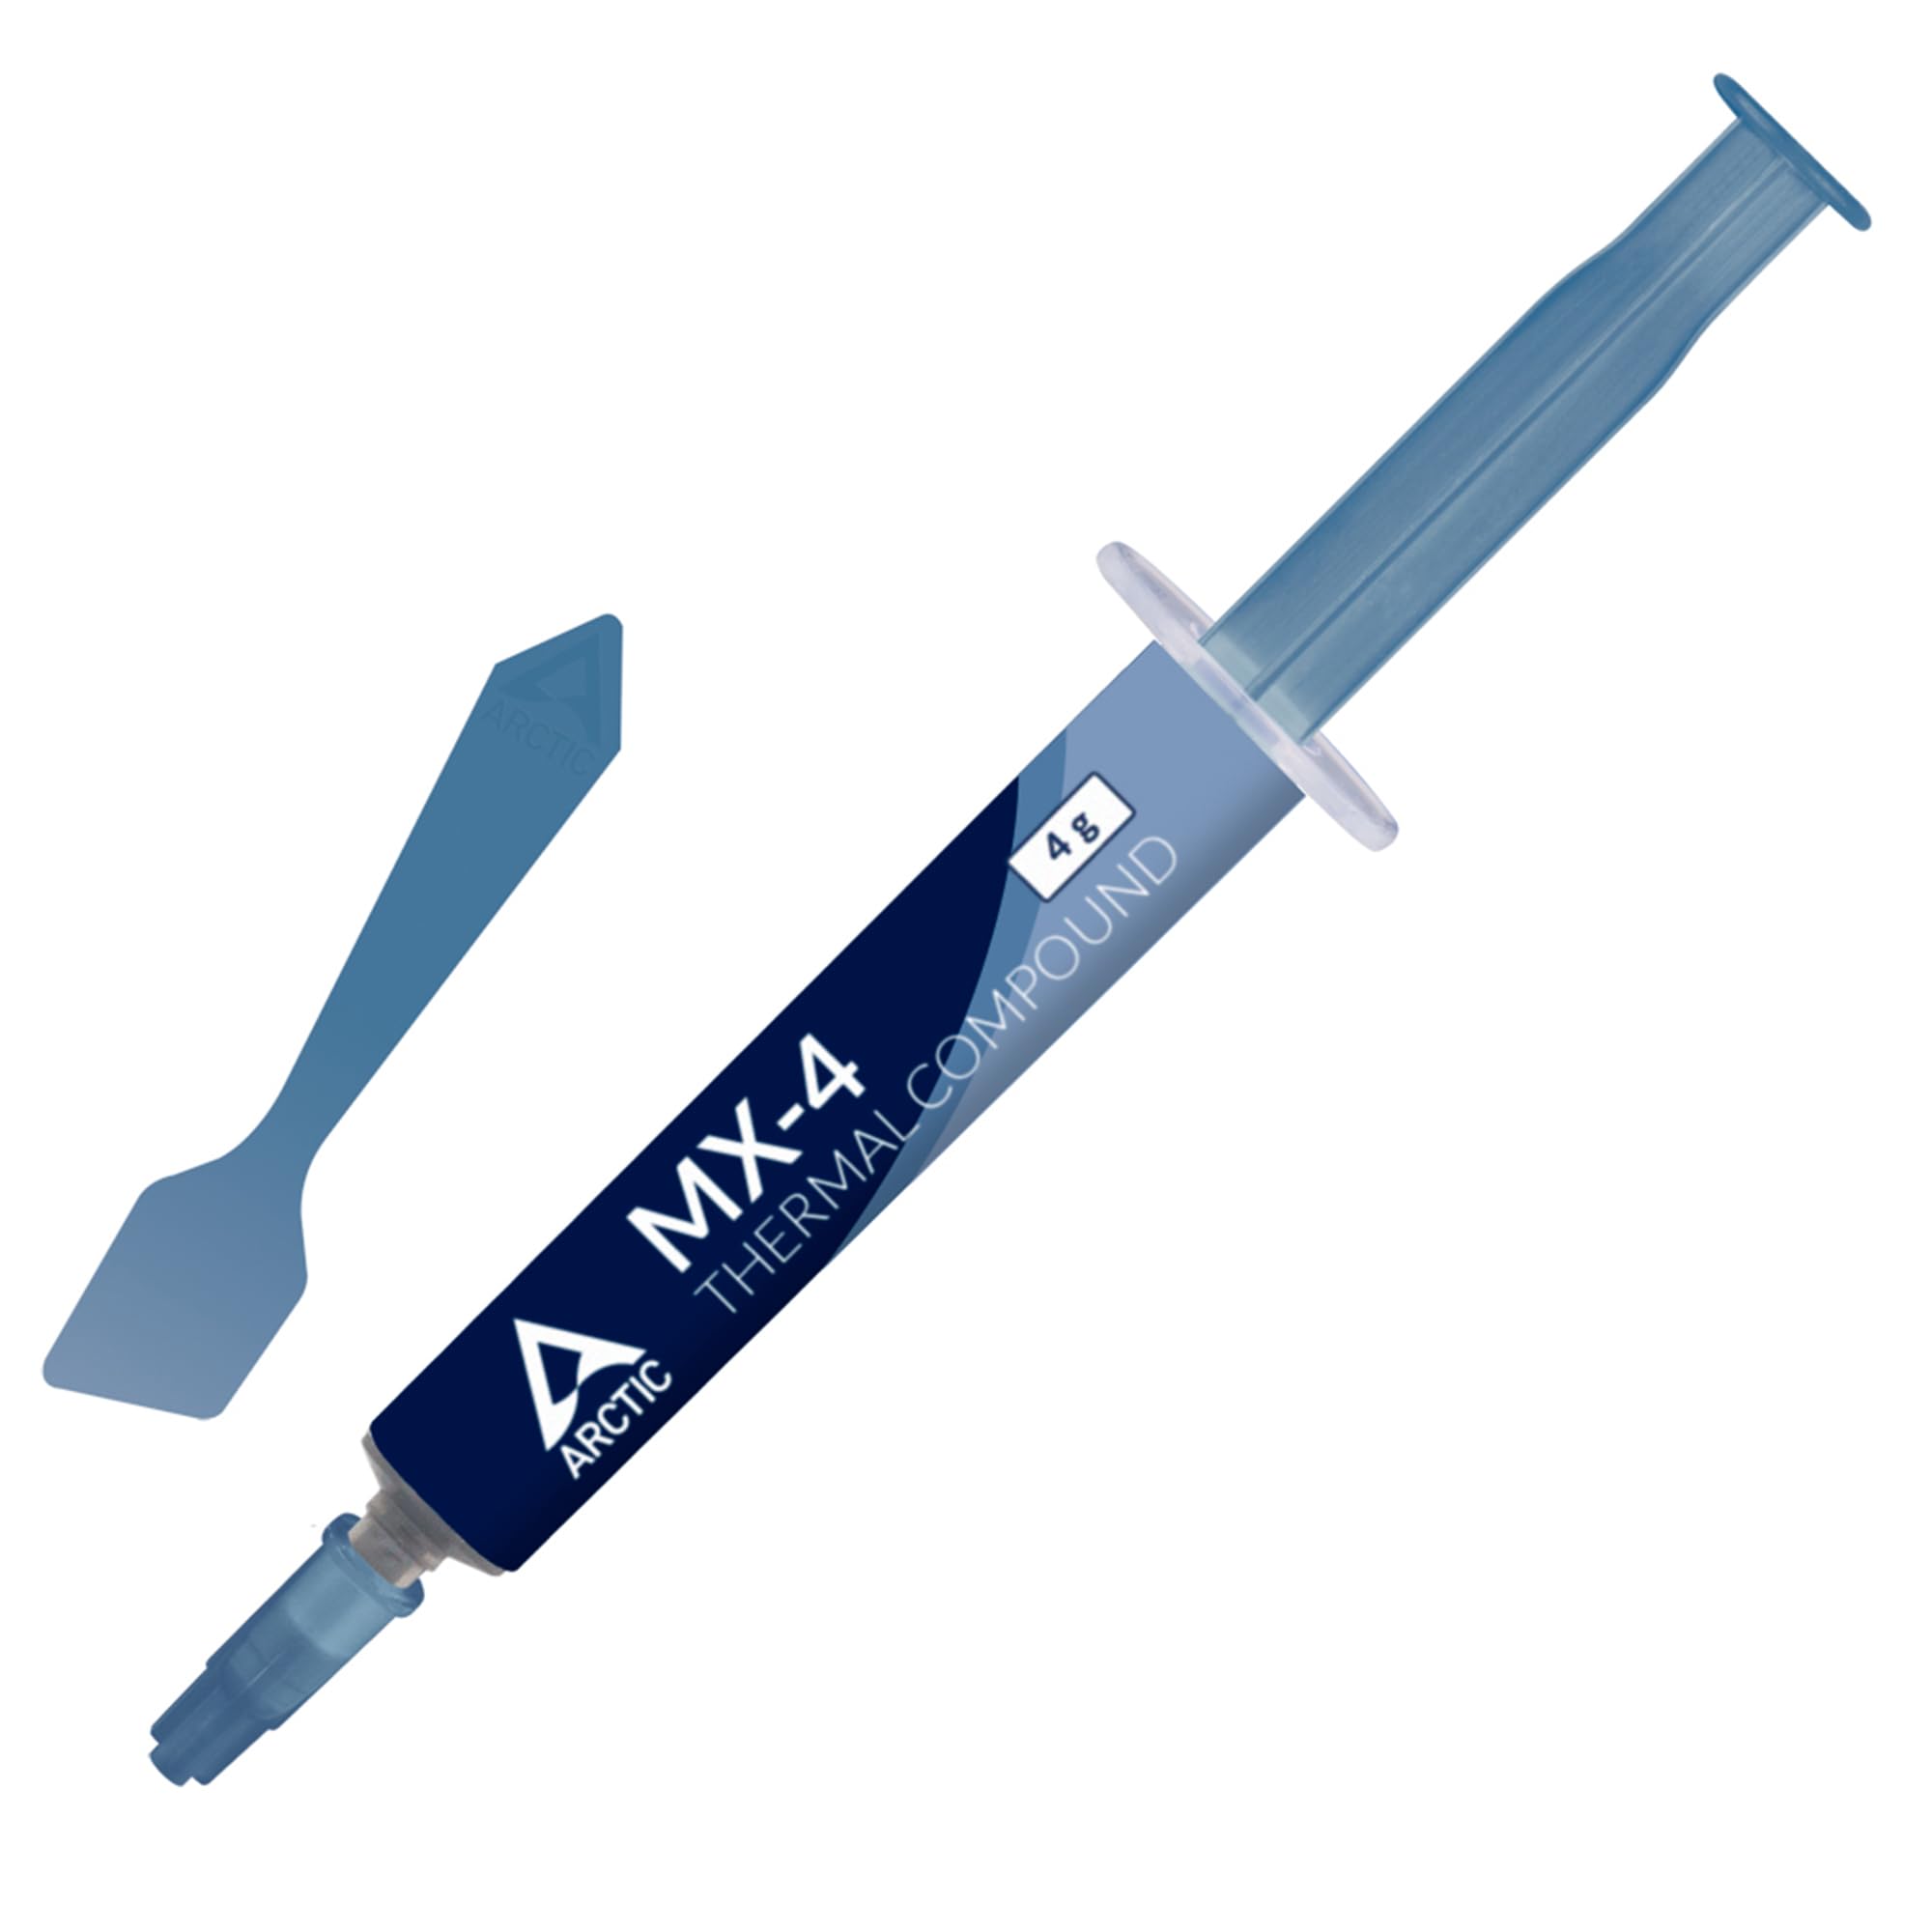
Heatsink reapplication in step 6.
Arctic MX-4 Thermal Paste Non-conductive, long-lasting for vintage CPUs—stays effective 8+ years.
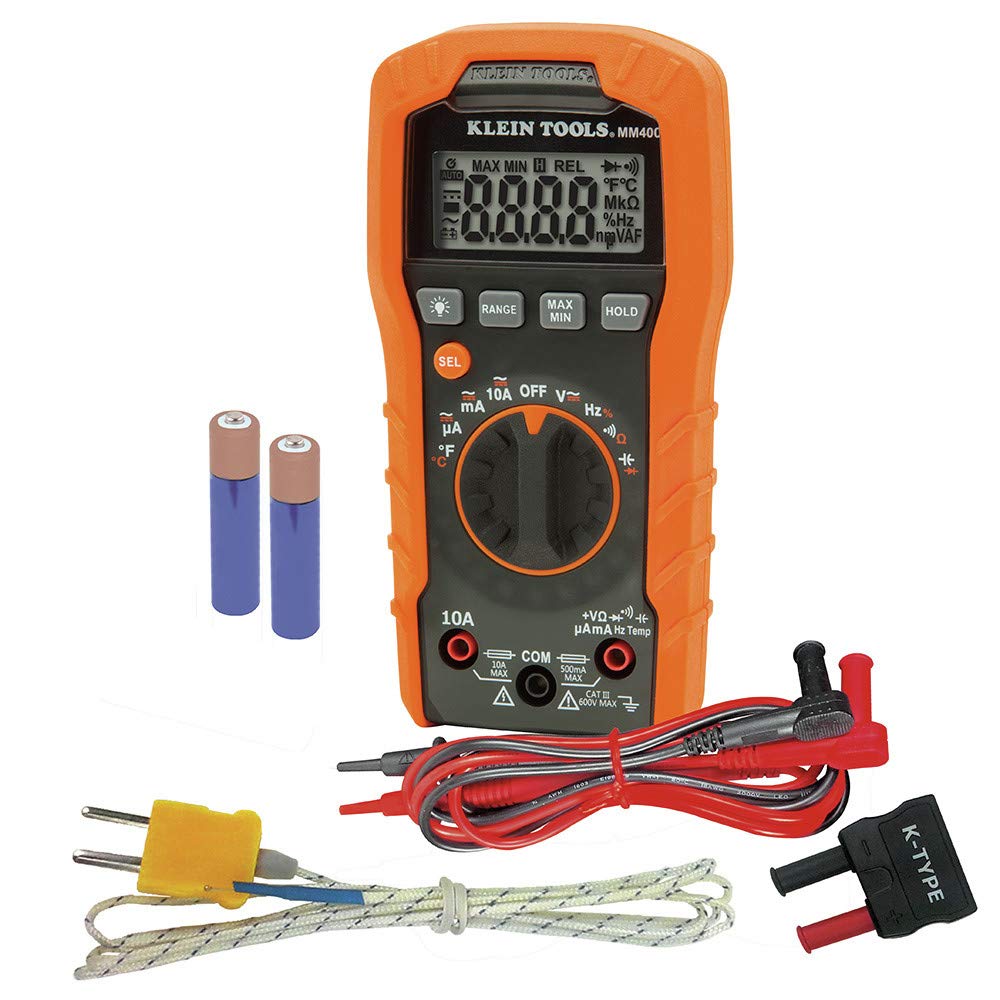
PSU testing in step 5.
Klein Tools MM400 Multimeter Accurate DCV/ACV for PSU diagnostics on retro voltages.
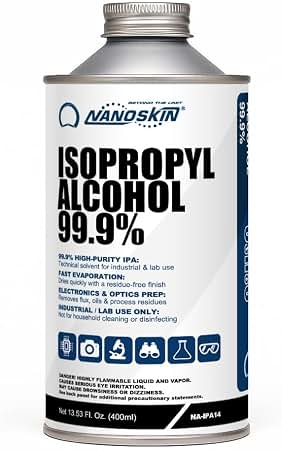
All cleaning steps.
MG Chemicals 99% Isopropyl Alcohol Pure for safe PCB cleaning without residue or corrosion.