The 3DO Interactive Multiplayer console from 1993 is a collector's gem, but after 30+ years, power issues like no lights, intermittent startup, or sudden shutdowns are common due to failing capacitors, blown fuses, and degraded power supplies. These problems can sideline your Road Rash or The Need for Speed sessions, but with advanced troubleshooting, you can diagnose and repair them yourself.
In this guide, you'll learn step-by-step methods from basic external checks to PCB-level testing and component replacement. Expect to gain skills in electronics repair specific to retro consoles like the Panasonic FZ-1 or GoldStar models. The process assumes familiarity with soldering and multimeters.
Total time is 1-3 hours depending on the issue's severity and if parts replacement is needed. Difficulty is advanced, involving disassembly and electrical testing—proceed only if comfortable with electronics.
▸What You'll Need
- •Phillips screwdrivers (#1 and #2 sizes, required)
- •Digital multimeter (required for voltage/continuity tests)
- •Soldering iron (25-40W with fine tip, required for repairs)
- •Solder wick or desoldering pump (required for component removal)
- •Isopropyl alcohol (90%+) and cotton swabs (required for cleaning)
- •Replacement electrolytic capacitors (e.g., 1000uF 16V, 470uF 25V—match board values, optional but common fix)
- •Anti-static wrist strap (recommended)
- •External 16V DC 3.75A power adapter (for FZ-1 models, if original is faulty)
Estimated Time: 1-3 hours
Difficulty: advanced
▸Step-by-Step Instructions
Step 1: Gather Safety Gear and Prepare Workspace
Before touching your 3DO, set up a static-free ESD-safe mat or wrist strap to prevent damaging sensitive chips. Unplug the console from power and any peripherals. Work in a well-lit, ventilated area with good magnification (like a desk lamp with loupe).
Why it matters: Vintage electronics like the 3DO FZ-1 have CMOS chips vulnerable to static, and old capacitors can hold lethal charges. Discharge any caps by shorting leads with an insulated screwdriver after unplugging for 24 hours if possible.
Success: Clean, organized workspace ready—no risk of shocks or ESD damage.
💡 Tips:
- •Document every step with photos for reassembly.
- •Wear safety glasses during soldering.
⚠️ Warnings:
- •Never work on powered circuits—risk of electrocution.
Step 2: Perform External Visual Inspection
Examine the power cord, adapter (if external, like FZ-1's 16V 3.75A brick), and power switch for damage: frayed wires, burnt plugs, corrosion, or loose connections. Wiggle the cord while plugging in to check for intermittent contact.
Test a known-good outlet with another device. Plug in the 3DO and observe: Does the power LED light? Fans spin? Any humming or clicking?
Success: Identify obvious external faults, or confirm issue is internal if no visible damage.
💡 Tips:
- •Use a power strip with surge protection for testing.
Step 3: Test Power Adapter Voltage (External PSU Models)
For FZ-1 models with external adapter: Set multimeter to DC volts (20V range). Plug in adapter (unconnected to console), probe center positive (+) and outer ground (-). Expect ~16V DC steady.
No voltage? Adapter dead. Flickering? Failing internally. Why: Most 3DO power woes start here due to aged transformers.
Success: Reading 15.5-16.5V confirms adapter good; replace if low/under 15V.
⚠️ Warnings:
- •Confirm polarity: 3DO is center positive—reverse fries the board.
Step 4: Disassemble the Console
Remove screws from bottom/sides (6-8 Phillips). Gently pry open case—note ribbon cables. For FZ-1, lift metal shield after screws. Label and disconnect all cables.
Why: Access PSU board. Expect dust buildup and possible bulging caps.
Success: Console fully open, mainboard exposed without damage.
💡 Tips:
- •Use a magnetic parts tray for screws.
Step 5: Visual PCB Inspection
Scan power supply section (near AC inlet or regulator IC like 7805/7912) for burnt components, bulging/leaking capacitors, corrosion, or cracked solder joints. Clean with isopropyl alcohol.
Common: Electrolytic caps in PSU ripple and fail, causing no power or resets.
Success: Faulty parts identified or board confirmed clean.
Step 6: Test Main Fuse and Continuity
Locate glass or ceramic fuse (often 3-5A slow-blow near power entry). Set multimeter to continuity/ohms: Probe fuse leads—beep or <1Ω = good. No beep = blown.
Power on briefly (if safe) and check for heat on fuse/resistors.
Success: Fuse status known; replace with exact rating if open.
💡 Tips:
- •Fuses blow from shorts—fix underlying issue first.
Step 7: Test Voltages and Capacitors
Reconnect minimally, power on. Probe test points: +5V rail ~5V, +12V if present. Check regulator output. For caps: ESR meter if available, or desolder and test capacitance.
Bad caps show low uF or high ESR. Desolder carefully.
Success: Pinpoint low voltages to faulty parts.
⚠️ Warnings:
- •Probe live circuits cautiously—use one hand.
Step 8: Repair, Reassemble, and Final Test
Replace bad caps/fuse (match specs, observe polarity). Resolder cleanly. Reassemble reverse order, plug in.
Test: Full boot to menu? No overheating?
Success: Console powers on reliably, games load.
💡 Tips:
- •Heat shrink tubing on new caps for durability.
▸Pro Tips
- •Always match capacitor voltage rating at least as high as original.
- •Use flux when soldering vintage boards for clean joints.
- •Test in stages: power without CD drive first.
- •Source parts from retro specialists like Console5 for exact 3DO kits.
- •Reflow solder on power jack if loose.
- •Monitor temps: 3DO runs hot—add thermal pads if needed.
- •Backup saves if console partially works before full teardown.
▸Common Mistakes to Avoid
- •Ignoring polarity on DC adapter or caps—causes instant shorts/fires.
- •Forgetting to discharge caps—risk of shocks or false readings.
- •Using wrong screwdriver size—strips screws, ruins disassembly.
- •Overlooking cold solder joints—mistake for cap failure.
- •Rushing reassembly—misaligned cables prevent boot.
▸Troubleshooting
Problem: Powers on briefly then dies
Solution: Likely thermal runaway from bad caps; replace all electrolytics in PSU section.
Problem: No LED, but fans spin faintly
Solution: Blown fuse or +5V regulator; test IC pins for input/output voltage.
Problem: Intermittent power
Solution: Clean/reseat power switch or reflow jack solder; check cord flex points.
Problem: Humming/smoking
Solution: Unplug immediately! Short or failed diode—seek pro if unsure.
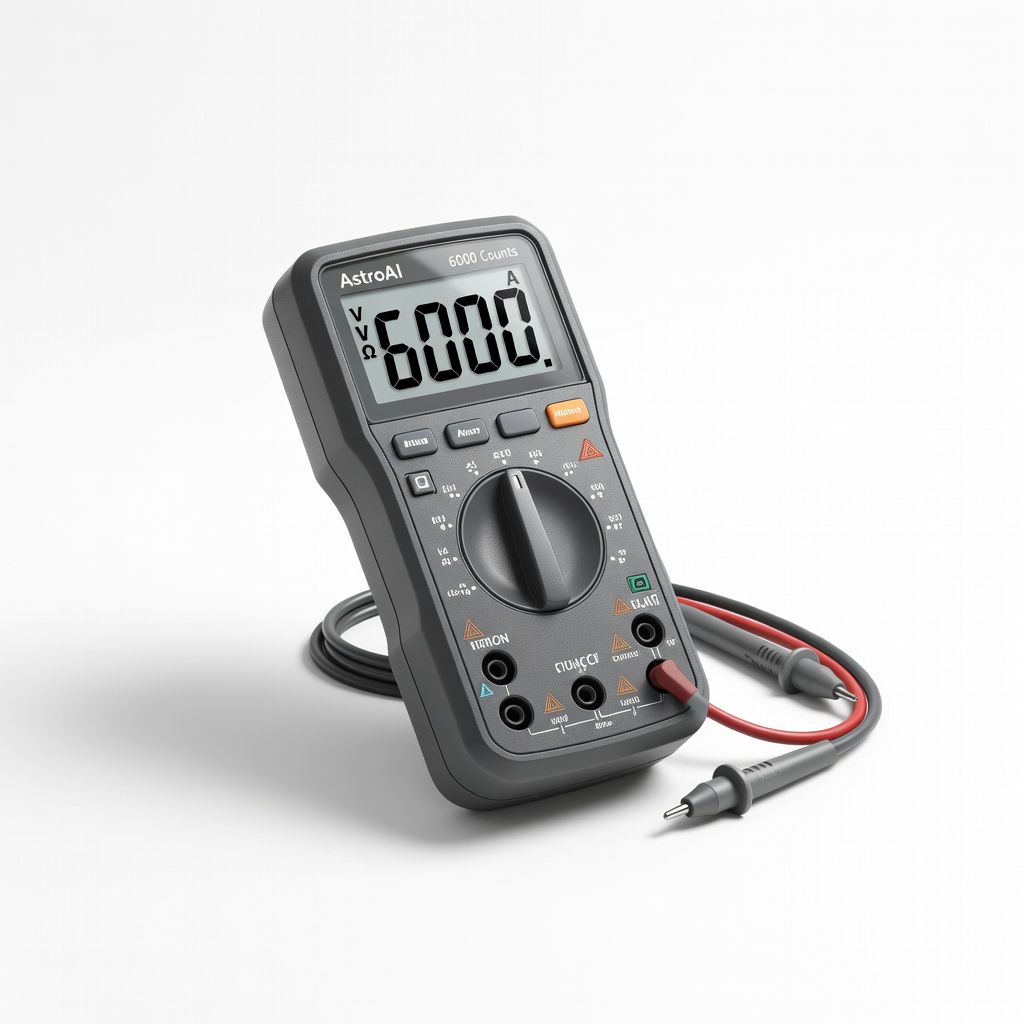
AstroAI Digital Multimeter 6000 Counts
Accurate for DC voltage, continuity, capacitance, and ESR testing essential for 3DO PSU diagnostics.
Best for: Testing adapter output, fuses, and rail voltages during steps 3,6,7.
Price Range: $30-$35
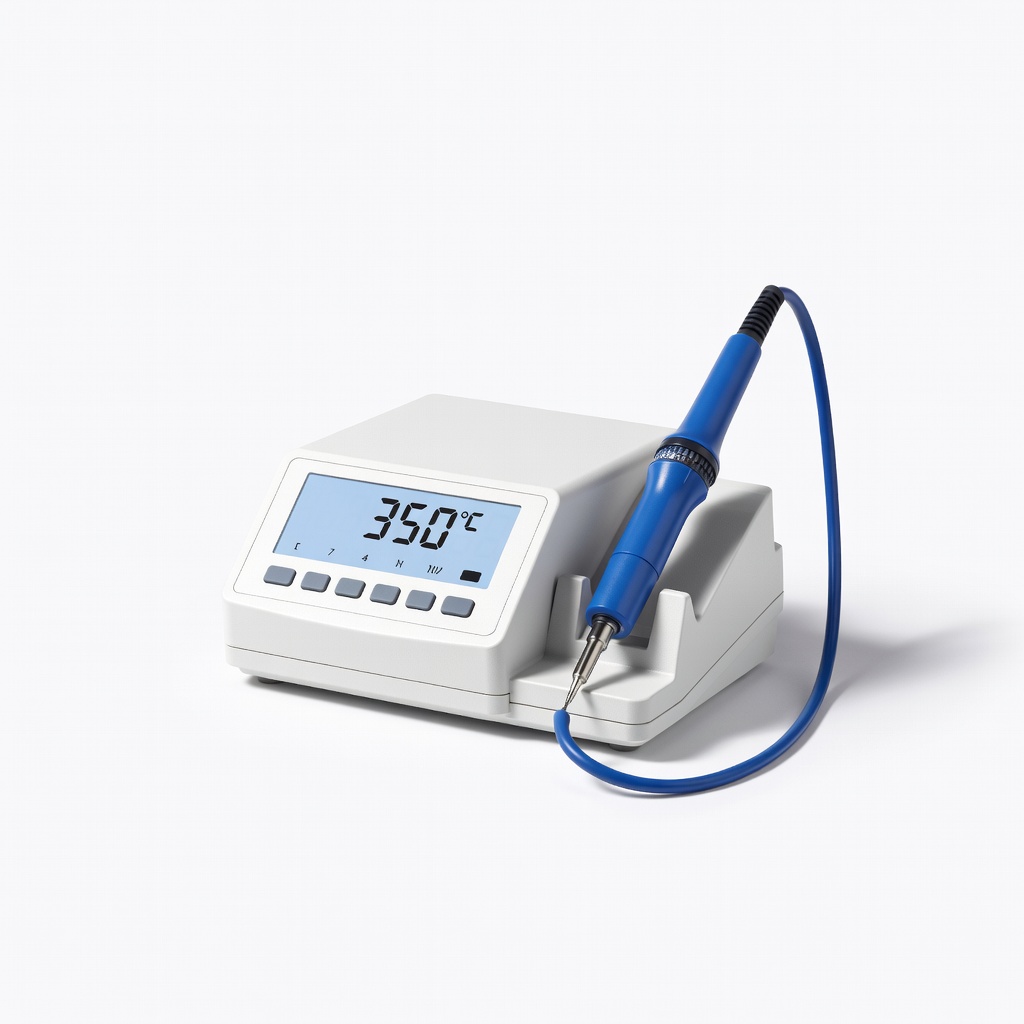
Hakko FX-888DX Digital Soldering Station
Precise temp control (up to 40W) prevents overheating vintage boards.
Best for: Desoldering/replacing caps and fuses in steps 7-8.
Price Range: $100-$120
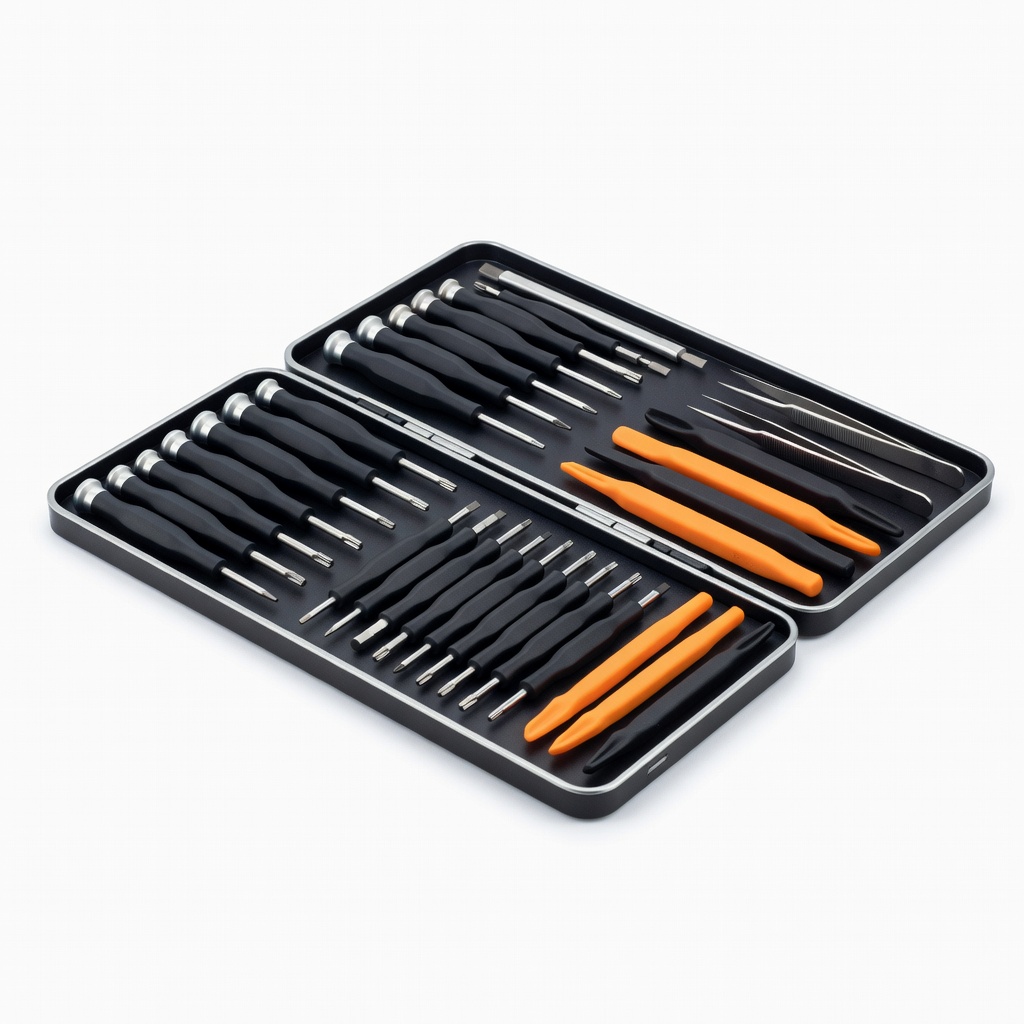
iFixit Pro Tech Toolkit
Precision drivers and spudgers perfect for 3DO's tiny screws without stripping.
Best for: Safe disassembly in step 4.
Price Range: $60-$75
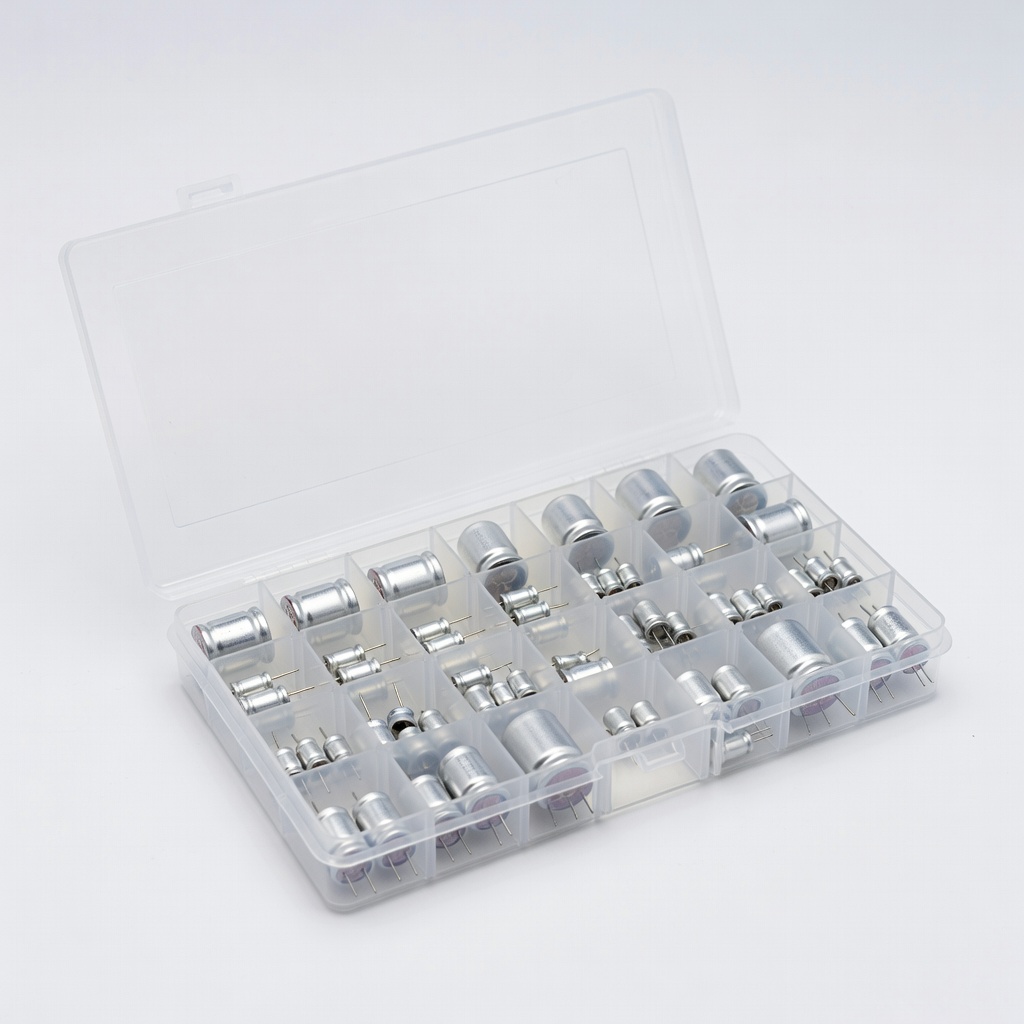
Electrolytic Capacitors Assortment Kit (600pcs)
Includes common 3DO values like 1000uF 16V, 470uF 25V for quick replacements.
Best for: Matching failed caps identified in step 5.
Price Range: $15-$20
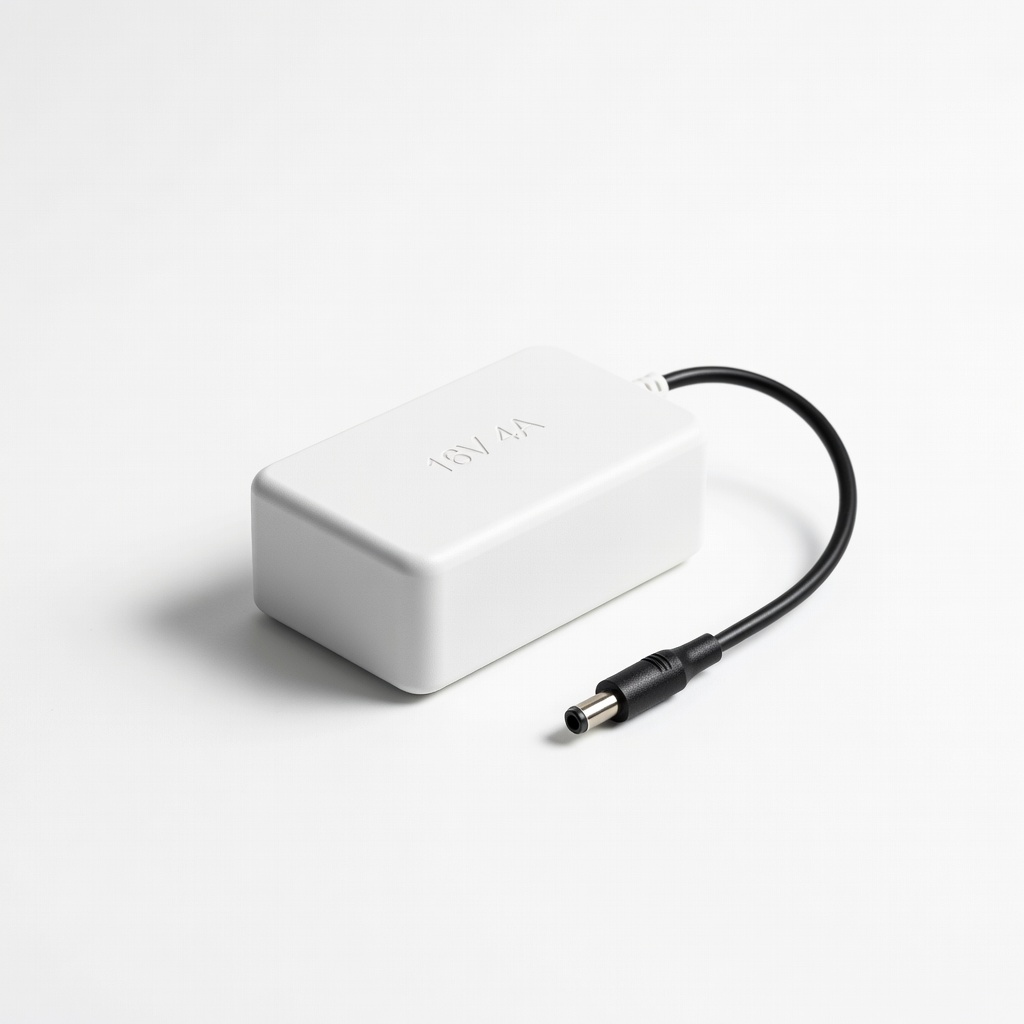
Universal 16V 4A DC Power Adapter
Direct replacement for FZ-1's original brick if faulty.
Best for: Step 2-3 testing; polarity switchable.
Price Range: $15-$25