
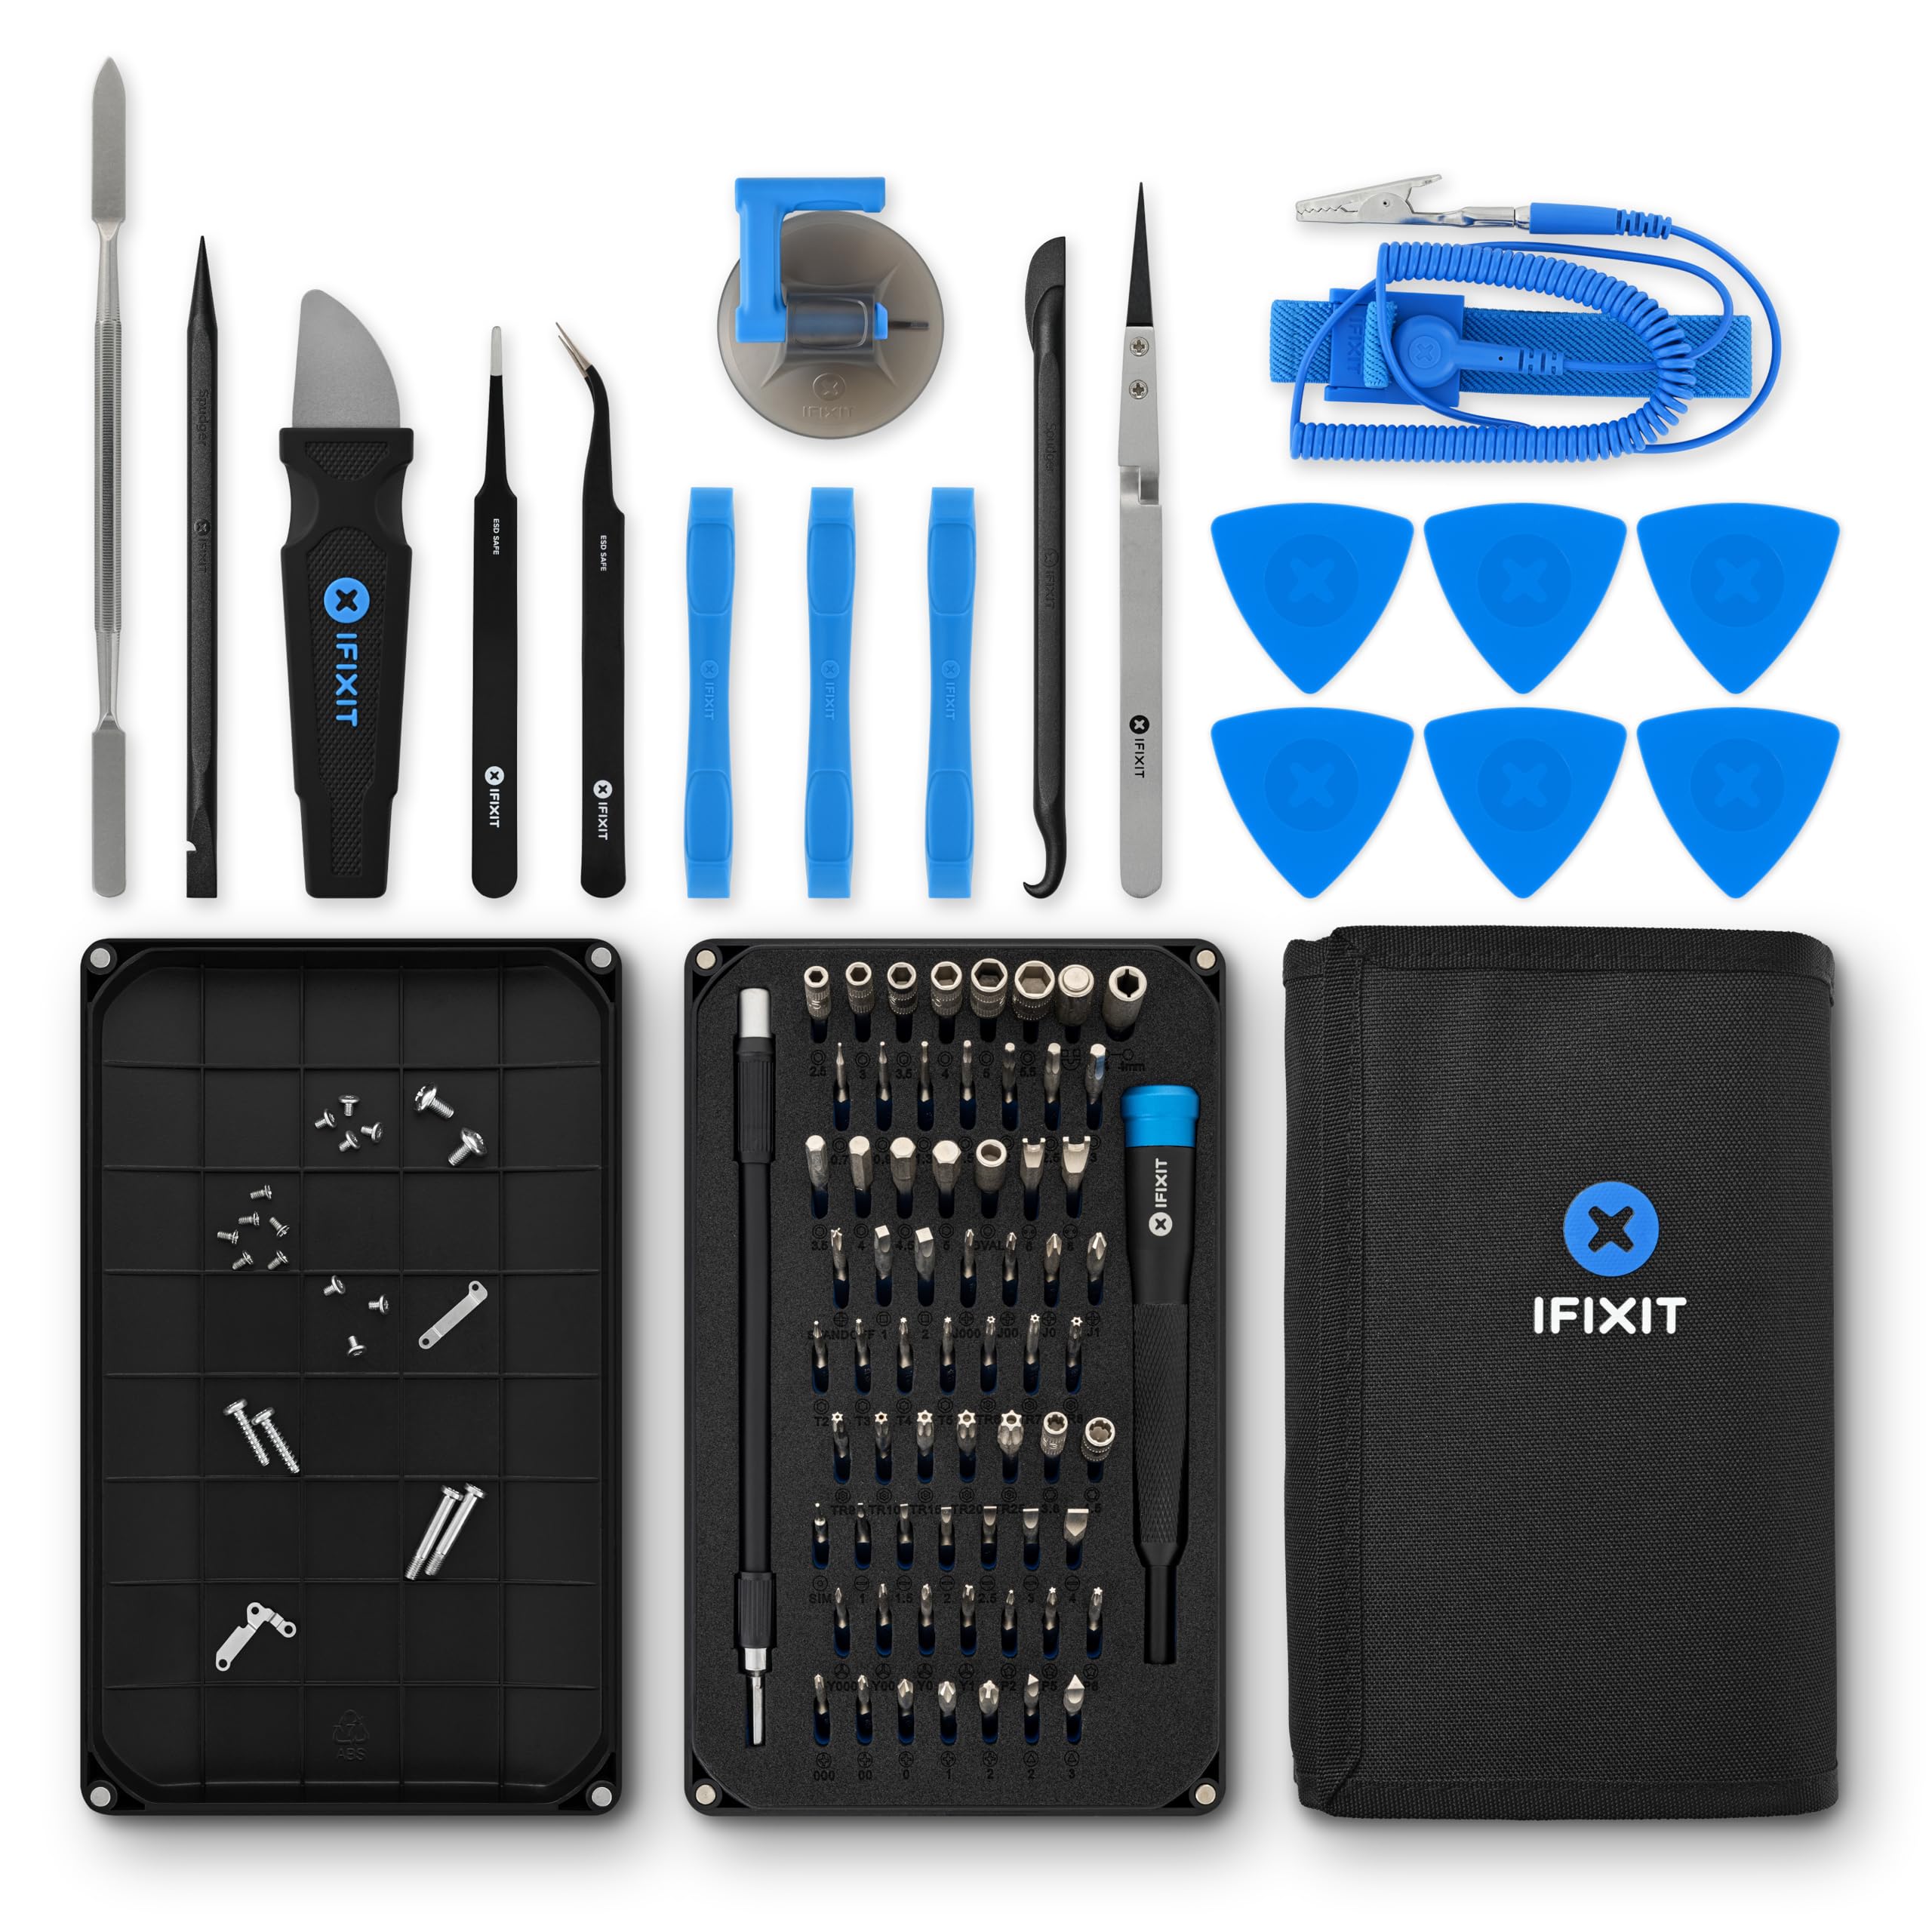
iFixit Pro Tech Toolkit
Disassembly and reassembly of vintage consoles.
$74.95
iFixit Pro Tech Toolkit Precision drivers perfect for 3DO's unique screws without stripping.
Get the App
Better experience on mobile
Master advanced diagnostics to cool down your vintage 3DO console, preventing shutdowns and extending its life with pro repair techniques.
Vintage 3DO consoles from the 90s are notorious for overheating, often shutting down mid-game due to dust-clogged vents, failing capacitors, and poor passive cooling. This risks permanent damage to the power supply unit (PSU) or mainboard, turning your rare collectible into a paperweight. If you're an advanced retro gamer facing random thermal shutdowns, this guide is your roadmap to revival.
You'll learn step-by-step how to disassemble, diagnose, clean, and repair your 3DO Interactive Multiplayer console safely. From visual inspections to multimeter testing, we'll cover root causes like swollen caps and airflow blocks. Expect 2-4 hours of hands-on work—perfect for tinkerers with soldering experience.
By the end, your 3DO will run cool during long sessions of Road Rash or The Need for Speed, with tips to prevent future issues.
Estimated Time: 2-4 hours (plus drying time) Difficulty: advanced
Unplug the 3DO console from power and disconnect all cables. Work in a static-free, well-lit area on an anti-static mat. Wear an anti-static wrist strap grounded to a metal point. Discharge any residual power by holding the power button for 30 seconds.
Why it matters: The 3DO's internal PSU holds high voltage capacitors that can shock even when unplugged. Success looks like a safe, organized bench setup with the console face-down.
Let it cool completely (at least 30 minutes) before proceeding.
💡 Tips:
⚠️ Warnings:
Remove the 12-16 Phillips screws around the bottom and sides of the GoldStar 3DO case (exact count varies by model). Gently pry open the case halves using a plastic spudger—start from the rear ports.
Lift the top half carefully, disconnecting any ribbon cables (note their orientation). Set aside internals.
Success indicator: Case opens smoothly without cracking yellowed plastic, revealing dusty mainboard and PSU.
💡 Tips:
⚠️ Warnings:
Use compressed air in short bursts to blow dust from vents, mainboard, PSU fan (if present), and heat sinks. Follow with IPA-dampened cloth for sticky grime on vents.
Examine plastic vents for melting or warping from prior heat.
Why: Dust insulates components, blocking passive airflow. Expect puffs of 30-year-old debris; console internals should look cleaner and brighter post-clean.
💡 Tips:
⚠️ Warnings:
Reassemble loosely, power on briefly (monitor closely), and scan PSU, VRAM chips, and CPU area with IR thermometer. Normal idle: <50°C; >70°C indicates issues.
Power off immediately if >80°C.
Success: Identify hotspots like bulging PSU caps or VRAM.
💡 Tips:
⚠️ Warnings:
Set multimeter to DC voltage (20V range). Probe PSU outputs: +5V rail should read 4.9-5.1V; +12V at 11.8-12.2V. Check for ripple with AC mode (<50mV).
Continuity test ground to chassis.
Why: Failing PSU causes erratic power and heat. Stable readings mean PSU is good.
💡 Tips:
⚠️ Warnings:
Inspect PSU and mainboard for bulging/leaking electrolytic caps (common 1000uF/16V). Desolder bad ones, replace with identical specs (ESR-rated for longevity).
Clean residue with IPA. Reflow solder joints.
Success: Flat, new caps; cooler PSU post-test.
💡 Tips:
⚠️ Warnings:
Apply fresh thermal pads to VRAM/heat sinks if dried out. Drill/mod vents if blocked (advanced). Add low-profile mesh filters.
Why: Enhances passive cooling. Console stays <60°C under load.
💡 Tips:
⚠️ Warnings:
Reconnect cables precisely, screw case shut. Run for 1 hour with Road Rash, monitoring temps.
Final success: No shutdowns, temps <65°C, smooth gameplay.
💡 Tips:
⚠️ Warnings:
Problem: Console won't power on post-repair
Solution: Check solder bridges or reversed caps; verify voltages.
Problem: Persistent high temps
Solution: Recap PSU fully or replace entire unit from donor console.
Problem: Bulging caps return quickly
Solution: Use high-temp, low-ESR caps; add heatsink to PSU.
Precision drivers perfect for 3DO's unique screws without stripping.
Best for: Disassembly and reassembly of vintage consoles.
Price Range: $74.95
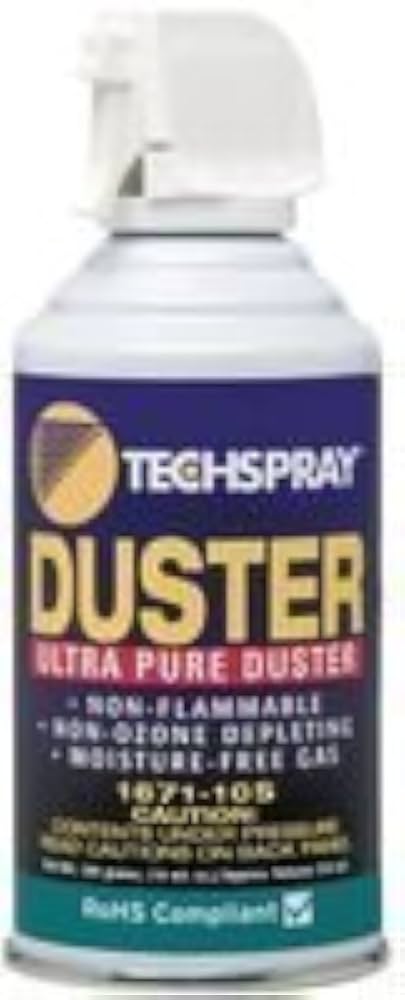
Non-flammable, powerful for deep dust removal without residue.
Best for: Cleaning vents and PCBs safely.
Price Range: $12.99
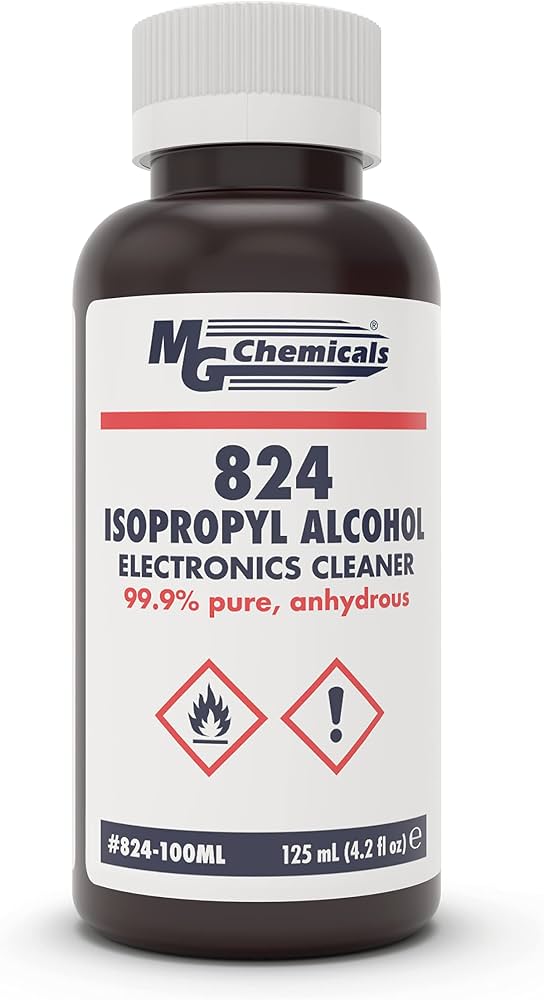
Pure solvent evaporates residue-free, ideal for electronics.
Best for: Grime removal and flux cleaning.
Price Range: $19.99
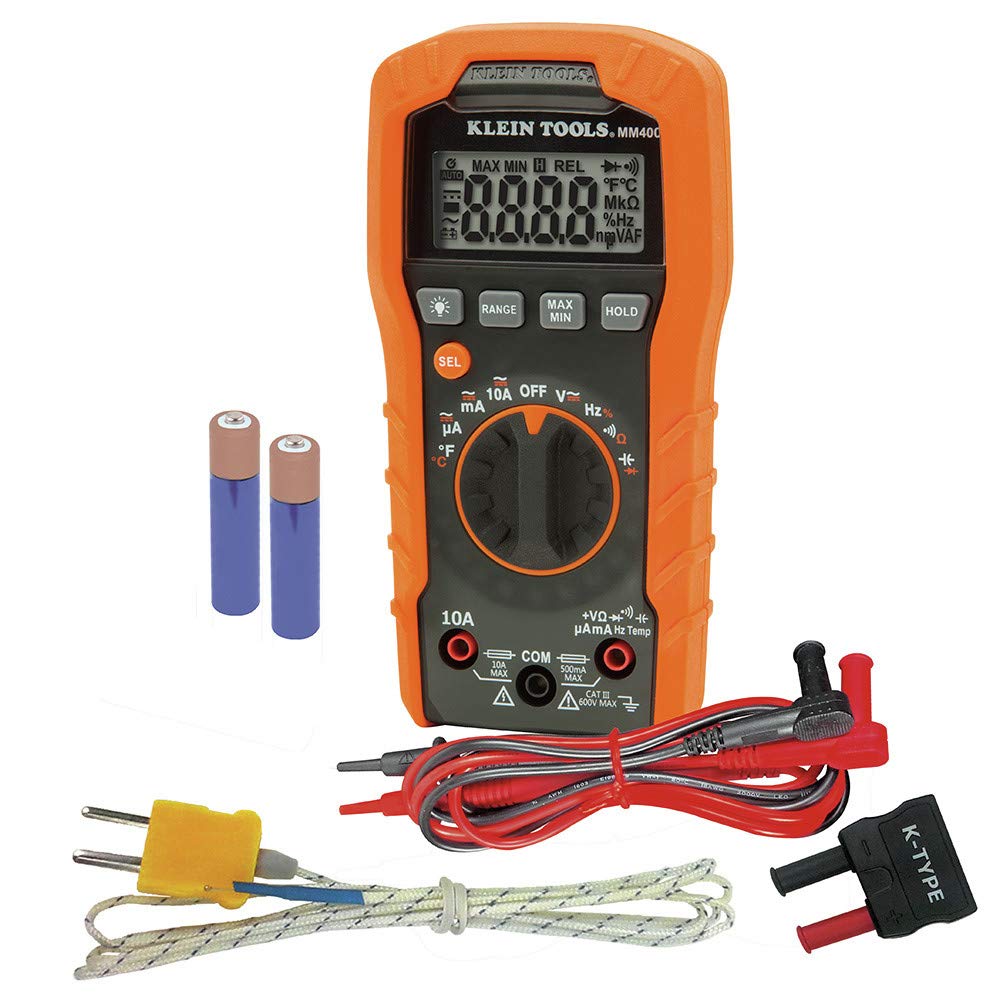
Accurate auto-ranging for PSU voltage/continuity tests.
Best for: Diagnosing power issues in retro hardware.
Price Range: $29.97
Non-contact temp reads pinpoint hotspots without opening case.
Best for: Monitoring during load tests.
Price Range: $19.99
Disassembly and reassembly of vintage consoles.
iFixit Pro Tech Toolkit Precision drivers perfect for 3DO's unique screws without stripping.
Cleaning vents and PCBs safely.
Techspray Precision Duster Non-flammable, powerful for deep dust removal without residue.
Grime removal and flux cleaning.
MG Chemicals 99.9% Isopropyl Alcohol Pure solvent evaporates residue-free, ideal for electronics.
Diagnosing power issues in retro hardware.
Klein Tools MM400 Digital Multimeter Accurate auto-ranging for PSU voltage/continuity tests.
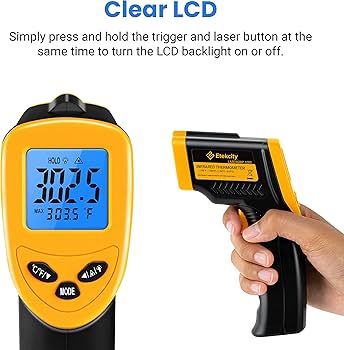
Monitoring during load tests.
Etekcity Lasergrip 1080 IR Thermometer Non-contact temp reads pinpoint hotspots without opening case.