You've queued up a print, waited for the bed to heat, and watched the nozzle begin its dance across the build plate. Twenty minutes later, you return to find a tangled spaghetti mess or a part that has detached and flopped around the chamber. It's one of the most frustrating moments in 3D printing, and it happens to everyone eventually.
The good news is that poor bed adhesion is almost always fixable with a structured approach. In this guide, we'll walk you through the eight most effective steps to diagnose and solve adhesion problems, from cleaning and leveling your bed to tuning slicer settings and choosing the right build surface. Whether you're using PLA, PETG, ABS, or TPU, these troubleshooting steps will help you achieve that satisfying 'pop' of a perfectly printed first layer.
This guide is beginner-friendly: you'll learn the why behind each fix, not just the what. With about 30–60 minutes of focused effort, you can turn a bed that repels plastic into one that grips it reliably.
▸What You'll Need
- •Isopropyl alcohol (90% or higher) and a lint-free wipe
- •A sheet of printer paper or a feeler gauge for leveling
- •Microfiber cloth or paper towels
- •Mild dish soap and warm water
- •Glue stick or a dedicated 3D printing adhesive (optional, for step 7)
- •Screwdriver or leveling knobs for your printer
- •Access to your slicer's first-layer settings
Estimated Time: 30–60 minutes
Difficulty: beginner
▸Step-by-Step Instructions
Step 1: Inspect the Failure to Identify the Root Cause
Before you change any settings, take a close look at the failed print. Different failure patterns point to different causes. If the print never sticks at all and leaves a small blob of plastic on the nozzle, you're likely dealing with a bed leveling or nozzle height problem. If you see a perfectly printed first layer but the corners curl upward, your bed temperature may be too low or a draft is cooling the part. And if the print sticks for a while but detaches halfway through, you're looking at a warping issue or a temperature change.
Take a photo of the failure and inspect the first layer lines. The ideal first layer should look slightly squished and the lines should melt together. If the lines have deep grooves, the nozzle is too close. If they look like round ropes that don't touch, the nozzle is too far.
Once you've identified the pattern, move on to the next steps to address the most likely cause first.
💡 Tips:
- •Print a small test square, like a 30–60mm calibration square, to observe adhesion without wasting filament.
- •Keep a simple log of settings and failures to speed up future troubleshooting.
⚠️ Warnings:
- •Don't re-run the same print with identical settings and expect different results; change one variable at a time.
Step 2: Clean the Build Surface
Oily fingerprints, dust, and residue from previous prints are the most common cause of poor first-layer adhesion. Even a clean-looking build plate can have an invisible film of hand oils that destroys adhesion. Start by wiping the surface with isopropyl alcohol (90% or higher) and a lint-free wipe after every print. For a deeper clean, wash the build plate with warm water and dish soap, then rinse and dry completely.
Avoid acetone unless you're certain your build surface tolerates it. Acetone works on glass and polycarbonate but will quickly degrade PEI and acrylic surfaces. After cleaning, try not to touch the build area with your fingers—wear a glove or handle the plate by the edges.
If your bed has scratches, pits, or a shiny worn center, it may be time to replace it with a fresh build surface.
💡 Tips:
- •Keep a dedicated spray bottle of isopropyl alcohol near the printer so cleaning becomes part of your routine.
- •For stubborn residue, use a plastic scraper or a credit card before wiping—never a metal scraper on soft surfaces.
⚠️ Warnings:
- •Do not use acetone on PEI or powder-coated surfaces—it will damage them.
- •Water alone won't remove oils; always use a degreaser like dish soap or alcohol.
Step 3: Level the Print Bed
An unlevel bed is the second-most common cause of adhesion failures. If the nozzle is too far from the bed in one spot, the filament will be laid down without being pressed into the surface. If it's too close, the nozzle drags through the plastic and peels it back up. The goal is to make the gap between the nozzle and the bed identical across the entire build area.
With the printer hot and the nozzle homed, use the paper method: slide a standard sheet of printer paper between the nozzle and the bed at each corner and turn the leveling knobs until you feel a slight drag resistance. Do this at all four corners and then repeat, because adjusting one corner affects the others. If your printer has auto-bed leveling, run a fresh mesh leveling command before starting—many machines lose the stored mesh after a power cycle.
If your leveling knobs rotate loosely, the springs may have lost their tension. Consider replacing the springs with silicone bumpers or adding locking nuts to hold the level longer.
💡 Tips:
- •Always level with the bed at printing temperature—expansion from heat changes the distance.
- •The paper test should feel like a light pinch, not a tight squeeze.
⚠️ Warnings:
- •Don't crank the leveling knobs down with force—you can bend the bed plate or strip the threads.
- •Check your slicer for a 'start G-code' that runs auto-level at the beginning of every print.
Step 4: Set the Correct Z-Offset
Your Z-offset controls how far the nozzle sits from the bed at the start of a print. Even a perfectly level bed won't help if the Z-offset is incorrect. Printers with probe-based leveling have a fixed probe offset that needs to be set correctly. If you use a static bed or paper-leveled nozzle, set the Z-offset at the center of the bed.
Signs the offset is too high: the first layer comes out as round, separate lines and doesn't stick. Signs the offset is too low: the nozzle scrapes the bed, the first layer looks transparent and shiny, and you can see drag marks. The ideal first layer looks flat and matte, with lines that connect seamlessly.
Make adjustments in tiny steps—0.02mm to 0.05mm changes are very noticeable. You may need to do this from the printer's screen, in the slicer, or by editing the start G-code.
💡 Tips:
- •Use a feeler gauge instead of paper for a more accurate measurement—0.1mm is a great starting point.
- •Print a single-layer test square and examine it as you adjust; this is the fastest way to nail your offset.
⚠️ Warnings:
- •A nozzle that is too close can obstruct the hotend, causing clogs and jams.
- •Don't try to fix a bad offset by increasing first-layer flow—fix the offset first.
Step 5: Check and Adjust Your Temperatures
Bed temperature has a direct effect on the strength of the bond between the filament and the build plate. PLA adheres well at 50–60°C, PETG needs 70–85°C, and ABS prefers 90–110°C. If your bed is too cold, the plastic on the bottom cools quickly and shrinks, releasing the part. If the bed is too hot for a particular material, the print can over-adhere and be very hard to remove—this is a common problem with PETG on glass.
Nozzle temperature also contributes to adhesion. Extrusion that is too cold won't wet out onto the bed properly; extrusion that is too hot can stay soft and get dragged by the nozzle. Pick your filament's recommended range and start in the middle.
Don't forget to preheat the bed for 5–10 minutes before printing. The temperature sensor monitors the center of the bed, and a large glass or steel bed can take minutes to equalize across the full surface.
💡 Tips:
- •Use a temperature tower to find the best bed-and-nozzle combo for your specific filament brand.
- •Keep a small thermal camera or handheld pyrometer to verify actual bed surface temperature.
⚠️ Warnings:
- •Running ABS at PLA temperatures will cause it to warp and detach immediately.
- •On glass beds, overheating PLA can cause it to fuse too tightly—use a release aid.
Step 6: Tune First-Layer Settings in Your Slicer
Your slicer has settings that can dramatically improve first-layer adhesion. Slow down the first layer: you want 20–30 mm/s, even if your normal print speed is 60–100 mm/s. Increase the first-layer line width to around 120% of the nozzle diameter—a thicker line squishes more and keys into the bed. Set the initial layer flow to 105–110% to compensate for minor bed imperfections. Many slicers have a dedicated 'Initial Layer' tab that makes this easy.
Cooling is equally important. Turn the part cooling fan off for the first few layers. In Cura, use 'Regular Fan at Layer 3'; in PrusaSlicer, set a 'Slow fan speed for first layers'. For ABS, keep the fan completely off for the first 10 layers.
Enable a brim for models with a small contact area. A 5–10mm brim adds a band of plastic around the part, increasing the surface area and resisting warping. A raft is a more aggressive solution: it puts a sacrificial layer between the bed and the print. Prefer the brim when you can, as rafts use more material and leave a rougher bottom surface.
💡 Tips:
- •In Cura, set 'Initial Layer Speed' to 20 mm/s, 'Initial Layer Line Width' to 120%, and 'Initial Layer Flow' to 105%.
- •In PrusaSlicer, look for 'First Layer Speed' and 'First Layer Flow' in the Filament Settings.
⚠️ Warnings:
- •A raft consumes more material and can leave a rough bottom surface—use a brim when possible.
- •Don't reduce first-layer speed too far; extremely slow extrusion can cause blobbing and dragging.
Step 7: Use an Adhesion Aid (Glue Stick, Spray, or Mat)
Sometimes everything is clean, level, and tuned, but the plastic still won't stick. In that case, a physical adhesion aid solves the problem. A classic option is a glue stick—the disappearing purple kind works brilliantly. Wipe a thin, even layer over the print area and wait a minute for it to partially dry. Hairspray is a messier alternative.
For a more consistent experience, use a dedicated 3D printing adhesive like Magigoo or Layerneer Bed Weld. These are engineered to grip strongly while hot and release easily once cool. You can also install a PEI build surface—PEI is widely considered the best material for bed adhesion. A clean, hot PEI sheet grabs PLA firmly on its own, and a textured PEI sheet handles PETG beautifully too.
Pro tip: using a glue stick on PEI for PLA isn't usually necessary and can make removal harder. On glass, however, glue is strongly recommended for PETG and ABS.
💡 Tips:
- •Apply glue in a criss-cross pattern for an even layer, then smooth it out with a damp paper towel.
- •For PETG on glass, use a release aid (glue stick) to prevent over-adhesion that can peel chunks off the glass.
⚠️ Warnings:
- •Avoid mixing glue and hairspray on the same bed without cleaning first—it builds sticky residue.
- •On ultra-smooth glass, glue + PLA can actually be harder to remove; use a release agent only when needed.
Step 8: Control Your Printing Environment
Your printer's environment can quietly sabotage bed adhesion. Drafts from open windows, air conditioning vents, or hallways cause the bottom of the print to cool before it can set, leading to warping and detachment. ABS is especially sensitive, but even PLA will print better in a stable 20–25°C environment.
Solutions range from moving the printer to an area with stable temps to using a printer enclosure. A simple cardboard box around the printer can reduce drafts significantly. In your slicer, you can also enable a draft shield: Cura has it under the Experimental settings, and it will print a thin wall around your model that holds warmth.
Let the bed soak at temperature for several minutes after heating, and re-level if your machine sits on a cold floor or near a heat source that changes expansion.
💡 Tips:
- •Print PLA in a warm room but not directly in a hot box—heat and humidity can cause jams.
- •In Cura, enable 'Draft Shield' under the Experimental settings.
- •Use the bed preheat time to clean the nozzle and check your filament.
⚠️ Warnings:
- •Don't seal your printer in a space above 35°C—electronics and filament can degrade.
- •If you switch plastics with very different temps, re-level because thermal expansion changes the nozzle height.
▸Pro Tips
- •Keep a cleaning routine: wipe the bed with 99% isopropyl alcohol after every print.
- •Use the paper method to level at temperature every 5–10 prints.
- •Print a 50×50 mm single-layer test square each time you change filament brand or build surface.
- •Use a brim for tall models with small footprints to increase contact area.
- •Let the bed 'soak' at temperature for 5 minutes before printing.
- •If prints stick too well, cool the bed to 40°C before removing the print.
- •Store filament in a dry box—moisture causes bubbling and poor adhesion.
- •Set first-layer fan speed to 0% and enable cooling only after layer 3.
▸Common Mistakes to Avoid
- •Cleaning the bed with acetone on PEI or powder-coated surfaces, which permanently damages the finish.
- •Cranking the nozzle too close to the bed thinking 'more squish is better'—it leads to dragging, clogs, and the nozzle scraping off the first layer.
- •Printing on a dirty bed with invisible greasy fingerprints that destroy adhesion.
- •Leveling once and never checking again—beds go out of level quickly with use.
- •Using a raft when a brim would suffice, wasting filament and creating ugly bottom surfaces.
- •Ignoring drafts and ambient temperature; prints fail silently to cold air currents.
▸Troubleshooting
Problem: The print doesn't stick anywhere on the bed at all.
Solution: Clean the bed, increase bed temperature, slow down the first layer, and check that the nozzle is close enough (Z-offset).
Problem: The print sticks for the first 30 minutes then pops off.
Solution: Increase the bed temperature, remove drafts, add a brim, and reduce fan speed for the first layers.
Problem: Corners are curling upward.
Solution: Use a brim with extra lines in the corners, apply a glue stick, heat the bed hotter, and raise the ambient temperature.
Problem: The first layer looks transparent/shiny and has grooves.
Solution: Your nozzle is too close. Increase Z-offset by 0.02mm increments until the lines are flat and matte.
Problem: Filament won't stick to a glass bed even after cleaning.
Solution: Use an adhesive like glue stick or hairspray, or switch to a PEI build sheet.
Problem: PETG is sticking too well and tearing the bed.
Solution: Apply a thin layer of glue stick as a release barrier on glass or PEI and lower the bed temperature slightly.
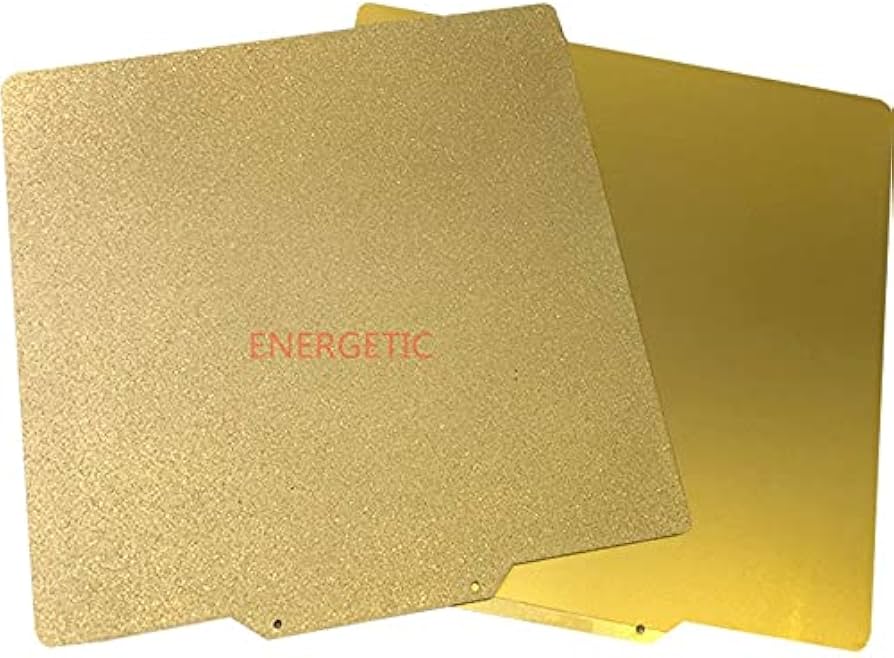
Energetic PEI Sheet
PEI is the gold standard in build surfaces. It sticks when heated, releases when cool, and is nearly indestructible.
Best for: Best for replacing a worn or slippery glass or plastic bed. Works with PLA, PETG, ABS, and TPU.
Price Range: $15–$30
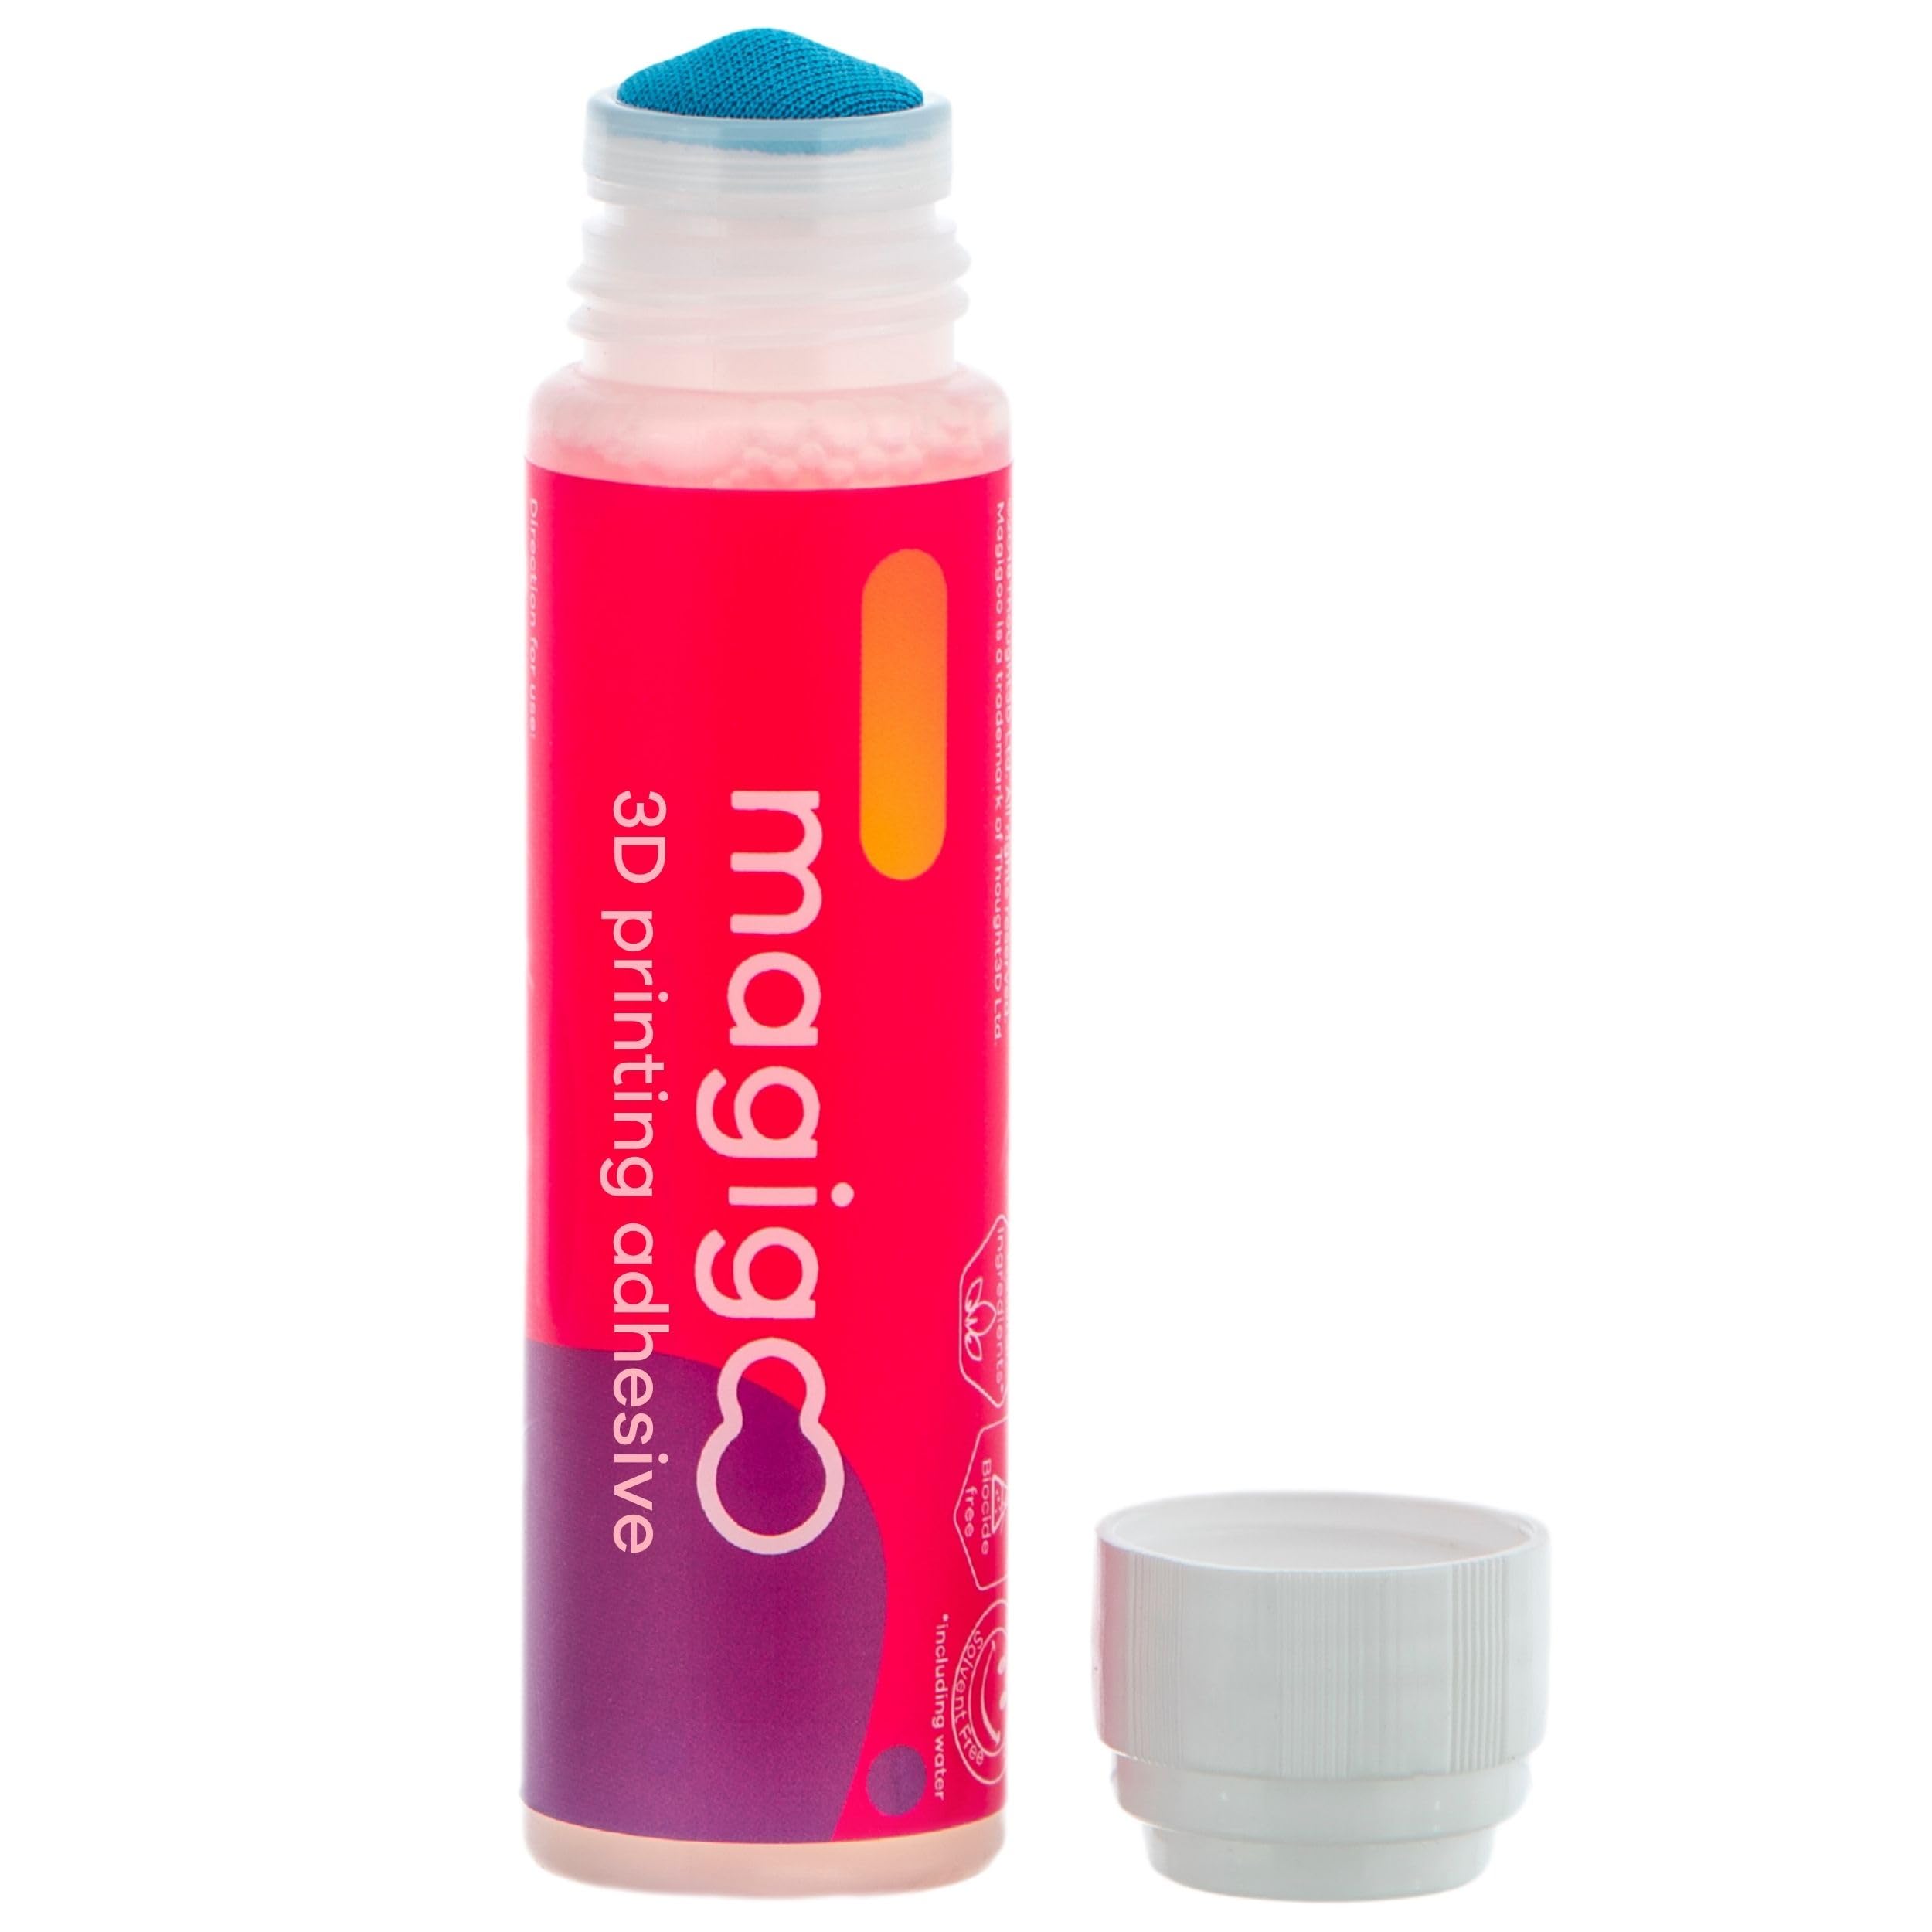
Magigoo Original
A precision formula that creates a strong hold while printing and releases easily once cool. Safe for all common build surfaces.
Best for: When you want predictable adhesion without messy glue or hairspray. A small bottle lasts many prints.
Price Range: $18–$25
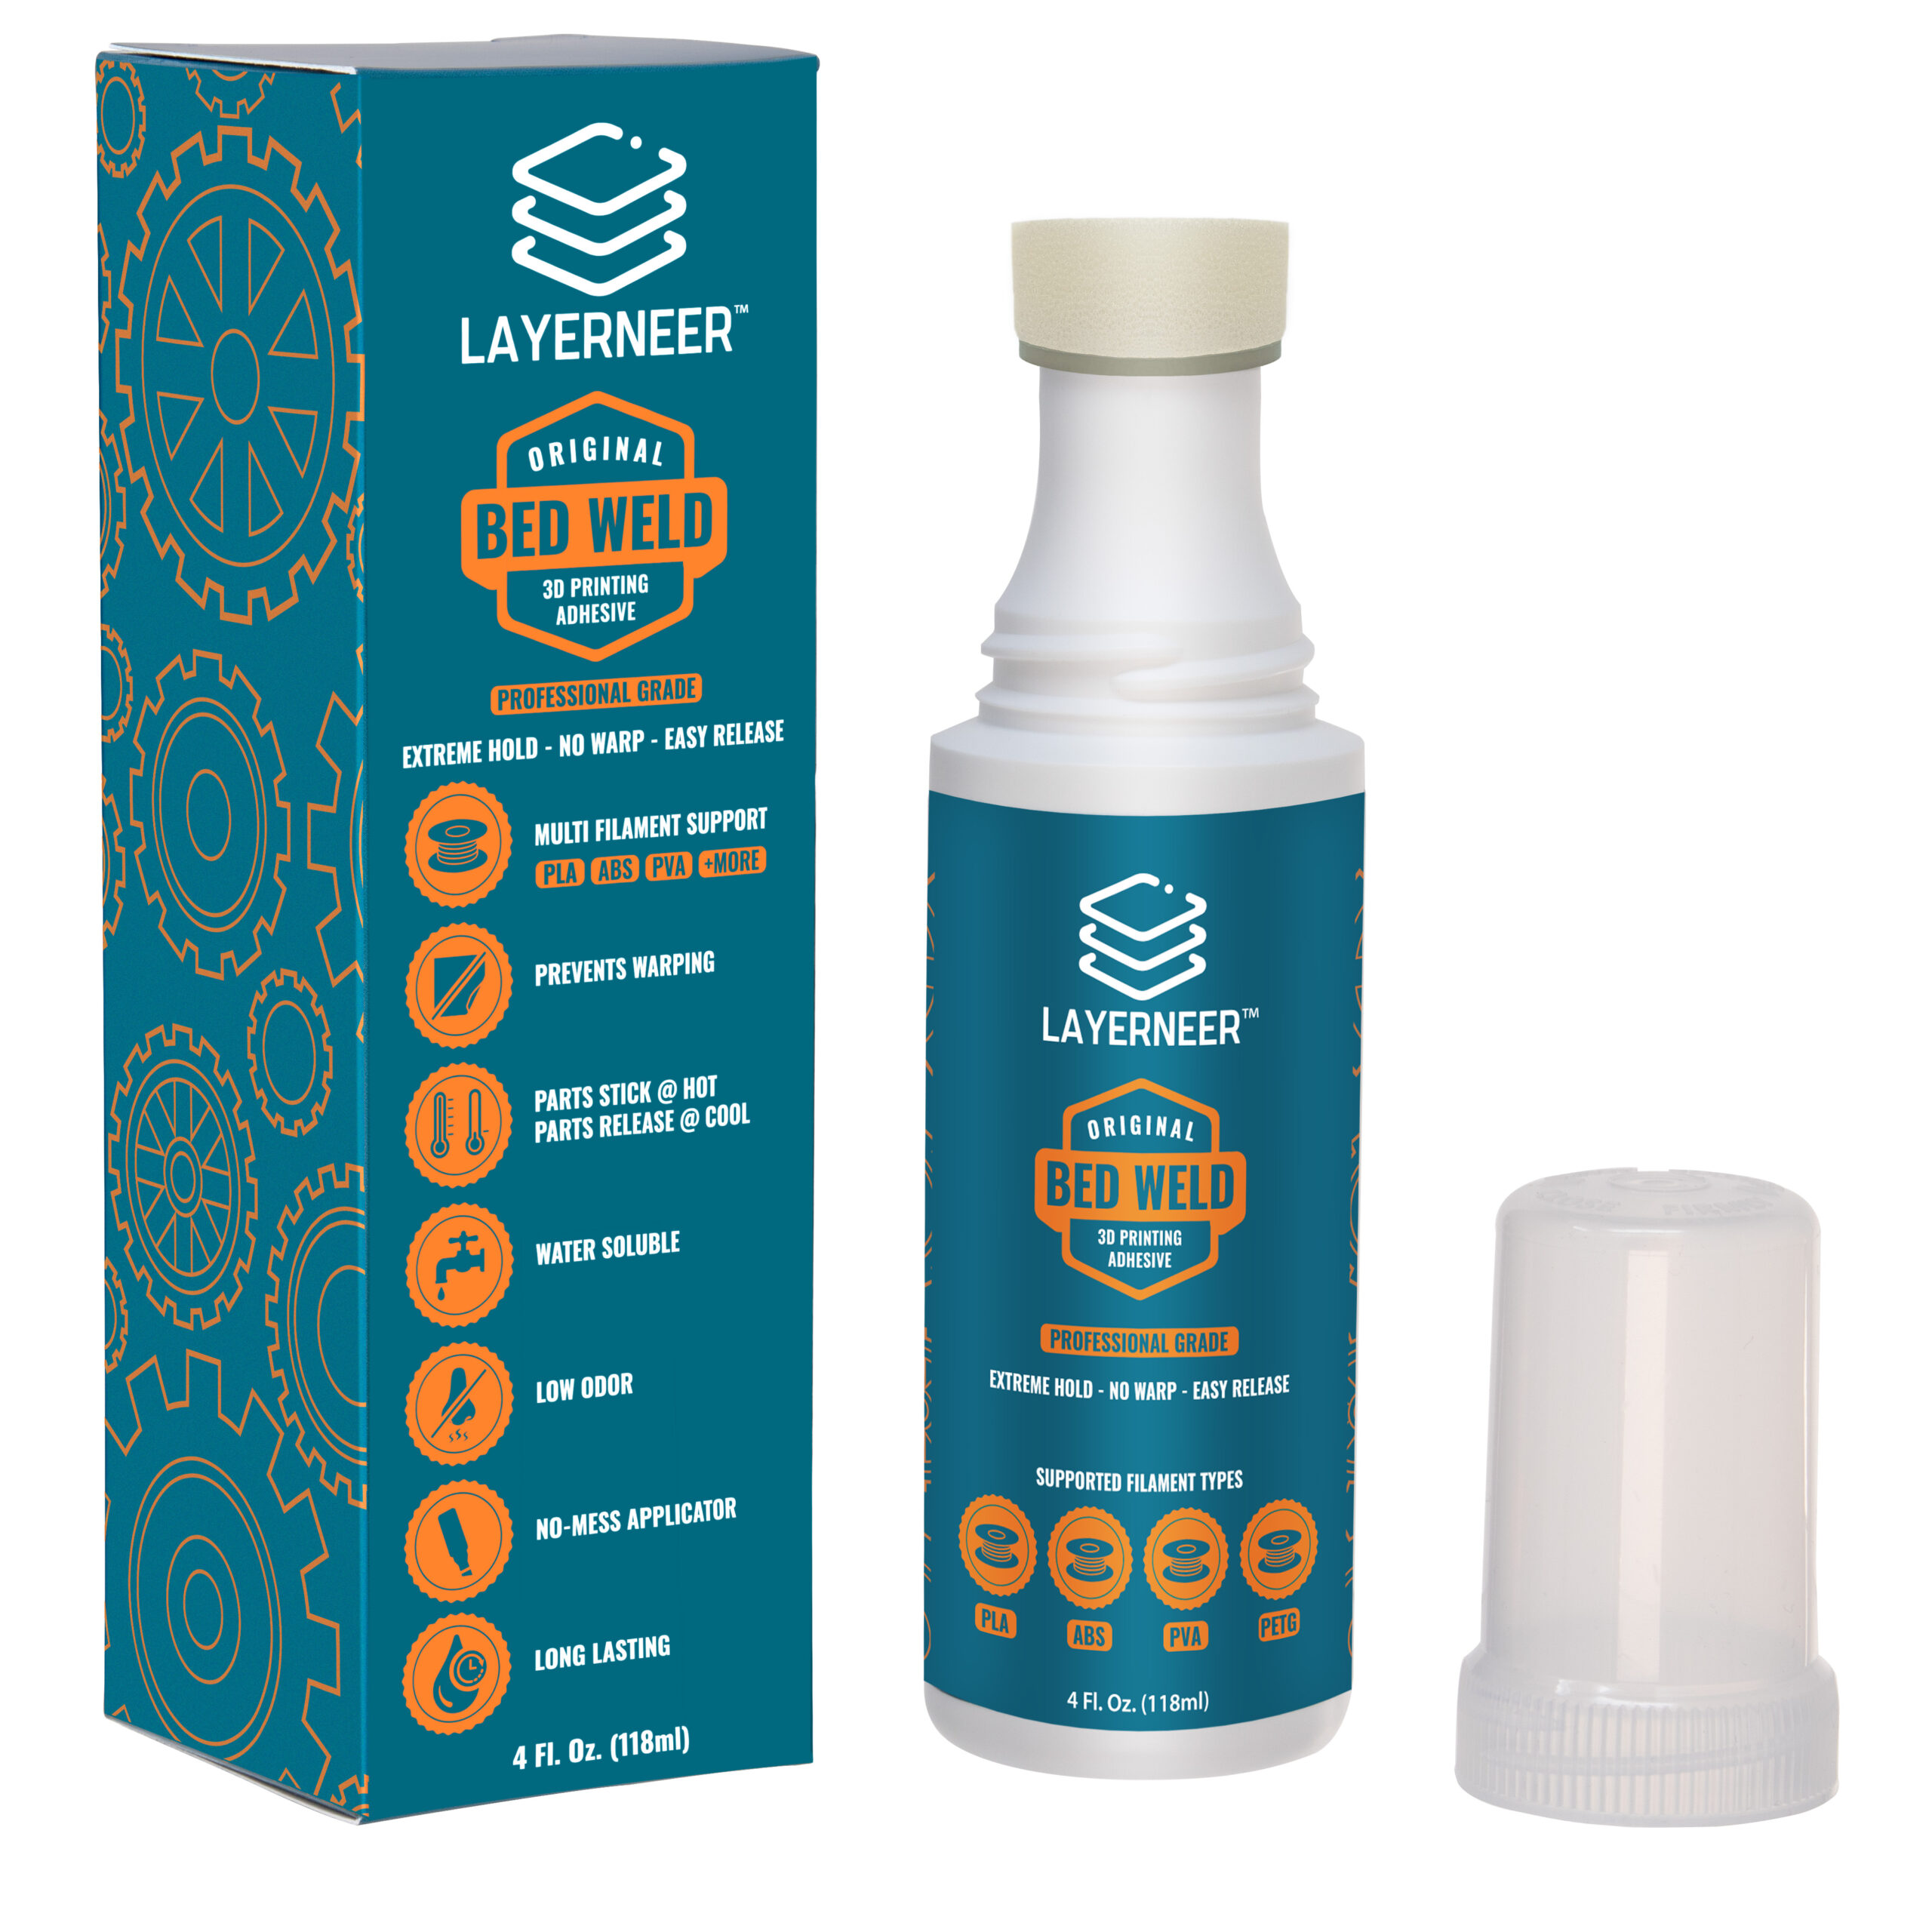
Layerneer Bed Weld
A user-favorite water-based adhesive that grips firmly while hot, releases when cool, and is easy to wash off with water.
Best for: Excellent option for glass or aluminum beds, especially for PETG and ABS.
Price Range: $15–$20
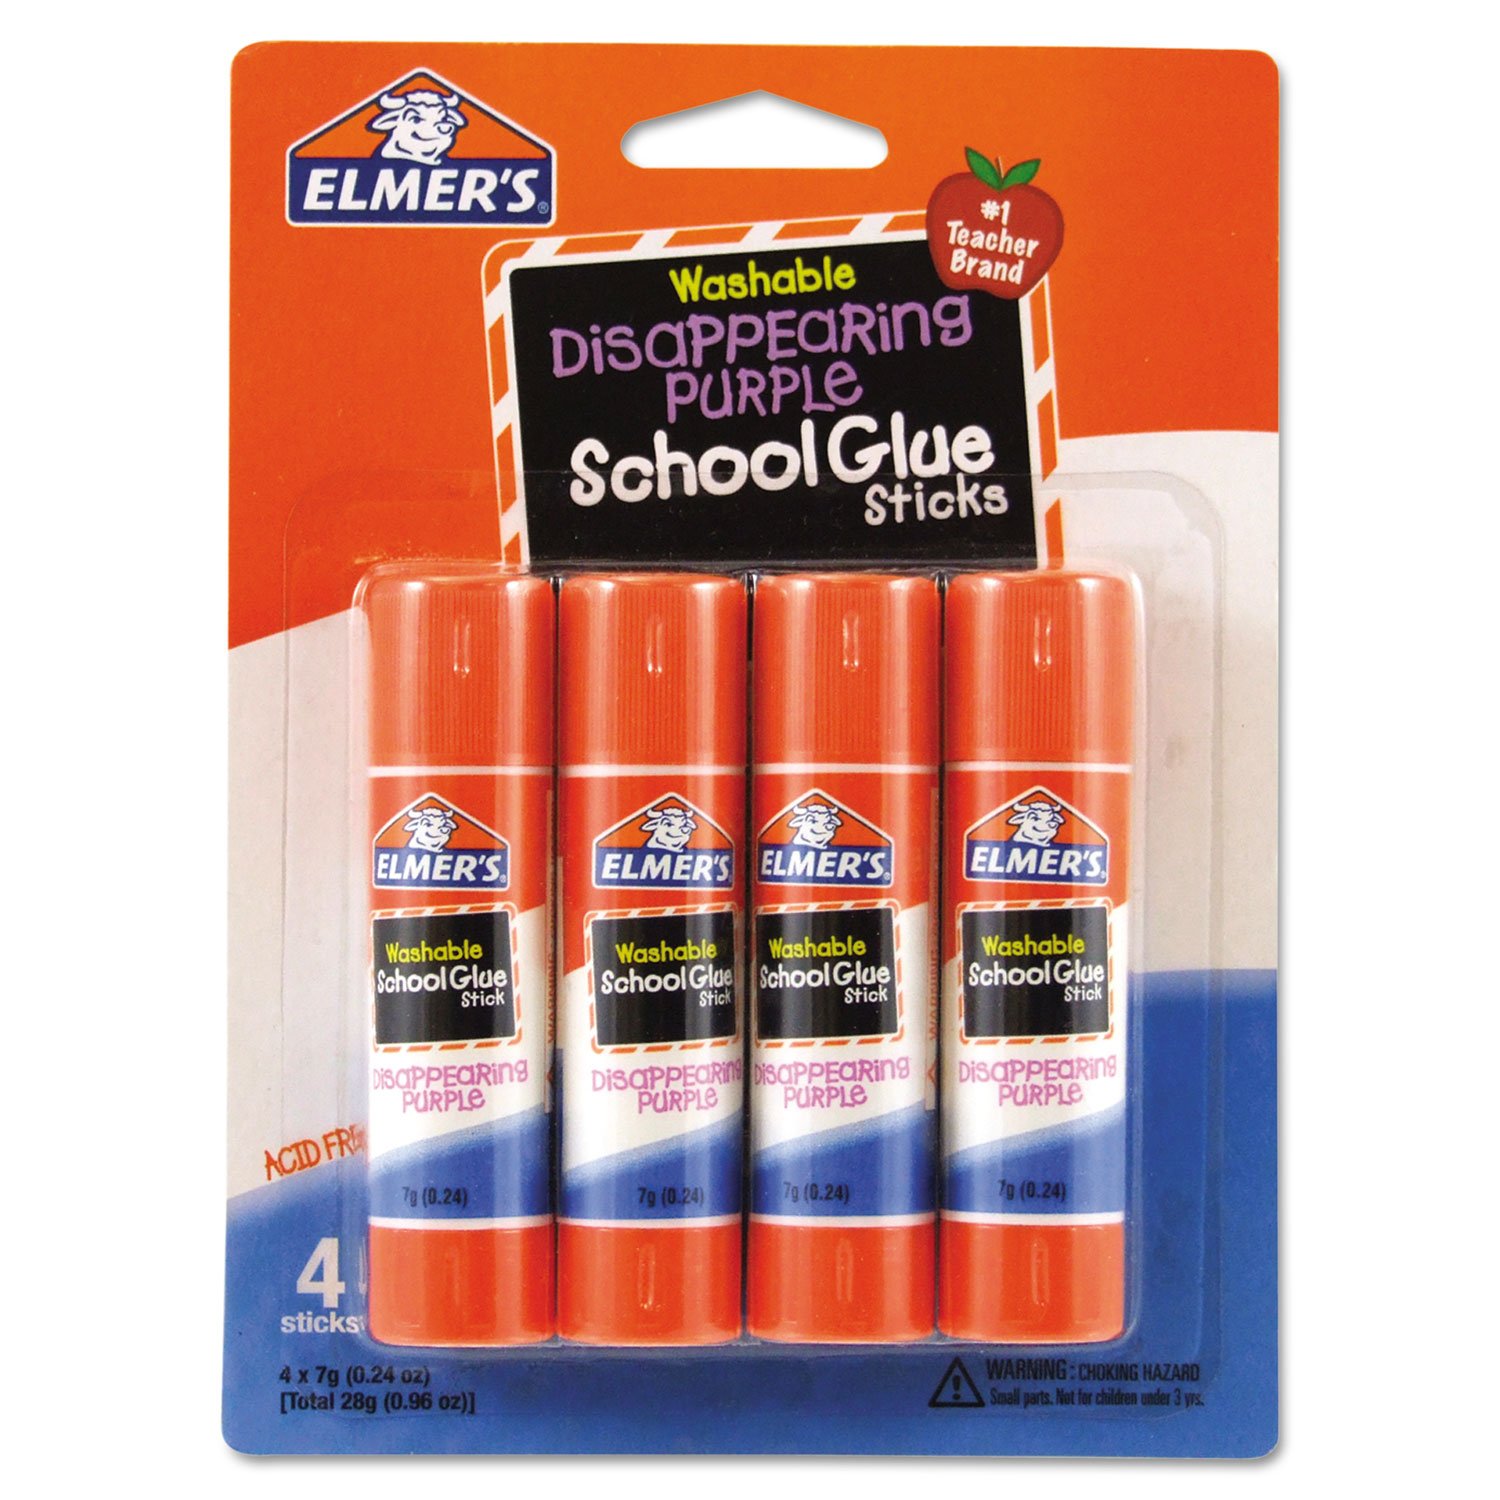
Elmer's Disappearing Purple Glue Sticks
The budget-friendly adhesion hack used by thousands of makers. The disappearing color makes application easy.
Best for: Apply a thin layer to a clean bed before printing PLA or ABS. Great for beginners who want a cheap fix.
Price Range: $5–$10
Comgrow Borosilicate Glass Bed
A flat, thermal shock-resistant glass bed that gives a pristine mirror finish on the first layer. Often more rigid than stock magnetic sheets.
Best for: Upgrade for printers with warped or flexible stock beds. Pairs perfectly with glue stick or hairspray.
Price Range: $20–$35