
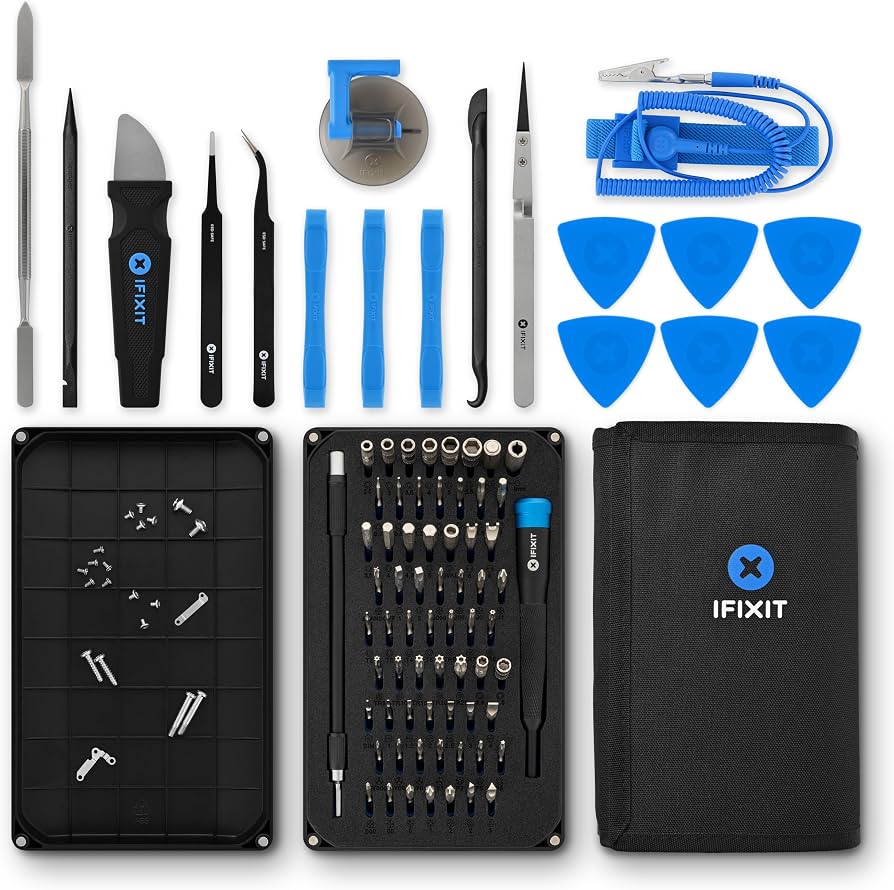
iFixit Pro Tech Toolkit
Disassembly and tightening steps.
$70-$80
iFixit Pro Tech Toolkit Essential precision drivers (Torx/Phillips) prevent stripping tiny hinge screws.
Get the App
Better experience on mobile
Diagnose and repair common hinge problems on your 2-in-1 laptop in under an hour with step-by-step guidance—no expert skills needed.
Nothing disrupts productivity like a stiff, loose, or creaky hinge on your 2-in-1 laptop, turning screen flips into frustrating fights. Whether it's a Lenovo Yoga, HP Spectre, or Dell Inspiron, hinge issues affect millions of users yearly due to daily wear, dust buildup, or manufacturing flaws. Ignoring them can lead to cracks, wobbles, or total failure.
In this guide, you'll learn to troubleshoot and fix most hinge problems yourself, saving $100-300 on repairs. We'll cover inspection, cleaning, tightening, and lubrication—sequential steps tailored for intermediate users. Expect 30-60 minutes, basic tools, and clear success indicators at each stage.
By the end, your laptop's hinge will move smoothly through 360 degrees, stable in tent, tablet, and laptop modes. If issues persist, we'll guide you on pro help.
Estimated Time: 30-60 minutes Difficulty: intermediate
Start by backing up all important files to an external drive or cloud service like Google Drive. Why? Troubleshooting involves opening panels, risking data loss if something goes wrong.
Unplug the charger, hold the power button for 10 seconds to discharge residual power, and remove the battery if accessible (common on older models). Place the laptop on a soft, static-free surface like an anti-static mat.
Success looks like: Laptop fully off, no lights, data backed up confirmed.
💡 Tips:
⚠️ Warnings:
Examine the hinge area closely under good lighting. Look for cracks in plastic/metal, loose screws, debris, or uneven gaps between screen and body.
Gently rock the screen back and forth in laptop mode. Note if it wobbles, sticks at certain angles, or makes grinding noises. Test all modes: laptop, tent, tablet, 360 flip.
Success looks like: Issues identified (e.g., 'loose left screw') or confirmed no visible damage.
💡 Tips:
⚠️ Warnings:
Use compressed air in short bursts to blow out dust, hair, or grit from hinge crevices. Hold the can upright to avoid liquid spray.
Dampen a microfiber cloth with isopropyl alcohol and gently wipe accessible areas. Avoid soaking internals.
Success looks like: No visible particles; hinge moves slightly freer.
💡 Tips:
⚠️ Warnings:
Flip the laptop over, remove bottom panel screws (consult model-specific iFixit guide). Use correct screwdriver bits to avoid stripping.
Inspect hinge-related screws near the base. Tighten loosely first, then snugly—don't overtighten plastic threads.
Success looks like: Panel secure, no play in base when shaking.
💡 Tips:
Pry open keyboard bezel or screen back carefully with plastic tool. Locate internal hinge brackets.
Tighten any loose screws on hinge arms/brackets. Reassemble partially and test movement.
Success looks like: Screen stable, no wobble in tent mode.
⚠️ Warnings:
Apply a tiny drop of dielectric grease or silicone lube to pivot points. Wipe excess immediately.
Work the hinge through full range 10-20 times to distribute.
Success looks like: Smooth, silent motion without stickiness.
💡 Tips:
⚠️ Warnings:
Reassemble fully, power on. Check Device Manager (Windows) or System Report (Mac) for hinge sensor errors.
Update drivers/BIOS via manufacturer site. Test auto-rotation in tablet mode.
Success looks like: Full functionality in all modes, no error lights.
Cycle through 50+ flips over 10 minutes. Monitor for heat, noise, or regression over a week.
If fixed, apply hinge protector tape.
Success looks like: Perfect 360-degree smooth operation long-term.
💡 Tips:
Problem: Hinge still loose after tightening
Solution: Bracket bent—consider replacement part from AliExpress/eBay or pro repair.
Problem: Screen doesn't rotate properly
Solution: Reset sensors in BIOS or reinstall drivers; check hall effect magnets.
Problem: Cracks appear during cleaning
Solution: Stop immediately; use epoxy for minor fixes or seek warranty.
Problem: Laptop won't power on post-repair
Solution: Re-seat all cables, especially display ribbon; discharge again.
Essential precision drivers (Torx/Phillips) prevent stripping tiny hinge screws.
Best for: Disassembly and tightening steps.
Price Range: $70-$80
Powerful, non-residue air clears debris without disassembly.
Best for: Initial cleaning of hard-to-reach hinge gaps.
Price Range: $10-$15
Safe isopropyl-based spray dissolves grime on plastics/metal without residue.
Best for: Deep cleaning before lubing.
Price Range: $15-$20
Non-conductive lube protects against wear/corrosion on metal pivots.
Best for: Lubrication for stiff hinges.
Price Range: $8-$12
Anti-camout tips for delicate 2-in-1 screws.
Best for: Advanced internal access.
Price Range: $50-$60
Disassembly and tightening steps.
iFixit Pro Tech Toolkit Essential precision drivers (Torx/Phillips) prevent stripping tiny hinge screws.
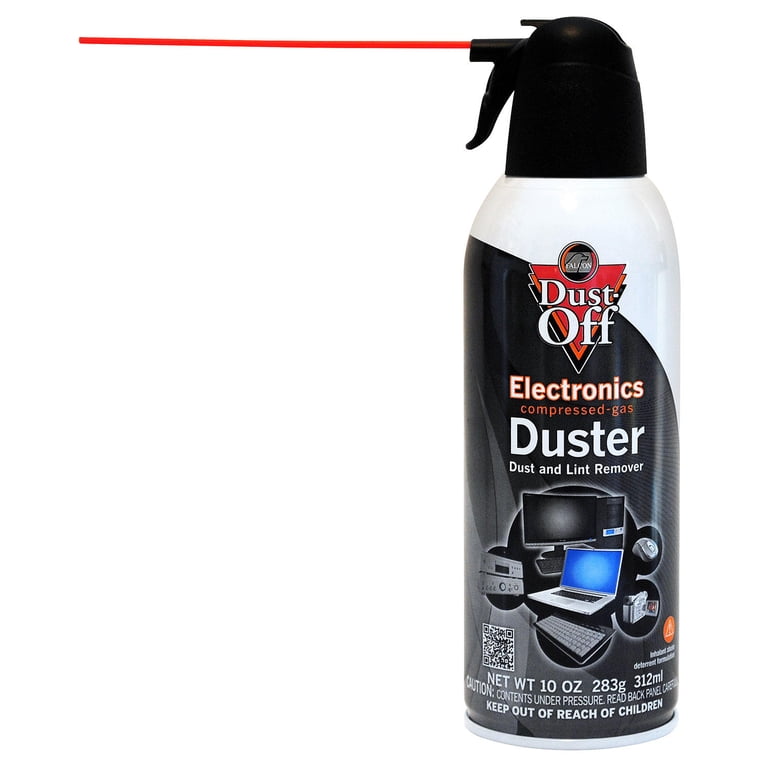
Initial cleaning of hard-to-reach hinge gaps.
Dust-Off Compressed Air Duster Powerful, non-residue air clears debris without disassembly.

Deep cleaning before lubing.
MG Chemicals Super Contact Cleaner Safe isopropyl-based spray dissolves grime on plastics/metal without residue.
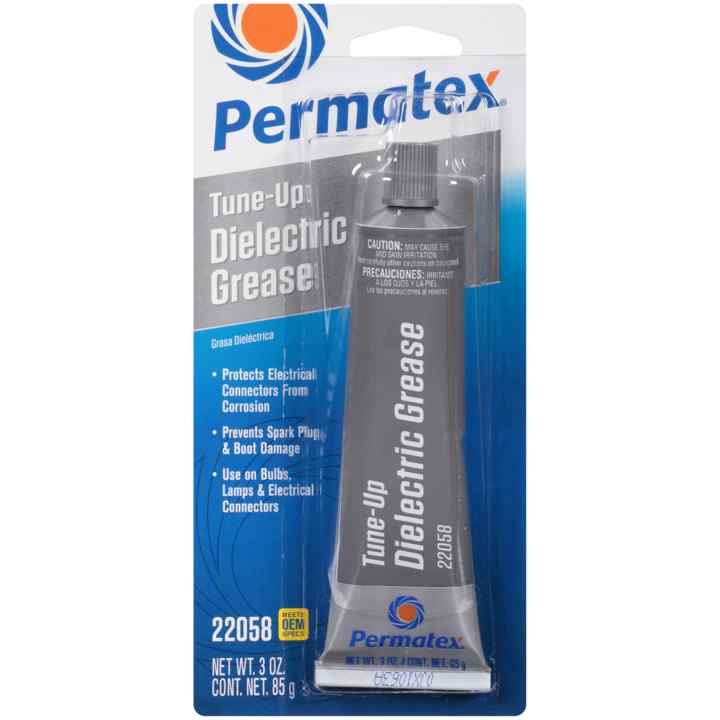
Lubrication for stiff hinges.
Permatex Dielectric Tune-Up Grease Non-conductive lube protects against wear/corrosion on metal pivots.
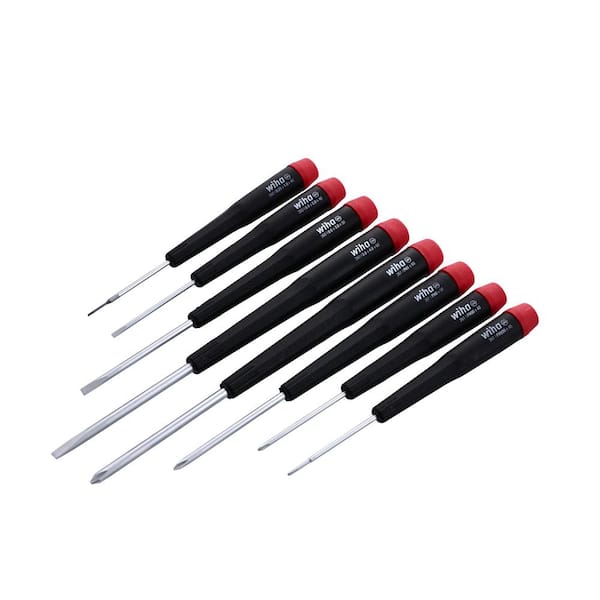
Advanced internal access.
Wiha 26199 MicroTech Screwdriver Set Anti-camout tips for delicate 2-in-1 screws.