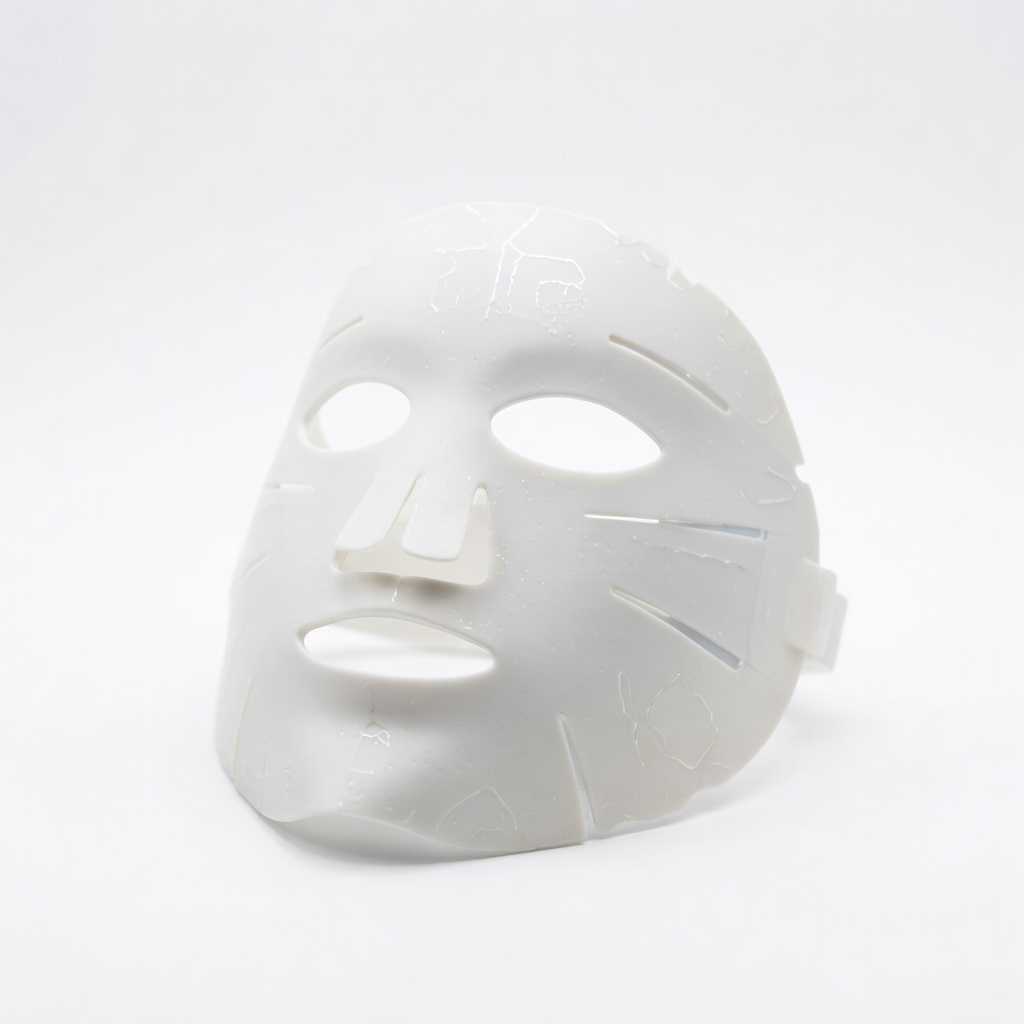
Neutrogena Light Therapy Acne Mask
Daily spot/full-face treatment for mild-moderate acne; hands-free.
$25-$30
Neutrogena Light Therapy Acne Mask Affordable, FDA-cleared with proven blue light to kill acne bacteria clinically.
Get the App
Better experience on mobile
Learn simple steps to use at-home LED light therapy for clearer skin, reducing acne in 4-6 weeks with beginner-friendly guidance.
Struggling with persistent acne that over-the-counter creams just can't fix? You're not alone—acne affects 50 million Americans yearly, causing frustration and self-consciousness. LED light therapy offers a painless, drug-free solution using specific wavelengths to target bacteria and inflammation right at home.
In this guide, you'll learn how to safely and effectively treat acne with LED devices. We'll cover everything from choosing the right device to daily routines and what results to expect. The process is straightforward: cleanse, treat, moisturize, and repeat consistently.
Expect 15-20 minutes per session, 3-5 times a week. Beginners can see reduced redness in 2 weeks and clearer skin in 4-6 weeks with patience—no downtime or side effects for most.
Estimated Time: 15-20 minutes per session; 4-6 weeks for visible results (3-5 sessions/week) Difficulty: beginner
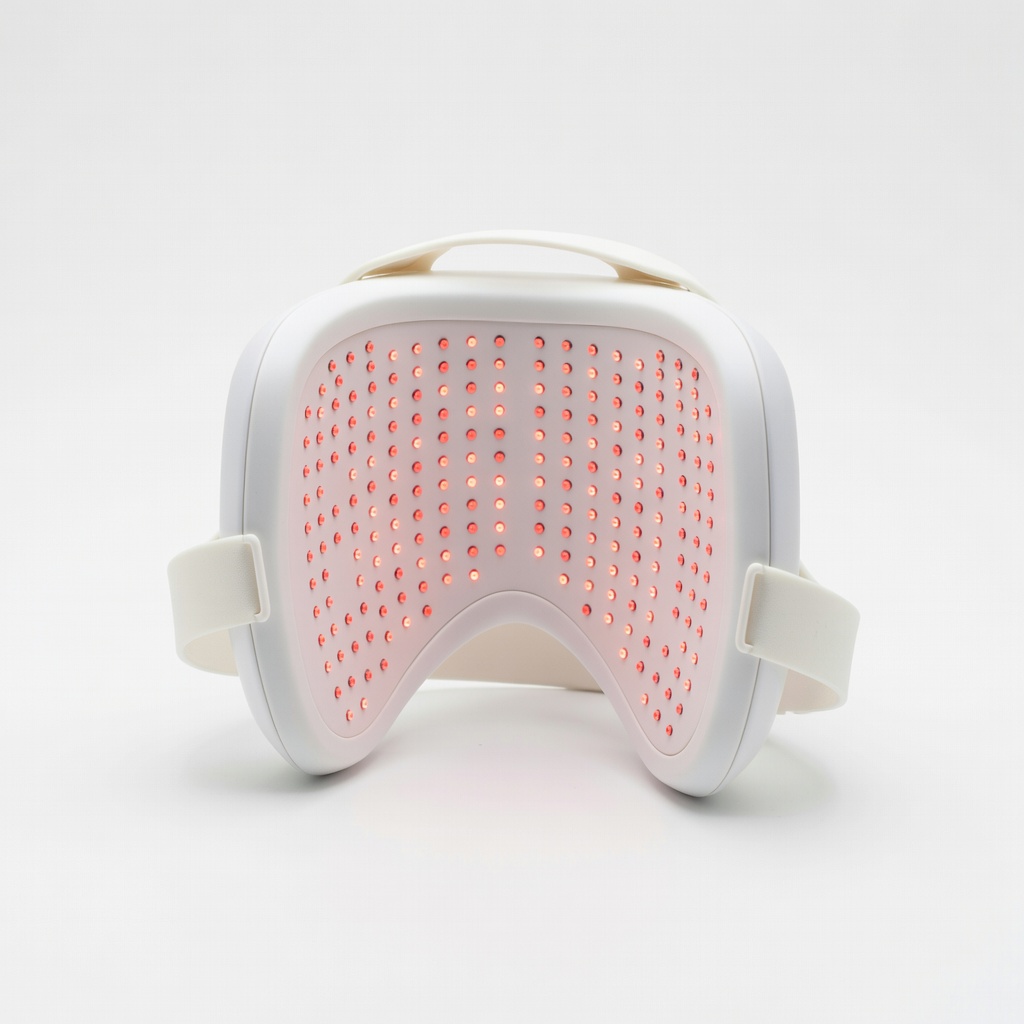
Select an FDA-cleared LED device with blue light (415nm) to kill acne-causing P. acnes bacteria and red light (630-660nm) to calm inflammation. Masks or panels are ideal for full-face coverage; wands work for spot treatment.
Why it matters: Wrong wavelengths won't target acne effectively. Look for devices with clinical backing and adjustable timers. Success looks like a device that fits comfortably and lights up evenly without hot spots.
💡 Tips:
⚠️ Warnings:
Wash your face with a gentle, fragrance-free cleanser and lukewarm water. Pat dry with a clean towel—never rub.
This removes oil, makeup, and dirt so light penetrates deeply. Expect your skin to feel clean and slightly taut; no redness means you're ready. Why it matters: Residue blocks 50% of light efficacy.
💡 Tips:
Sit or lie in a well-lit, comfortable spot with a mirror. Ensure skin is completely dry (wait 5 minutes post-cleansing). Remove jewelry or hair ties that could interfere.
Success: A distraction-free space for relaxation. This step maximizes light absorption and comfort.
⚠️ Warnings:
Put on provided goggles or FDA-approved shades. LED is safe but bright blue light can strain eyes over time.
Position comfortably over closed eyes. Why it matters: Protects retinas during 10-20 minute sessions. You'll feel secure and session-ready.
💡 Tips:
Turn on the device and choose blue light mode (or blue+red combo). Set timer for 10-20 minutes based on instructions.
The lights should glow steadily without flickering. Success: Even illumination covering affected areas. This kills bacteria in minutes.
💡 Tips:
Place mask over face or hold wand 1-2 inches from skin, moving slowly for spot treatment. Relax—listen to music or meditate.
Keep still for masks; gentle overlap for wands. Expect mild warmth (not heat). Why: Ensures full coverage without gaps.
⚠️ Warnings:
Remove device, rinse if gel-padded, and apply lightweight moisturizer. Avoid actives like retinols for 24 hours.
Skin feels soothed and glowy. This locks in benefits and prevents dryness.
💡 Tips:
Treat 3-5x/week for 4-6 weeks. Take weekly photos in same lighting to monitor reduced pimples and redness.
Success: Fewer breakouts, calmer skin. Consistency is key—results build over time.
⚠️ Warnings:
Problem: Skin redness or dryness after treatment
Solution: Reduce to 10 min sessions, add more moisturizer. Hydrate and use 2x/week initially.
Problem: No improvement after 2 weeks
Solution: Check device mode/wavelength; ensure consistency. Combine with diet changes.
Problem: Device won't turn on
Solution: Charge fully (USB-C usually), clean contacts. Contact manufacturer if persists.
Problem: Breakouts worsen initially
Solution: Purging phase normal (week 1-2). Continue or pause and consult dermatologist.
Affordable, FDA-cleared with proven blue light to kill acne bacteria clinically.
Best for: Daily spot/full-face treatment for mild-moderate acne; hands-free.
Price Range: $25-$30
Versatile blue/red modes for acne + anti-aging; rechargeable with timer.
Best for: Beginners wanting multi-treatment device for acne and scars.
Price Range: $100-$170
Pro-grade with 100 LEDs in blue/red; dermatologist-recommended for stubborn acne.
Best for: Severe acne needing intensive 3-min sessions; long-term use.
Price Range: $400-$450
Portable red light + vibration for targeted acne spots; quick 3-min use.
Best for: Travelers or spot-treatment only; gentle for sensitive skin.
Price Range: $150-$170
Daily spot/full-face treatment for mild-moderate acne; hands-free.
Neutrogena Light Therapy Acne Mask Affordable, FDA-cleared with proven blue light to kill acne bacteria clinically.

Beginners wanting multi-treatment device for acne and scars.
Project E Beauty 7 Color LED Mask Versatile blue/red modes for acne + anti-aging; rechargeable with timer.
Severe acne needing intensive 3-min sessions; long-term use.
Dr. Dennis Gross SpectraLite FaceWare Pro Pro-grade with 100 LEDs in blue/red; dermatologist-recommended for stubborn acne.

Travelers or spot-treatment only; gentle for sensitive skin.
Solawave 4-in-1 Radiant Renewal Wand Portable red light + vibration for targeted acne spots; quick 3-min use.