▸Why Allied Health Exercise Programs Matter
If you've received an exercise program from a physiotherapist, exercise physiologist, or occupational therapist but struggle to execute it effectively, you're not alone. Many people abandon these programs due to poor form, lack of progression, or unclear instructions, leading to stalled recovery or reinjury. Proper training maximizes benefits like pain reduction, mobility gains, and long-term fitness.
In this guide, you'll learn a step-by-step process to train confidently with your allied health program. From setup to tracking progress, expect actionable instructions tailored for intermediate fitness levels—assuming basic exercise knowledge. The full process for your first session takes 45-60 minutes, with ongoing sessions 30-45 minutes, 3-5 times weekly.
We'll cover preparation, execution, monitoring, and pro tips to ensure success, helping you achieve measurable improvements in 4-6 weeks.
▸What You'll Need
- •Prescribed exercise program from an allied health professional (required)
- •Comfortable workout clothing and supportive shoes (required)
- •Clear space (6x6 ft minimum) for movement (required)
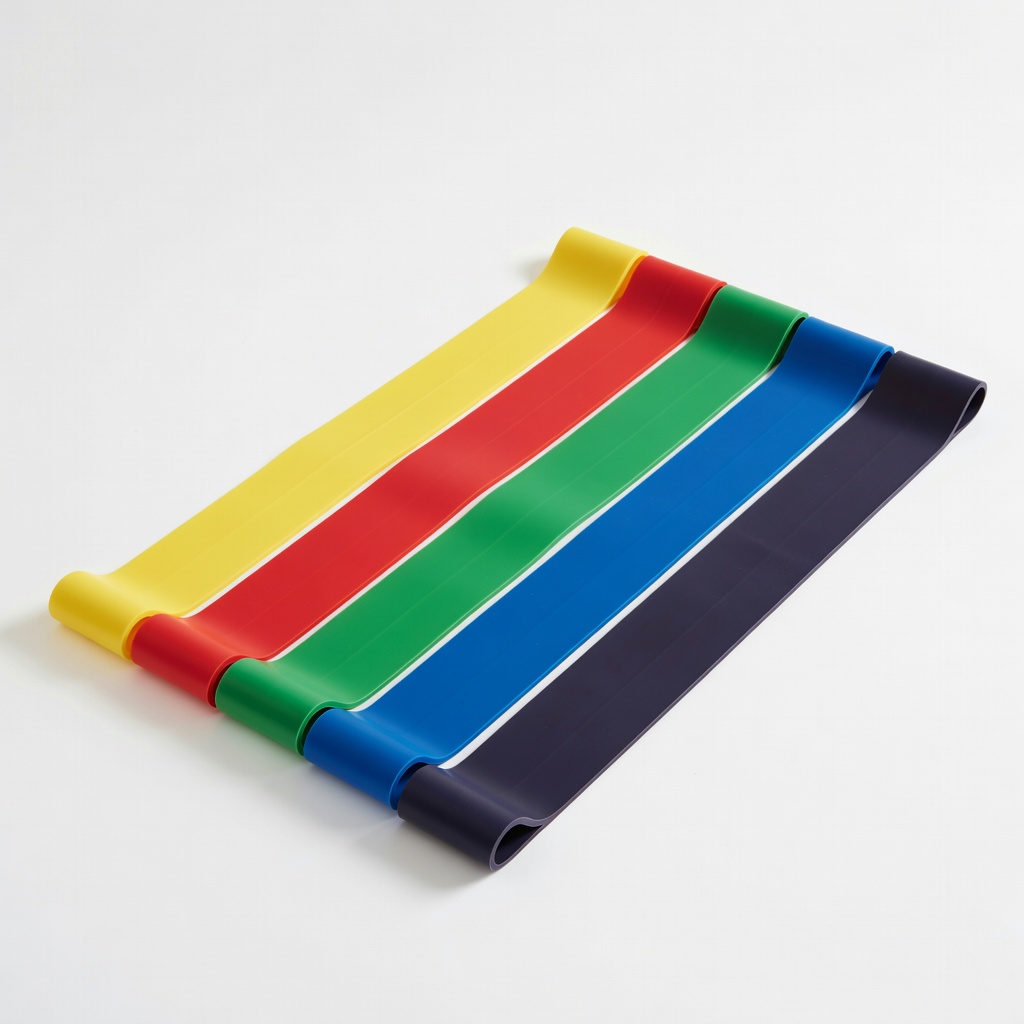
- •Resistance bands or light dumbbells (3-10 lbs, required for most programs)
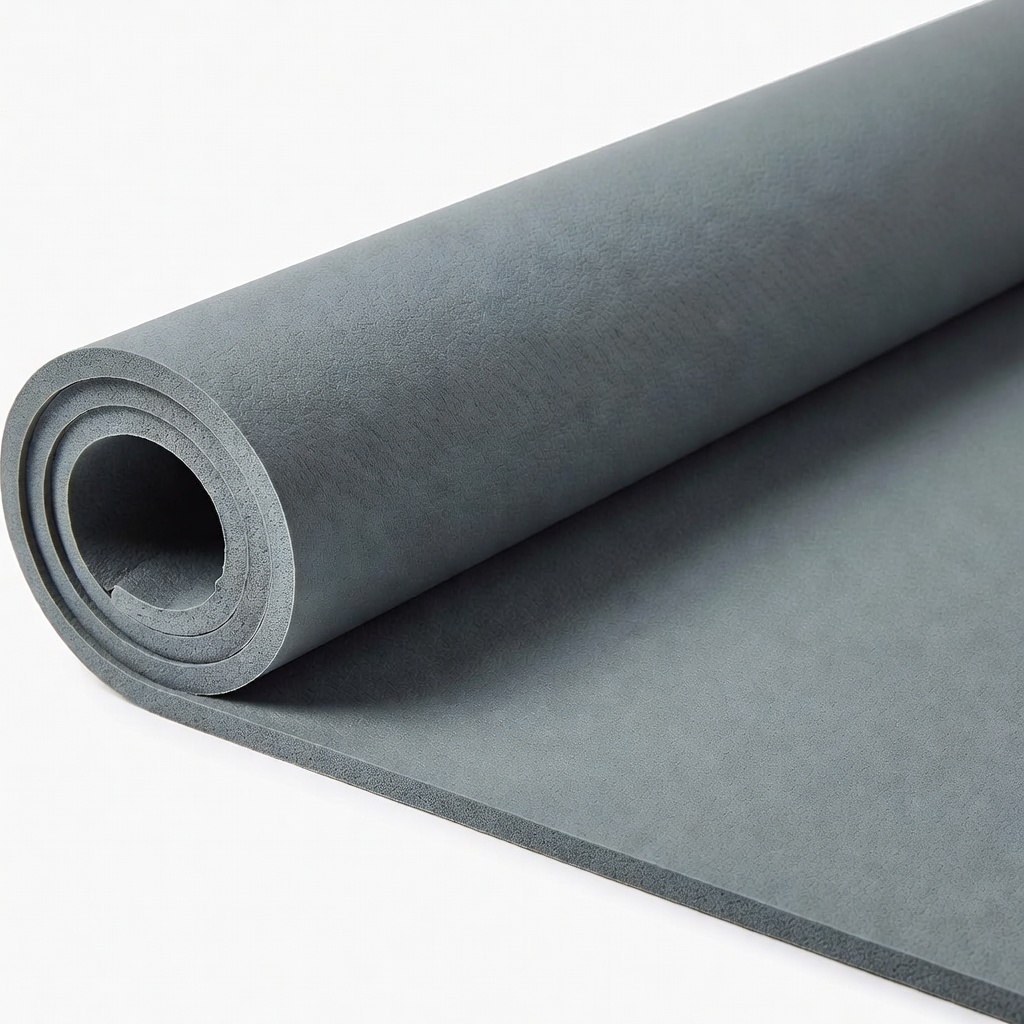
- •Yoga/exercise mat (required for floor work)
- •Notebook or app for tracking (e.g., Google Sheets or Physitrack app, required)
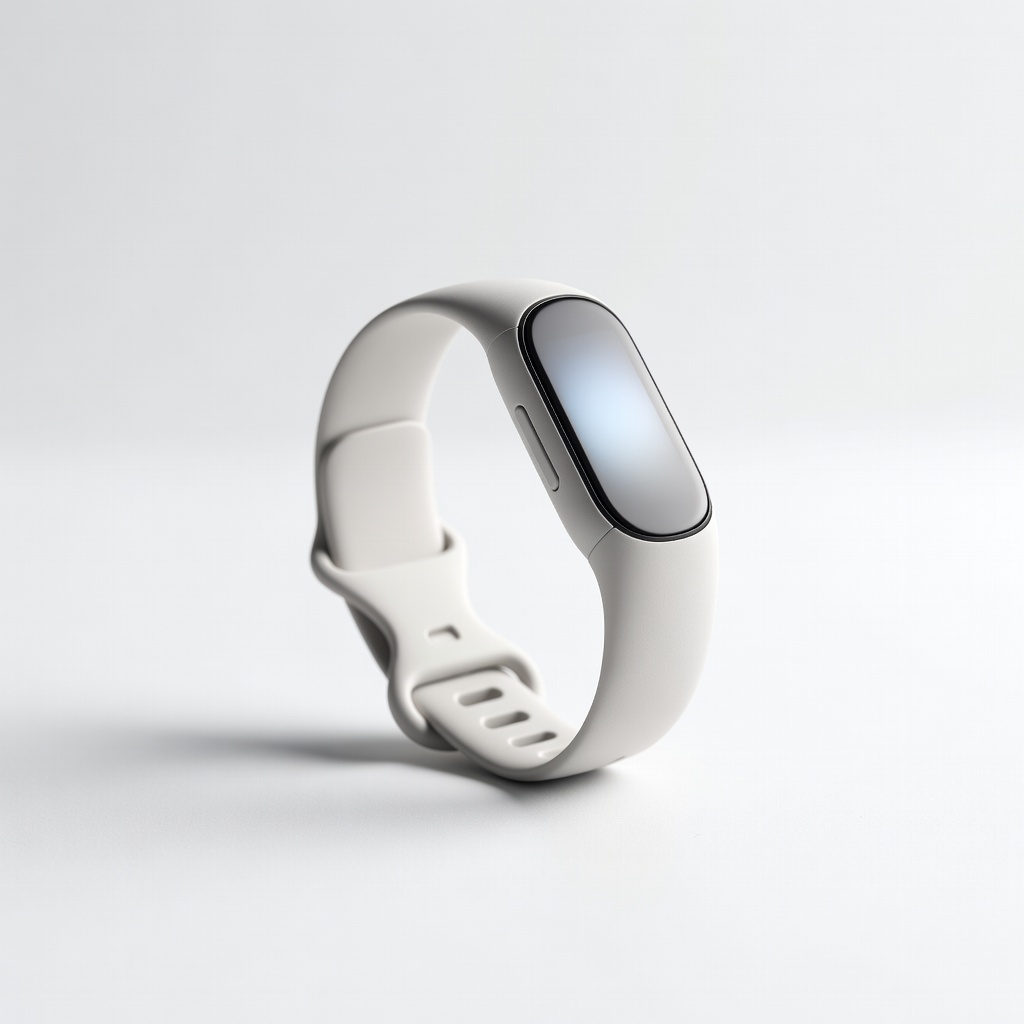
- •Fitness tracker (optional for heart rate monitoring)
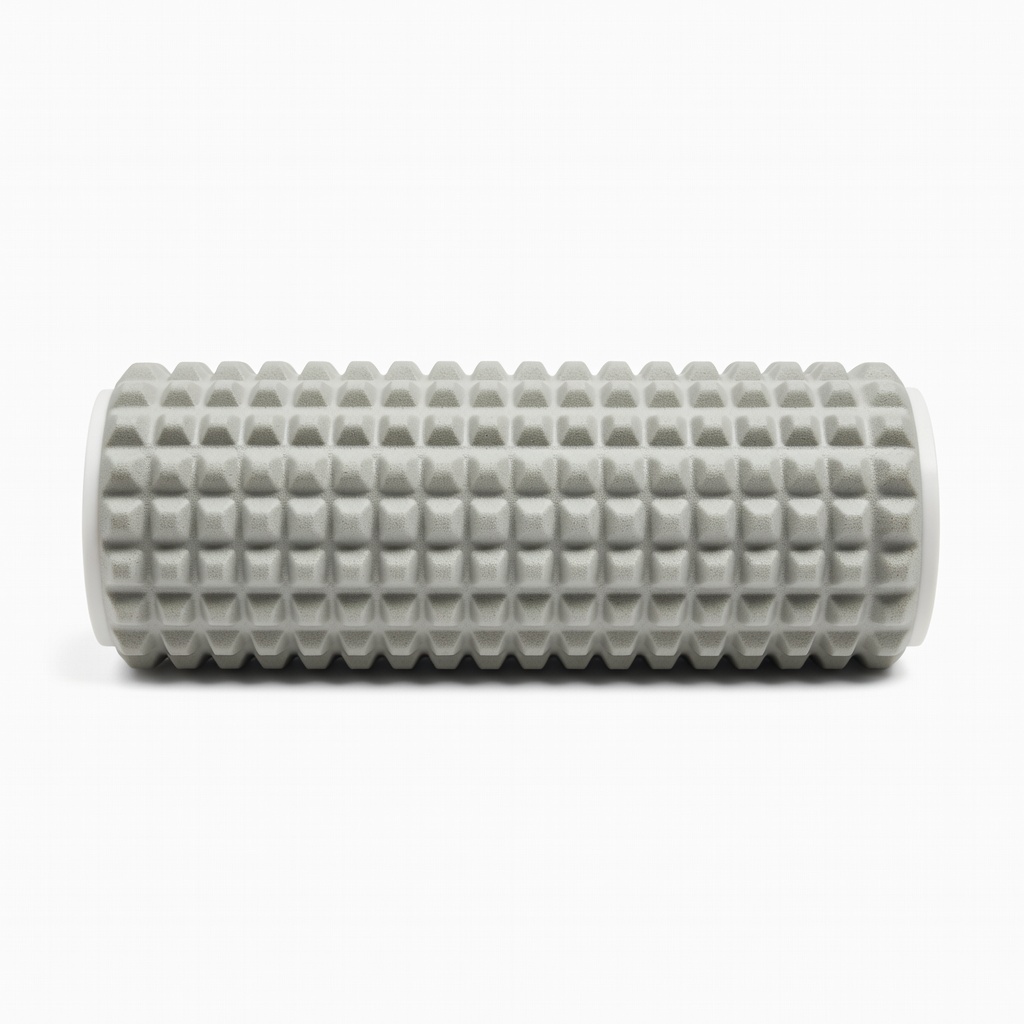
- •Foam roller (optional for self-myofascial release)
Estimated Time: 45-60 minutes for first session setup and training; 30-45 minutes per ongoing session
Difficulty: intermediate
▸Step-by-Step Instructions
Step 1: Consult Your Allied Health Professional
Begin by reviewing your prescribed program with your physiotherapist or exercise physiologist. Ask for clarification on goals, reps, sets, frequency, and modifications. Understand the 'why' behind each exercise—e.g., glute bridges for lower back stability.
This step ensures safety and personalization. Success looks like a printed or digital program with exercise names, diagrams, sets (e.g., 3x10), rest periods (30-60s), and progression cues (e.g., add resistance after 2 weeks).
Tip: Record a video call demo if in-person isn't possible.
💡 Tips:
- •Take notes on pain scales (0-10) and when to stop.
⚠️ Warnings:
- •Never start without professional clearance if you have acute injuries.
Step 2: Gather and Test Equipment
Collect all listed items from your program. Test resistance bands for snap-back and mat for grip. Lay out everything to avoid mid-session interruptions.
Success: Equipment fits your space and strength level—no overly tight bands or slippery surfaces. This prevents frustration and injury.
Why it matters: Proper tools ensure precise execution, mimicking clinical settings.
💡 Tips:
- •Start with lighter resistance; progress as prescribed.
Step 3: Set Up Your Training Space
Choose a quiet, well-lit area with a mirror for form checks. Clear obstacles and ensure ventilation. Play motivational music if it helps focus.
Expect a dedicated 'gym corner' ready in 5 minutes. This builds routine and mental readiness for consistent training.
💡 Tips:
- •Use a wall for support in balance exercises.
⚠️ Warnings:
- •Avoid training on uneven surfaces to prevent falls.
Step 4: Warm Up (5-10 Minutes)
Perform dynamic movements like arm circles, leg swings, and marching in place to increase blood flow. Follow program-specific warm-ups or general ones raising heart rate to 50-60% max.
Success: Feel warmer muscles, no stiffness. This reduces injury risk by 30% per studies.
Why: Prepares joints and tissues for load.
Step 5: Execute Core Exercises with Perfect Form
Do exercises in order: e.g., 3 sets of 10 squats with band. Focus on controlled tempo (3s down, 1s up). Breathe steadily—exhale on effort.
Check form via mirror/video. Pause if pain >3/10. Rest as prescribed.
Success: Complete all sets feeling challenged but not exhausted. Track reps achieved.
💡 Tips:
- •Film yourself weekly to compare form.
⚠️ Warnings:
- •Ignore 'no pain, no gain'—sharp pain means stop.
Step 6: Incorporate Progressions
After 1-2 weeks, add reps, sets, or resistance per program guidelines. E.g., progress from bodyweight to banded lunges.
Monitor via journal: Note ease level (1-10). Success: Incremental gains without regression.
Step 7: Cool Down and Stretch (5 Minutes)
End with static stretches holding 20-30s per muscle group targeted. Use foam roller for tight spots.
Success: Improved flexibility, reduced soreness next day. Aids recovery.
💡 Tips:
- •Breathe deeply to enhance relaxation.
Step 8: Log Progress and Review
Record completion, pain levels, and notes. Review weekly against goals. Share with your professional.
Success: Data showing 10-20% strength gains or pain drop. Schedule follow-ups.
💡 Tips:
- •Use apps like MyFitnessPal for integrated tracking.
▸Pro Tips
- •Hydrate before/during: Sip 500ml water per session.
- •Train same time daily for habit formation.
- •Pair with nutrition: Protein post-workout aids recovery.
- •Use timers for rests to maintain intensity.
- •Visualize success before starting for better adherence.
- •Involve a buddy for accountability checks.
- •Scale environment: Dim lights for relaxation in cool-down.
▸Common Mistakes to Avoid
- •Skipping warm-up: Leads to strains; always prioritize 5-10 mins.
- •Poor form under fatigue: Film or mirror-check; rest more if needed.
- •No progression tracking: Causes plateaus; log everything.
- •Overtraining daily: Follow prescribed 3-5x/week; rest is key.
- •Ignoring pain signals: Differentiate good burn vs. injury; consult pro.
▸Troubleshooting
Problem: Persistent soreness or pain
Solution: Reduce intensity 50%, ice 15 mins, consult professional if >48 hours.
Problem: Lack of progress after 2 weeks
Solution: Review form video, ensure nutrition/sleep; adjust per pro advice.
Problem: Boredom or low motivation
Solution: Vary music/setting, set micro-rewards, track wins visually.
Problem: Equipment breaks (e.g., band snaps)
Solution: Inspect pre-use; replace immediately, seek durable brands.
TheraBand Resistance Bands Set (Professional Non-Latex)
Gold standard in allied health for precise resistance matching rehab needs; color-coded for progression.
Best for: Strength and mobility exercises like rows or clamshells.
Price Range: $15-$25
Amazon Basics 1/2-Inch Extra Thick Exercise Yoga Mat
Provides cushioning for joints during floor work, non-slip for safety.
Best for: Core stability, planks, or stretches in programs.
Price Range: $25-$30
TriggerPoint GRID Foam Roller
Multi-density design targets deep tissue like physio sessions; durable for daily use.
Best for: Cool-down rolling for IT bands, quads in recovery programs.
Price Range: $35-$40
Fitbit Inspire 3 Fitness Tracker
Tracks heart rate, reps, and active minutes accurately for program adherence.
Best for: Monitoring intensity during cardio-rehab elements.
Price Range: $90-$100
Rocketbook Core Reusable Smart Notebook
Digitizes logs instantly via app; erasable for long-term tracking without paper waste.
Best for: Daily progress notes, shared with therapists.
Price Range: $25-$35