Imagine arriving at your campsite, ready to unwind in your hammock, only to have it sag or slip because of poorly tied knots. This is a common frustration for new campers, and it can turn a relaxing escape into a safety hazard. Secure knots are essential for hammock camping, as they bear your full weight and withstand wind, rain, and movement.
In this guide, you'll learn how to tie three essential knots for hammock suspension: the bowline for fixed loops, the clove hitch for quick attachments, and the taut-line hitch for adjustable tension. These knots are simple, reliable, and perfect for beginners. By the end, you'll confidently set up your hammock in under 10 minutes per setup.
The process is straightforward and requires no prior experience—just practice with some rope. Expect to spend 15-30 minutes learning and tying these knots for the first time, with each knot taking 2-5 minutes to master through repetition.
▸What You'll Need
- •550 lb test paracord or nylon rope (at least 20-30 feet long; required for tying knots)
- •Camping hammock (optional for practice, but essential for real use)
- •Two sturdy anchor points like trees or posts (8-15 feet apart; required for setup)
- •Gloves (optional, for hand protection during practice)
- •Knife or scissors (required to cut rope if needed)
Estimated Time: 15-30 minutes to learn and practice all knots
Difficulty: beginner
▸Step-by-Step Instructions
Step 1: Select and Prepare Your Rope
Start by choosing the right rope for hammock suspension. Opt for 550 lb paracord or similar nylon rope that's weather-resistant and strong enough to hold 300-500 lbs. Cut a length of 20-30 feet for each side of the hammock.
Inspect the rope for frays or weaknesses, and uncoil it fully to avoid tangles. This preparation ensures your knots will hold securely without slipping.
Success looks like a straight, untangled rope ready for tying—smooth and free of kinks.
💡 Tips:
- •Practice on the ground first to build muscle memory before using trees.
- •Wet the rope slightly if it's new; it makes it more pliable for beginners.
⚠️ Warnings:
- •Avoid thin or weak twine; it can snap under weight, causing injury.
Step 2: Tie the Bowline Knot for Fixed Loops
The bowline creates a secure, fixed loop at the end of your rope, ideal for attaching to your hammock's eyelets or carabiners without slipping.
Hold the rope with the working end (free end) in your right hand. Make a small loop about 2 feet from the end (the 'rabbit hole'), then pass the working end up through the loop (rabbit comes out of the hole), around the standing part (around the tree), and back down through the loop (back into the hole). Pull the working end and standing part to tighten. Why it matters: This knot won't tighten under load but releases easily when done.
Expect a neat loop about 6-8 inches in diameter that doesn't change shape when tugged. Practice 5-10 times until it's second nature.
💡 Tips:
- •Use the rhyme 'the rabbit comes out of the hole, around the tree, and back down the hole' to remember.
- •For larger loops, make the initial loop bigger.
⚠️ Warnings:
- •Don't cinch it too tight initially; leave room to adjust before final pull.
Step 3: Tie the Clove Hitch for Tree Attachments
Use the clove hitch to quickly wrap your rope around a tree trunk or post. It's simple and grips well under tension but can loosen if not loaded.
Wrap the working end around the tree twice, crossing over itself each time. Then, pass the working end under the second wrap and through the opening created by the crosses. Pull both ends to tighten against the tree.
This knot matters for initial anchoring, as it's fast to tie and untie. Success is a snug wrap that holds firm when you pull sideways but slips free when unloaded.
💡 Tips:
- •Add a half hitch over the top for extra security in windy conditions.
- •Choose trees at least 12 inches in diameter to avoid damage.
⚠️ Warnings:
- •Never leave it unattended without load; it can vibrate loose over time.
Step 4: Tie the Taut-Line Hitch for Adjustable Tension
The taut-line hitch allows you to adjust hammock sag for comfort—looser for flat sleeping, tighter for lounging. It's directional and slides easily when loose.
With the rope running from the tree to your hammock, form two loops by wrapping the working end around the standing part twice, then pass it through both loops and pull to form a slip knot. Slide it along the standing line to tension.
Why it matters: Hammocks need 10-30 degrees of sag; this knot lets you fine-tune without retying. Expect the knot to slide smoothly when loose but lock under pull.
💡 Tips:
- •Lubricate with water if it's too stiff to adjust.
- •Place it 2-3 feet from the tree for easy reach.
⚠️ Warnings:
- •Tie it so the wraps face away from the load direction to prevent slipping.
Step 5: Assemble and Hang Your Hammock
Connect your bowline loops to the hammock ends using carabiners or by threading through eyelets. Attach the other ends to trees with clove hitches, then use taut-line hitches for tension.
Step back 10-15 feet between trees, at least 5 feet off the ground. Sit in the hammock gently to test—adjust sag so your head and feet are slightly higher than your hips.
Success: A stable hammock that doesn't shift when you lie in it, with ropes at 30-degree angles from horizontal.
💡 Tips:
- •Use tree savers or straps to protect bark.
- •Practice the full setup on low anchors first.
⚠️ Warnings:
- •Check for overhead branches or ant colonies before hanging.
Step 6: Test and Secure the Setup
Bounce lightly in the hammock and tug all ropes. Ensure no slippage and that knots are snug. Add backup knots if needed, like a simple overhand stopper.
This final check prevents accidents. Expect everything to hold steady for 10-15 minutes of use.
If secure, you're ready to relax—recheck after a few hours or in wind.
💡 Tips:
- •Weigh down with gear first to simulate load.
⚠️ Warnings:
- •Never exceed rope's rated weight; distribute load evenly.
▸Pro Tips
- •Practice each knot 10 times daily for a week to build confidence before camping.
- •Use colored paracord to easily spot and untie knots in low light.
- •Keep rope dry and store in a stuff sack to prevent mildew.
- •For solo setups, use a throw line to reach high branches safely.
- •Learn from videos: Search 'hammock knots tutorial' for visual aids.
- •Adjust for body weight—heavier users need more sag.
- •Combine with hammock straps for faster setups without tying every time.
▸Common Mistakes to Avoid
- •Using slippery materials like polypropylene rope, which causes knots to loosen—stick to nylon or paracord for grip.
- •Not leaving enough tail on knots (at least 6 inches), leading to unraveling—always double-check tails.
- •Over-tightening the taut-line hitch, making adjustments impossible—loosen fully before repositioning.
- •Ignoring tree height differences, resulting in uneven sag—aim for level anchors.
- •Skipping the load test, risking falls—always verify stability before full use.
▸Troubleshooting
Problem: Knot slips under weight
Solution: Retie with more wraps or use a backup overhand knot; ensure rope isn't wet or slick.
Problem: Hammock sags too much
Solution: Shorten the rope or adjust taut-line hitch closer to the tree; aim for 10-15 feet between anchors.
Problem: Rope frays on rough bark
Solution: Wrap trees with a strap or towel; replace frayed sections immediately.
Problem: Knot hard to untie after use
Solution: Untie while still under slight tension; use a marlinspike tool if stuck.
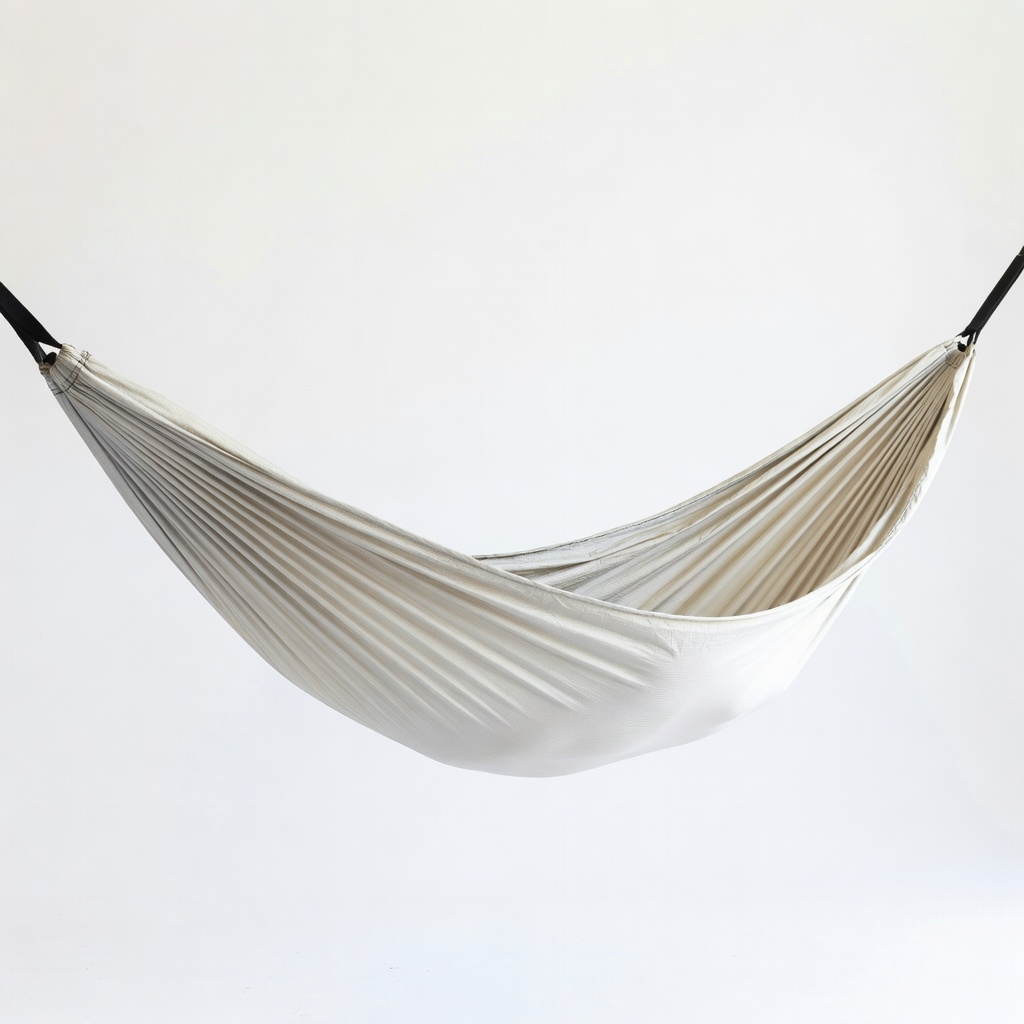
ENO SingleNest Hammock
This lightweight, durable hammock is beginner-friendly with built-in loops for easy knot attachment, holding up to 400 lbs securely.
Best for: Ideal for general camping; pairs perfectly with the knots taught here for quick setups.
Price Range: $69.99
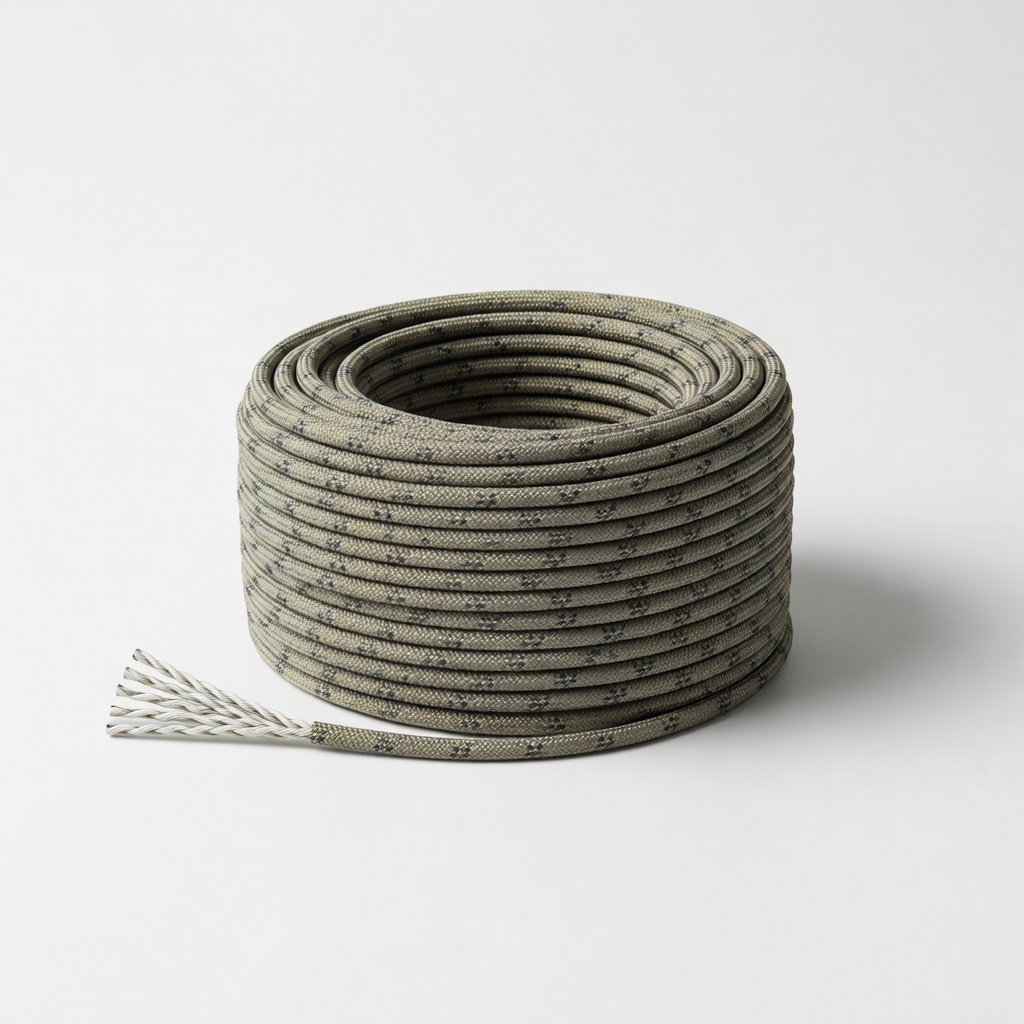
Ridge Runner 550 Paracord (100 ft)
High-strength paracord specifically designed for outdoor use, with excellent knot-holding ability and weather resistance.
Best for: Use for tying suspension lines; cut to length for bowline and hitch knots during hammock setup.
Price Range: $9.99
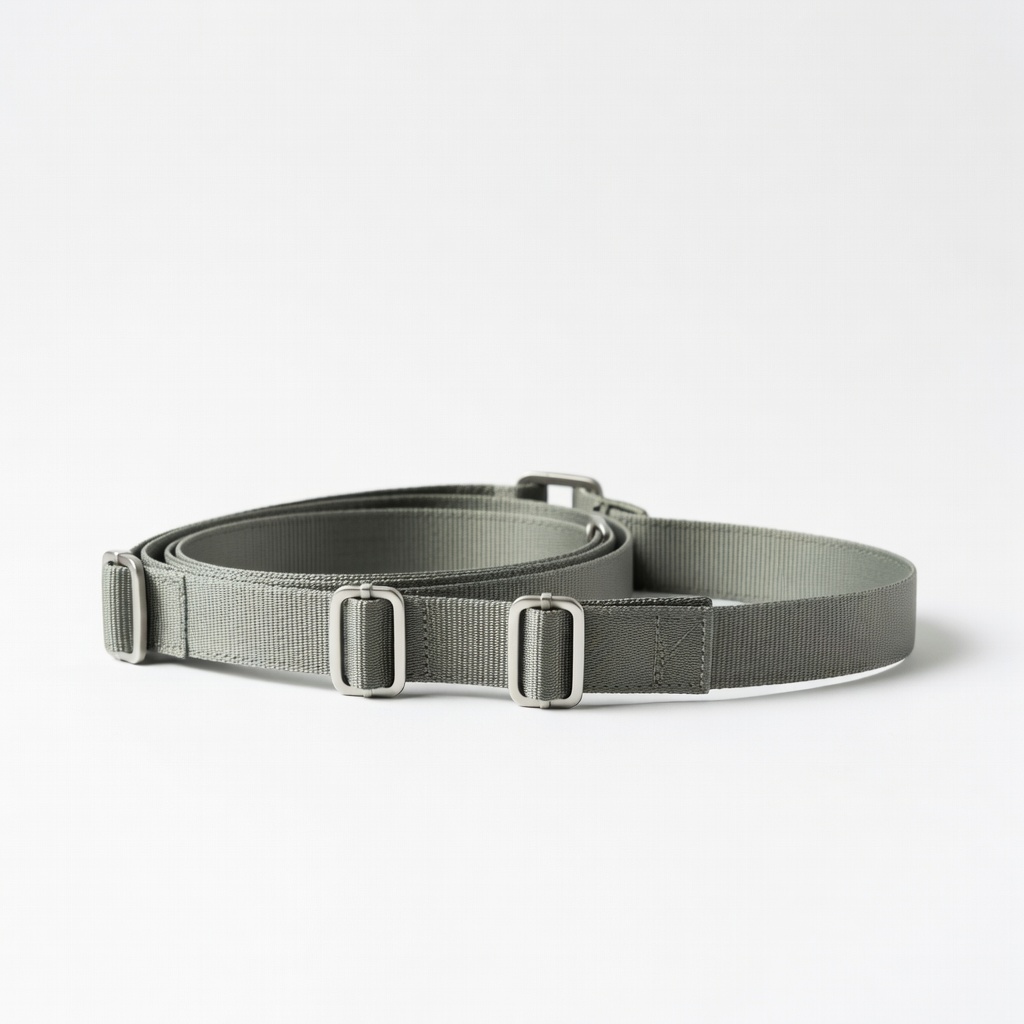
ENO Atlas Hammock Straps
These tree-friendly straps reduce the need for complex knots while allowing easy attachment points, making setups faster for beginners.
Best for: Wrap around trees and clip to ropes with bowlines; great for no-drill, bark-protecting suspension.
Price Range: $29.99
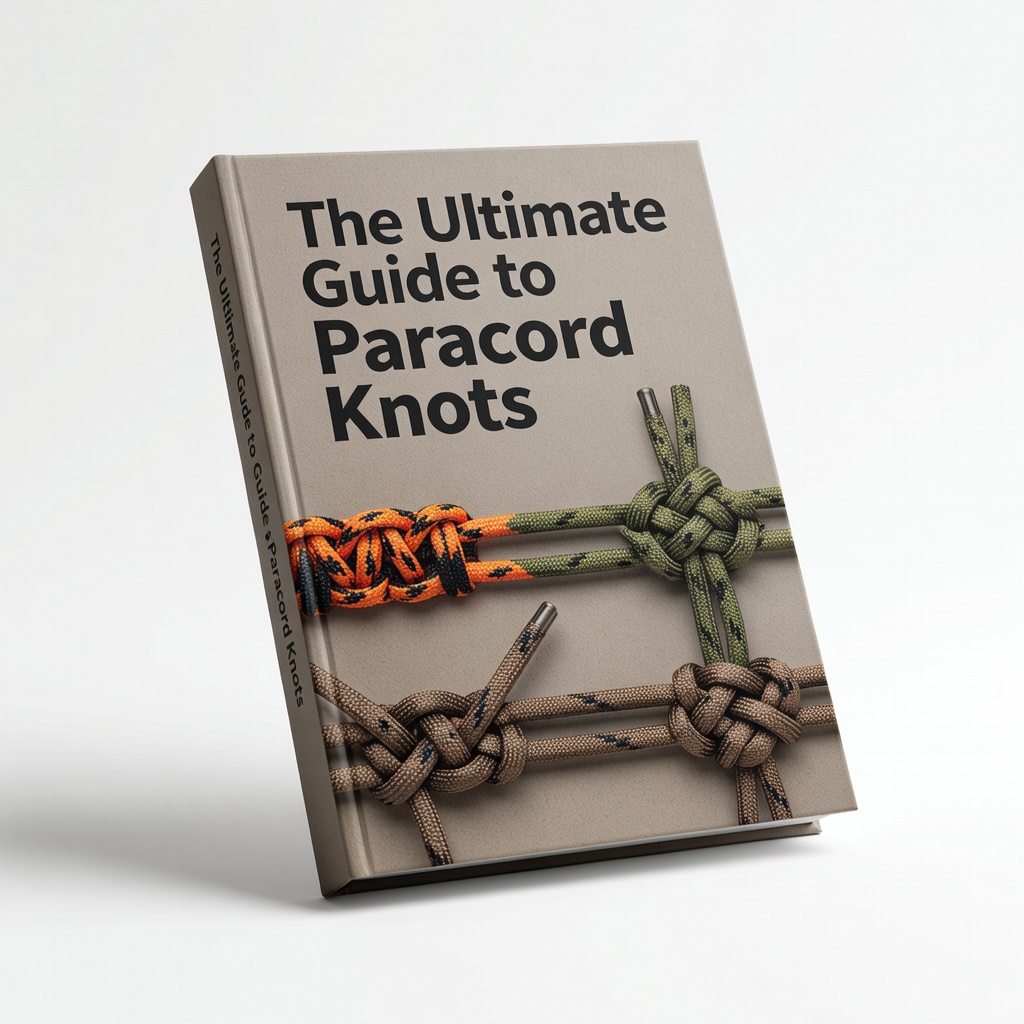
The Ultimate Guide to Paracord Knots Book
A visual reference book with step-by-step photos, perfect for practicing hammock knots and learning variations.
Best for: Keep in your camping kit for on-site refreshers; covers bowline, clove hitch, and more.
Price Range: $12.99
Outdoor Products Carabiner Set (4-Pack)
Heavy-duty aluminum carabiners connect ropes to hammocks securely, eliminating weak points in knots.
Best for: Clip bowline loops to hammock ends; rated for 5,000 lbs breaking strength.
Price Range: $14.99