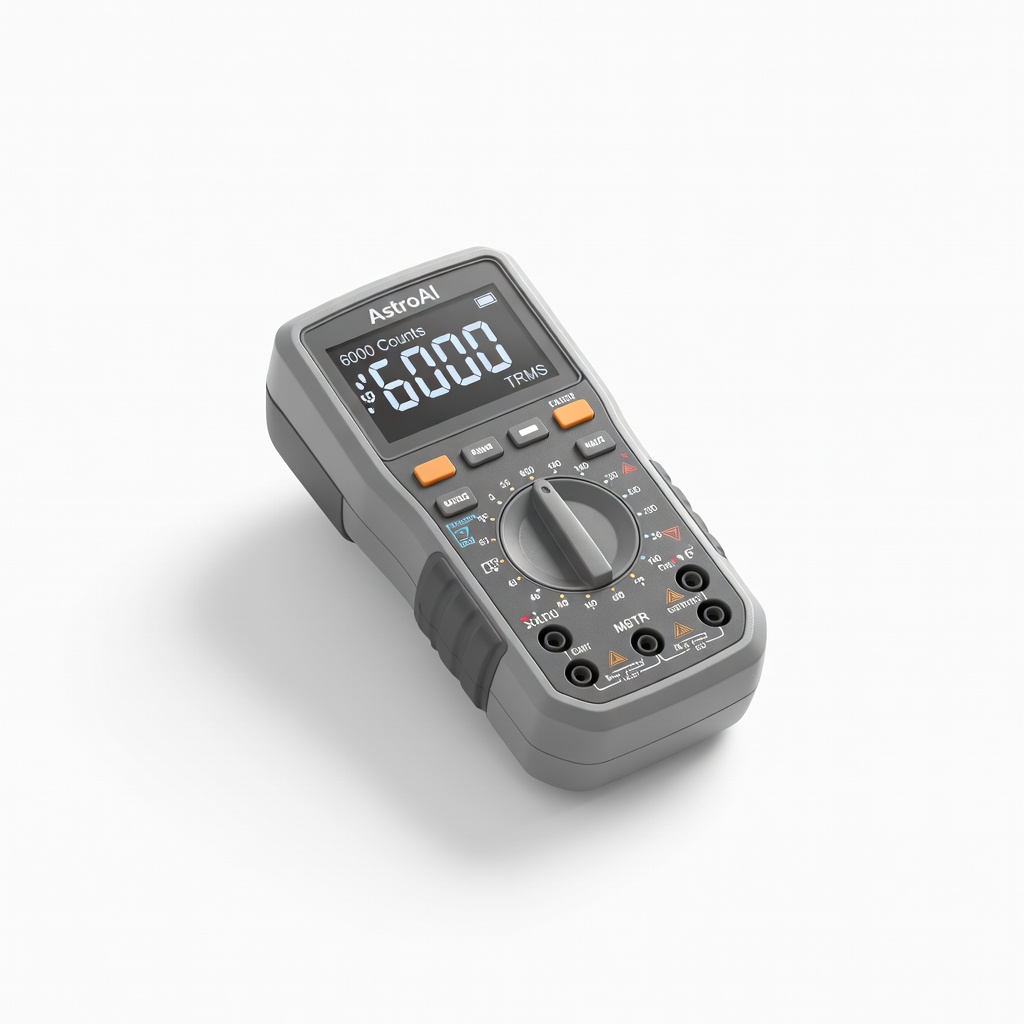
AstroAI Digital Multimeter 6000 Counts TRMS
Core tool for all voltage and continuity steps.
$25-$30
AstroAI Digital Multimeter 6000 Counts TRMS Accurate for DC voltage, continuity, and load tests with auto-ranging for ease.
Get the App
Better experience on mobile
Diagnose faulty AC adapters step-by-step with a multimeter to avoid costly replacements and fix devices quickly.
Is your gadget dead despite a full battery? A faulty AC adapter is often the culprit, causing frustration and unnecessary device purchases. Testing your adapter can save you time and money by confirming if it's the issue before buying a new one.
In this guide, you'll learn safe, reliable methods using visual checks and multimeter tests to identify common faults like open circuits, voltage drops, or overheating. Perfect for intermediate DIYers comfortable with basic electronics.
Expect 20-30 minutes total, with no advanced soldering required. We'll cover everything from safety to interpreting results.
Estimated Time: 20-30 minutes Difficulty: intermediate
Unplug the AC adapter from the wall and device. Work in a well-lit, dry area on a non-conductive surface like wood or rubber mat. Wear safety glasses and gloves to protect against potential shocks or debris.
Why it matters: AC adapters store residual charge, and faults can cause sparks. Safety prevents accidents, especially since we're dealing with mains voltage.
Success: Adapter is isolated, workspace ready—no plugs connected.
💡 Tips:
⚠️ Warnings:
Examine the adapter for physical damage: burnt smells, melted casing, frayed cords, bent pins, or bulging capacitors (if visible). Check the barrel connector for corrosion or bent tips.
Why: 50% of faults are visible. Burn marks indicate short circuits; fraying risks fire.
Success: Note any damage in a log. If severe (e.g., charring), discard immediately—no further testing needed.
💡 Tips:
⚠️ Warnings:
Set multimeter to continuity mode (beep symbol). Touch probes to each end of the power cord (one on plug prongs, one on output pins). Wiggle the cord while testing.
Why: Detects internal breaks causing intermittent power. Beep means good; no beep = fault.
Success: Steady beep without drops during wiggle test.
💡 Tips:
Set multimeter to DC voltage (20V range). Plug adapter into wall, touch red probe to center (positive) of barrel connector, black to outer (negative). Compare reading to label specs (e.g., 12V).
Why: Verifies regulation. Expect ±5-10% variance unloaded.
Success: Voltage matches label within tolerance (e.g., 11.4-12.6V for 12V adapter).
💡 Tips:
⚠️ Warnings:
Connect a 10-100 ohm resistor (matching adapter current) across output. Remeasure voltage under load.
Why: Simulates real use; faulty adapters drop voltage >20%.
Success: Voltage holds steady (minimal drop). If it crashes to 0V, adapter is bad.
💡 Tips:
Run adapter loaded for 5-10 minutes. Feel casing (carefully). Monitor voltage stability.
Why: Overheating signals poor regulation or shorts.
Success: Warm (not hot); voltage stable. Hotter than 140°F/60°C? Faulty.
⚠️ Warnings:
Unscrew casing. Look for swollen capacitors, loose solder, or burnt components. Test capacitor continuity if skilled.
Why: Pinpoints root cause for repair.
Success: Identified issue or confirmed internals good. Reassemble if OK.
💡 Tips:
⚠️ Warnings:
Problem: Multimeter shows erratic readings
Solution: Check/replace multimeter batteries; clean probes; test on known good source.
Problem: Voltage drops under load but passes no-load
Solution: Adapter undersized for load—replace with higher amp rating.
Problem: No output but continuity good
Solution: Internal fuse blown; seek pro repair or replace.
Problem: Overheats immediately
Solution: Short circuit inside—discard and replace.
Accurate for DC voltage, continuity, and load tests with auto-ranging for ease.
Best for: Core tool for all voltage and continuity steps.
Price Range: $25-$30
LED display shows voltage, polarity, and shorts without multimeter setup.
Best for: Quick plug-and-play testing for beginners advancing to intermediate.
Price Range: $9.99-$12.99
Precise for inspecting frayed cords without further damage.
Best for: Cord continuity prep and minor repairs.
Price Range: $15-$20
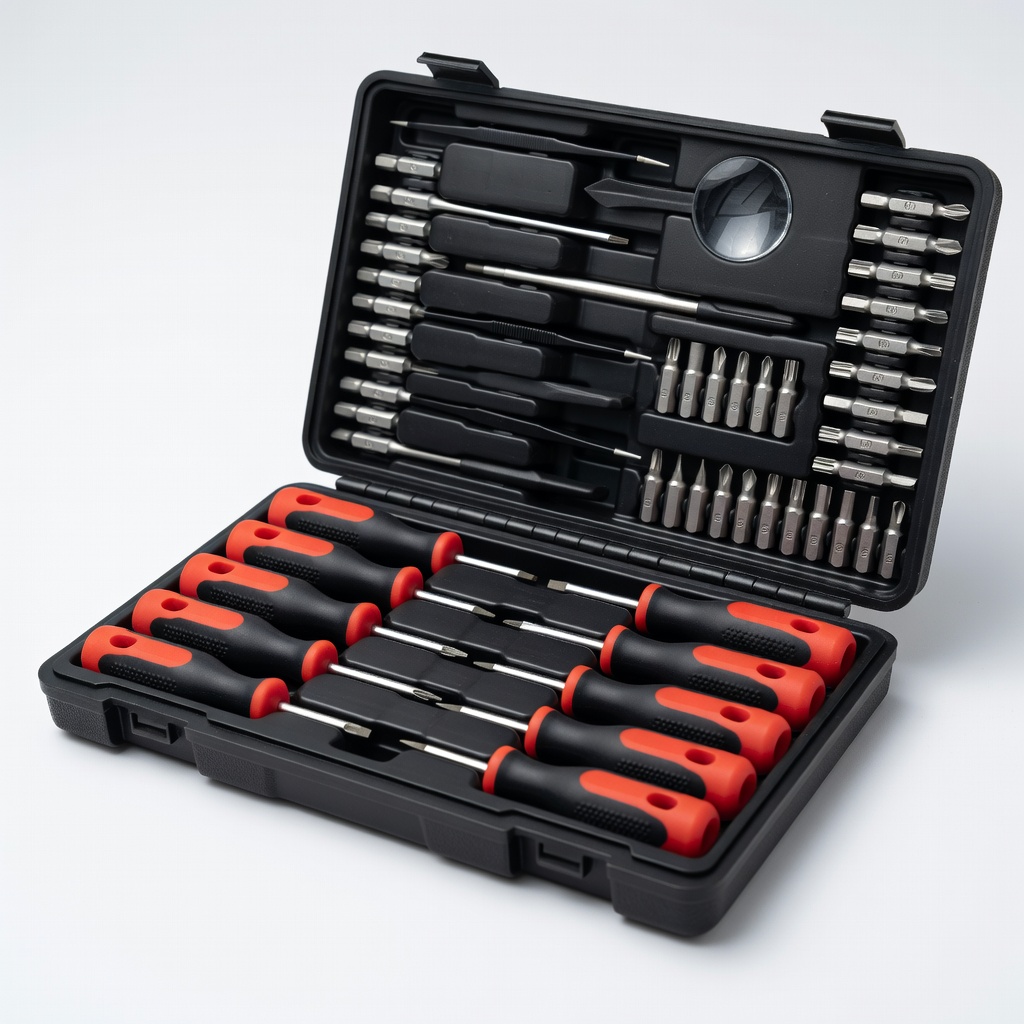
Magnetic bits for safe disassembly without losing screws.
Best for: Optional internal inspection step.
Price Range: $25-$35
Core tool for all voltage and continuity steps.
AstroAI Digital Multimeter 6000 Counts TRMS Accurate for DC voltage, continuity, and load tests with auto-ranging for ease.
Quick plug-and-play testing for beginners advancing to intermediate.
Kuman AC/DC Power Supply Tester LED display shows voltage, polarity, and shorts without multimeter setup.

Cord continuity prep and minor repairs.
Klein Tools 11055 Wire Stripper/Cutter Precise for inspecting frayed cords without further damage.
Optional internal inspection step.
Jakemy 142-Piece Electronics Screwdriver Set Magnetic bits for safe disassembly without losing screws.