Dead batteries can cause frustration, from a TV remote that won't work to a car that won't start. Instead of guessing or throwing away perfectly good cells, you can use a multimeter to quickly and accurately test battery voltage. This guide will teach you how to test common household batteries (AA, AAA, 9V) and even car batteries with a digital multimeter. We'll cover proper safety, step-by-step instructions, and how to interpret the readings so you never waste time on a dead battery again. No prior experience needed—just a multimeter and a few minutes.
▸What You'll Need
- •Digital multimeter (auto-ranging preferred for beginners)
- •Battery to test (AA, AAA, 9V, car battery, etc.)
- •Alligator clip probes (optional, but helpful for hands-free testing)
- •Clean cloth or eraser (for cleaning contacts if needed)
Estimated Time: 5 minutes
Difficulty: beginner
▸Step-by-Step Instructions
Step 1: Set Up Your Multimeter
First, insert the black probe into the COM terminal and the red probe into the VΩmA terminal (or the terminal labeled for voltage). Turn the dial to the DC voltage (V with a straight line) setting. For most batteries (AA, AAA, 9V), choose the 2V range if your meter has manual range. If you have an auto-ranging meter, it will select the correct range automatically. If you're testing a car battery (12V), choose the 20V DC range.
💡 Tips:
- •If your multimeter does not auto-range, always start with a higher range and move down for better precision.
- •Make sure the multimeter's own battery is fresh to avoid false low readings.
⚠️ Warnings:
- •Never use the resistance or current settings when testing voltage—this could damage the meter.
- •Ensure the probes are securely plugged in to avoid intermittent contact.
Step 2: Identify Battery Terminals
Locate the positive (+) and negative (-) terminals on the battery. On most cylindrical batteries (AA, AAA), the positive terminal is the raised nub and the negative is the flat end. On a 9V battery, the positive is the smaller circular terminal (often marked), and the negative is the larger clip terminal. For car batteries, the positive terminal is usually red and has a plus sign, while the negative is black with a minus sign.
💡 Tips:
- •If the terminals are dirty or corroded, clean them with a cloth or eraser before testing.
- •On car batteries, always remove the negative terminal first if disconnecting.
⚠️ Warnings:
- •Never short the terminals with the probes—this can cause sparks or battery damage.
Step 3: Connect the Red Probe to the Positive Terminal
Touch the metal tip of the red probe to the positive (+) terminal of the battery. Ensure good contact—you may need to hold it steady. For large terminals like a car battery, you can use an alligator clip to free your hands.
💡 Tips:
- •For small batteries, lightly pressing the probe against the terminal is enough. Don't push too hard or you might slip.
- •If using alligator clips, attach the red clip to the positive terminal first.
Step 4: Connect the Black Probe to the Negative Terminal
Touch the black probe to the negative (-) terminal of the battery. Again, ensure a solid connection. If the probes are reversed, the display will show a negative sign (e.g., -1.48V), which is fine—just note the absolute value.
💡 Tips:
- •Touching the probes briefly is enough; you don't need to hold them for more than a second.
- •If you get a negative reading, simply swap the probes mentally or physically.
⚠️ Warnings:
- •Do not let the two probes touch each other while connected to the battery—this creates a short circuit.
Step 5: Read the Voltage on the Display
Look at the multimeter display. For a fresh AA or AAA alkaline battery, you should see around 1.5V (1.5 volts). For a rechargeable NiMH AA, it may read about 1.2V. A 9V battery should read around 9V, and a healthy car battery around 12.6V when fully charged. Note the reading to the nearest 0.01V if possible.
💡 Tips:
- •Take the reading after the numbers stabilize (usually within 1 second).
- •For a more accurate test of a car battery, test it after it has been sitting for at least an hour (surface charge can inflate readings).
⚠️ Warnings:
- •If the reading is 0V or very low, double-check your probe connections and battery contacts.
Step 6: Interpret the Voltage Reading
Compare your reading to the battery's nominal voltage. For an alkaline AA battery: 1.5V is new, 1.35V–1.5V is good, 1.2V–1.35V is usable but weak, and below 1.2V is likely dead for most high-drain devices. For a car battery: 12.6V or higher is fully charged, 12.4V is 75% charged, 12.2V is 50%, and below 12V is discharged. If the battery is rechargeable and reading significantly lower than nominal (e.g., 0.8V for a NiMH), it may be defective.
💡 Tips:
- •For a more thorough test of car batteries, perform a load test (turn on headlights for 1 minute then test voltage under load).
- •Some devices (like remote controls) can still work at lower voltages (e.g., 1.2V for an AA).
⚠️ Warnings:
- •A battery that reads 0V or has a swollen case should be disposed of properly—do not recharge or use.
Step 7: Remove the Probes and Power Down the Multimeter
Disconnect the probes from the battery, starting with the negative (black) probe if you're concerned about safety. Turn the multimeter dial to the OFF position to save battery life. If your meter doesn't have an auto-off feature, this step is important to avoid draining the meter's battery.
💡 Tips:
- •Store probes with the tips covered or inserted into the protective cap to prevent damage.
- •If you plan to test another battery immediately, you can leave the meter on, but don't forget to turn it off when done.
⚠️ Warnings:
- •Do not wrap probes around the meter while it's on—they could accidentally short between the terminals.
▸Pro Tips
- •For accurate readings, test batteries at room temperature (extremes can skew voltage).
- •If you frequently test batteries, invest in a multimeter with alligator clip probes for hands-free operation.
- •When testing a car battery, always wear safety glasses and work in a well-ventilated area to avoid hydrogen gas.
- •Keep a record of your battery's voltage over time to identify how quickly it self-discharges.
- •For coin cell batteries (e.g., CR2032), use a setting like 3V DC and be careful not to short the small terminals.
- •A load test (using a resistor or automotive load tester) gives a better indication of battery health than a no-load voltage test alone.
▸Common Mistakes to Avoid
- •Using the AC voltage setting instead of DC—results in a 0V reading or erratic numbers.
- •Touching probes together while connected to a battery, causing a short and potentially damaging the battery or meter.
- •Testing a car battery immediately after charging (surface charge gives a falsely high voltage—wait or turn on headlights for a minute).
- •Ignoring the decimal point: 1.5V vs 150V misreading due to wrong range selection.
- •Not cleaning corroded battery terminals—corrosion can cause a false low reading.
▸Troubleshooting
Problem: Multimeter reads 0V even though the battery is new.
Solution: Check that the probes are plugged into the correct jacks (COM and V). Also ensure the dial is set to DC voltage, not AC. If still 0V, try a different battery to rule out meter issues.
Problem: Reading shows a negative sign (e.g., -1.48V).
Solution: This simply means the probes are reversed. Swap red and black probes to get a positive reading. The absolute value is correct.
Problem: Voltage fluctuates or won't settle.
Solution: Ensure probe tips are making good contact with bare metal (not paint or corrosion). Clean terminals with an eraser or sandpaper. If using alligator clips, check they are secure.
Problem: Car battery reads 12.6V but car won't start.
Solution: The battery may have a dead cell or insufficient cold cranking amps (CCA). Perform a load test or have the battery professionally tested. Also check the alternator and starter.
Problem: Multimeter batteries keep dying quickly.
Solution: Remember to turn off the meter after use. If it has an auto-off feature, make sure it's enabled. Also avoid leaving probes plugged in indefinitely.
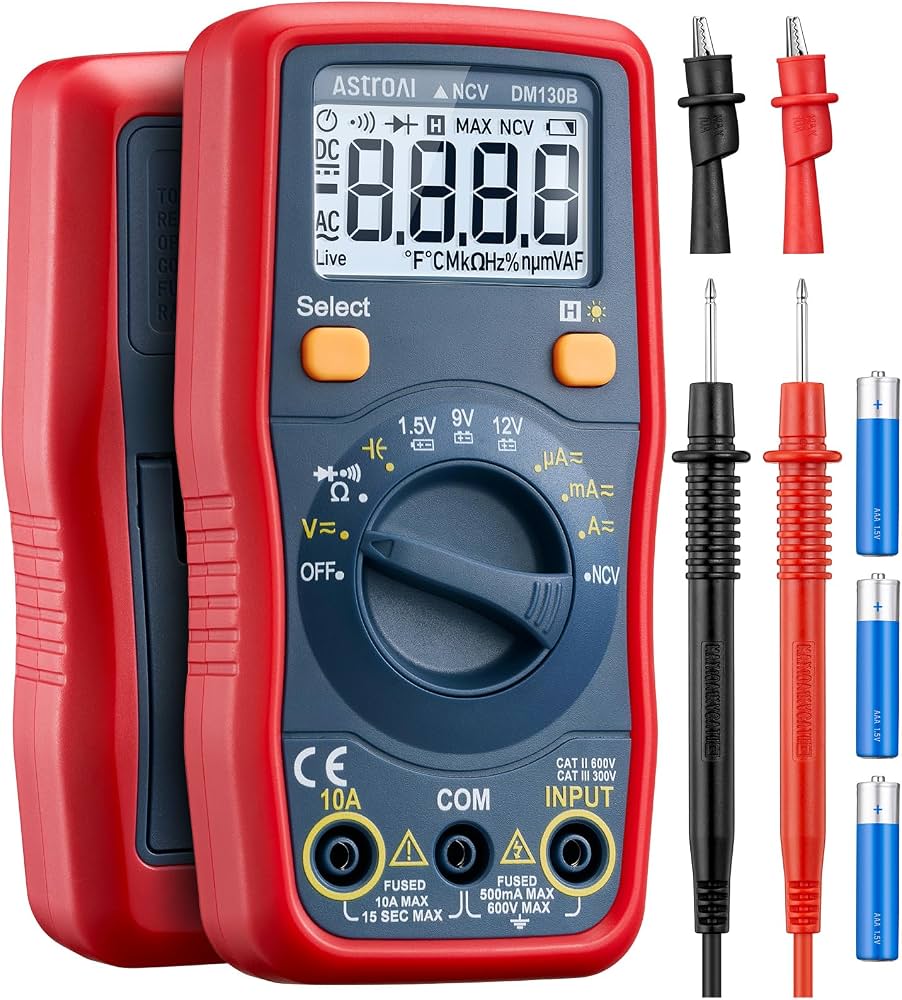
AstroAI Digital Multimeter
An affordable, auto-ranging meter perfect for beginners. It includes a backlight, data hold, and comes with probes and a thermocouple.
Best for: General household battery testing, automotive troubleshooting, and basic electronics.
Price Range: $15–$20
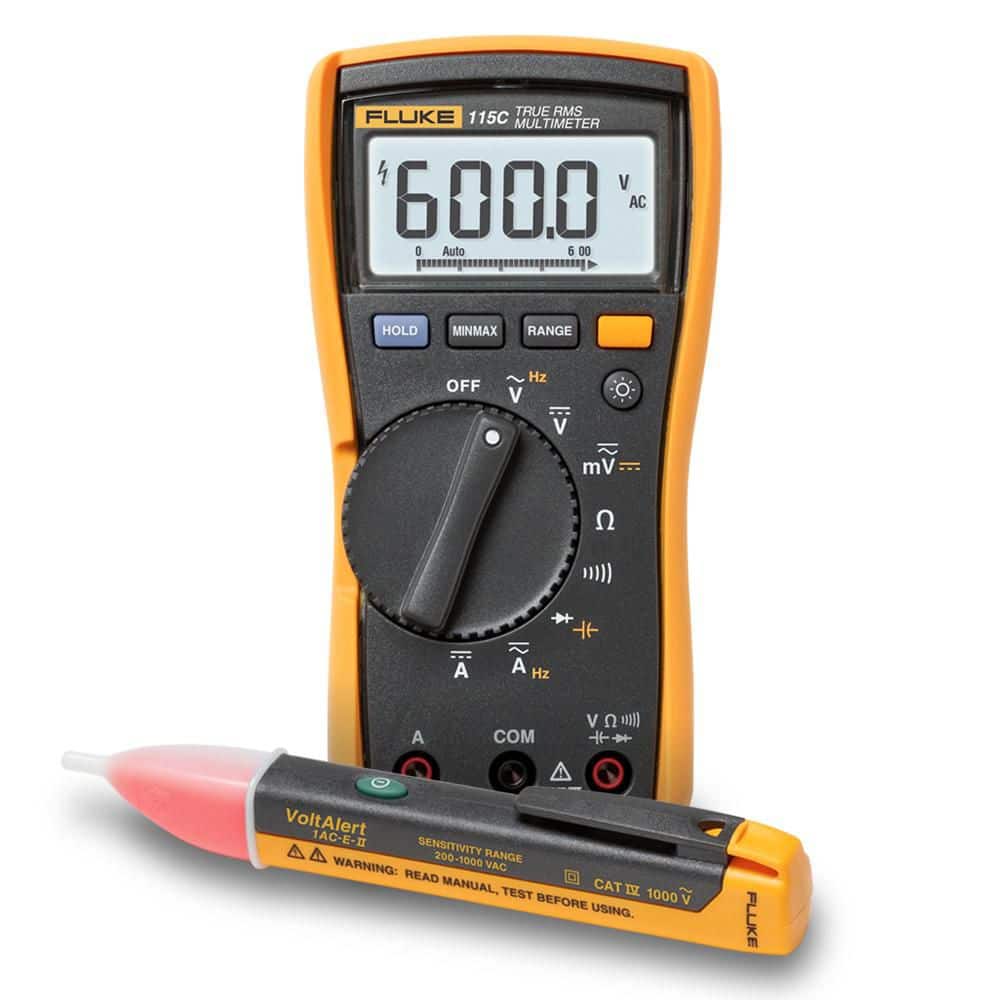
Fluke 115 Digital Multimeter
A professional-grade meter with True RMS, compact design, and excellent durability. Ideal for those who want accuracy and reliability.
Best for: Professional electricians, mechanics, and serious DIYers who test batteries and electrical systems frequently.
Price Range: $170–$200
Klein Tools MM400 Multimeter
A feature-packed meter from a trusted brand includes auto-ranging, CAT III safety rating, and a built-in battery tester function. Great value for the price.
Best for: Home maintenance, automotive battery testing, and HVAC troubleshooting.
Price Range: $60–$80
Multimeter Probe Kit with Alligator Clips
A set of silicone test leads with alligator clips, needle tips, and hook grips. Makes testing batteries and hard-to-reach contacts much easier.
Best for: When you need hands-free probing for battery terminals or when standard probes are too thick.
Price Range: $10–$15