Ever popped a 9V battery into your smoke detector or guitar pedal only to find it dead minutes later? Testing batteries saves money, reduces waste, and ensures your devices work when you need them. This guide teaches beginners how to test 9V batteries accurately with a multimeter.
You'll learn the simple voltage test method, which takes under 10 minutes. No prior experience needed—we'll cover setup, reading results, and what the numbers mean. By the end, you'll confidently identify good batteries (around 9V), weak ones (under 7V), and dead ones.
Expect a straightforward process: prepare tools, set your multimeter, touch probes to terminals, and read the display. It's safe and foolproof with our step-by-step instructions.
▸What You'll Need
- •Digital multimeter (auto-ranging preferred for beginners)
- •9V battery to test
- •Clean, dry workspace
- •Optional: Safety gloves and glasses
Estimated Time: 5-10 minutes
Difficulty: beginner
▸Step-by-Step Instructions
Step 1: Gather Your Tools and Prepare Workspace
Start by collecting your digital multimeter and the 9V battery. Ensure your workspace is clean, dry, and well-lit to avoid slips or misreads.
Why it matters: A cluttered area can lead to short circuits or probe slips. Wipe the battery terminals with a dry cloth if dirty—clean contacts ensure accurate readings.
Success looks like: All items ready, battery terminals shiny and exposed.
💡 Tips:
- •Use a non-conductive surface like wood or plastic.
⚠️ Warnings:
- •Avoid testing near water or flammable materials.
Step 2: Power On Your Multimeter
Insert fresh batteries into the multimeter if needed, then turn it on using the power button (usually marked with a circle and line). Most modern multimeters auto-power or have a dial switch.
Check the display lights up and shows a battery icon or zero. Why? Ensures the tool is functional before testing.
Expect: Screen illuminates with default reading (often 0.00V).
💡 Tips:
- •Test on a known good battery first if possible.
Step 3: Set Multimeter to DC Voltage Mode
Rotate the dial to DCV (direct current voltage) setting. For 9V batteries, select 20V DC range—most multimeters have markings like a straight line over dashed line with 'V'.
Auto-ranging models adjust automatically; manual ones need 20V to cover 9V safely. Why? Wrong mode gives nonsense readings (e.g., AC for batteries).
Success: Dial points to DCV 20V, symbol matches.
💡 Tips:
- •Look for 'mV' only if testing tiny voltages—not for 9V.
⚠️ Warnings:
- •Never use AC mode for batteries—it'll read near zero falsely.
Step 4: Insert Probes into Multimeter Ports
Plug the black probe into the COM (common) port. Plug the red probe into the V/Ω (voltage/ohms) port—color-coded for safety.
Why? Correct ports prevent damage. Hold probes by insulated handles.
Expect: Probes fit snugly, no loose connections.
💡 Tips:
- •Replace frayed probe wires immediately.
Step 5: Touch Probes to Battery Terminals
Place red probe on the flat + (positive) terminal (smaller side). Touch black probe to snap - (negative) terminal (larger side with snap connectors).
Hold steady for 3-5 seconds. Polarity matters—reversing gives negative reading (still usable value).
Why? Measures open-circuit voltage accurately. Expect voltage display.
💡 Tips:
- •Press firmly but gently—no need to squeeze.
⚠️ Warnings:
- •Don't short terminals by touching probes together.
Step 6: Read and Interpret the Voltage
Note the display: 9.0-9.6V = fully charged/good; 7.2-9.0V = usable; below 7V = weak/dead (replace).
Under load (device use), good batteries hold >7.2V. Record for multiple tests.
Success: Clear number like '9.2V'. Turn off multimeter after.
💡 Tips:
- •Test twice for consistency.
Step 7: Safely Store Tools
Remove probes, power off multimeter, and store in case. Dispose of dead batteries properly (recycle).
Why? Prevents accidents and extends tool life.
💡 Tips:
- •Label batteries with voltage/date tested.
▸Pro Tips
- •Test batteries at room temperature—cold reduces voltage temporarily.
- •For bulk testing, group by voltage to rotate stock (first in, first out).
- •Use auto-ranging multimeters to skip manual dial fiddling.
- •Clean terminals with isopropyl alcohol for precise readings.
- •Compare new vs. used: Fresh 9V often reads 9.6V.
- •Test under load by clipping to a resistor or bulb for real-world check.
- •Keep multimeter leads straight—coiled wires affect accuracy.
▸Common Mistakes to Avoid
- •Using AC mode instead of DC—reads zero; always double-check dial.
- •Reversing probes—shows negative voltage; absolute value is fine.
- •Testing dirty terminals—low readings; wipe first.
- •Wrong voltage range (e.g., 200V)—overloads or inaccurate; use 20V.
- •Shaking probes—unstable readings; hold steady.
▸Troubleshooting
Problem: Multimeter shows 0.0V or OL
Solution: Check connections, battery power, mode. Test known good battery.
Problem: Erratic/fluctuating readings
Solution: Clean terminals/probes. Steady hands. Replace multimeter battery.
Problem: No display power
Solution: Replace multimeter's internal batteries. Check fuse.
Problem: Negative voltage
Solution: Probes reversed—swap for positive reading; value is what matters.
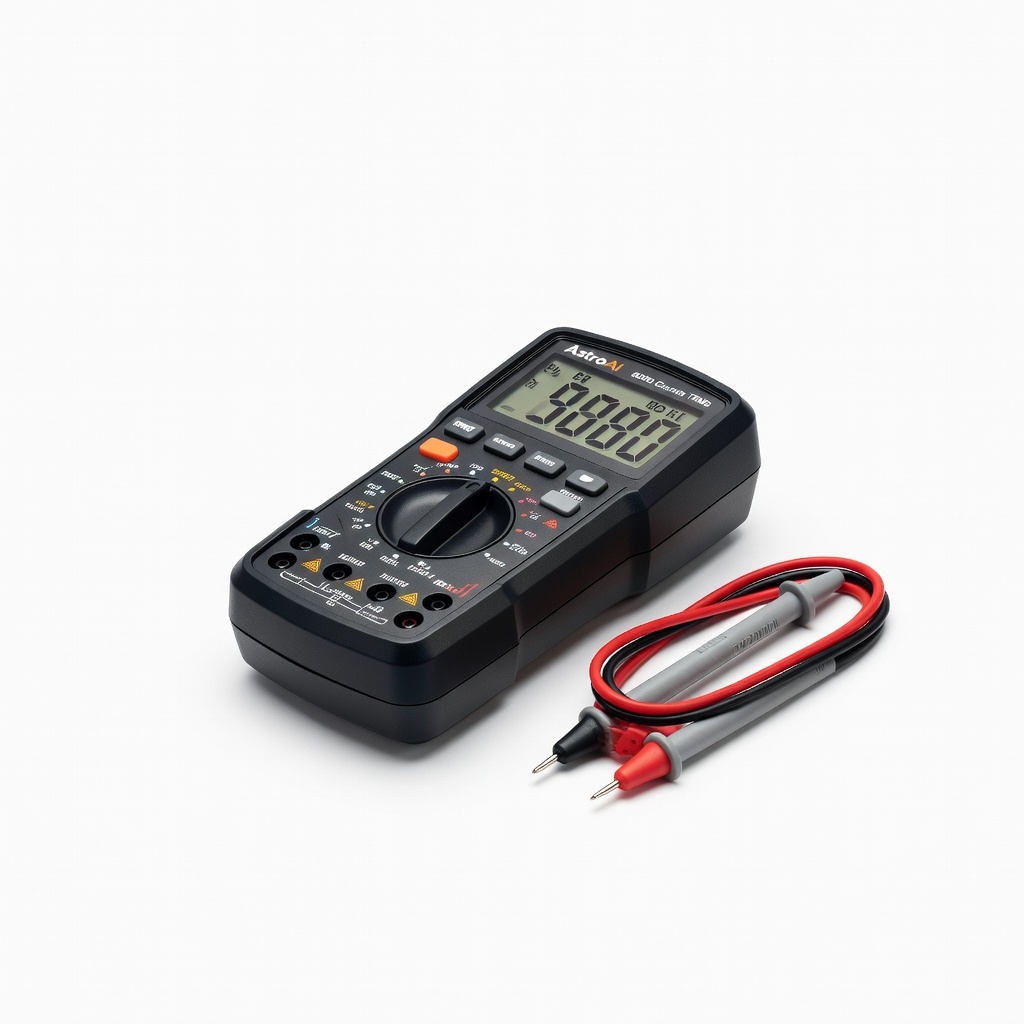
AstroAI Digital Multimeter 6000 Counts TRMS
Beginner-friendly with auto-ranging, clear display, and battery testing leads—accurate for 9V volts.
Best for: Everyday home testing of batteries, outlets, and appliances.
Price Range: $29.99-$32.99
Klein Tools MM325 Multimeter
Durable, auto-ranging with test leads designed for batteries—reliable voltage accuracy.
Best for: Frequent DIYers testing multiple battery types safely.
Price Range: $49.99-$59.99
Energizer MAX 9V Batteries (Pack of 4)
High-quality alkaline batteries for testing/reference—consistent 9.6V fresh readings.
Best for: Stock up and test against known good ones.
Price Range: $12.99-$15.99
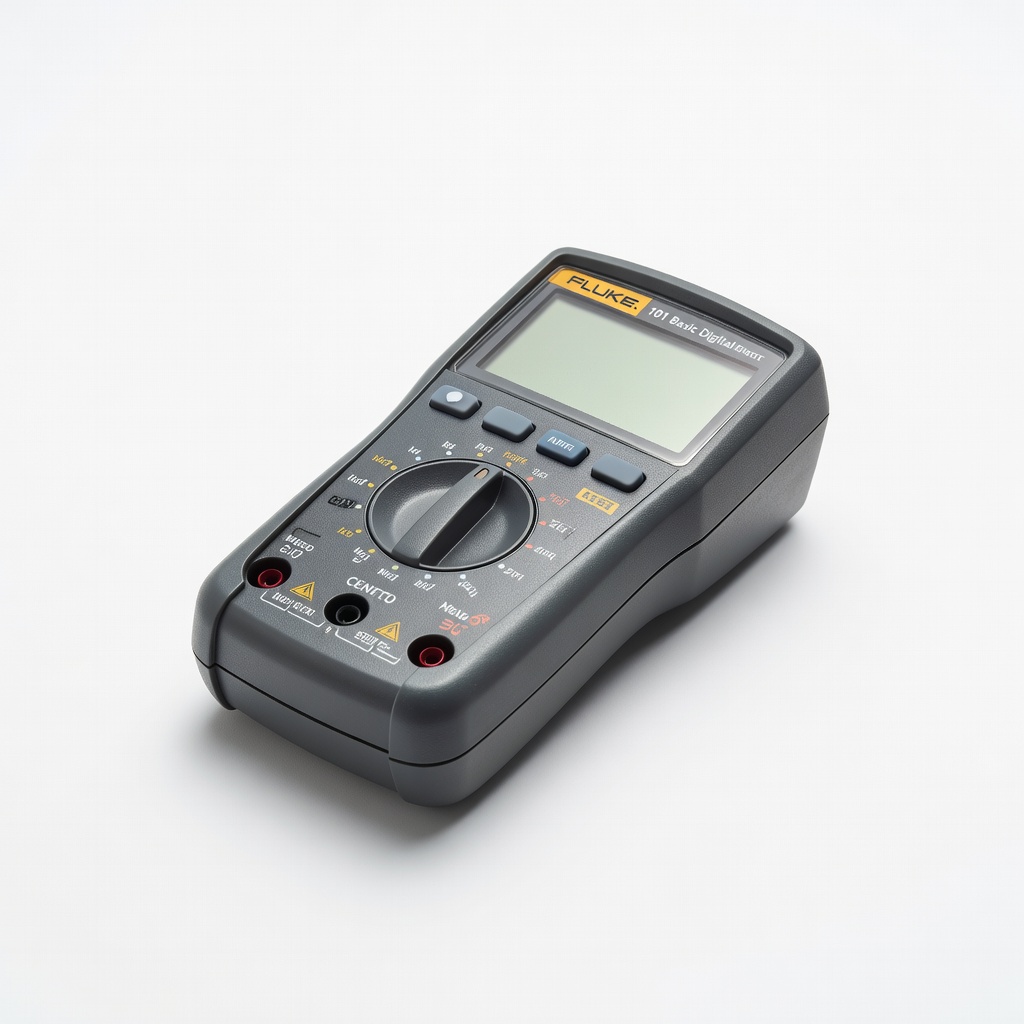
Fluke 101 Basic Digital Multimeter
Pro-grade accuracy and simplicity—perfect intro to reliable testing without extras.
Best for: Precise 9V checks for critical devices like alarms.
Price Range: $39.99-$45.99