
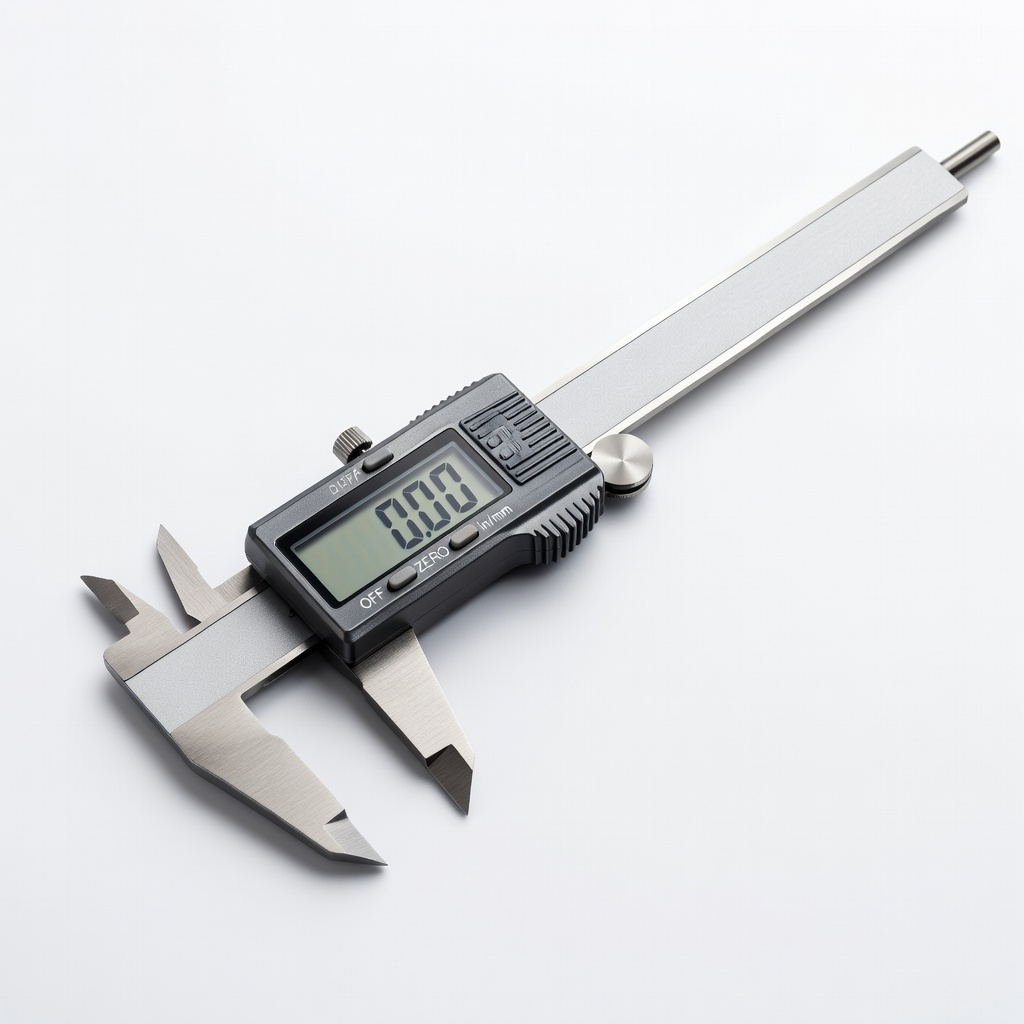
Neiko 01407A 0-6" Digital Caliper
Core tool for all dimensions and tolerances in advanced calibration.
$25.99
Neiko 01407A 0-6" Digital Caliper 0.01mm accuracy essential for precise edge/wall measurements beyond vernier limits.
Get the App
Better experience on mobile
Achieve sub-0.1mm precision in your 3D prints by mastering calibration cube tests and fine-tuning your printer settings.
Inaccurate 3D prints can waste filament, time, and frustration—walls too thin, dimensions off by millimeters, or warped corners plague even experienced makers. Testing accuracy with calibration cubes is the gold standard for diagnosing issues like extrusion inconsistencies, bed leveling errors, or thermal expansion.
This advanced guide walks you through printing, measuring, and analyzing a calibration cube to quantify your printer's performance. You'll learn to spot deviations down to 0.01mm and apply targeted fixes. Expect precise, data-driven results that elevate your prints from good to professional-grade.
The process takes 1-2 hours total (mostly print time), assuming familiarity with slicers like Cura or PrusaSlicer. No basic setup required—just your printer and precision tools.
Estimated Time: 1-2 hours (30-60 min print + 30 min measuring/analysis) Difficulty: advanced
Start by sourcing a precise 20mm calibration cube model—the most common benchmark for FDM printers. Visit Thingiverse.com and search for 'XYZ 20mm Calibration Cube' by bjb47 (over 1M downloads). Download the STL file.
This cube features marked dimensions (20mm outer, 10mm walls, tiny holes/features for testing tolerances). Why it matters: Standardized models ensure comparable results across printers. Save the file to your slicer projects folder.
Expect: A simple cube with X/Y/Z labels etched on faces for easy orientation.
💡 Tips:
⚠️ Warnings:
Open your slicer (e.g., Cura 5.6+). Import the STL. Set basic parameters: 0.2mm layer height, 0.4mm nozzle, 100% infill, no supports, brim optional for adhesion.
Disable advanced features like ironing or fuzzy skin to isolate core accuracy. Use default speeds (50mm/s) and temps (PLA: 200°C nozzle, 60°C bed). Why? Stock settings reveal baseline hardware performance without software tweaks.
Success looks like: Preview shows a solid 20mm cube with clean walls.
💡 Tips:
Hit 'Slice' and review layer view for issues (e.g., no gaps in walls). Export G-code to your printer's SD card/USB.
Verify estimated print time (~20-30 min) and filament use (~5g). This step confirms the model is ready without over-extrusion artifacts.
Expect: Clean G-code file ready for transfer.
💡 Tips:
⚠️ Warnings:
Level your bed manually or auto (if equipped). Start the print on a clean PEI/PEEK sheet. Monitor first layers for adhesion and straightness.
Print in an enclosed space if possible to minimize drafts. Why it matters: Environmental factors like airflow affect dimensional accuracy.
Success: Cube completes without warping, stringing, or layer shifts.
💡 Tips:
⚠️ Warnings:
Let the print cool fully (30+ min at room temp) to avoid thermal contraction errors. Gently flex the bed or use spatula to remove.
Clean debris with IPA. Cooling ensures measurements reflect final dimensions, as PLA shrinks ~0.3-0.5% post-print.
Expect: Rigid, unmarked cube ready for inspection.
💡 Tips:
Zero your digital calipers. Measure each edge 3x (top/middle/bottom) on X, Y, Z faces (marked). Average results.
Target: 20.00mm ±0.1mm. Record deviations (e.g., X=19.95mm under-extrudes). Why? Axis-specific errors reveal steps/mm miscalibration or belt tension issues.
Success: All axes within 0.2mm total variance.
💡 Tips:
⚠️ Warnings:
Measure internal wall thickness (should be 0.8-1.2mm for 2 walls @0.4mm). Probe gaps between walls.
Check infill visibility through walls. Deviations indicate flow multiplier errors.
Expect: Uniform 0.4mm walls, no gaps.
💡 Tips:
Check tiny holes/slots (0.2-1mm) for circularity. Verify 90° corners with square tool. Look for ringing/ghosting.
Test tolerances by inserting 0.4mm feeler gauge.
Success: Sharp features, square angles <0.5° off.
💡 Tips:
⚠️ Warnings:
Log data in spreadsheet: avg dimension, std dev, % error. Tolerance = max-min across axes.
Benchmark: <0.15mm tolerance = excellent; 0.15-0.25mm good; >0.25mm needs fixes.
Expect: Data revealing root causes (e.g., Z tallest = over-extrusion).
💡 Tips:
Fix issues: Scale factor for dimensions, flow rate for walls, steps/mm for axes. Re-print one cube.
Iterate until tolerance <0.1mm.
Success: Improved metrics confirming calibration.
💡 Tips:
Problem: Inconsistent dimensions across axes
Solution: Check belt tension (ping test: high guitar string note), re-level bed, calibrate steps/mm via Pronterface.
Problem: Thin walls or gaps
Solution: Increase flow rate 5% increments, check e-steps (extrude 100mm filament, measure), clean nozzle.
Problem: Warped corners or non-square
Solution: Improve first layer squish, add enclosure, tune PID for stable temps.
Problem: Z-axis tallest (expansion)
Solution: Lower nozzle temp 5°C, increase cooling, verify Z leadscrew tightness.
Problem: Poor feature resolution
Solution: Slow to 30mm/s, enable pressure advance, upgrade to 0.2mm nozzle.
0.01mm accuracy essential for precise edge/wall measurements beyond vernier limits.
Best for: Core tool for all dimensions and tolerances in advanced calibration.
Price Range: $25.99
Consistent diameter (1.75±0.03mm) ensures reliable extrusion for accurate tests.
Best for: Baseline material for calibration—avoids cheap filament variability.
Price Range: $24.99
Measures micro-gaps in walls/features down to 0.0015"; complements calipers.
Best for: Tolerance testing on slots/holes where calipers can't probe.
Price Range: $9.99
Higher precision (0.001mm) for wall thickness vs. caliper limits.
Best for: Advanced users verifying internal structures.
Price Range: $29.99
Auto bed leveling eliminates Z inconsistencies for repeatable accuracy.
Best for: If manual leveling fails—install before retesting.
Price Range: $49.99
Core tool for all dimensions and tolerances in advanced calibration.
Neiko 01407A 0-6" Digital Caliper 0.01mm accuracy essential for precise edge/wall measurements beyond vernier limits.
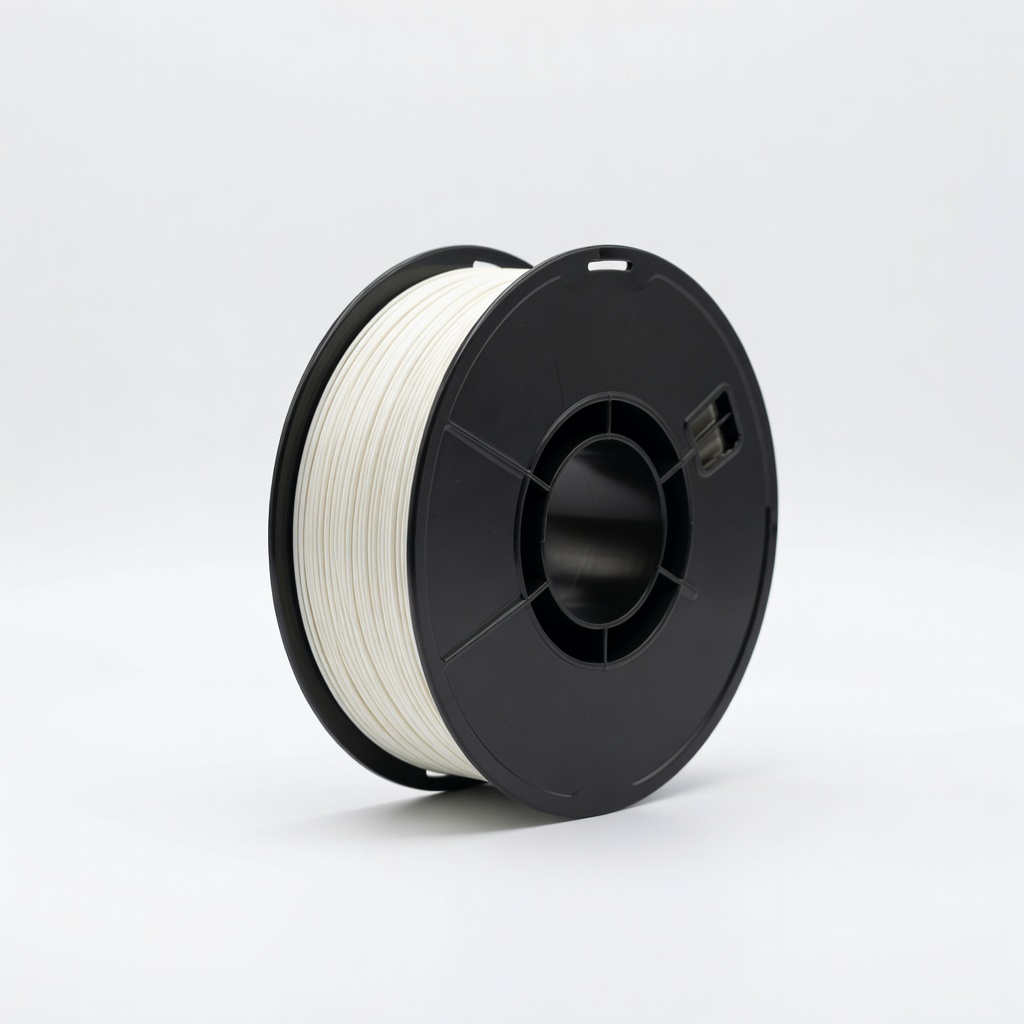
Baseline material for calibration—avoids cheap filament variability.
HATCHBOX PLA 1.75mm 3D Printer Filament 1KG Consistent diameter (1.75±0.03mm) ensures reliable extrusion for accurate tests.
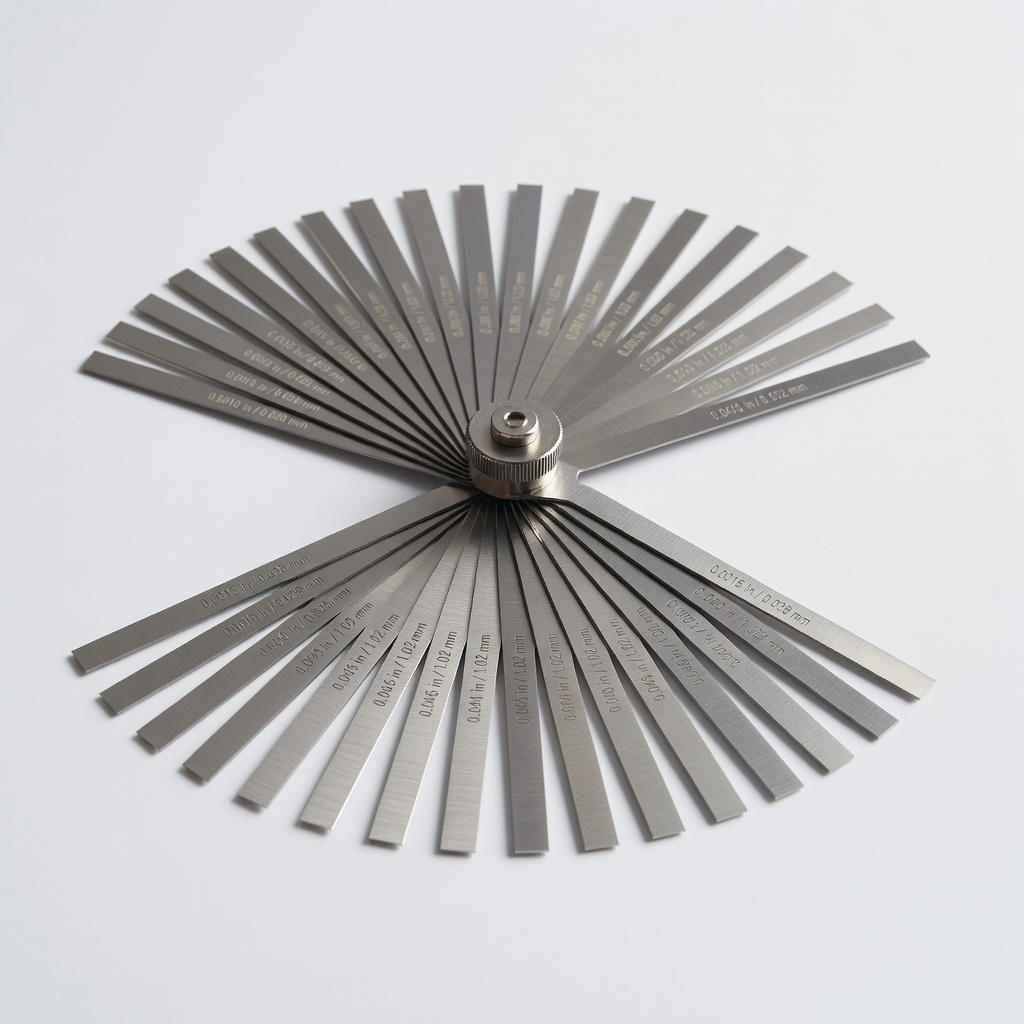
Tolerance testing on slots/holes where calipers can't probe.
Performance Tool W80530 32-Blade Feeler Gauge Set Measures micro-gaps in walls/features down to 0.0015"; complements calipers.
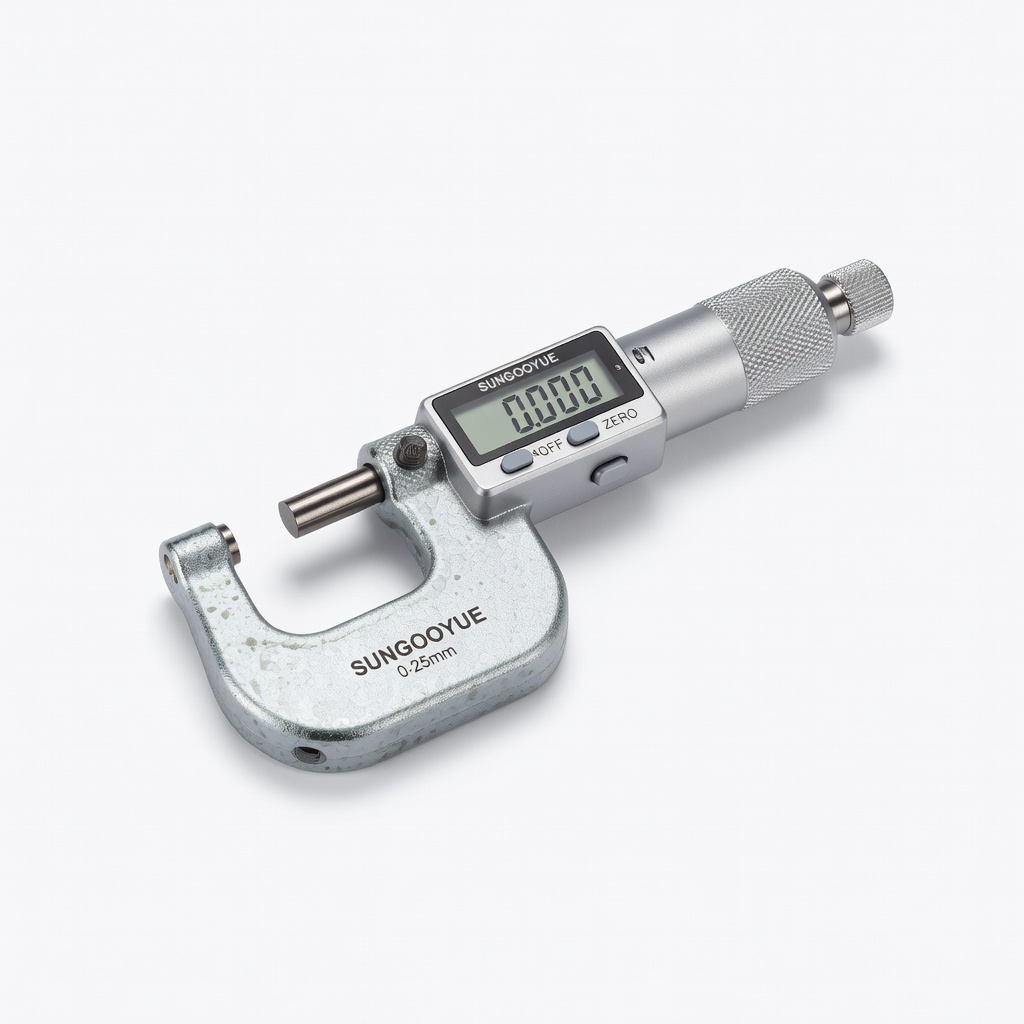
Advanced users verifying internal structures.
SUNGOOYUE Digital Micrometer 0-25mm Higher precision (0.001mm) for wall thickness vs. caliper limits.
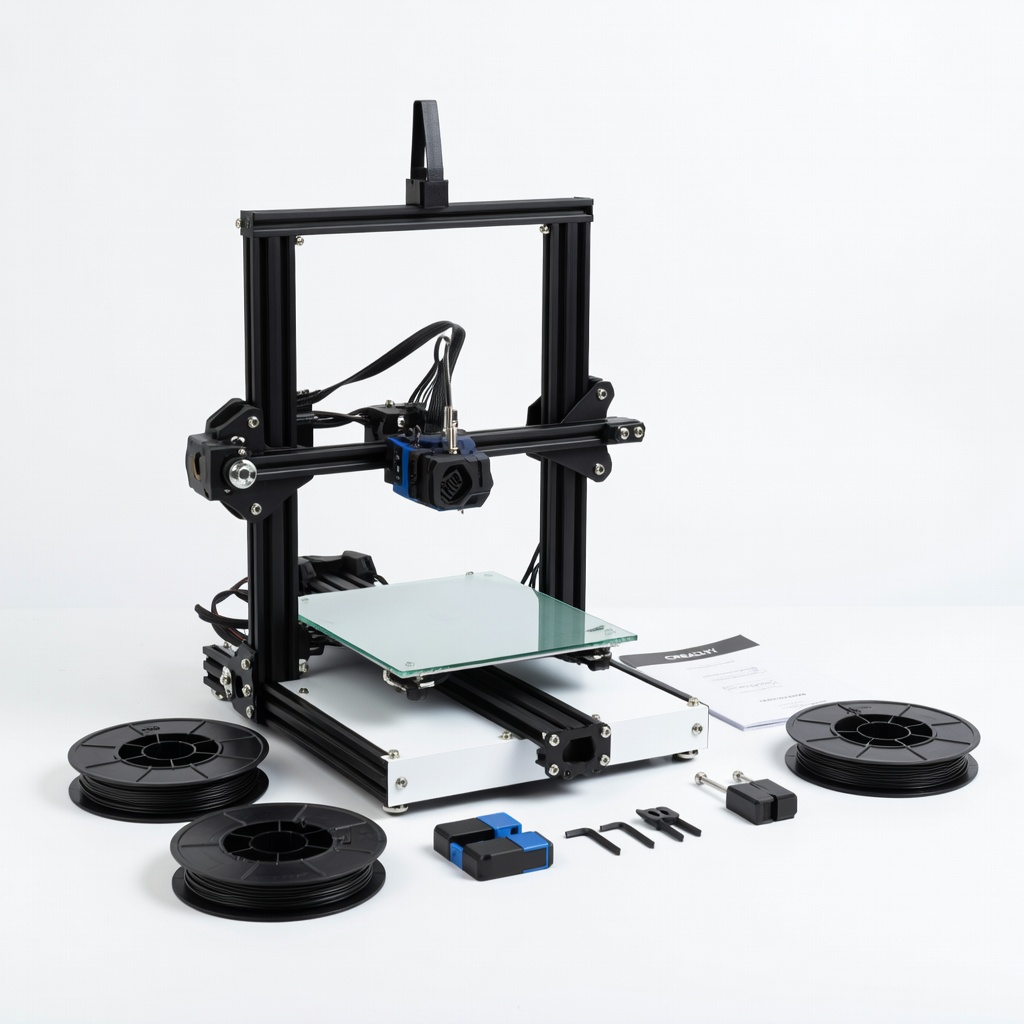
If manual leveling fails—install before retesting.
Creality Ender 3 V2 BLTouch Kit Auto bed leveling eliminates Z inconsistencies for repeatable accuracy.