Nothing strands you like a dead car battery, especially during rush hour or bad weather. Testing the voltage at home lets you catch issues early, extending battery life and preventing costly tows. This guide is perfect for intermediate DIYers who want reliable results without a mechanic.
You'll learn to safely measure your 12V battery's voltage at rest and under load, interpret the readings, and know when to replace it. The process uses basic tools and takes just minutes—no special skills beyond basic electrical safety required.
Expect 10-15 minutes total, with clear steps that include alternator checks for complete diagnostics. Follow along, and you'll confidently maintain your vehicle's power system.
▸What You'll Need
- •Digital multimeter (required – capable of DC voltage up to 20V)
- •Safety gloves and eye protection (recommended)
- •Clean cloth or battery terminal brush (optional but helpful)
- •Flashlight (for low-light areas)
- •Wrench or socket set (if terminals need loosening)
Estimated Time: 10-15 minutes
Difficulty: intermediate
▸Step-by-Step Instructions
Step 1: Prepare Your Workspace and Safety Gear
Park your car on a flat, well-ventilated surface away from traffic. Turn off the engine, remove the key, and let it cool for 10-15 minutes to avoid hot surfaces.
Wear safety gloves and eye protection to shield against acid spills or sparks. Disconnect any accessories like phone chargers. Why it matters: This prevents shocks, fires, or injury—batteries hold corrosive acid and stored energy.
Success looks like: Car fully off, you're geared up, and workspace is clear.
💡 Tips:
- •Work in daylight or use a bright flashlight for visibility.
⚠️ Warnings:
- •Never test near flames or sparks—hydrogen gas from batteries is explosive.
Step 2: Locate and Inspect the Battery
Open the hood and find the battery—usually a black rectangular box with two terminals (+ red, - black). Check for visible damage like cracks, leaks, or corrosion (white powdery buildup).
Note the battery's age if labeled (most last 3-5 years). Why it matters: Damage means replacement, not just testing.
Success looks like: Battery identified, terminals visible, no major damage spotted.
💡 Tips:
- •Batteries are often driver-side front; consult your owner's manual if unsure.
Step 3: Clean the Battery Terminals
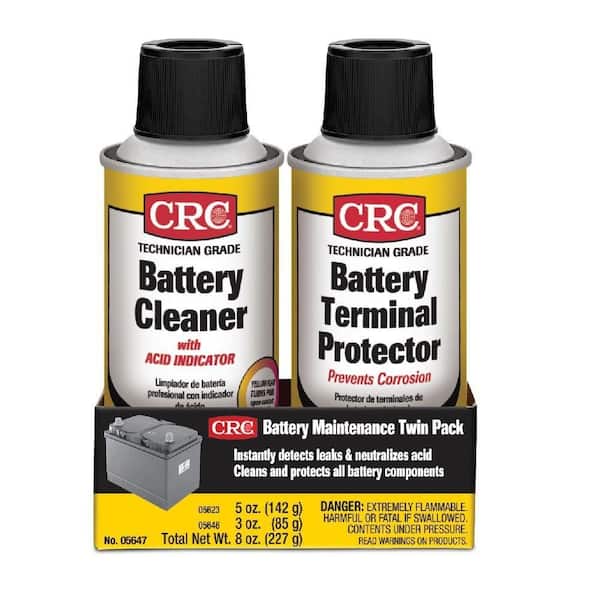
Use a cloth or terminal brush to wipe corrosion from posts and cable clamps. Spray with terminal cleaner if needed, then rinse with water and dry.
Loosen clamps with a wrench if heavily corroded (righty-tighty, lefty-loosey). Why it matters: Clean contacts ensure accurate readings—corrosion blocks voltage flow.
Success looks like: Shiny, clean terminals with no white residue.
⚠️ Warnings:
- •Avoid getting cleaner on paint; rinse immediately.
Step 4: Set Up Your Digital Multimeter
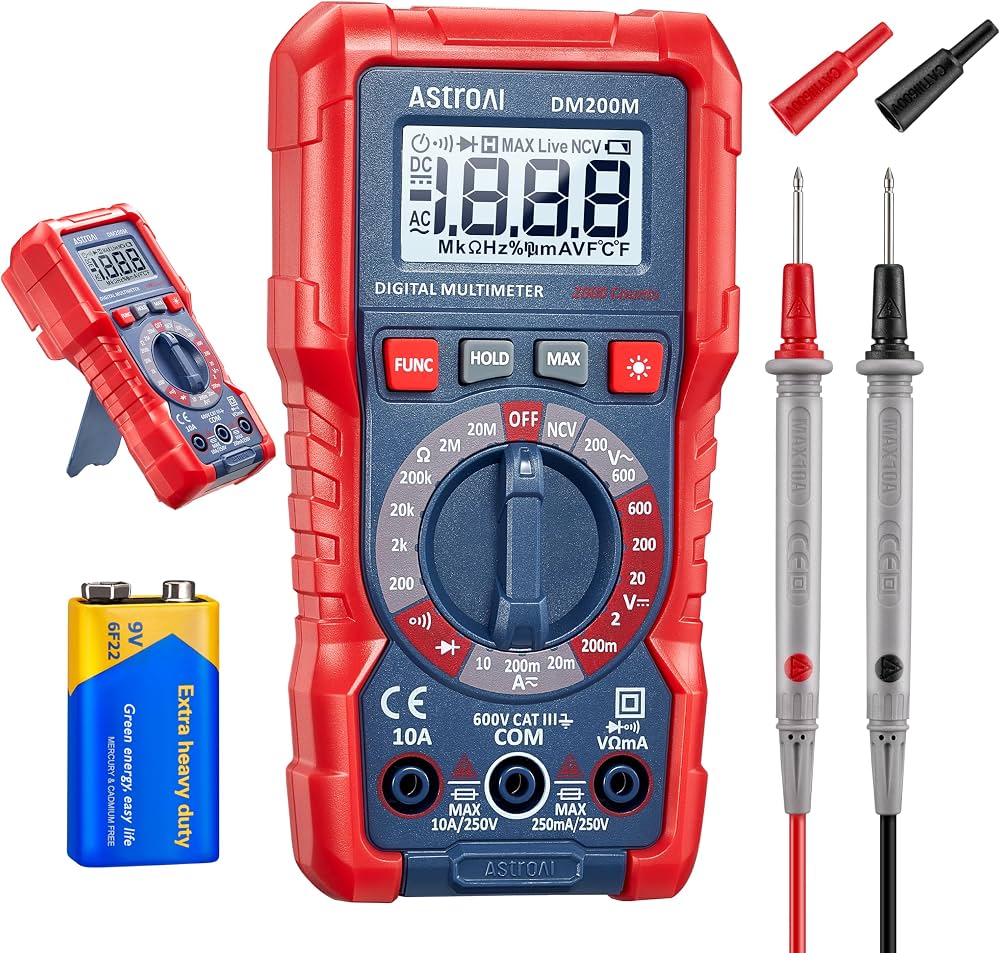
Insert red probe into V/Ω port, black into COM. Turn dial to DC Voltage (V⎓), select 20V range (higher than 12V for safety).
Test on a known source like AA battery (1.5V) first. Why it matters: Wrong settings give false readings or damage the meter.
Success looks like: Meter beeps or shows stable reading on test.
💡 Tips:
- •Auto-ranging meters simplify this—look for 'CAT III' rating for automotive use.
Step 5: Measure Resting Battery Voltage
Touch red probe to positive (+) terminal/post, black to negative (-). Hold steady for 5-10 seconds.
Read the display. Why it matters: Tests battery charge without load—reveals state of charge.
Success looks like: Stable reading around 12.6V (fully charged).
⚠️ Warnings:
- •Touch metal parts only, not cables, to avoid false readings.
Step 6: Test Voltage with Engine Running
Start the engine, let idle. Retest as in Step 5.
Why it matters: Checks alternator output—should rise to 13.7-14.7V.
Success looks like: Voltage increases to 13.5-14.5V.
💡 Tips:
- •Turn on headlights/AC for load test; voltage shouldn't drop below 13V.
Step 7: Interpret Your Results
12.6V+ = good; 12.4V = 75% charged; below 12.2V = bad, recharge/replace. Engine off <12.0V or running <13.5V = alternator issue.
Why it matters: Guides next actions.
Success looks like: You know battery status.
Step 8: Disconnect and Clean Up
Remove black probe first, then red. Reconnect cables if loosened (positive first). Close hood.
Why it matters: Prevents shorts.
Success looks like: Everything secure, no tools left.
⚠️ Warnings:
- •Always black then red off/on to minimize sparks.
▸Pro Tips
- •Test monthly in extreme weather—cold kills batteries faster.
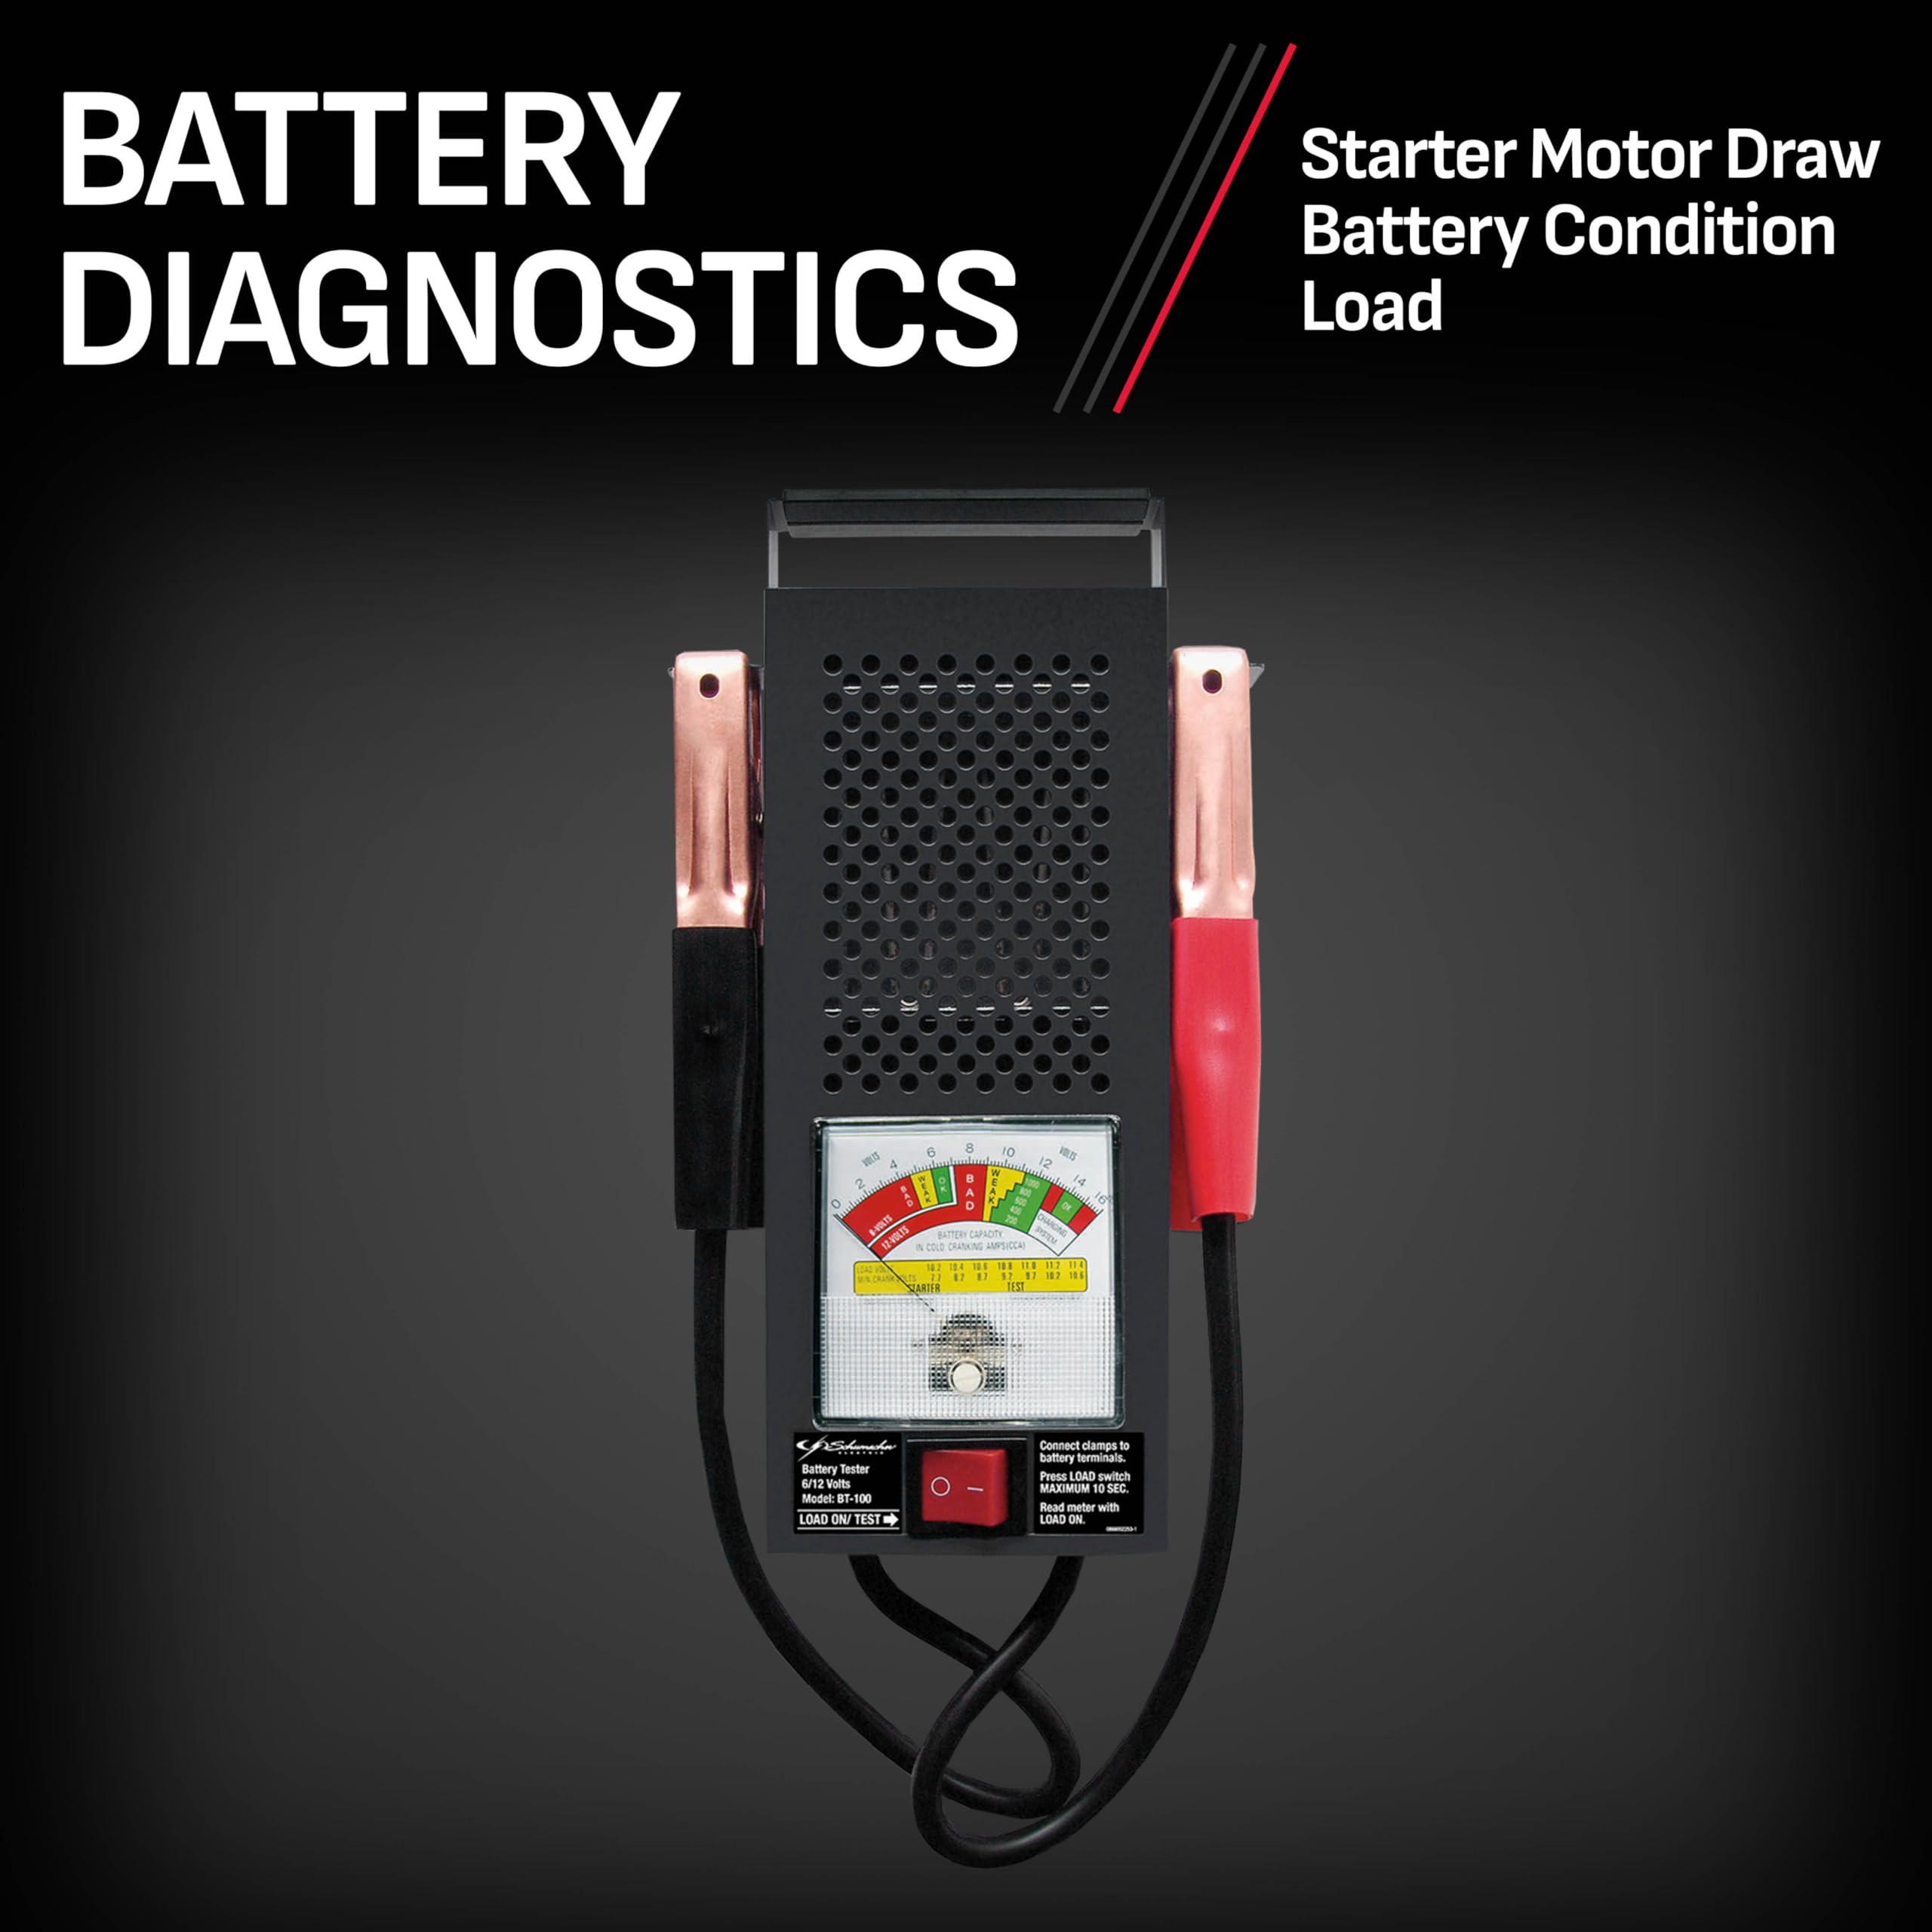
- •Use a load tester app or tool for deeper diagnostics after voltage check.
- •Record voltages over time to track degradation.
- •Fully charge before retesting borderline batteries.
- •Label battery install date for easy age tracking.
- •Auto-ranging multimeters save time for intermediates.
- •Test at 70°F for most accurate readings.
▸Common Mistakes to Avoid
- •Testing with engine/hot battery: Voltage spikes mislead; wait 15 mins.
- •Poor probe contact: Clean terminals first or get false lows.
- •Wrong multimeter setting: Use DC not AC—AC reads zero.
- •Ignoring alternator: Voltage test alone misses charging issues.
- •Touching probes together: Causes sparks/shorts.
▸Troubleshooting
Problem: Meter shows 0V or erratic readings
Solution: Check probe connections, clean terminals, verify DC setting. Test meter on AA battery.
Problem: Sparks when connecting
Solution: Disconnect battery cables first, ensure engine off. Wear gloves.
Problem: Voltage good but car won't start
Solution: Battery may fail under load—use load tester. Check starter/connections.
Problem: Acid leak or bulge
Solution: Replace immediately—do not test further. Seek pro help.
AstroAI Digital Multimeter TRMS 6000 Counts (Model DM6000AR)
Accurate DC voltage readings up to 600V with auto-ranging, ideal for home auto testing.
Best for: Primary tool for all voltage tests in this guide.
Price Range: $14.99
Schumacher Battery Tester (Model BT-100)
Combines voltage and load testing for complete 12V battery diagnosis beyond basic multimeter.
Best for: Follow-up load test if voltage is borderline.
Price Range: $24.77
CRC Battery Terminal Cleaner and Protector
Quickly dissolves corrosion for accurate readings and prevents future buildup.
Best for: Cleaning step before testing.
Price Range: $9.99
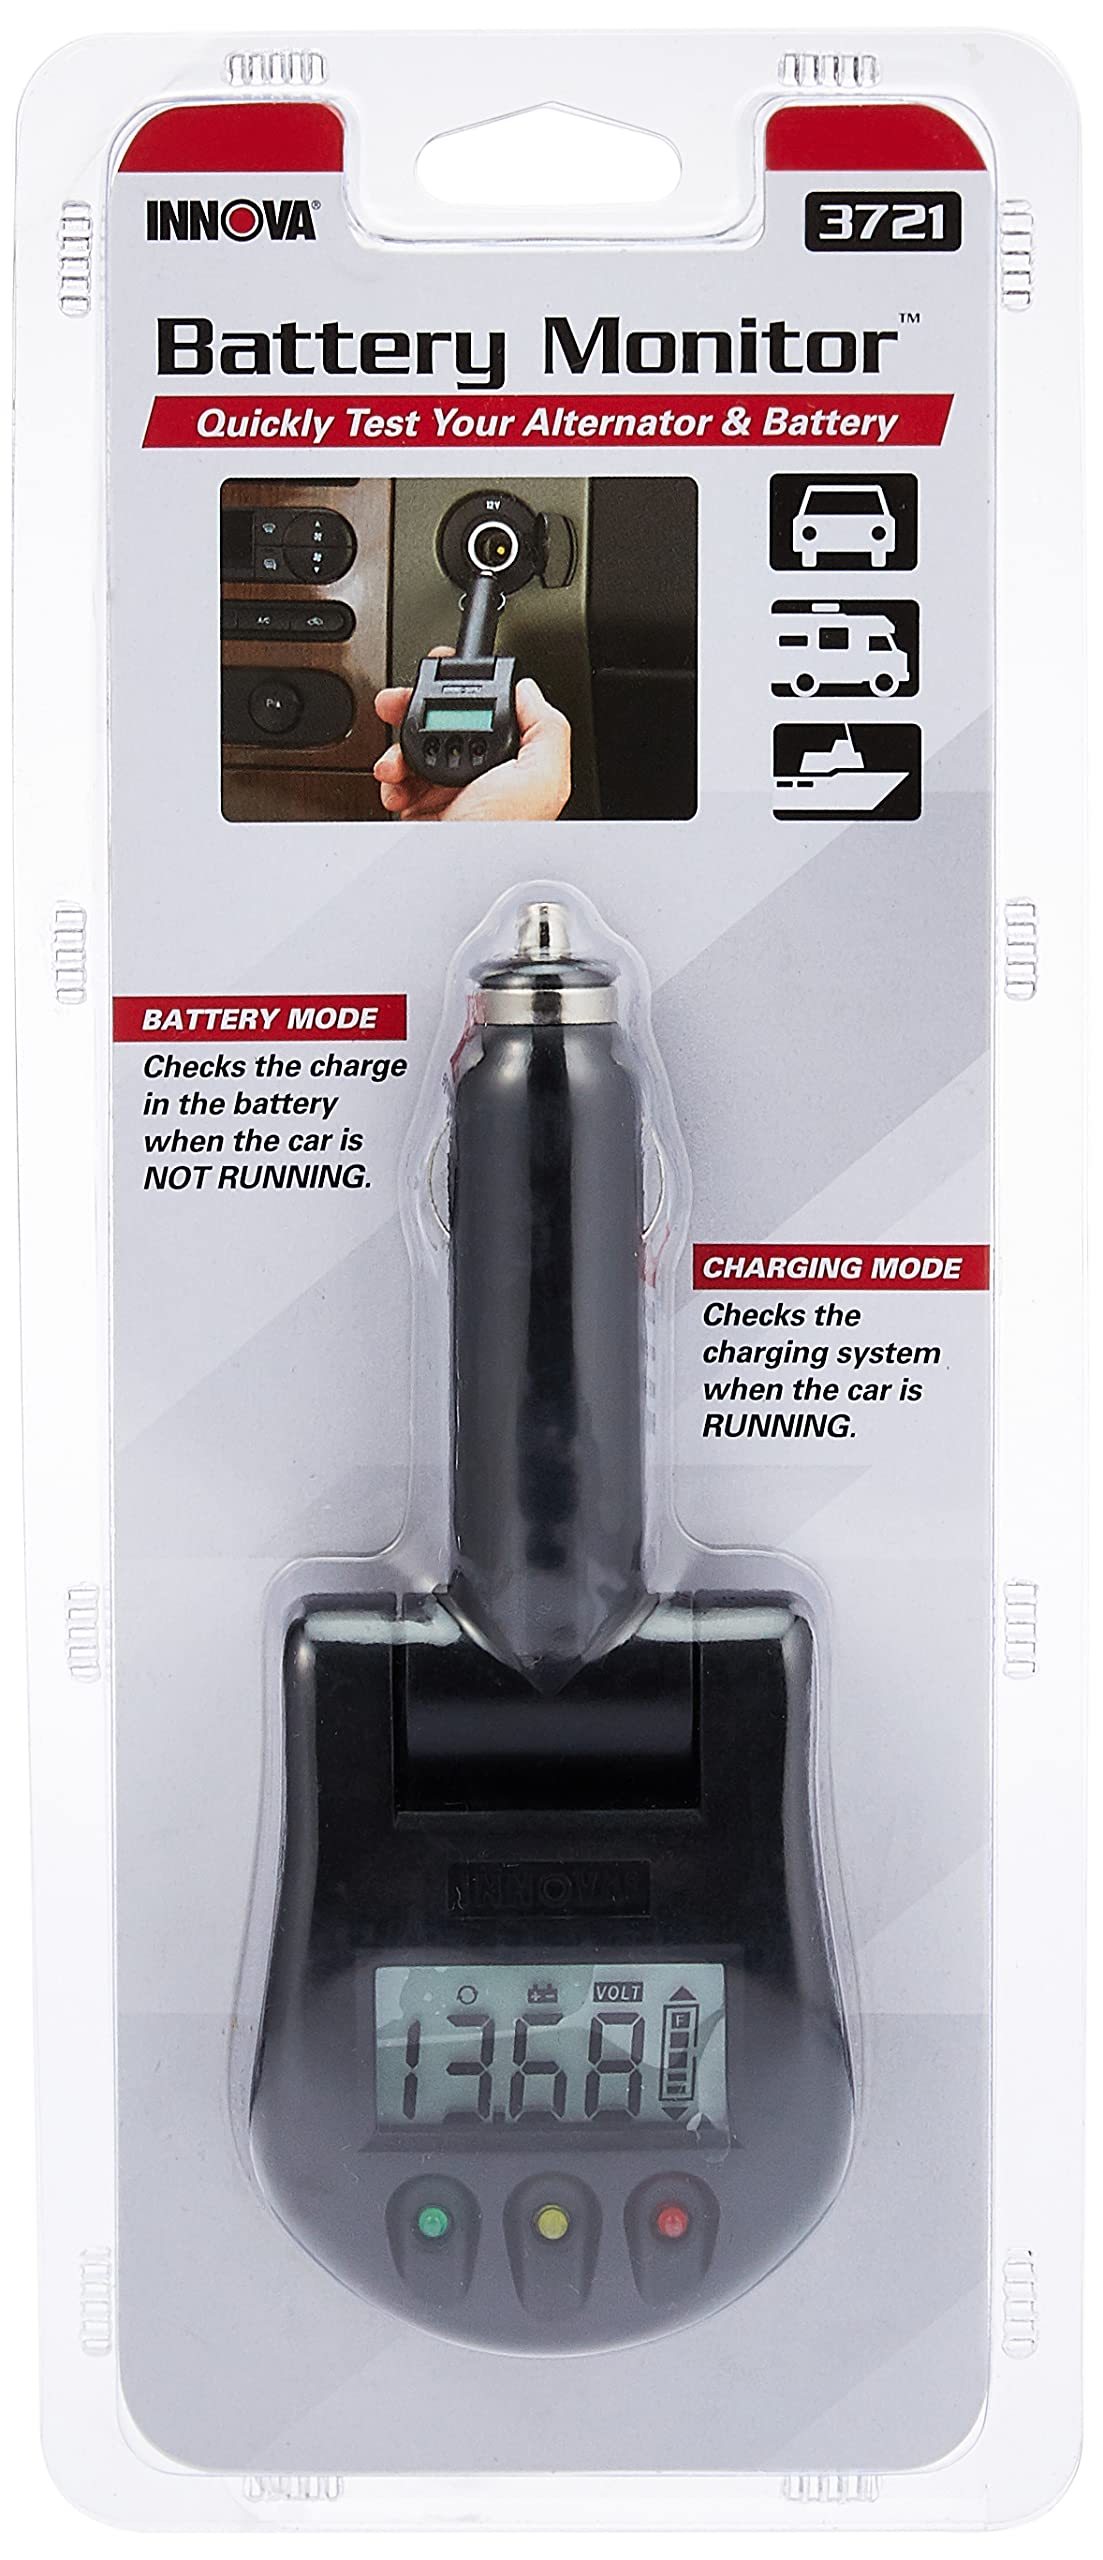
Innova 3721 Battery and Alternator Tester
Digital tester with codes for voltage, CCA, and alternator—pro-level for intermediates.
Best for: Advanced confirmation of results.
Price Range: $59.99
Mechanix Wear Original Gloves
Durable grip and acid-resistant for safe handling.
Best for: Safety during all steps.
Price Range: $21.99