Nothing strands you like a dead car battery—especially when it's unexpected. Regular testing can catch issues early, extending battery life and avoiding tow truck costs. This guide teaches beginners how to accurately test a 12V car battery using a basic multimeter.
You'll learn to check resting voltage, charging voltage, and basic load performance. The process is safe, simple, and requires no special skills. Expect to spend 10-15 minutes, with clear results telling you if your battery is good, weak, or dead.
No prior experience needed—just follow these steps for reliable diagnostics trusted by DIY mechanics.
▸What You'll Need
- •Digital multimeter (auto-ranging DC volts, e.g., 20V range)
- •Safety gloves (nitrile or rubber)
- •Eye protection (safety glasses)
- •Wrench or socket set (usually 10mm for terminals)
- •Battery terminal cleaning brush (optional but recommended)
- •Wire brush or baking soda solution for cleaning corrosion (optional)
Estimated Time: 10-15 minutes
Difficulty: beginner
▸Step-by-Step Instructions
Step 1: Prepare Your Vehicle Safely
Park your car on a flat surface, turn off the engine, and remove the key. Let the battery rest for at least 2-4 hours after driving to discharge any surface charge for accurate readings. Disconnect accessories like lights or radio.
Why it matters: Ensures safety and prevents false high readings from recent use. Wear gloves and eye protection to shield from acid or sparks.
Expect a quiet, powered-down car ready for testing.
💡 Tips:
- •Test in moderate temperatures (50-80°F); extreme cold/heat skews results.
⚠️ Warnings:
- •Never test on a running engine yet—risk of shock or damage.
Step 2: Locate and Inspect the Battery
Open the hood and find the battery (usually front-left). Visually check for bulging, cracks, leaks, or heavy corrosion on terminals. Clean terminals with a brush or baking soda/water mix if corroded—rinse and dry.
Why it matters: Physical damage means replacement, not just testing. Clean contacts ensure accurate voltage readings.
Success: Clean, intact battery with shiny terminals.
💡 Tips:
- •Take a 'before' photo for reference.
⚠️ Warnings:
- •Avoid touching both terminals simultaneously.
Step 3: Set Up Your Multimeter
Turn on the multimeter and set it to DC Voltage (V⎓), selecting 20V range if manual. Insert red probe into V/Ω port, black into COM. Verify on a known source like AA battery (1.5V).
Why it matters: Wrong setting gives invalid readings. Auto-ranging simplifies for beginners.
Expect: Display shows 0V or stable reading on test.
💡 Tips:
- •Touch probes together briefly—should read near 0V.
⚠️ Warnings:
- •Double-check polarity: red positive, black negative.
Step 4: Test Open Circuit Voltage (Resting)
Touch red probe to positive (+) terminal, black to negative (-). Note the voltage. Ideal: 12.6V+ (full charge), 12.4V (75%), 12.2V (50%), below 12.0V (discharged/bad).
Why it matters: Measures state of charge without load. Below 12.4V suggests weak battery.
Success: Steady reading; jot it down.
💡 Tips:
- •Probe directly on lead posts, not clamps, for best contact.
⚠️ Warnings:
- •Don't let probes slip—arcs can damage eyes.
Step 5: Start Engine and Test Charging Voltage
Start the engine, let idle. Retest voltage at terminals: Should be 13.7-14.7V (alternator charging). Rev to 2000 RPM—voltage should hold or slightly rise.
Why it matters: Checks if alternator charges battery. Low (<13.5V) means alternator issue.
Success: Voltage rises above 13V steadily.
💡 Tips:
- •Headlights on simulates load.
⚠️ Warnings:
- •Shut off if smoking or odd smells.
Step 6: Perform Cranking Voltage Test (Load)
Turn off engine. Have helper crank starter while you watch voltage—shouldn't drop below 9.6V during cranking.
Why it matters: Simulates real load; drop below 9.6V indicates poor capacity.
Success: Voltage dips but recovers quickly above 10V.
💡 Tips:
- •Quick crank (2-3 sec) to avoid draining.
⚠️ Warnings:
- •Multimeter load test is basic; use load tester for precision.
Step 7: Interpret Results and Reassemble
Compare readings: Good battery passes all. Weak? Charge/test further. Bad? Replace. Reconnect cables (negative last), close hood.
Why it matters: Guides next actions—charge, replace, or check alternator.
Success: Clear diagnosis, safe shutdown.
💡 Tips:
- •Log results with date for trends.
⚠️ Warnings:
- •Charge fully before retest if low.
▸Pro Tips
- •Test monthly or before long trips for peace of mind.
- •Remove surface charge: Rev engine 30 sec, idle 5 min before resting test.
- •Use alligator clip leads for hands-free probing.
- •Clean terminals yearly with anti-corrosion spray.
- •Track voltage over time in a phone note.
- •Test in engine bay shade to avoid heat distortion.
- •Pair with free battery app for capacity estimates.
▸Common Mistakes to Avoid
- •Testing immediately after driving—surface charge inflates voltage; wait 4+ hours.
- •Poor probe contact on dirty terminals—clean first for accuracy.
- •Wrong multimeter mode (AC instead of DC)—always verify DC volts.
- •Ignoring visual damage—cracked case means replace, don't test.
- •Cranking too long—drains battery further; keep under 5 sec.
▸Troubleshooting
Problem: Erratic or zero readings
Solution: Check probe connections, battery, clean terminals. Test multimeter on AA battery.
Problem: Voltage low but battery seems fine
Solution: Fully charge overnight, retest. Parasitic drain? Check with ammeter.
Problem: Charging voltage too high (>15V)
Solution: Alternator regulator issue—seek mechanic.
Problem: Multimeter sparks or smokes
Solution: Stop immediately, check fuses. Use insulated probes.
Problem: Can't access terminals
Solution: Use extension probes or remove covers carefully.
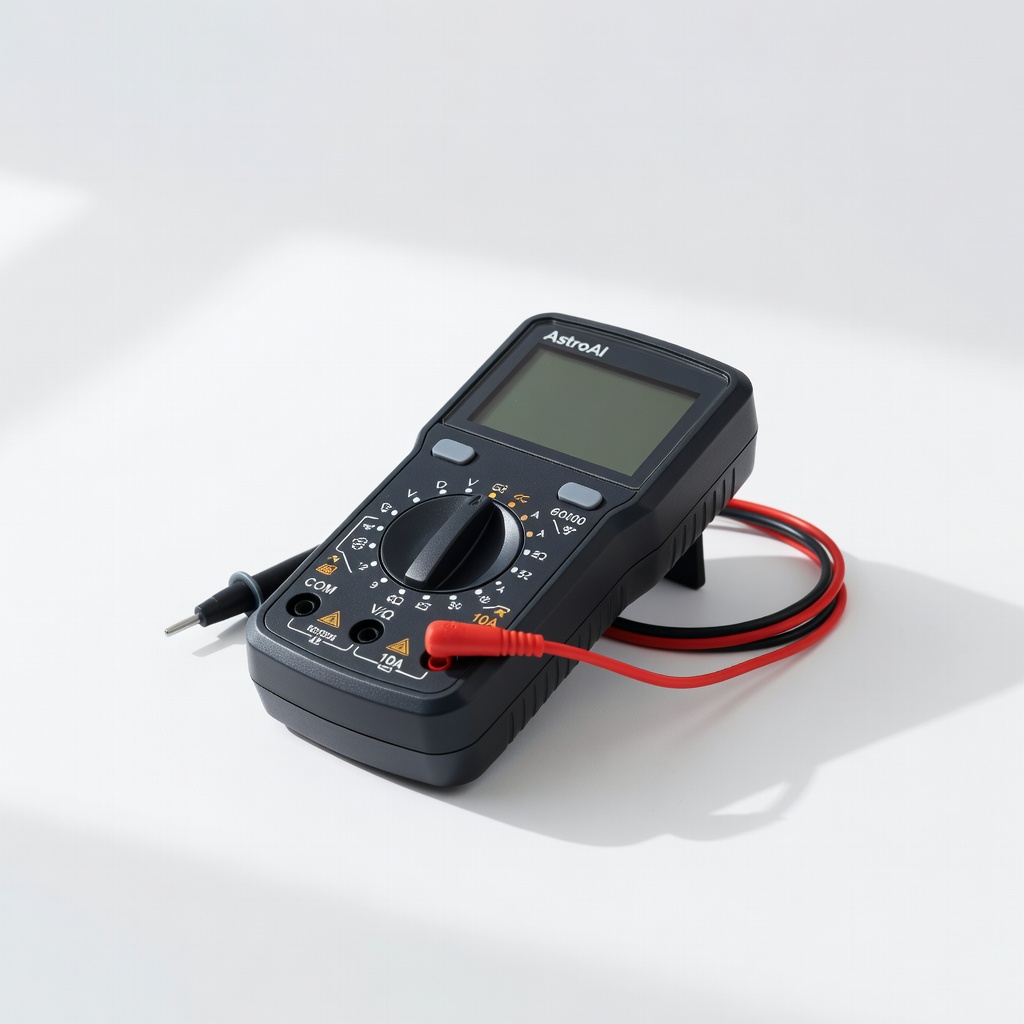
AstroAI Digital Multimeter TRMS 6000 Counts
Auto-ranging, accurate for DC volts up to 600V, durable for automotive use with CAT III safety.
Best for: Primary tool for all voltage tests; beginner-friendly LCD backlit display.
Price Range: $35-40
Motopower Battery Terminal Cleaner Brush
Double-ended nylon/carbon brushes remove corrosion without scratching leads.
Best for: Quick terminal prep before probing for reliable contacts.
Price Range: $8-12
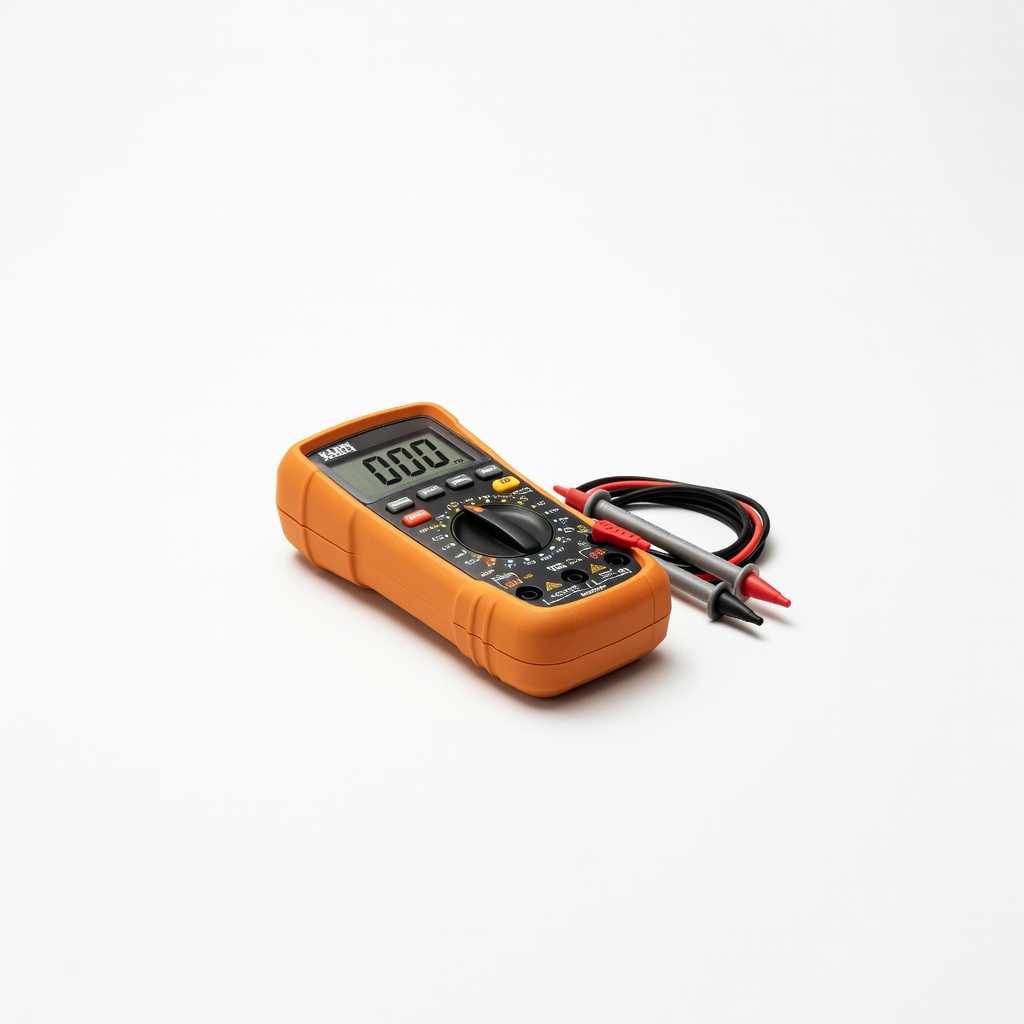
Klein Tools MM325 Digital Multimeter
Rugged, auto-ranging with temp probe; trusted by pros for car diagnostics.
Best for: Upgrade for frequent use or harsh conditions.
Price Range: $50-60
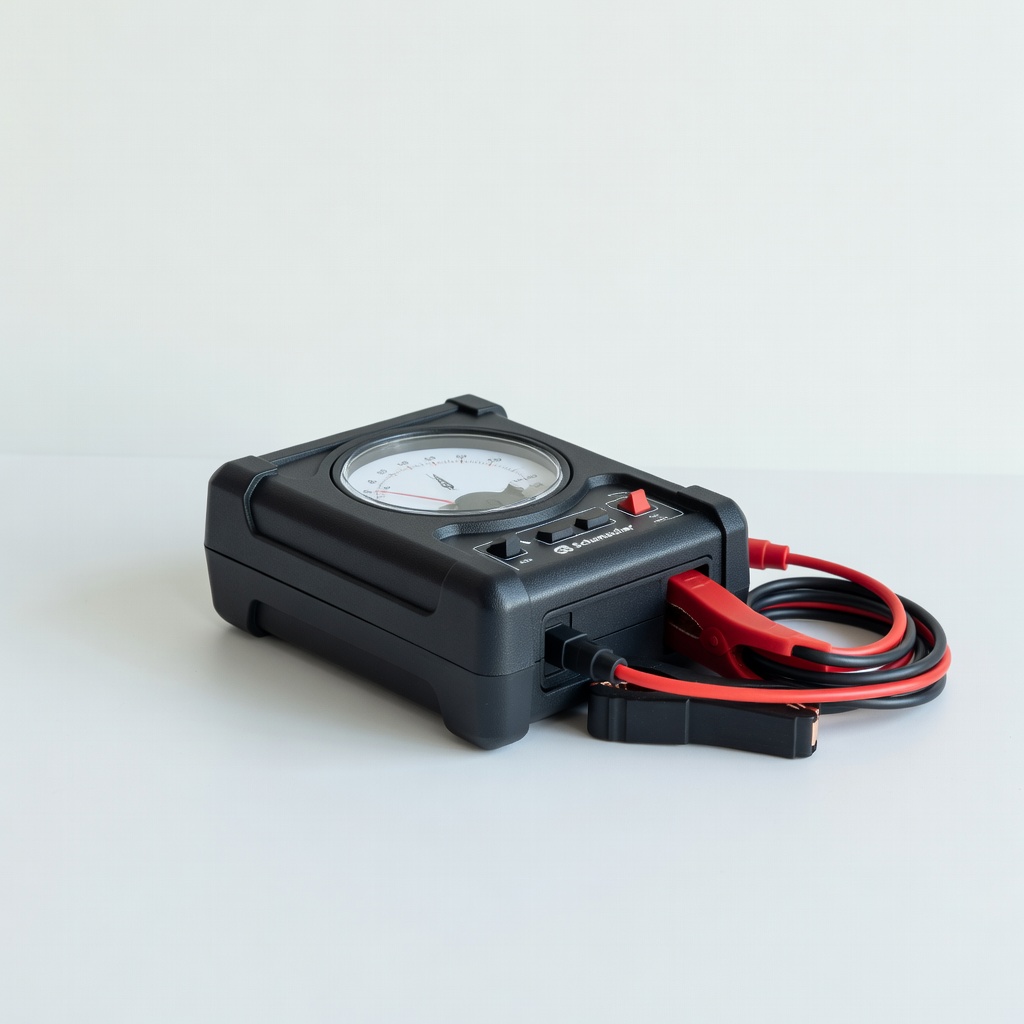
Schumacher BT-100 Battery Load Tester
Complements multimeter with true load test (100A); carbon pile for precise health check.
Best for: When multimeter cranking test inconclusive.
Price Range: $20-30
Mechanix Wear FastFit Gloves
Durable, touchscreen-compatible nitrile for grip and acid protection.
Best for: Essential safety during terminal handling.
Price Range: $15-20