
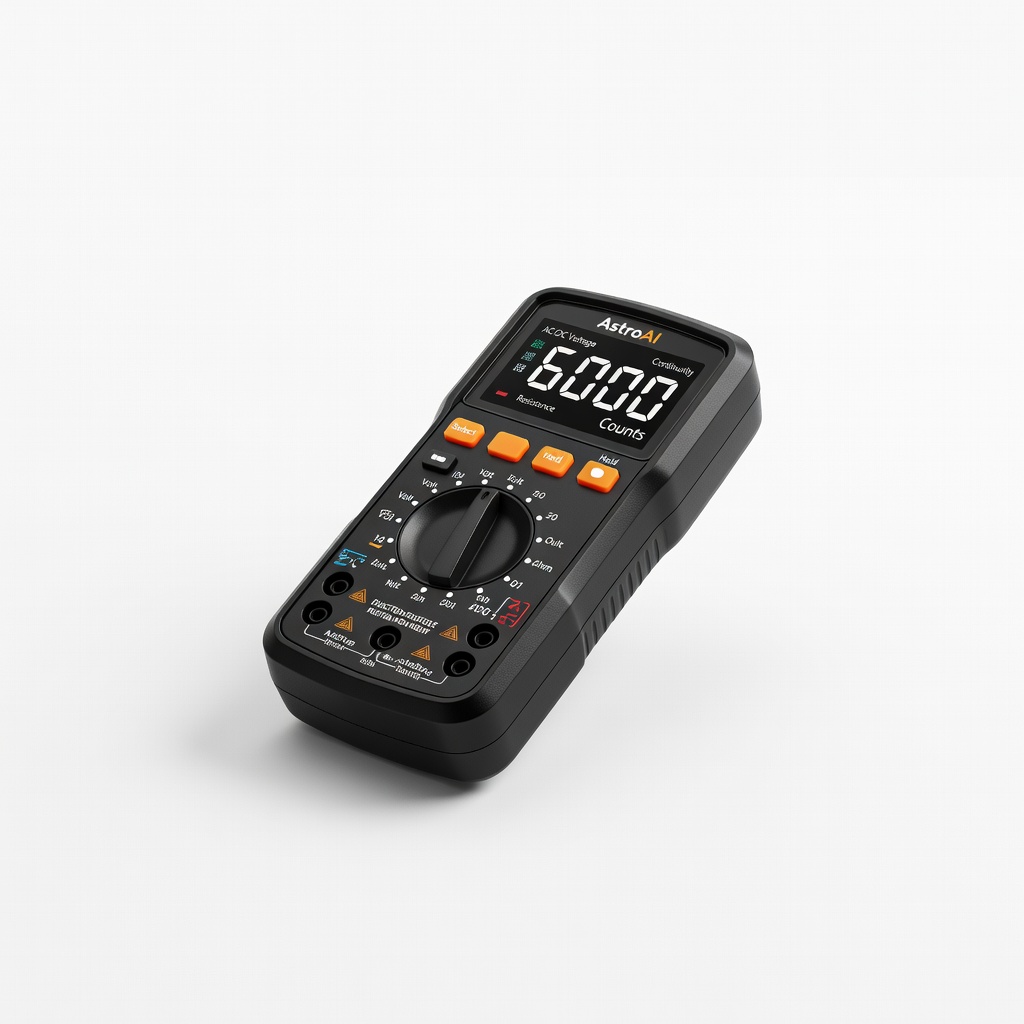
AstroAI Digital Multimeter 6000 Counts
Essential for voltage and cranking tests.
$20-30
AstroAI Digital Multimeter 6000 Counts Accurate DC voltage readings for beginners with auto-ranging and clear display.
Get the App
Better experience on mobile
Quickly check your 12V car battery health with simple tools to avoid breakdowns and save on repairs—no mechanic needed.
A dead car battery is one of the most frustrating issues drivers face, often leaving you stranded at the worst times. Regular testing can prevent this by spotting problems early. In this guide, you'll learn easy, at-home methods to assess your 12V battery's health, from visual checks to voltage and load tests.
Whether you're a beginner or just want to DIY, we'll cover everything step-by-step. No advanced skills required—just basic tools. The process takes 15-30 minutes and empowers you to decide if your battery needs charging, maintenance, or replacement.
Expect clear instructions, safety tips, and what healthy results look like. By the end, you'll confidently maintain your vehicle's power source.
Estimated Time: 15-30 minutes Difficulty: beginner
Put on safety glasses and gloves to protect against acid splashes or sparks. Park your car on a flat surface, turn off the engine, and remove the key. Open the hood and use a flashlight to find the battery—usually on the driver's or passenger's side.
Why it matters: Batteries contain sulfuric acid and can produce explosive gases. Safety first prevents injuries.
Success looks like: Battery clearly visible, engine off, you're geared up.
💡 Tips:
⚠️ Warnings:
Examine the battery case for cracks, bulges, or leaks. Check terminals for white, powdery corrosion. For non-sealed batteries, peek at electrolyte levels through caps—should cover plates.
Why it matters: Visible damage indicates failure; low fluid reduces capacity.
Success looks like: Clean case, no leaks, tight terminals, fluid at proper level.
💡 Tips:
⚠️ Warnings:
Mix baking soda and water (1:1) to scrub corrosion off terminals with a brush. Rinse with water, dry thoroughly. Tighten loose cables.
Why it matters: Corrosion blocks power flow, mimicking a bad battery.
Success looks like: Shiny, corrosion-free terminals with secure connections.
💡 Tips:
Set multimeter to DC volts (20V range). Touch red probe to positive (+) terminal, black to negative (-). Reading should be 12.6V+ for full charge, 12.4V okay, below 12.2V weak.
Why it matters: Voltage shows state of charge without load.
Success looks like: Steady 12.6V or higher on display.
💡 Tips:
⚠️ Warnings:
Start the engine. Rev to 2000 RPM, recheck voltage: 13.7-14.7V means good alternator/charging. Revving drops below 9.6V? Battery weak.
Why it matters: Tests under real load.
Success looks like: Voltage rises to 14V during rev.
💡 Tips:
Use load tester: Clamp on, dial to half Cold Cranking Amps (CCA) rating (check sticker), apply load 10-15 seconds. Voltage holds 9.6V+? Healthy.
Why it matters: Simulates starting load for true health.
Success looks like: Gauge stays above 9.6V under load.
💡 Tips:
⚠️ Warnings:
Good: 12.6V+ rest, holds load. Weak: Charge and retest. Bad: <12.0V rest or drops under load—replace.
Why it matters: Guides action.
Success looks like: Clear decision: maintain or replace.
💡 Tips:
Problem: Multimeter reads 0V
Solution: Check fuses, probe connections, battery polarity. Test multimeter on AA battery.
Problem: Voltage fluctuates wildly
Solution: Clean terminals again. Loose cables? Tighten.
Problem: Load test drops too fast
Solution: Battery likely bad. Confirm with pro if new.
Problem: Can't access terminals
Solution: Use right-size wrench. Seek pro if seized.
Accurate DC voltage readings for beginners with auto-ranging and clear display.
Best for: Essential for voltage and cranking tests.
Price Range: $20-30
Simulates real starting load for precise health diagnosis.
Best for: Advanced home testing beyond voltage.
Price Range: $20-30
Durable, waterproof with voltage, resistance for full electrical checks.
Best for: All-in-one for battery and alternator.
Price Range: $30-40
Quickly dissolves corrosion without harsh chemicals.
Best for: Prep for accurate testing.
Price Range: $8-12
Auto-ranging for automotive use, includes leads storage.
Best for: Budget pro-grade for frequent DIYers.
Price Range: $25-35
Essential for voltage and cranking tests.
AstroAI Digital Multimeter 6000 Counts Accurate DC voltage readings for beginners with auto-ranging and clear display.
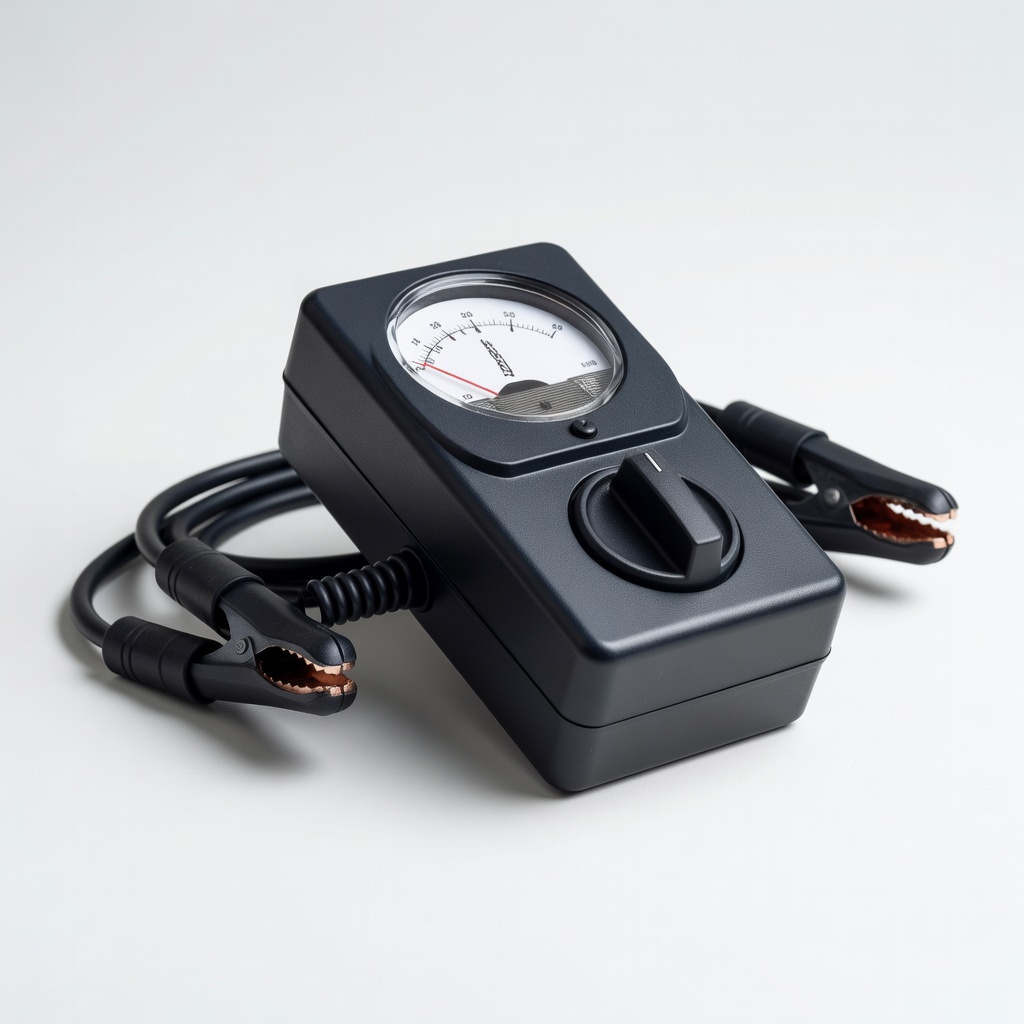
Advanced home testing beyond voltage.
Schumacher BT-100 Battery Load Tester Simulates real starting load for precise health diagnosis.
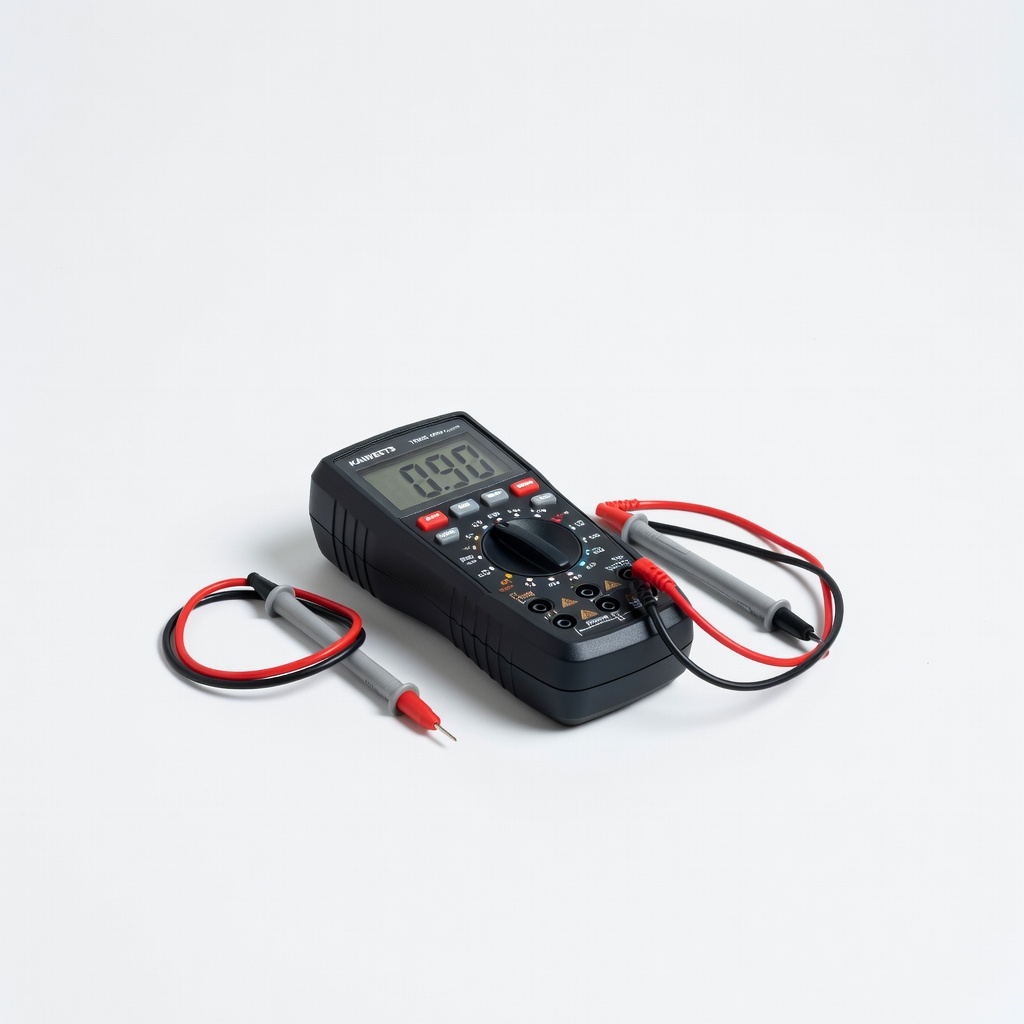
All-in-one for battery and alternator.
KAIWEETS Digital Multimeter TRMS 6000 Counts Durable, waterproof with voltage, resistance for full electrical checks.
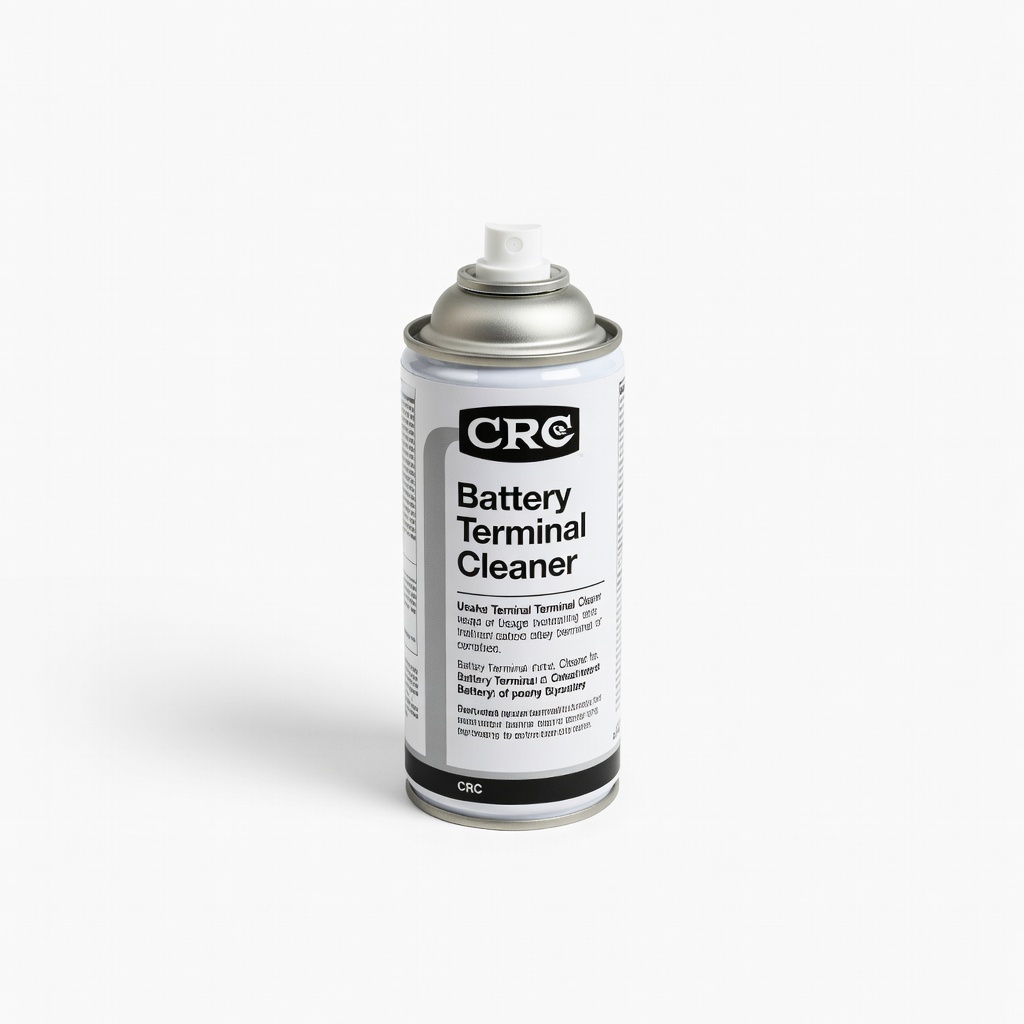
Prep for accurate testing.
CRC Battery Terminal Cleaner Quickly dissolves corrosion without harsh chemicals.
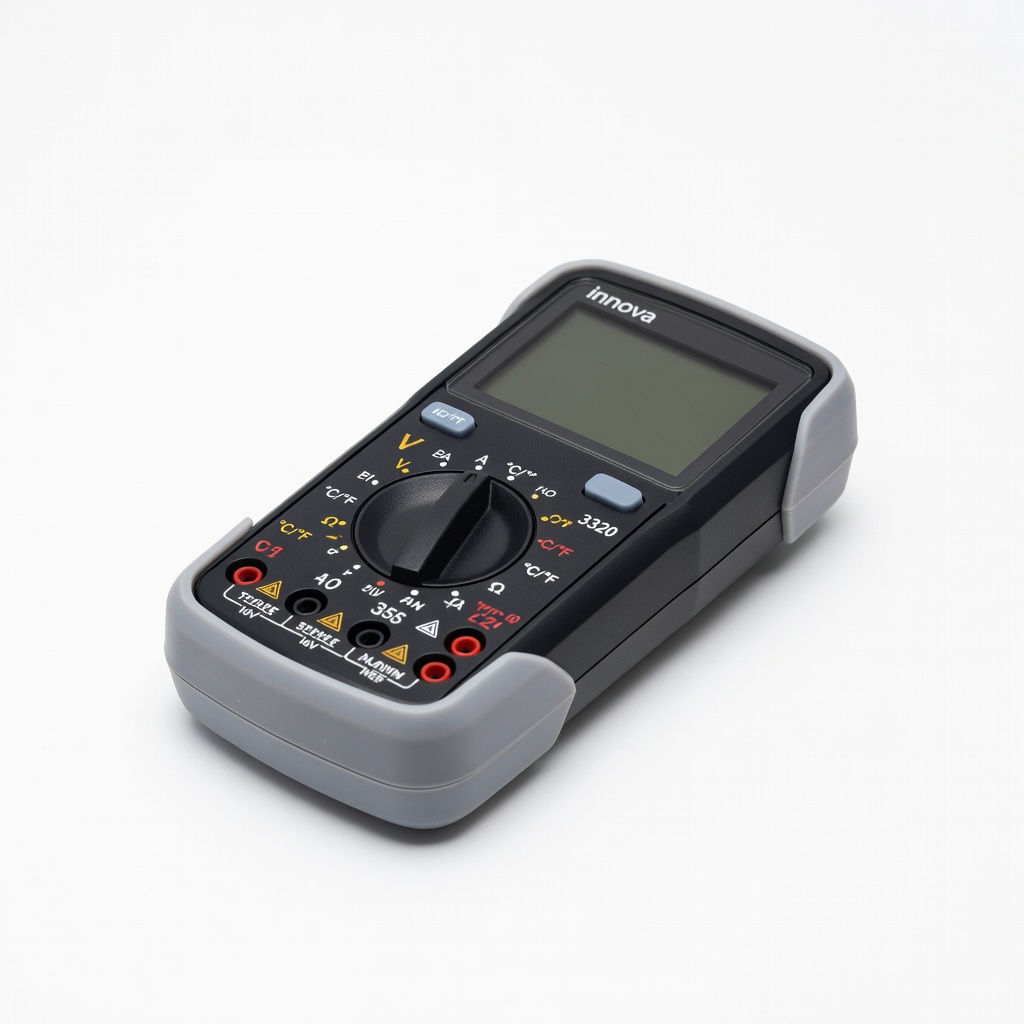
Budget pro-grade for frequent DIYers.
Innova 3320 Digital Multimeter Auto-ranging for automotive use, includes leads storage.