
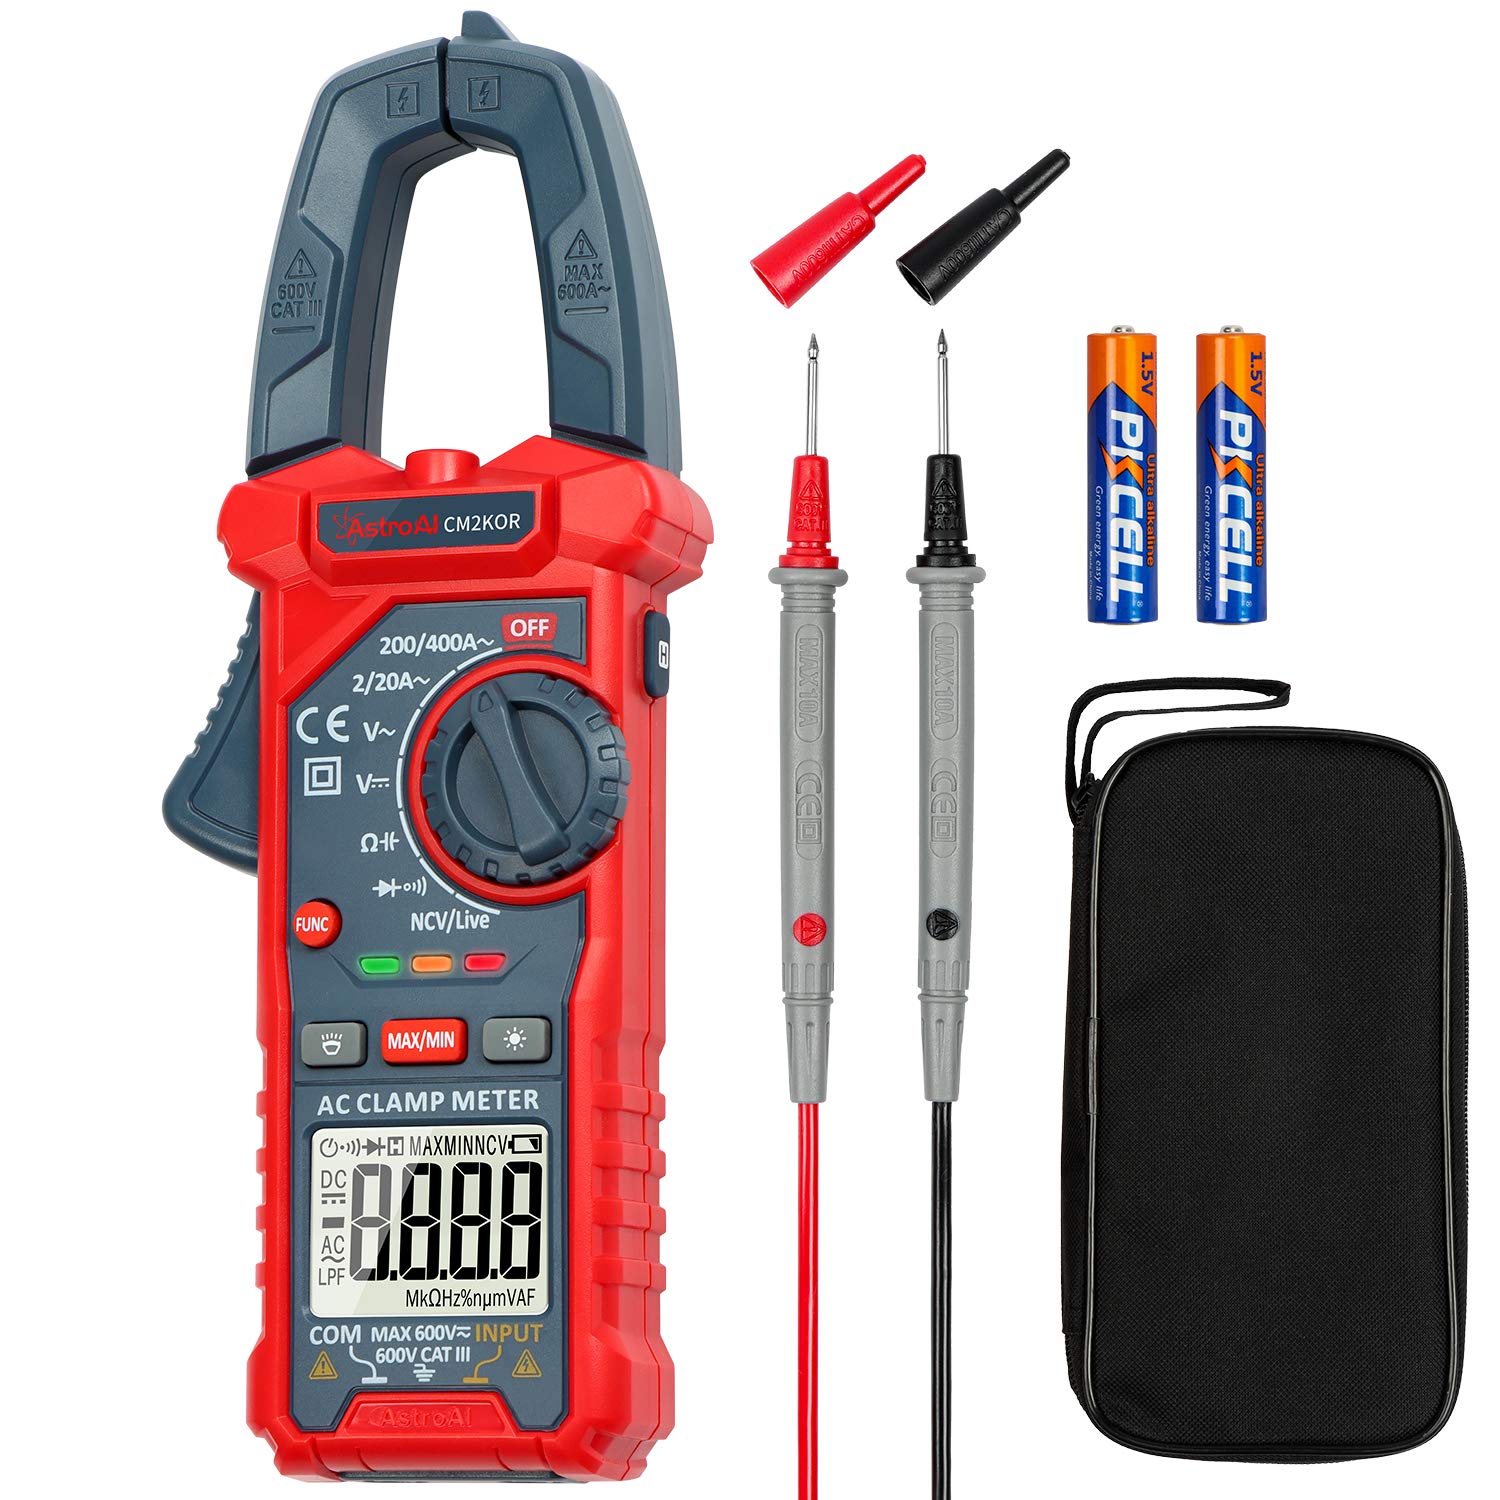
AstroAI Digital Multimeter (AM33D)
Ideal for home battery tests; compact for garage use.
$12.99
AstroAI Digital Multimeter (AM33D) Affordable, beginner-friendly auto-ranging for accurate DC voltage without hassle.
Get the App
Better experience on mobile
Quickly check your car battery's voltage at home with a multimeter to avoid breakdowns—simple steps for beginners.
A dead 12V battery can leave you stranded at the worst time, costing hundreds in towing or replacement. Regular testing prevents surprises and extends battery life. This guide teaches you how to use a multimeter to measure voltage accurately, even if you're new to DIY auto maintenance.
You'll learn to perform an open-circuit voltage test and a basic cranking test, spotting issues like sulfation or weak charge. The process takes just 10-15 minutes with basic tools—no advanced skills needed. By the end, you'll know if your battery is healthy (12.6V+), weak, or dead.
Expect straightforward steps with safety first. Always test on a cool battery for best results.
Estimated Time: 10-15 minutes Difficulty: beginner
Park your vehicle on a flat surface, turn off the engine, and remove the key. Ensure all lights, radio, and accessories are off to get an accurate 'resting' voltage reading.
Wear insulated safety gloves to protect against acid spills or sparks. Work in a well-ventilated area away from flames—batteries can release flammable gases.
Success looks like: Vehicle fully powered down, no dashboard lights on, gloves on hands.
💡 Tips:
⚠️ Warnings:
Open the hood and secure it with the prop rod. Find the 12V battery, usually on the driver's or passenger's side.
Remove any plastic covers over the terminals. Note the positive (+) red terminal and negative (-) black terminal.
Success looks like: Clear view of both terminals, no covers obstructing.
💡 Tips:
⚠️ Warnings:
Inspect terminals for corrosion (white/green buildup). Use a terminal brush or baking soda/water mix to clean if needed, then wipe dry with a cloth.
Clean contacts ensure good probe connection and accurate readings. Dry terminals prevent short circuits.
Success looks like: Shiny, corrosion-free terminals.
💡 Tips:
⚠️ Warnings:
Insert red probe into V/Ω port, black into COM. Turn dial to DC Voltage (V⎓), select 20V range (or auto-range).
Touch probes together briefly—reading should be near 0V.
Success looks like: Multimeter powered on, displaying 0V with probes touched.
💡 Tips:
⚠️ Warnings:
Touch red probe to positive (+) terminal, black to negative (-). Hold steady for 10-30 seconds.
Note the voltage: 12.6-12.8V = fully charged/good; 12.4V = 75% charged; below 12.2V = bad, recharge or replace.
Success looks like: Stable reading above 12.4V for healthy battery.
💡 Tips:
⚠️ Warnings:
Keep probes connected. Have a helper start the engine (or do it yourself carefully). Voltage should not drop below 9.6-10V during cranking.
This tests under load. If it drops too low, battery is weak.
Success looks like: Voltage dips but stays above 10V, engine starts smoothly.
💡 Tips:
⚠️ Warnings:
Good: 12.6V+ resting, >10V cranking—healthy.
Fair: 12.2-12.4V—charge and retest.
Bad: <12V—replace. Reconnect covers, start vehicle to confirm.
Log results for tracking health over time.
💡 Tips:
⚠️ Warnings:
Problem: Fluctuating or zero readings
Solution: Check probe connections, clean terminals, ensure DC setting. Test probes on AA battery.
Problem: Voltage drops below 9V on crank but resting is good
Solution: Battery weak under load; try load tester or replace.
Problem: Multimeter won't power on
Solution: Replace batteries in multimeter; check fuses.
Problem: Engine won't crank during test
Solution: Battery likely dead; jump start and retest or seek pro help.
Affordable, beginner-friendly auto-ranging for accurate DC voltage without hassle.
Best for: Ideal for home battery tests; compact for garage use.
Price Range: $12.99
Durable, high accuracy with auto-range and lead storage; trusted by pros.
Best for: Frequent auto/DIY tests needing reliability.
Price Range: $59.97
Removes corrosion effectively without damaging terminals.
Best for: Prep step for clean, accurate readings.
Price Range: $9.99
Complements multimeter with true load test for complete health check.
Best for: When multimeter shows borderline results.
Price Range: $24.99
Ideal for home battery tests; compact for garage use.
AstroAI Digital Multimeter (AM33D) Affordable, beginner-friendly auto-ranging for accurate DC voltage without hassle.
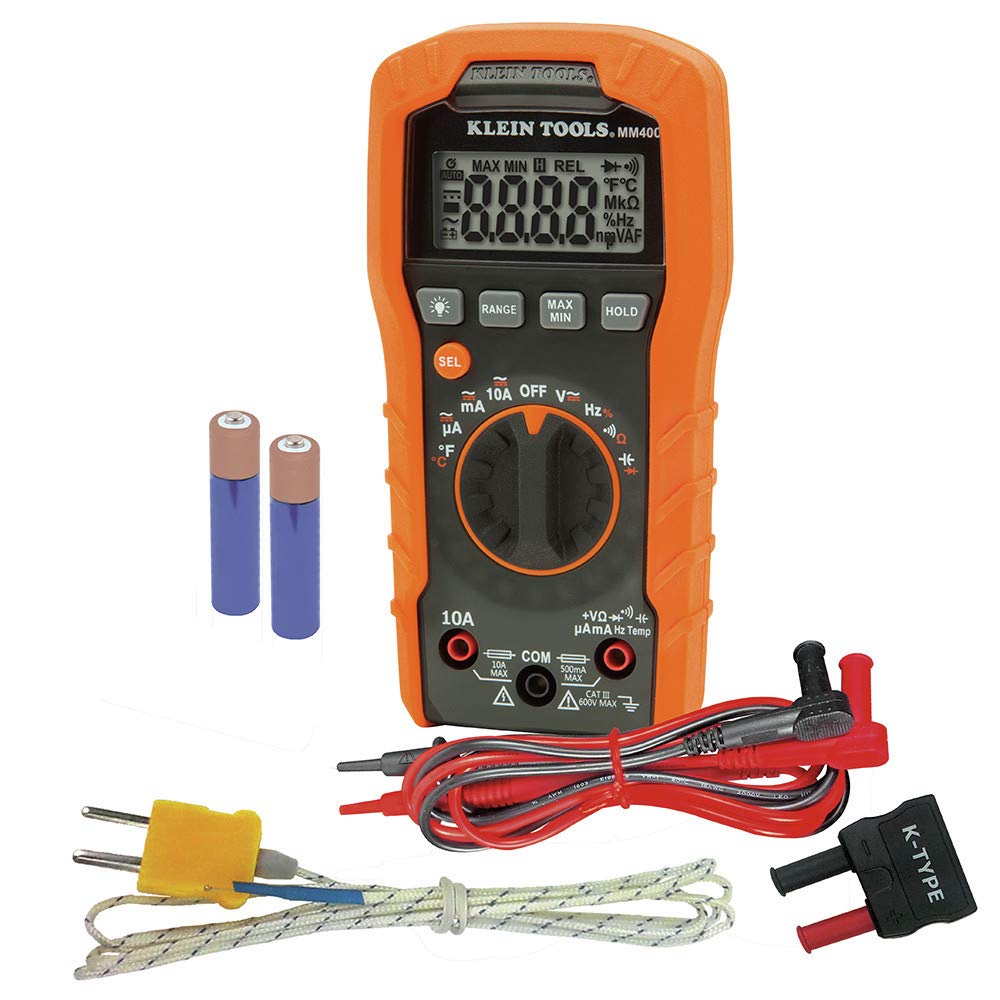
Frequent auto/DIY tests needing reliability.
Klein Tools MM400 Digital Multimeter Durable, high accuracy with auto-range and lead storage; trusted by pros.
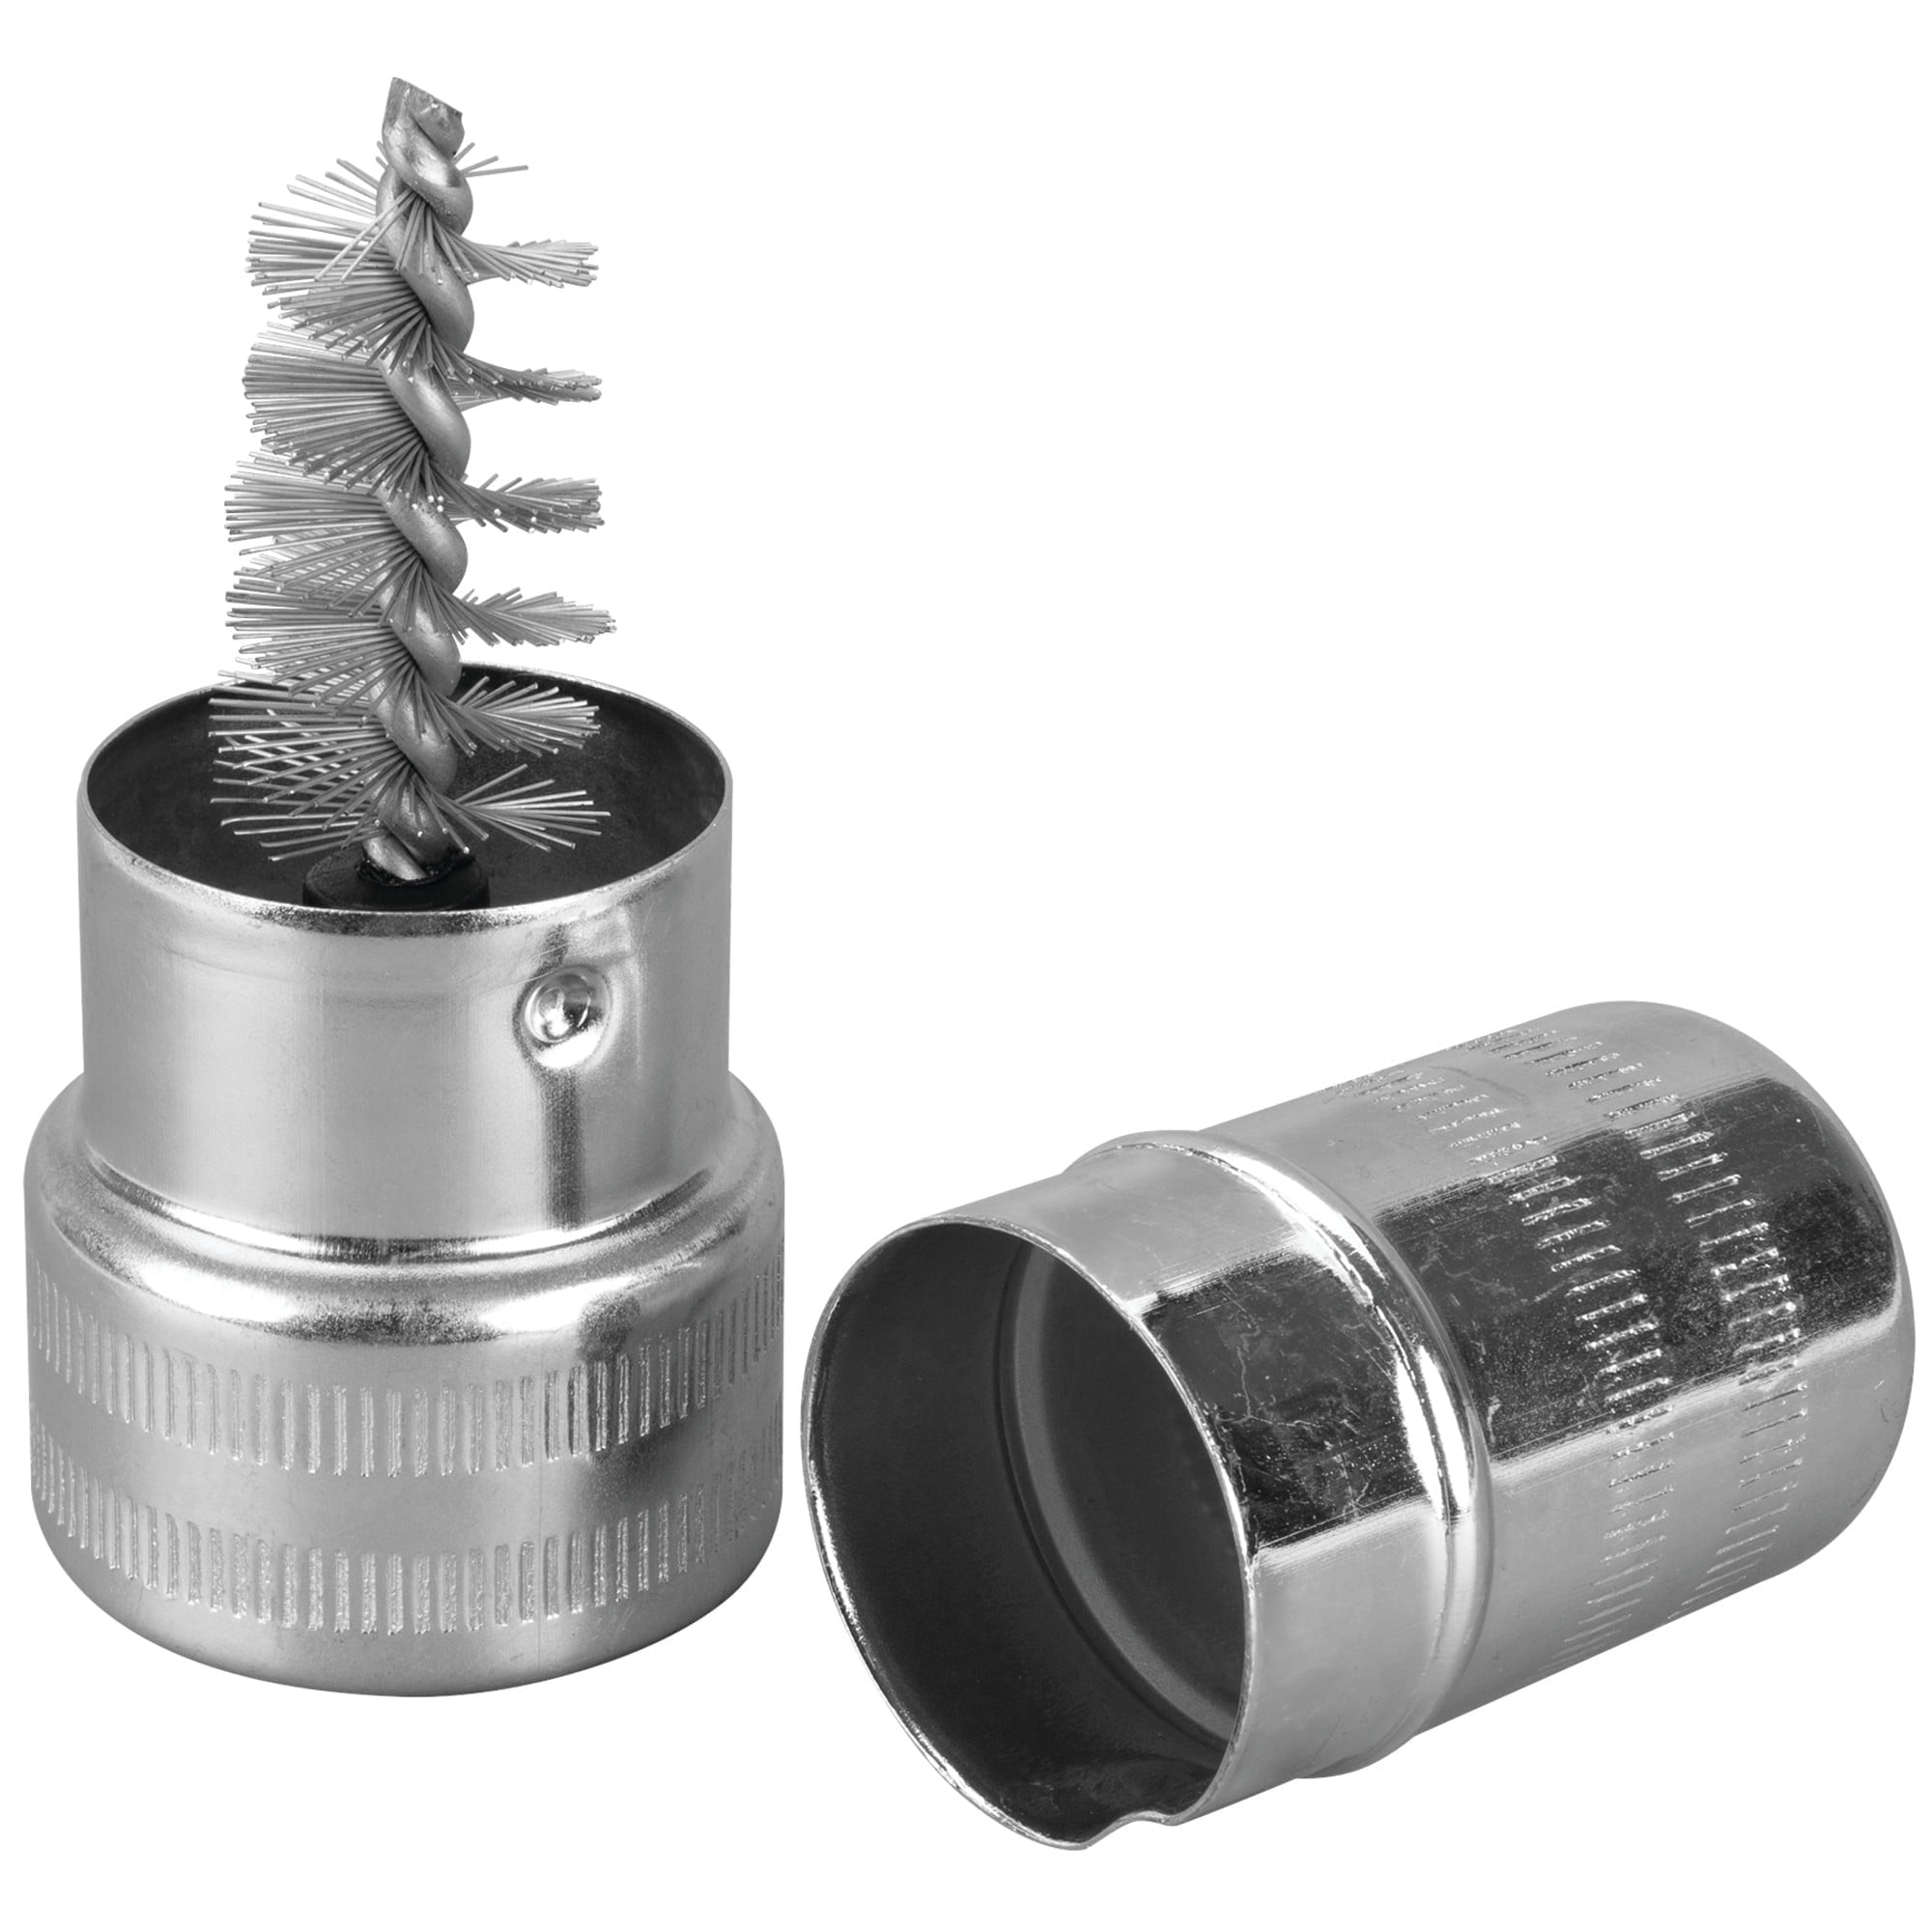
Prep step for clean, accurate readings.
Performance Tool W2973 Battery Terminal Brush Removes corrosion effectively without damaging terminals.
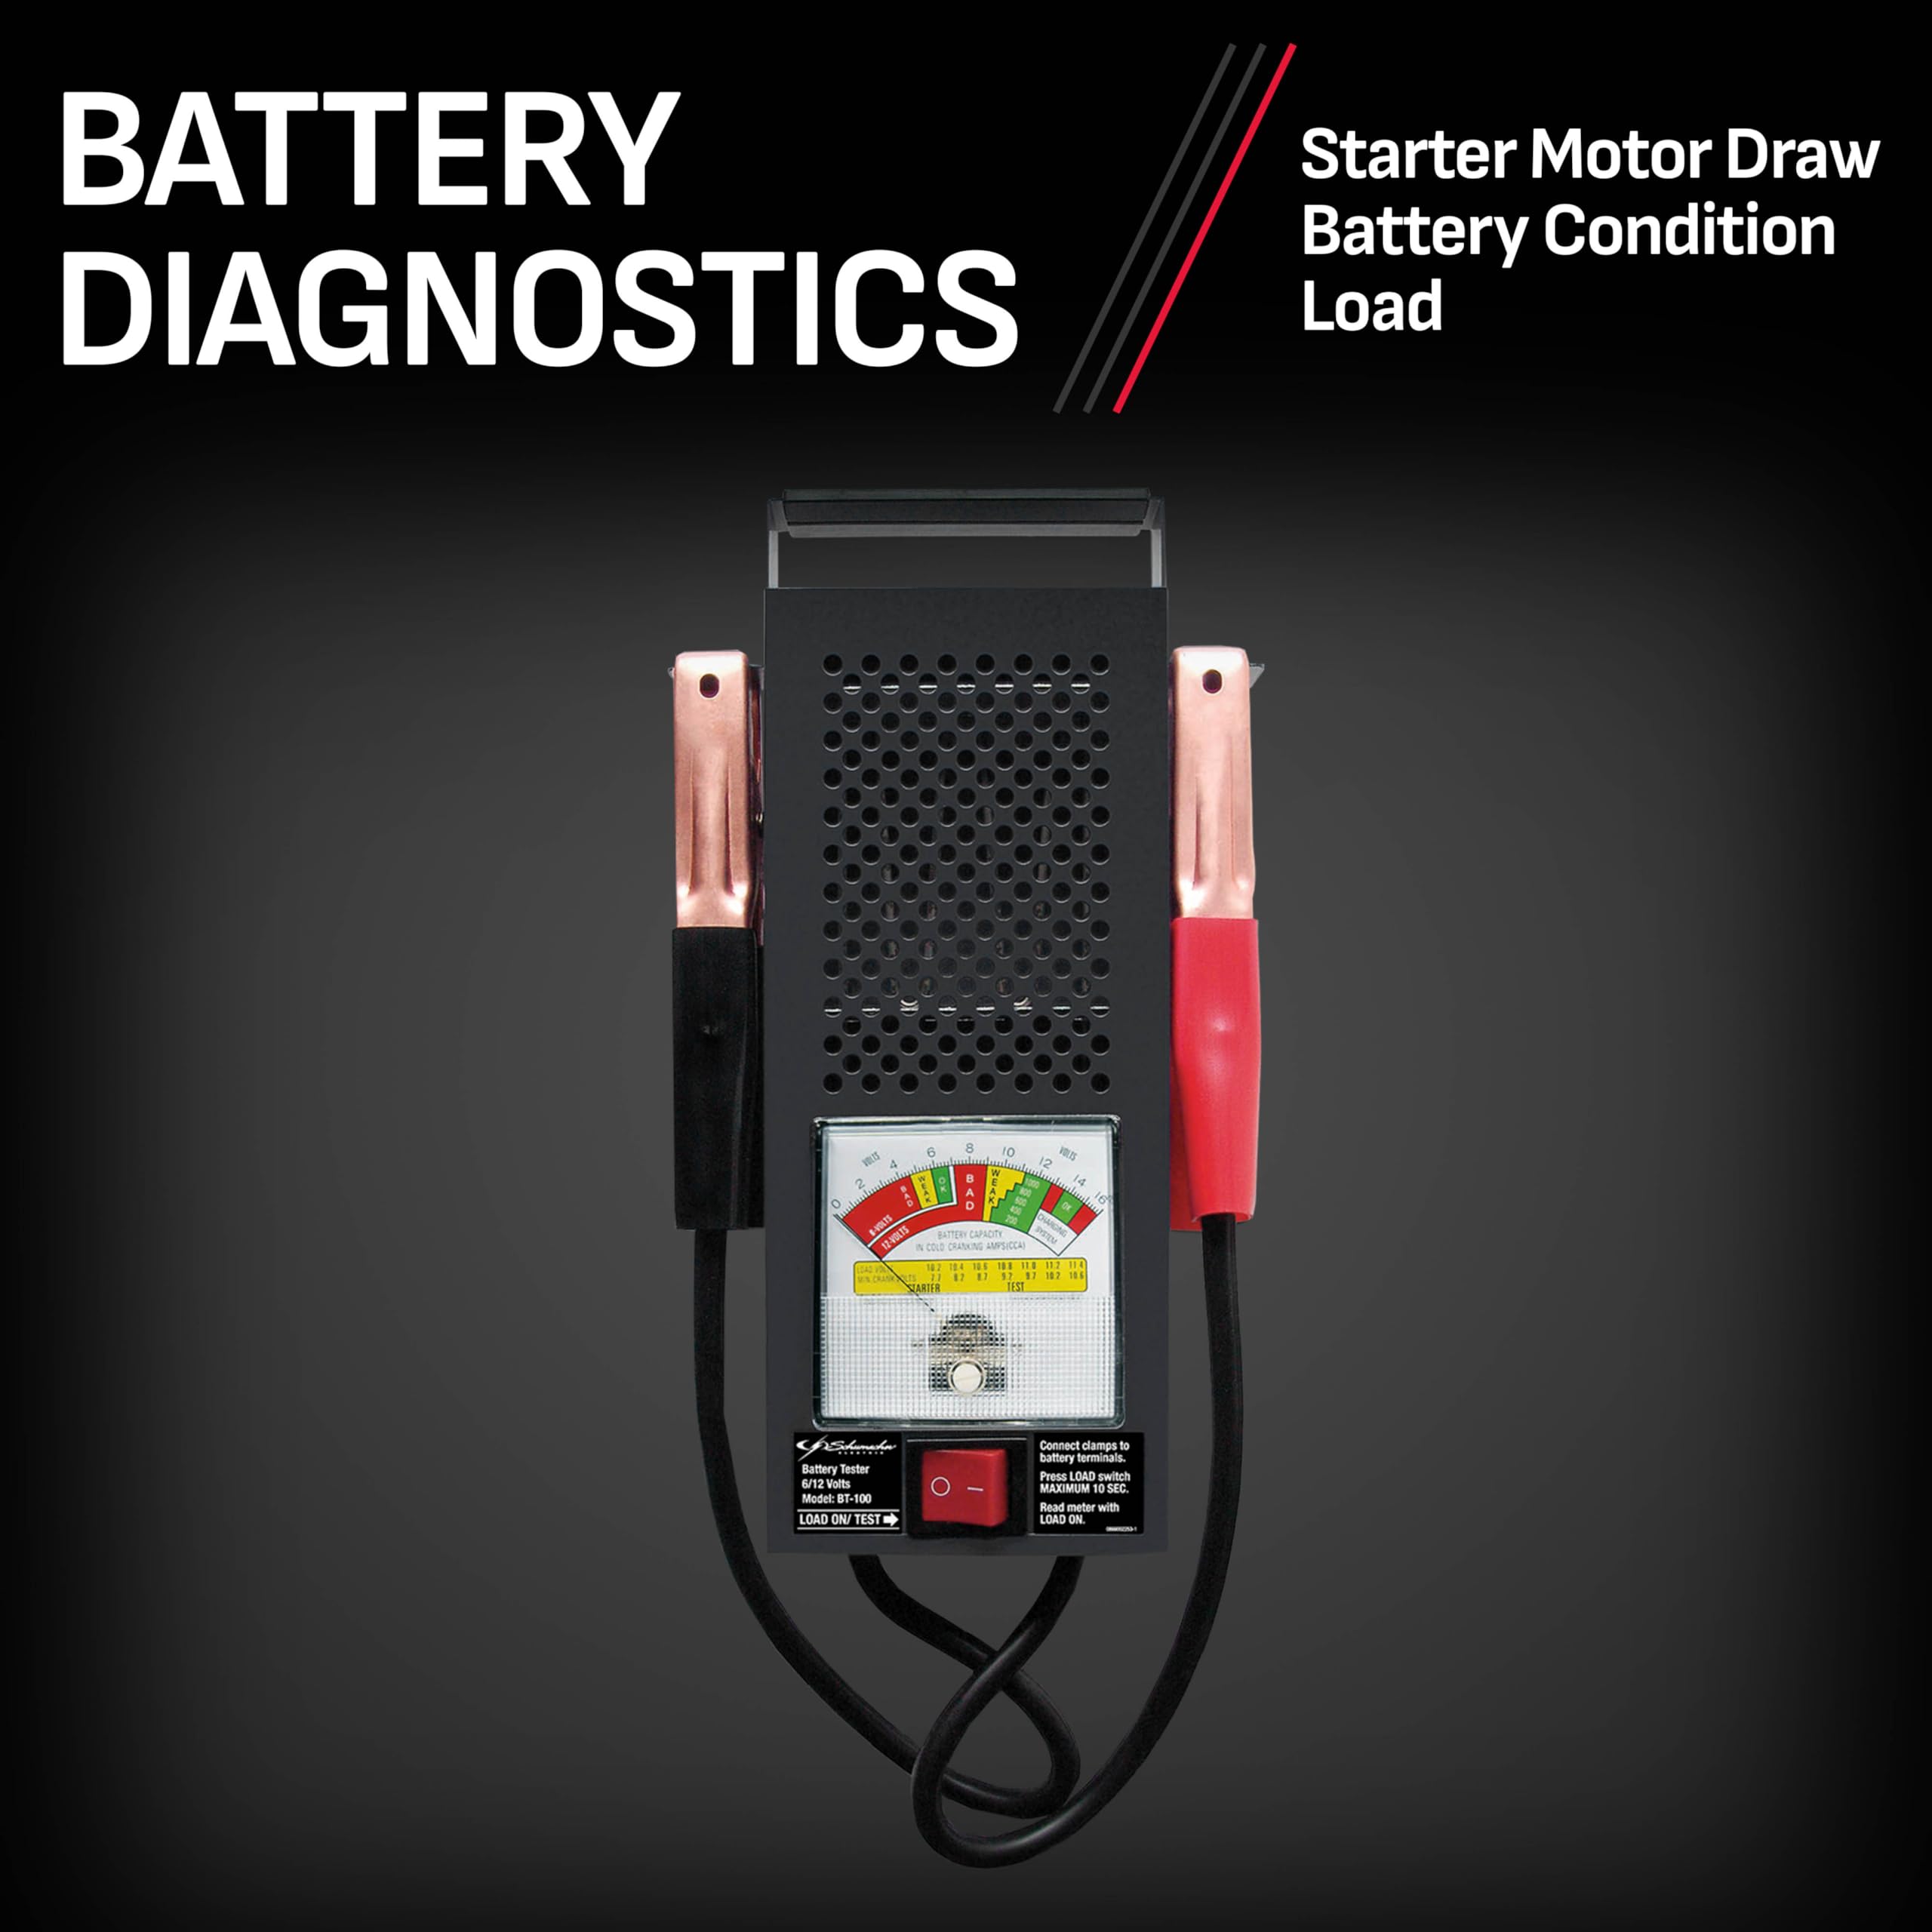
When multimeter shows borderline results.
Schumacher BT-100 Battery Load Tester Complements multimeter with true load test for complete health check.