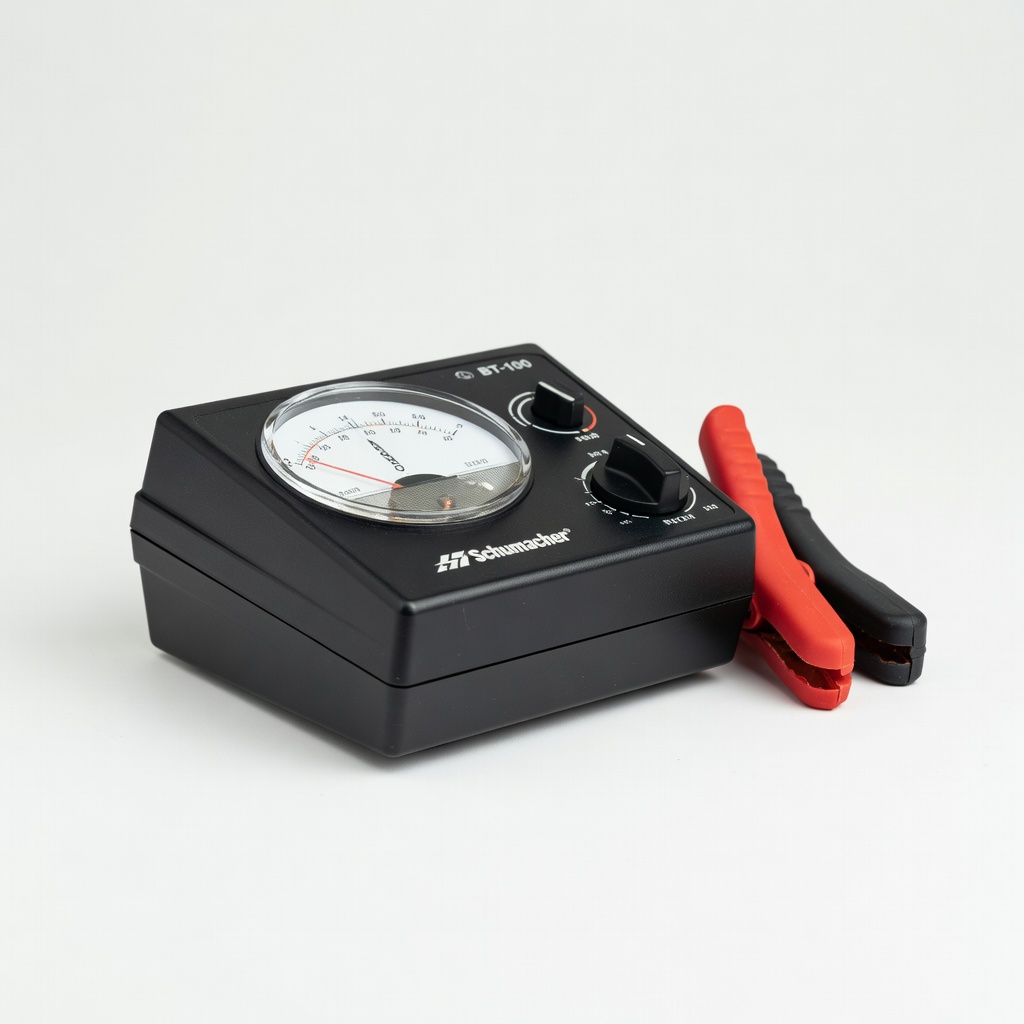
Schumacher BT-100 Battery Load Tester
Core tool for step 5; essential for detecting weak cells.
$24-$30
Schumacher BT-100 Battery Load Tester Accurate 100A load test for 12V RV batteries; simple LEDs show pass/fail.
Get the App
Better experience on mobile
Ensure your RV's 12V batteries are road-ready with this step-by-step guide to visual checks, voltage testing, and load tests—avoid roadside power failures.
Imagine pulling out for your dream RV adventure only to find your 12V house batteries dead, leaving you without lights, fans, or fridge power. Dead batteries are a top cause of RV trip disruptions, but simple pre-trip testing can prevent this. This guide teaches intermediate RV owners how to thoroughly test their 12V batteries (lead-acid, AGM, or lithium) to confirm they're charged, healthy, and reliable.
You'll learn three key testing methods: visual inspection, voltage measurement, and load testing. The process takes 30-45 minutes per battery and requires basic tools like a multimeter and load tester. No advanced electrical knowledge needed—just follow these steps for peace of mind before hitting the road.
Expect clear results: healthy batteries hold 12.6V+ at rest and pass load tests without excessive voltage drop. If issues arise, you'll know whether to charge, replace, or call a pro.
Estimated Time: 30-45 minutes per battery Difficulty: intermediate
Choose a well-ventilated area away from flames or sparks, as batteries can release flammable hydrogen gas. Park your RV on level ground, turn off all appliances, and disconnect the battery negative (-) terminal first to de-energize the system.
Lay down a rubber mat to stand on for insulation. Wear safety glasses and insulated gloves. This prevents shocks, shorts, or explosions—RV batteries store serious energy.
Success looks like: Battery safely disconnected, workspace clear, and you're geared up.
💡 Tips:
⚠️ Warnings:
Examine the battery case for cracks, bulges, leaks, or corrosion (white powdery buildup on terminals). Check cables for fraying or loose connections. For flooded lead-acid, ensure caps are secure.
Healthy batteries look clean and intact—no damage means proceed; damage often signals replacement time.
Success looks like: No visible defects; note any issues for later evaluation.
💡 Tips:
⚠️ Warnings:
Mix baking soda and water (1:1) to neutralize corrosion. Brush terminals and cable ends gently. Rinse with water, dry thoroughly, and apply dielectric grease.
Clean contacts ensure accurate tests—corrosion skews voltage readings.
Success looks like: Shiny, grease-protected terminals ready for testing.
💡 Tips:
⚠️ Warnings:
Set multimeter to DC volts (20V scale). Touch red probe to positive (+) terminal, black to negative (-). Reading should be 12.6V+ for fully charged (12.4V good, below 12.2V weak).
This resting voltage indicates state of charge—why it matters: quick health baseline.
Success looks like: 12.6V or higher; log the exact value.
💡 Tips:
⚠️ Warnings:
Connect load tester per instructions (positive to +, negative to -). Apply 50% load (half CCA rating) for 15 seconds. Voltage should stay above 9.6V—no excessive drop.
Load test simulates real use, revealing weak cells invisible to voltage alone.
Success looks like: Voltage holds steady; tester LEDs green or digital pass.
💡 Tips:
⚠️ Warnings:
Remove caps, insert hydrometer in each cell, note reading (1.265-1.280 fully charged). All cells within 0.050 of each other.
Reveals individual cell health—uneven gravity means bad cell.
Success looks like: Consistent readings across cells.
💡 Tips:
⚠️ Warnings:
For flooded batteries, peek at levels—fluid should cover plates by 1/4-1/2 inch. Top up with distilled water if low.
Low electrolyte causes sulfation and failure.
Success looks like: Proper levels; no action needed.
💡 Tips:
⚠️ Warnings:
Reconnect positive first, then negative. Retest voltage after 10 mins. Charge if below 12.6V.
Confirms system integrity.
Success looks like: Stable voltage, no issues.
💡 Tips:
⚠️ Warnings:
Problem: Voltage drops quickly during load test
Solution: Battery is weak—charge fully and retest; replace if fails again.
Problem: Uneven cell gravity readings
Solution: Bad cell; replace battery. Equalize charge first to confirm.
Problem: Multimeter reads erratically
Solution: Clean probes/terminals; check battery in multimeter.
Problem: Lithium battery won't load test
Solution: Use BMS-compatible tester; monitor via app if equipped.
Problem: Persistent low voltage after charge
Solution: Self-discharge issue—replace. Seek pro for parasitic drain.
Accurate 100A load test for 12V RV batteries; simple LEDs show pass/fail.
Best for: Core tool for step 5; essential for detecting weak cells.
Price Range: $24-$30
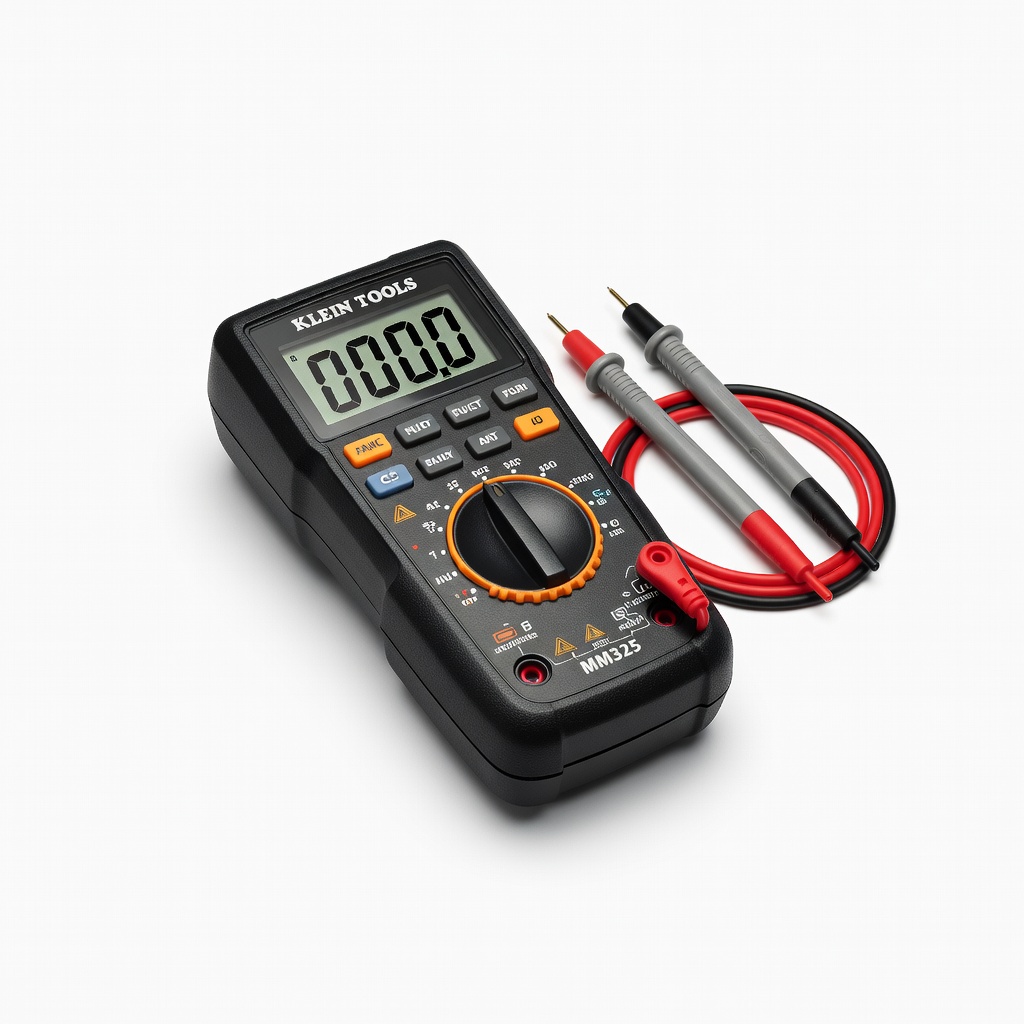
Reliable auto-ranging for precise DC voltage; rugged for RV use.
Best for: Steps 4 and 8; measures up to 600V safely.
Price Range: $30-$40
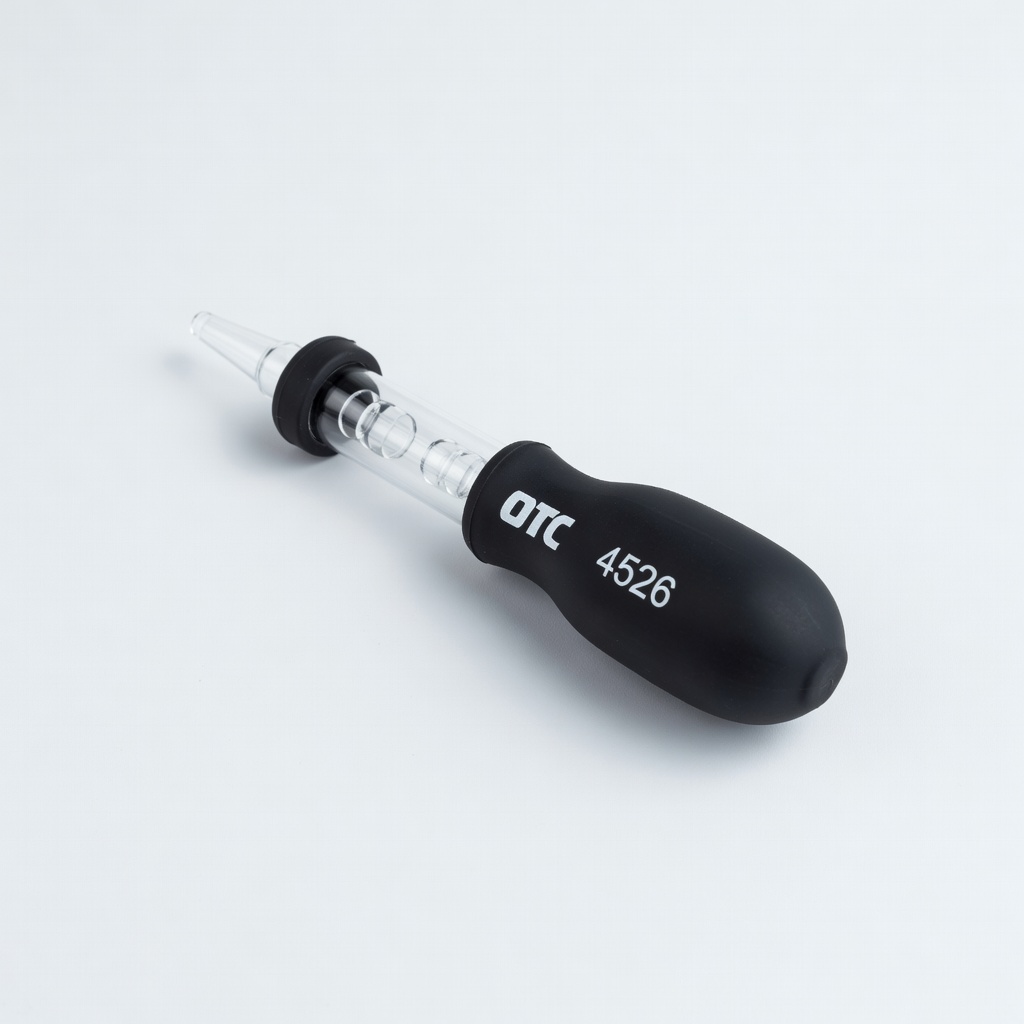
Easy float-style for quick specific gravity checks on flooded batteries.
Best for: Step 6; affordable and accurate for lead-acid.
Price Range: $10-$15
Clear, ANSI-rated protection against acid splashes.
Best for: All steps; comfortable for extended testing.
Price Range: $10-$15
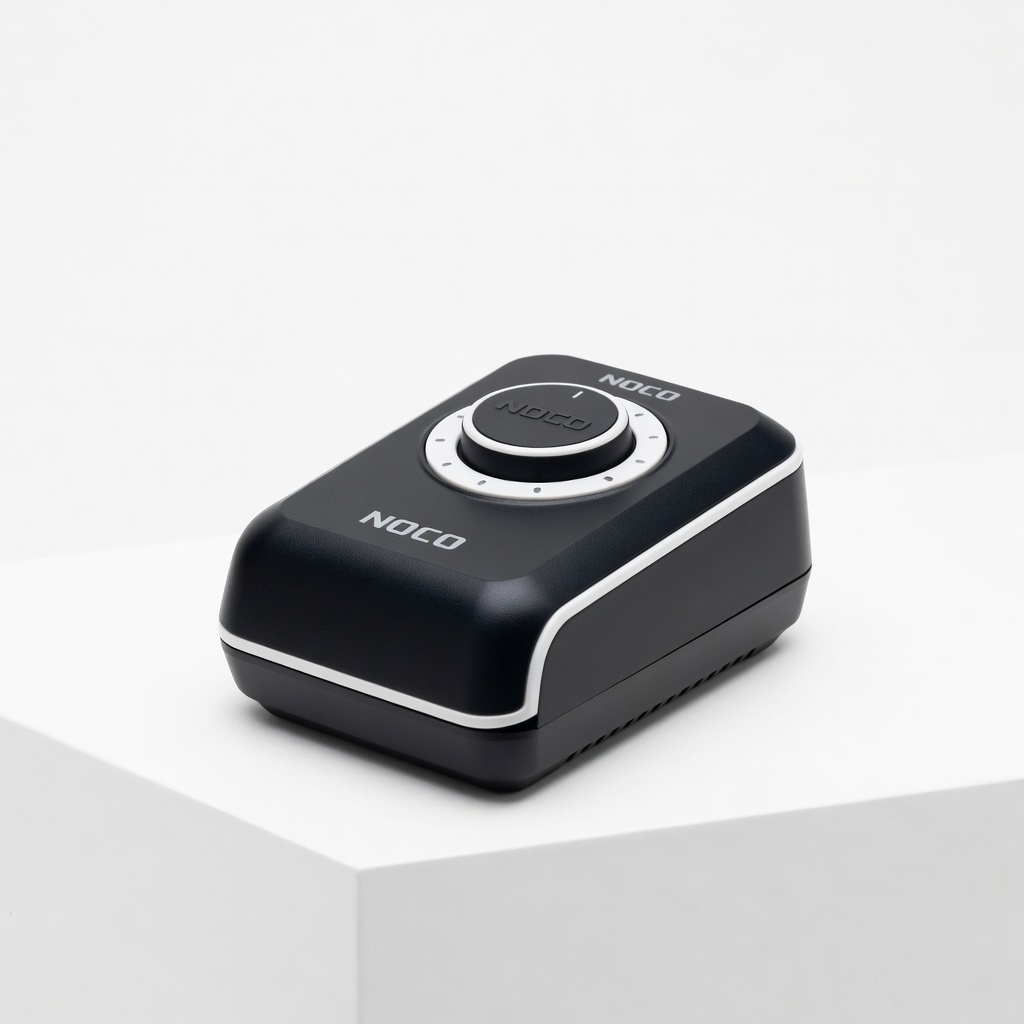
Smart 1A charger for safe post-test recharging; lithium/lead-acid compatible.
Best for: After low voltage; maintains RV batteries.
Price Range: $40-$50
Core tool for step 5; essential for detecting weak cells.
Schumacher BT-100 Battery Load Tester Accurate 100A load test for 12V RV batteries; simple LEDs show pass/fail.
Steps 4 and 8; measures up to 600V safely.
Klein Tools MM325 Digital Multimeter Reliable auto-ranging for precise DC voltage; rugged for RV use.
Step 6; affordable and accurate for lead-acid.
OTC 4526 Battery Hydrometer Easy float-style for quick specific gravity checks on flooded batteries.

All steps; comfortable for extended testing.
NoCry Safety Glasses Clear, ANSI-rated protection against acid splashes.
After low voltage; maintains RV batteries.
NOCO Genius GEN5X1 Battery Charger Smart 1A charger for safe post-test recharging; lithium/lead-acid compatible.