Baggy active pants can ruin your workout vibe, making you feel frumpy instead of fierce. Whether it's leftover holiday weight or just poor sizing, tailoring them yourself saves money and gives a custom look that store-bought can't match. This guide is perfect for intermediate sewers ready to tackle stretch fabrics.
You'll learn to safely alter active pants (like leggings, joggers, or yoga pants) by taking in the seams for a slimmer silhouette. The process involves measuring, pinning, sewing, and finishing—no advanced skills needed beyond basic machine sewing. Expect a snugger fit through the legs and seat without losing stretch.
Total time: 1-2 hours per pair. Difficulty: Intermediate (basic sewing machine experience required). Follow these steps for pro results every time.
▸What You'll Need
- •Sewing machine with zigzag or stretch stitch capability (required)
- •Heavy-duty stretch needles (size 75/11 or 90/14, required for knits)
- •Matching stretch thread (polyester or nylon, required)
- •Measuring tape (required)
- •Fabric scissors or rotary cutter (required)
- •Straight pins or wonder clips (required for stretch fabric)
- •Tailor's chalk or fabric marker (required)
- •Iron and ironing board (required)
- •Seam ripper (optional, for mistakes)
- •Serger or overlocker (optional, for pro finish)
Estimated Time: 1-2 hours per pair
Difficulty: intermediate
▸Step-by-Step Instructions
Step 1: Prepare Your Workspace and Pants
Clear a flat, well-lit table for pinning and sewing. Wash and dry the active pants on a gentle cycle to pre-shrink the fabric and remove any sizing—this prevents puckering later. Iron them flat while slightly damp for crisp seams.
Why it matters: Stretch fabrics like spandex shift during wear, so prepping ensures accurate alterations. Expect smooth, wrinkle-free pants ready for marking.
Lay pants flat, right sides together, matching seams perfectly.
💡 Tips:
- •Work in natural light to spot asymmetries.
⚠️ Warnings:
- •Don't skip washing—new activewear can shrink up to 10%.
Step 2: Try On and Visualize the Slim Fit
Put on the pants (or have a model wear them) and pinch excess fabric along the inner and outer leg seams, plus seat if needed. Note where it feels baggy—typically 0.5-2 inches per side for a slimmer taper.
Stand in front of a mirror and decide your desired taper: subtle for mobility or aggressive for a legging-like fit. Mark rough pinch points with chalk while wearing them.
Remove pants and lay flat again. This step ensures the fit flatters your body without restricting movement.
💡 Tips:
- •Pin while wearing for the most accurate feel.
Step 3: Measure and Mark Seam Lines
Using your measuring tape, measure from the waistband down each leg seam. Mark new seam lines 0.5-1 inch inside the original (less for stretchy pants). Connect marks smoothly with tailor's chalk, tapering toward the ankle for a slim look.
Double-check symmetry: measurements should match on both legs. Add 0.5-inch seam allowance.
Why it matters: Precise marks prevent uneven legs. Success: Clean, mirrored chalk lines on both pant legs.
💡 Tips:
- •Measure from the bottom hem up for consistency.
⚠️ Warnings:
- •Over-marking reduces stretch—start conservative.
Step 4: Pin the New Seams Securely
Fold pants right sides together along your marked lines. Pin perpendicular to the seam every 2-3 inches, starting at hem and working up. Use wonder clips on curves to avoid distorting stretch fabric.
Test stretch: Pull gently; pins should hold without popping. This secures fabric for sewing.
Expect: Pants now look tapered when pinned.
💡 Tips:
- •Clip instead of pin for less poking into stretch material.
Step 5: Sew the New Seams with Stretch Stitch
Set machine to zigzag (2.5mm width, 2.0mm length) or stretch stitch. Sew from hem up, following chalk lines exactly, backstitching at top and bottom.
Remove pins as you go. Sew both legs, then seat if needed (pin crotch first).
Why: Zigzag prevents breaking thread on stretch fabric. Success: Sturdy, flexible seams.
⚠️ Warnings:
- •Straight stitch will crack—always use zigzag!
Step 6: Trim and Finish Excess Fabric
Cut off excess fabric 0.25 inches from new seam. Finish raw edge with zigzag or overlock to prevent fraying—activewear ravels easily.
Press seams toward back with iron on low heat (no steam on synthetics).
Expect: Clean, flat edges ready for wear.
💡 Tips:
- •Grade seams (trim inner layer shorter) for bulk-free finish.
Step 7: Final Try-On and Adjustments
Turn pants right side out, try on, and squat/move to test fit. Tug seams; if off, rip and resew.
Success: Slim, flattering fit with full mobility—no binding.
💡 Tips:
- •Test in dynamic poses like lunges.
▸Pro Tips
- •Use ballpoint or stretch needles to avoid skipped stitches on knits.
- •Sew with right sides together for clean results.
- •Taper gradually—1 inch total per leg max for most active pants.
- •Practice on scrap fabric first.
- •Iron between steps for pro-level crispness.
- •Add reflective tape during finishing for safety.
- •Batch-alter multiple pairs for efficiency.
▸Common Mistakes to Avoid
- •Using straight stitch on stretch fabric: Causes seams to pop; always zigzag.
- •Uneven pinning: Leads to crooked legs; measure twice.
- •Over-tailoring: Restricts movement; take in gradually.
- •Skipping pre-wash: Pants shrink post-alteration, ruining fit.
- •High heat ironing: Melts synthetics; use low/no steam.
▸Troubleshooting
Problem: Puckered seams
Solution: Loosen tension, use stretch needle, or stretch fabric slightly while sewing.
Problem: Skipped stitches
Solution: Switch to fresh stretch needle and polyester thread.
Problem: Uneven legs
Solution: Rip seams with seam ripper and re-pin measuring from center crotch.
Problem: Lost stretch
Solution: Too much taken in—let out slightly or start over on new pair.
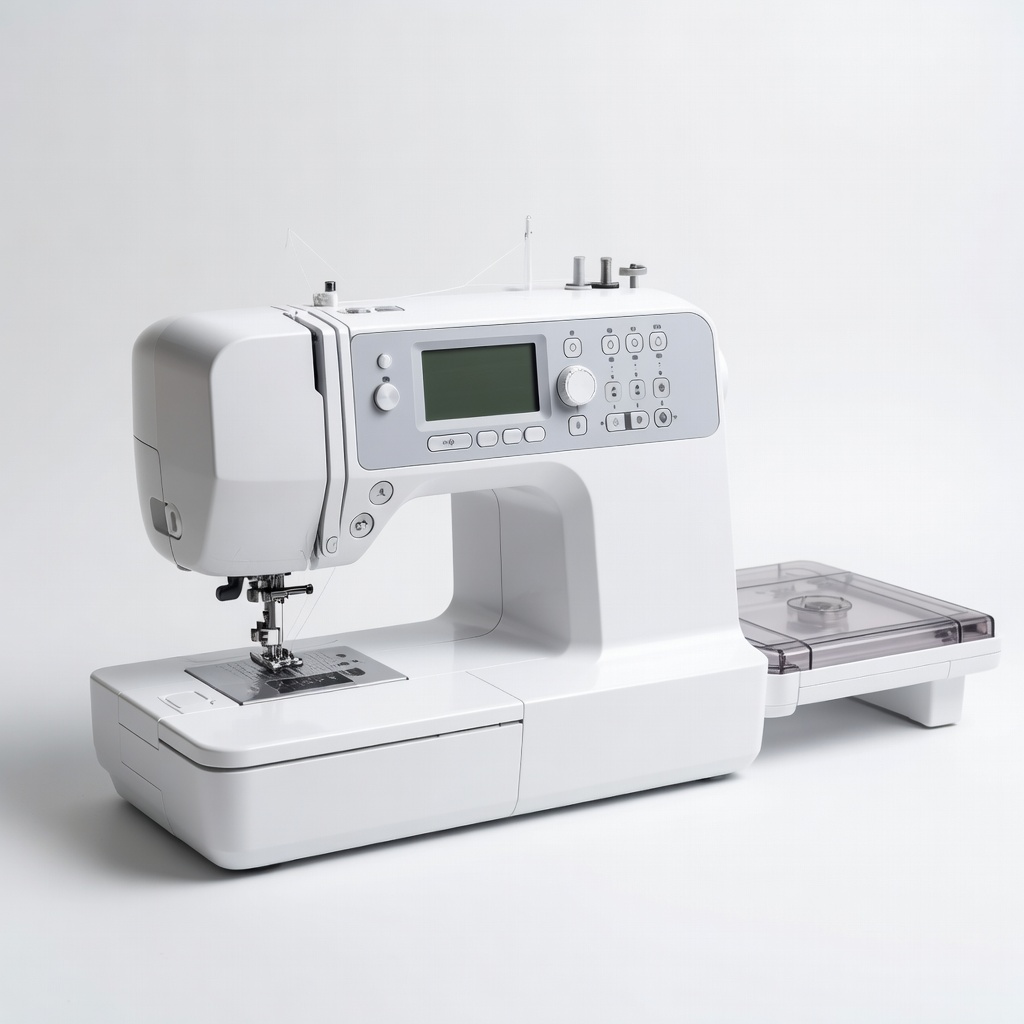
Brother CS6000i Sewing and Quilting Machine
Handles stretch fabrics effortlessly with 60 built-in stitches including zigzag and stretch options; perfect for intermediate users.
Best for: Main sewing tool for all steps; lightweight and user-friendly.
Price Range: $150-$180
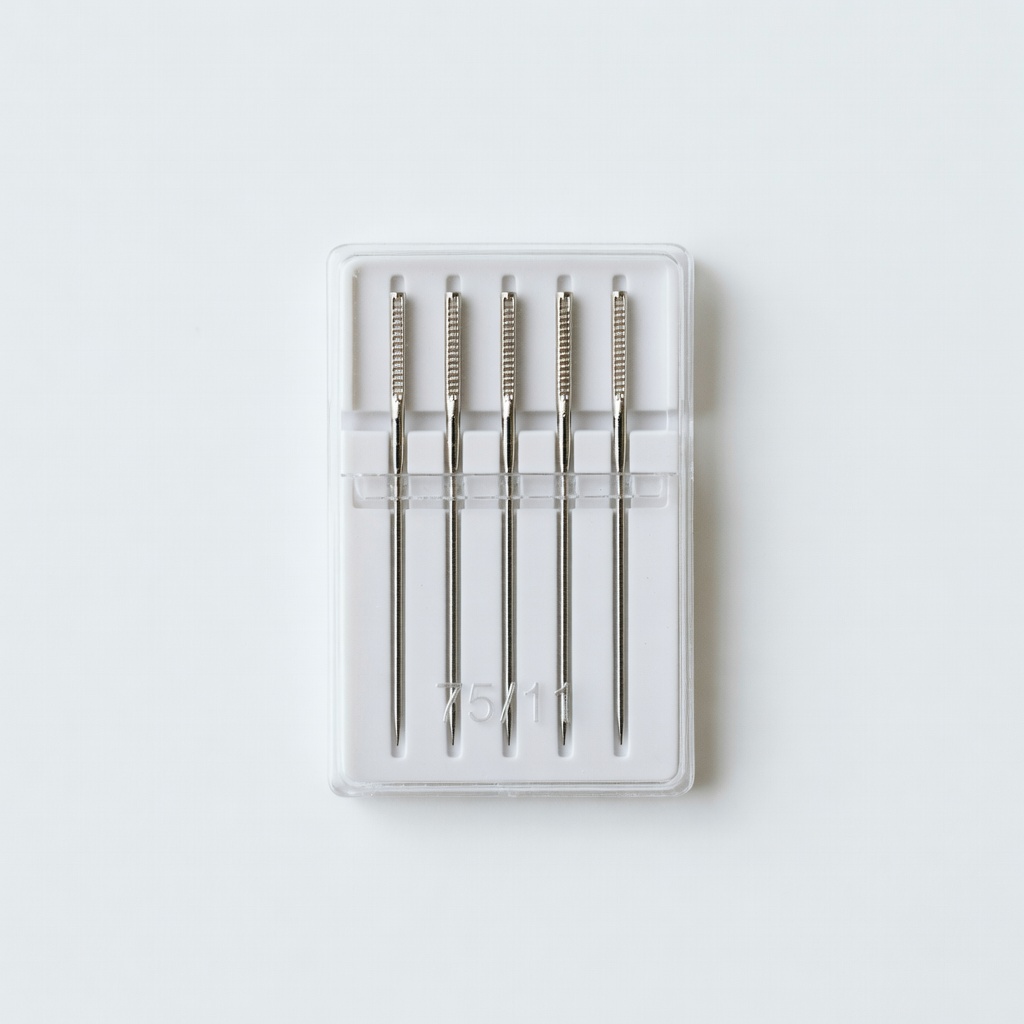
Schmetz Stretch Sewing Machine Needles Size 75/11
Specialized for knits/spandex to prevent skipped stitches and puckering.
Best for: Essential replacement for standard needles during sewing step.
Price Range: $5-$8
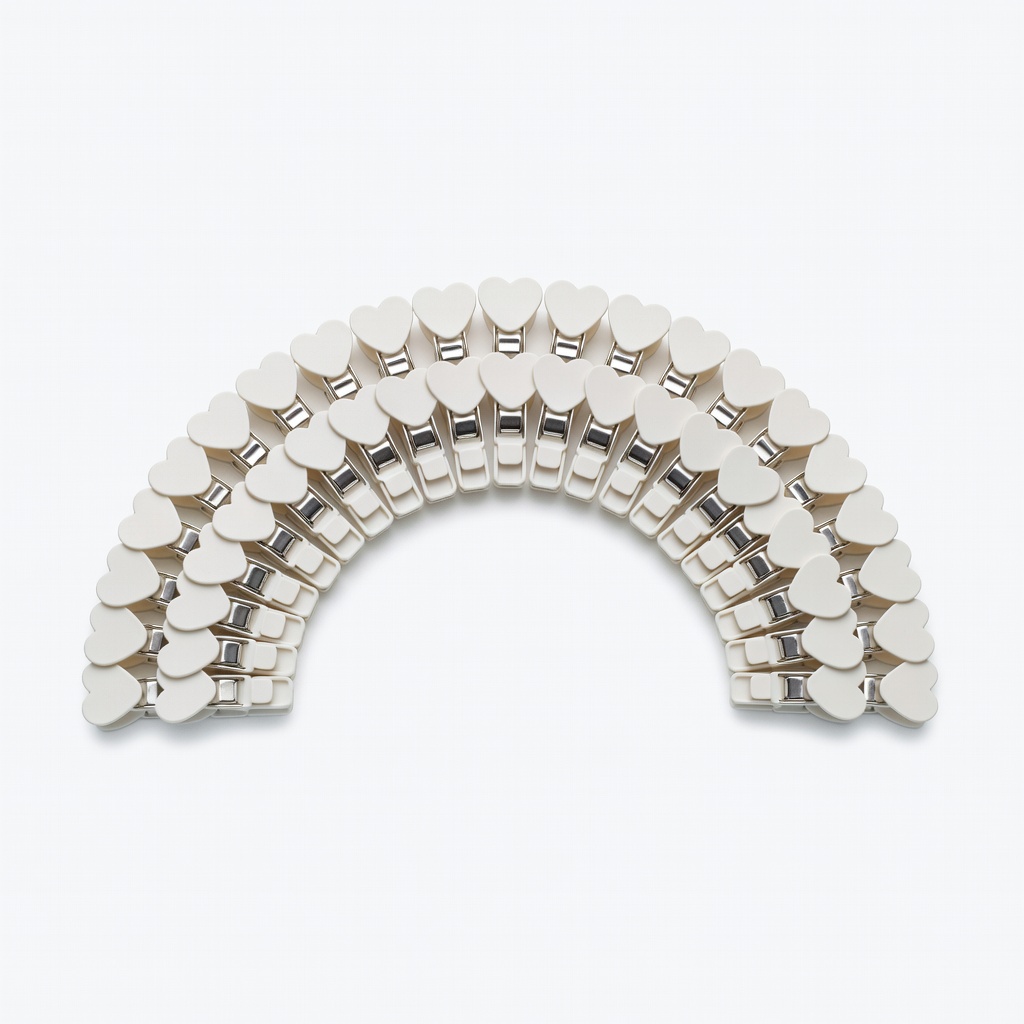
Clover Wonder Clips 50-Pack
Better than pins for holding stretch without distortion or damage.
Best for: Pinning curved seams securely.
Price Range: $10-$15
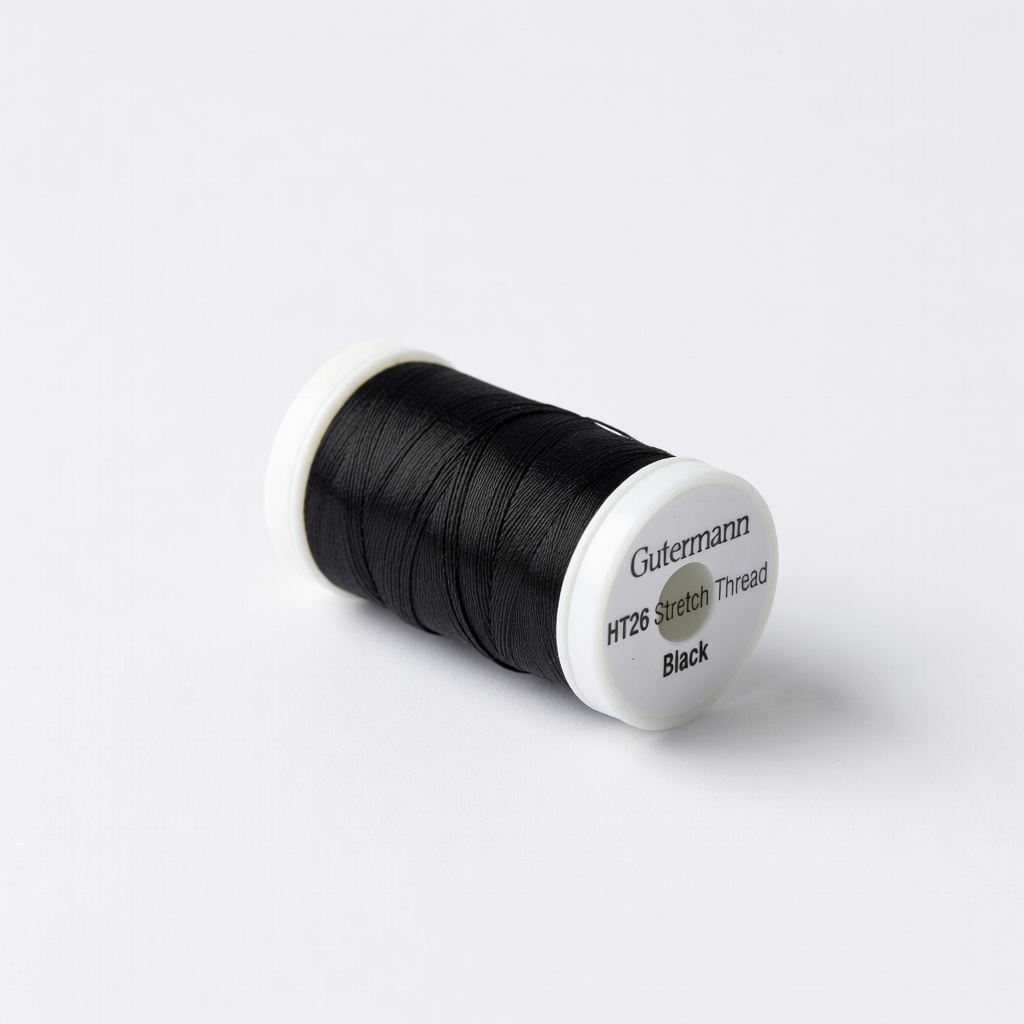
Gutermann HT26 Stretch Thread Black
High-tenacity thread that flexes with activewear without breaking.
Best for: Matching color for invisible seams.
Price Range: $6-$10
Dritz Tailor's Chalk Wheel
Marks stretch fabric temporarily without residue.
Best for: Precise line marking that brushes off.
Price Range: $3-$5