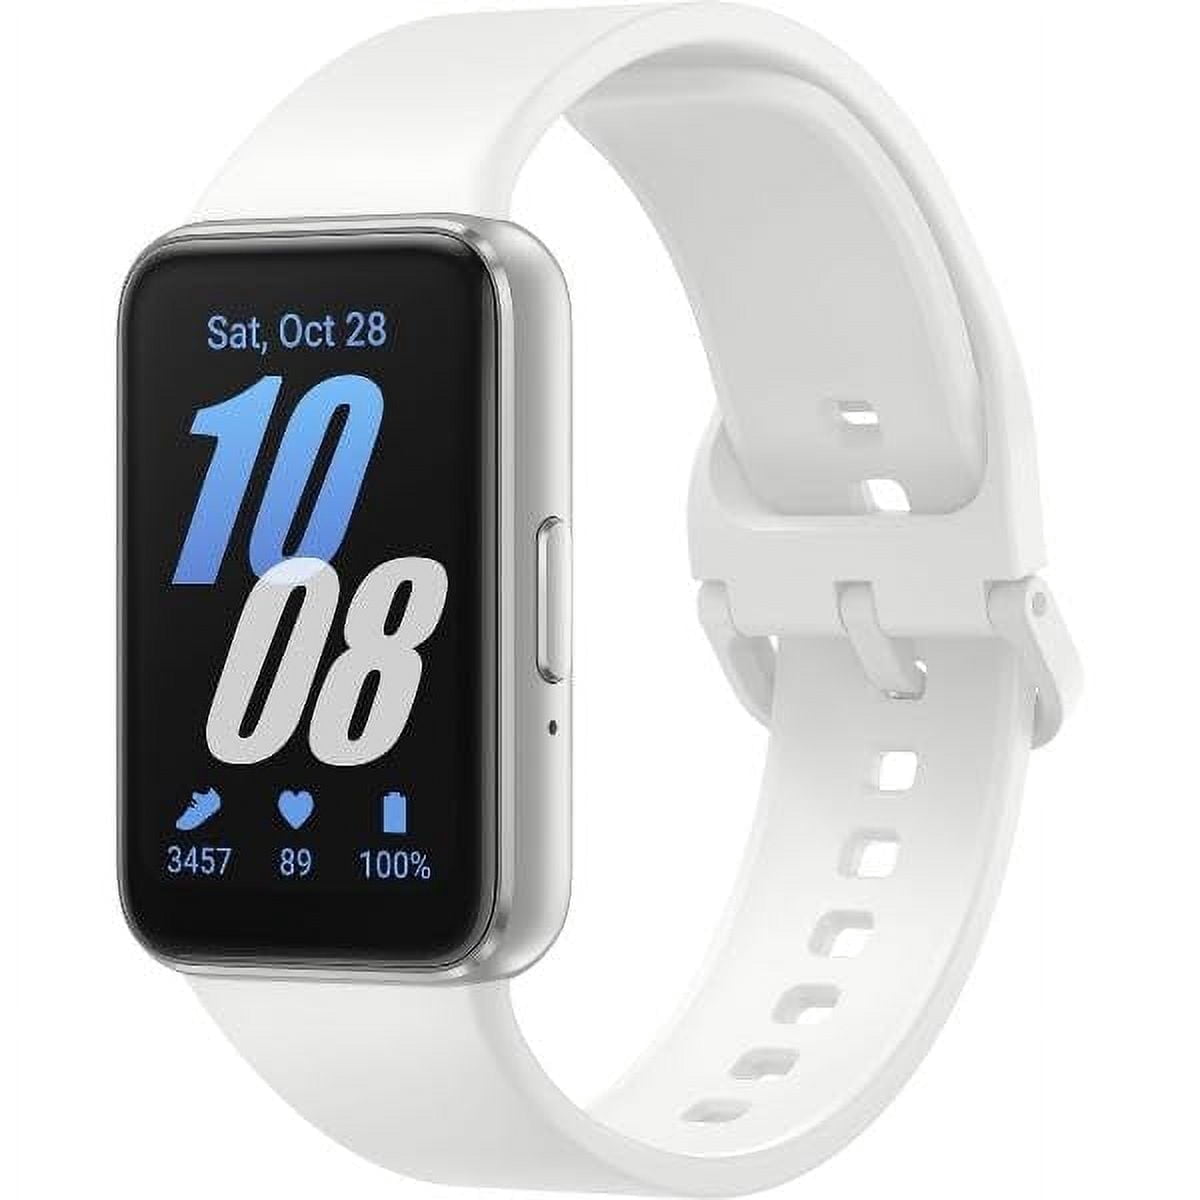
You just got a shiny new fitness tracker, but you're staring at it, and your phone has no idea it exists. Syncing your fitness tracker to your phone is the first, crucial step to unlock all its features, from step tracking to heart rate monitoring and sleep insights. Without a successful sync, your tracker is just an expensive bracelet.
In this guide, we'll walk you through the entire process, whether you have a Fitbit, Garmin, Amazfit, or any other popular brand. You'll learn the exact steps to pair your device, what settings to check, and how to fix common syncing issues. By the end, your phone and tracker will be talking to each other seamlessly, and you'll be on your way to reaching your fitness goals.
Setting up a fitness tracker is easier than most people think. With just a few minutes of prep, you'll be done. Let's get started.
▸What You'll Need
- •Your fitness tracker (charged and powered on)
- •A compatible smartphone (iOS or Android) with Bluetooth enabled
- •The companion app for your tracker (e.g., Fitbit, Garmin Connect, Mi Fitness)
- •A stable internet connection for downloading the app and updating firmware
- •Your account credentials for the app (or a new sign-up)
Estimated Time: 10-15 minutes for initial setup; minutes each day for syncing
Difficulty: beginner
▸Step-by-Step Instructions
Step 1: Check Compatibility of Your Tracker and Phone
Before you dive in, verify that your fitness tracker and phone can work together. Check the manufacturer's website or the app store listing for system requirements. For example, some trackers require iOS 14 or Android 10 or higher. Bluetooth version is also important; most modern trackers use Bluetooth 5.0 or newer, but your phone needs to be compatible.
This step is often overlooked, but it saves time and frustration. If your phone's operating system is too old, you may not be able to install the app or connect properly. You might even encounter frequent dropouts.
Success looks like: You've confirmed both devices meet the minimum requirements and your phone's OS is up to date.
💡 Tips:
- •Check the product box or manufacturer's support page for 'System Requirements'.
- •Update your phone's operating system before starting to avoid compatibility issues.
⚠️ Warnings:
- •Some older trackers may not support the newest phone OS versions, and vice versa.
Step 2: Download and Install the Companion App
Each fitness tracker brand uses its own dedicated app to sync and display your data. For instance, Fitbit uses the 'Fitbit' app, Garmin uses 'Garmin Connect', and Amazfit uses 'Zepp' or 'Mi Fitness'. Open your phone's app store (Google Play or App Store) and search for the correct app. Install it.
Make sure you download the official app from the original publisher. There are imitation apps that can be harmful or simply don't work with your tracker.
Success looks like: The app icon appears on your home screen, and you can open it without errors.
💡 Tips:
- •Use a Wi-Fi connection to download the app if you have a large app or a slow mobile data connection.
- •Read the app's reviews to see if other users have sync issues, but don't let an occasional negative review scare you.
⚠️ Warnings:
- •Be wary of look-alike apps. Check the publisher name in the app store before downloading.
Step 3: Create an Account and Log In
Launch the app and create a new account or log in with your existing credentials. The app will ask for basic details such as your age, height, weight, and fitness goals. This data is essential for calculating metrics like calories, step distance, and personalized heart rate zones.
If you already have an account, just log in. If not, be prepared to provide a valid email address and create a password. Some apps allow you to sign in with Google or Apple.
Success looks like: You're logged in and see the app's main dashboard, typically showing a placeholder for your activity data.
💡 Tips:
- •Use a secure password and enable two-factor authentication if the app offers it.
- •Fill in your profile accurately for better goal tracking.
⚠️ Warnings:
- •Do not share your login credentials with anyone. Your health data is sensitive.
Step 4: Turn On Bluetooth and Wake Up Your Tracker
Go to your phone's Settings and enable Bluetooth. On most phones, you can do this by swiping down from the top of the screen and tapping the Bluetooth icon. Keep your phone in pairing mode.
Next, power on your fitness tracker. If it hasn't been charged, plug it in for at least 10-15 minutes. To put your tracker in pairing mode, you might need to wake it up by pressing its button, tapping its screen, or raising your wrist. Many trackers automatically become discoverable when you open the app.
Success looks like: Your phone's Bluetooth settings show 'Discoverable' or your tracker's screen is lit and ready.
💡 Tips:
- •Keep your phone and tracker within 10 meters (33 feet) of each other during setup.
- •If your tracker has a physical button, hold it down for a few seconds to enter pairing mode.
⚠️ Warnings:
- •Your phone might disable Bluetooth when battery saver mode is on. Turn that off temporarily.
Step 5: Pair Your Tracker via the App
Open the companion app and navigate to the device settings. This is usually under 'Devices', 'Settings', or 'Add a Device'. Tap 'Add a Device' or a similar option. The app will start scanning for your tracker.
When your tracker appears in the list, tap it. The app will display a six-digit code or a confirmation request on both screens. Verify that the code matches and confirm. This pairs the devices securely.
Important: Always pair through the companion app, not through your phone's Bluetooth settings. Doing it the app ensures that the correct communication protocols are set up and allows the app to control the connection.
Success looks like: The app says 'Connected' or 'Paired successfully', and your tracker might vibrate.
💡 Tips:
- •If your tracker doesn't show up, ensure it's in pairing mode. Check the user manual for the exact button combination.
- •Toggle Bluetooth off and on again on your phone to refresh the scan.
⚠️ Warnings:
- •Do not attempt to pair from the phone's Bluetooth settings first, as this can cause sync issues later.
Step 6: Grant Necessary Permissions
After pairing, the app will request permissions to access your phone's features. For example, it may ask for notification access (so you can see call and message alerts on your tracker), location permissions (required for Bluetooth scanning on Android), and physical activity monitoring. Allow all relevant permissions.
On iOS, you may also need to grant access to Apple Health so that your tracker data can be shared with other health apps. On Android, you'll likely see a prompt to allow the app to run in the background.
Success looks like: The app displays a message like 'Connected' and your activity data (steps, heart rate) begins to populate.
💡 Tips:
- •You can control permissions later in your phone's settings, but granting them fully now ensures a smooth experience.
- •On iPhone, also enable 'Background App Refresh' for the companion app to allow automatic syncing.
⚠️ Warnings:
- •Denying critical permissions, like location on Android, might prevent Bluetooth from discovering your tracker.
Step 7: Sync Your Data and Set Sync Frequency
Your tracker and phone are now paired. To sync data, simply open the app; most apps sync automatically when you open. On some apps, you need to pull down from the top of the dashboard or tap a 'Sync' icon. Check your app's settings to see the sync frequency option. You can choose 'All-Day Sync', 'Every Hour', or 'Manual Only'.
For the most accurate and up-to-date data, enable automatic sync at a reasonable interval. Just remember that frequent syncing consumes a little more battery on both your phone and tracker.
Success looks like: Your app shows your latest step count, heart rate, and sleep data, and the tracker's screen may mimic the phone's time and date.
💡 Tips:
- •If your tracker has a dedicated sync button (like on some Garmin devices), use it to speed up the process.
- •To force a sync, grant the app permission to access your location temporarily—on Android, location helps with scanning.
- •Set your sync frequency to 'Every Hour' to balance battery life and data freshness.
⚠️ Warnings:
- •If you enable 'All-Day Sync,' battery life on both your phone and tracker may decrease noticeably.
▸Pro Tips
- •Keep your phone's operating system updated to avoid Bluetooth bugs.
- •Make sure your tracker is fully charged before starting the setup; a dying battery can interrupt pairing.
- •Restart both devices if you encounter weird glitches during setup or syncing.
- •For iPhone users, link the companion app to Apple Health to centralize your health data.
- •Update the companion app regularly to get the latest sync enhancements and bug fixes.
- •If you switch phones, remember to unpair your tracker from the old phone and perform a factory reset if necessary.
- •Use a Wi-Fi connection during the initial app download and firmware update to avoid data charges.
▸Common Mistakes to Avoid
- •Pairing your tracker directly in your phone's Bluetooth settings instead of through the companion app.
- •Forgetting to grant location permissions on Android, which are essential for Bluetooth scanning.
- •Using an outdated version of the companion app that doesn't support the latest tracker firmware.
- •Having the phone too far from the tracker during the initial pairing, causing the connection to time out.
- •Ignoring the app's notification prompts, which may ask you to finalize the setup.
▸Troubleshooting
Problem: Tracker not showing up in the app.
Solution: Ensure the tracker is in pairing mode (check the manual), has sufficient battery, and is within close range of your phone. Restart the app and toggle Bluetooth off and on.
Problem: Sync fails intermittently.
Solution: Disable Bluetooth and re-enable it. Restart both devices. Make sure the companion app has background app refresh and doesn't have battery optimization restrictions on Android.
Problem: Notifications aren't coming through to the tracker.
Solution: Check that you've granted notification permission to the app and that the sync is active. On Android, disable battery optimization for the app under Settings > Apps.
Problem: Data is missing or inaccurate.
Solution: Force a sync by opening the app and waiting for it to complete. Update the tracker's firmware through the app if a new version is available.
Problem: Bluetooth keeps disconnecting.
Solution: Remove the tracker from the app and re-pair it. If that doesn't work, reset the tracker according to the manufacturer's instructions. If the problem persists, contact customer support.
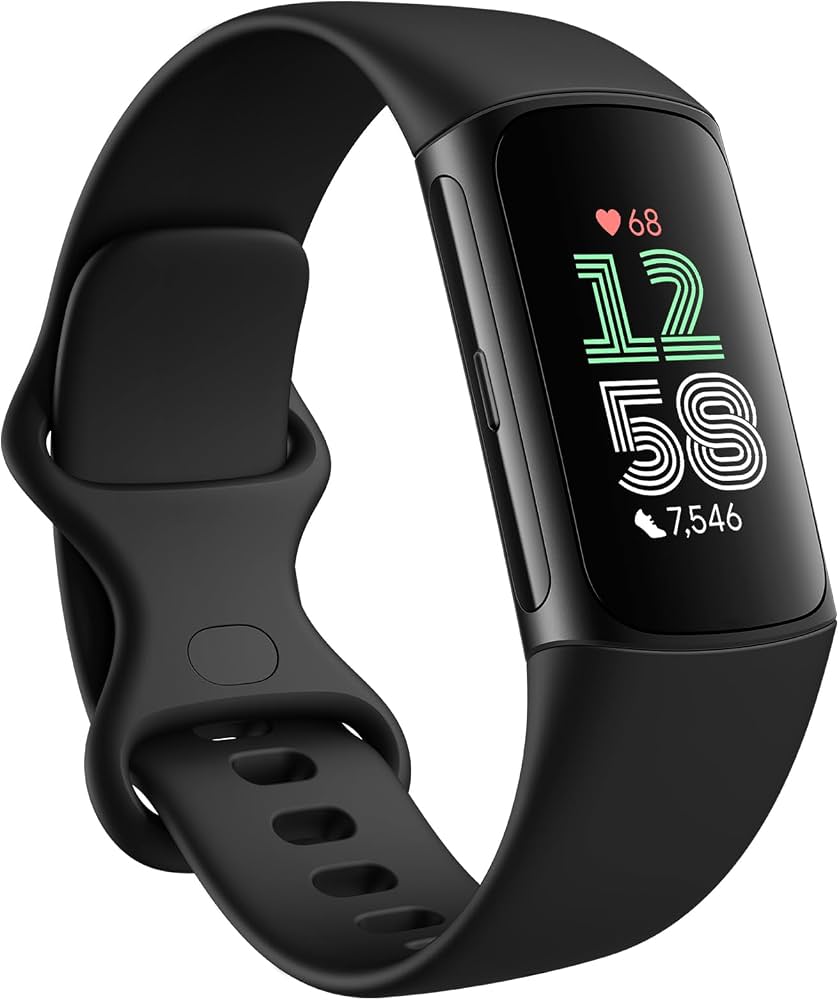
Fitbit Charge 6
Fitbit is known for its incredibly user-friendly app that syncs seamlessly with both iOS and Android. The Charge 6 is a top choice for beginners.
Best for: If you want a reliable tracker with automatic syncing and an intuitive setup process.
Price Range: $150-$160
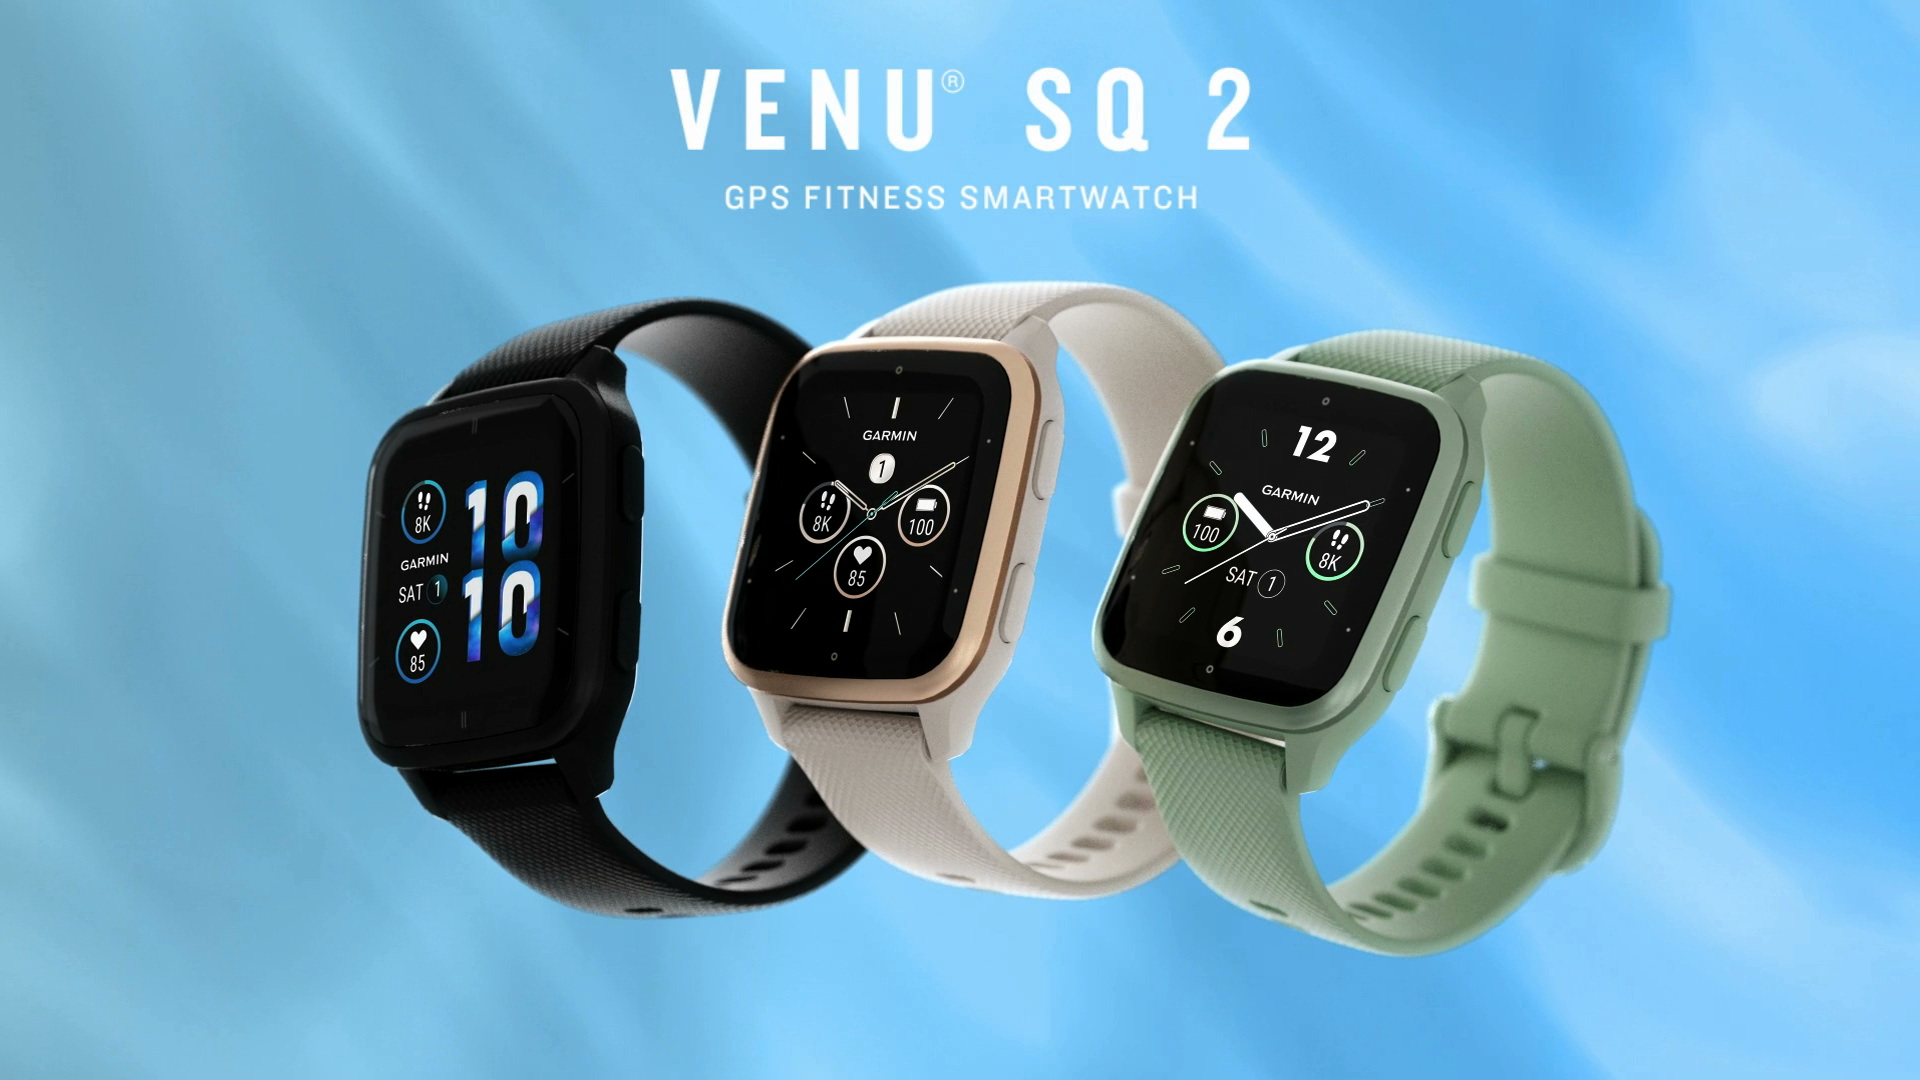
Garmin Venu Sq 2
Garmin Connect offers deep analytics and extremely reliable syncing. It also has excellent integration with both iPhone and Android.
Best for: Ideal for fitness enthusiasts who need detailed performance metrics and want a robust sync experience.
Price Range: $250
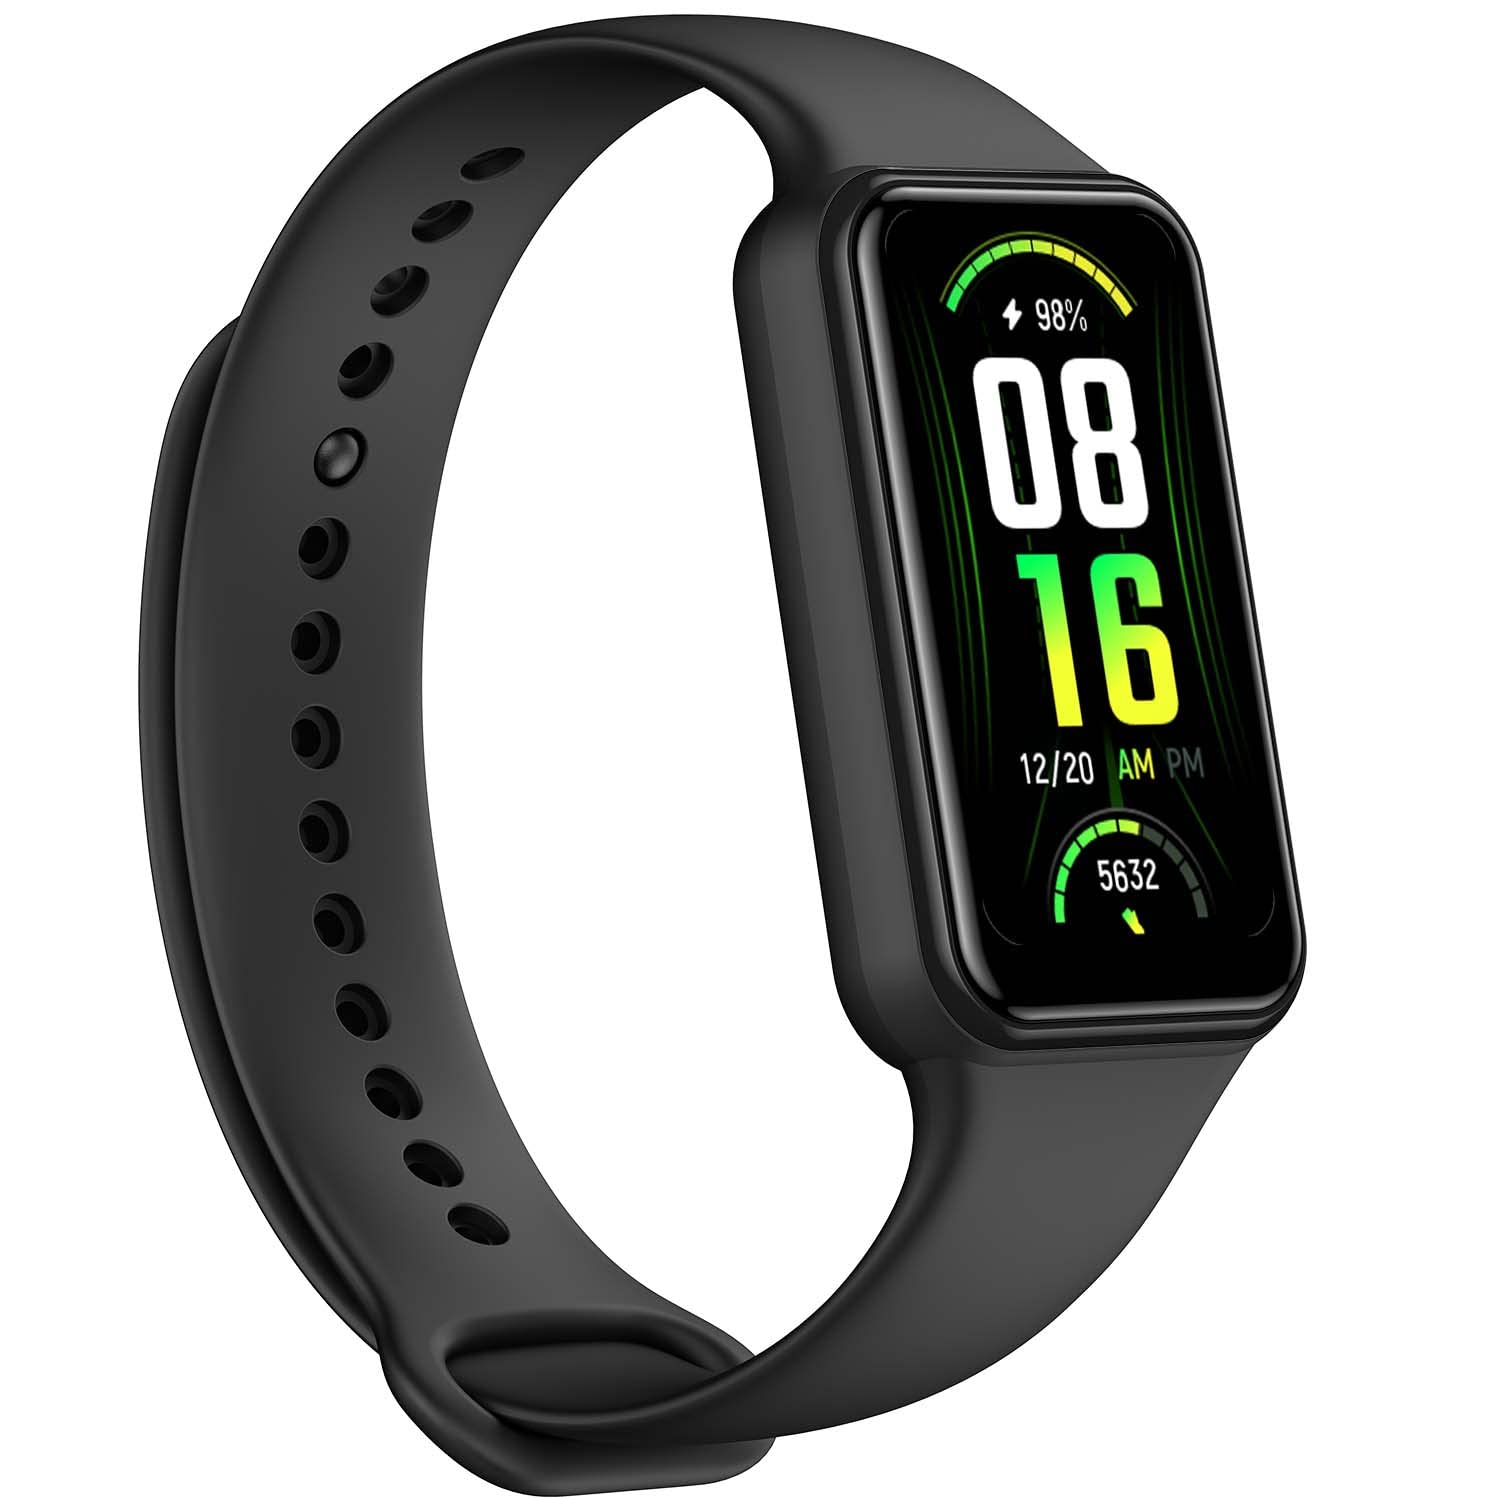
Amazfit Band 7
This budget-friendly band pairs with the Zepp app, which offers quick and smooth syncing with minimal fuss.
Best for: Perfect for first-time users who don't want to spend much but still need straightforward sync functionality.
Price Range: $40-$50
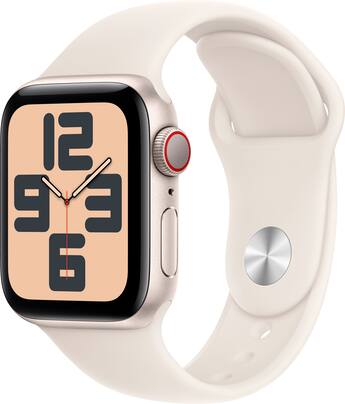
Apple Watch SE (2nd generation)
If you own an iPhone, the Apple Watch syncs natively with the Apple ecosystem and the Health app, making setup effortless.
Best for: For iPhone users who want a smartwatch that doubles as a fitness tracker and syncs without requiring a third-party app.
Price Range: $249
Samsung Galaxy Fit 3
Samsung's fitness band pairs effortlessly with the Samsung Health app and is a great option for Android users, especially Samsung device owners.
Best for: For Android users looking for a sleek tracker with dependable syncing and a well-designed app.
Price Range: $50-$60