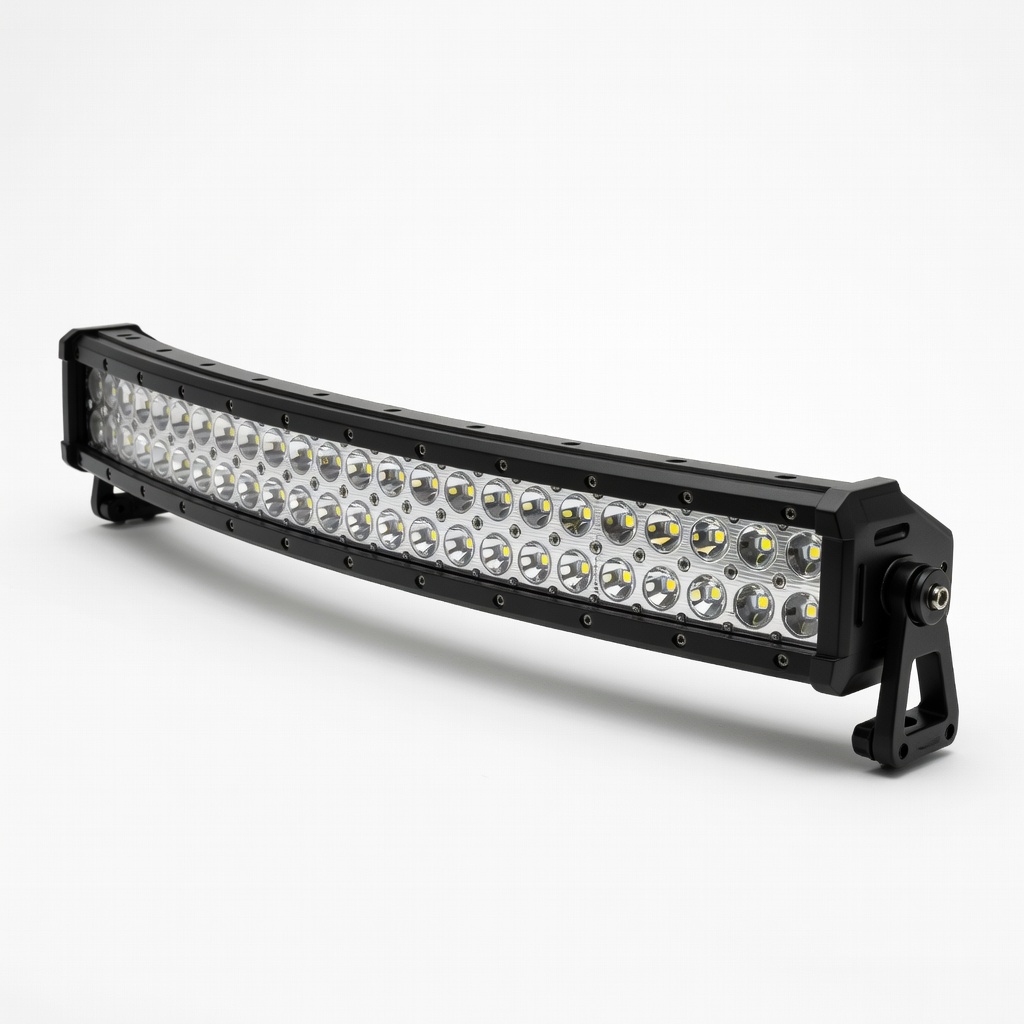
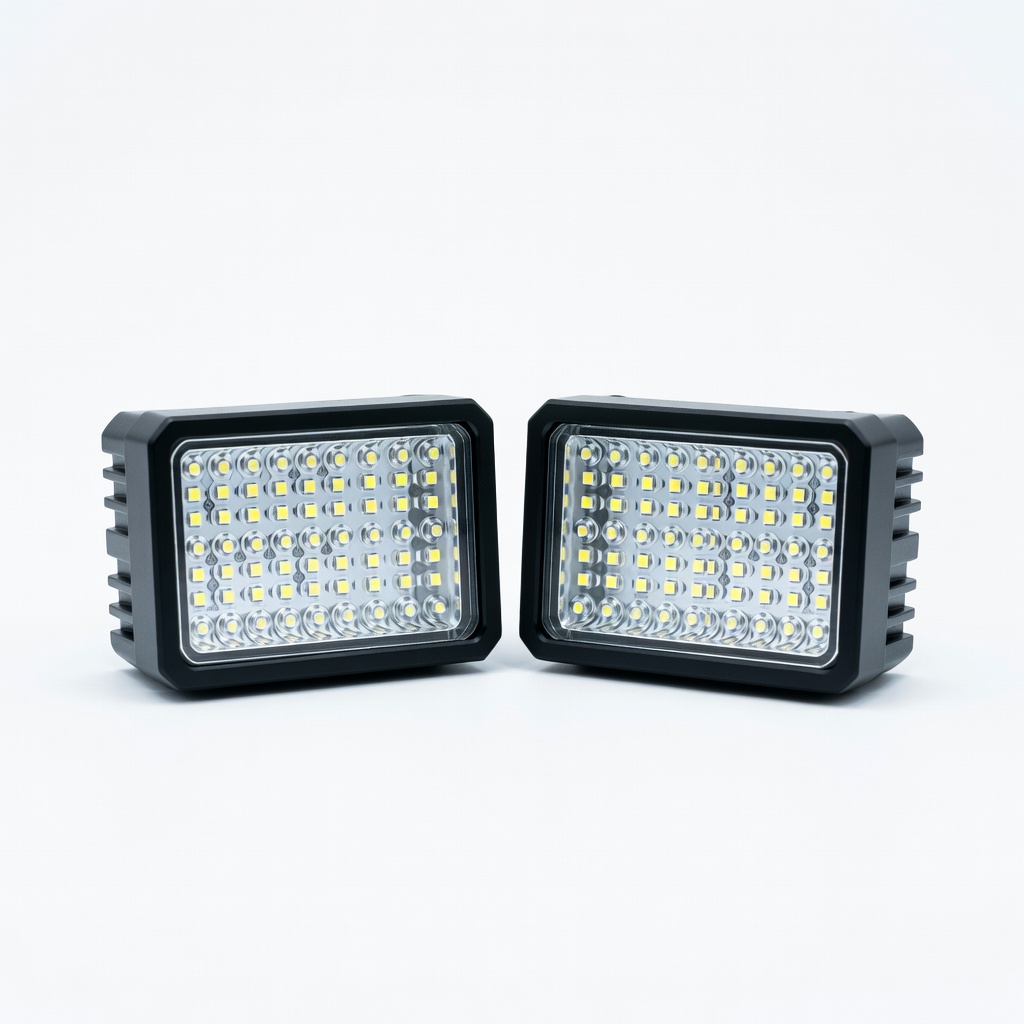
Nilight 42 Inch Curved LED Light Bar
Bumper or roof mount on trucks like F-150 or Silverado.
$69.99
Nilight 42 Inch Curved LED Light Bar Bright 36,000LM output with combo beam for versatile off-road use; spot/flood perfect for styling.
Get the App
Better experience on mobile
Master styling accent and off-road lighting on your truck build for killer aesthetics, superior visibility, and custom flair in under 6 hours.
Custom truck builds turn heads, but lackluster lighting leaves them in the dark—literally. Poorly styled accent and off-road lights can make your rig look sloppy or fail during night runs. This guide fixes that, teaching you pro techniques to blend functional off-road beams with eye-catching accent glows for a cohesive, envy-worthy setup.
You'll learn step-by-step planning, mounting, wiring, and styling secrets used by overlanders and truck enthusiasts. From underglow RGB strips to curved LED bars, expect jaw-dropping results that boost safety and style. Perfect for intermediate builders with basic wiring know-how.
Total time: 4-6 hours depending on truck size. Difficulty: Intermediate—no advanced fab skills needed, but comfort with tools and electrics is key.
Estimated Time: 4-6 hours Difficulty: intermediate
Sketch your truck from multiple angles (front, side, rear) and mark light positions. Prioritize off-road lights for high beams on bumper/roof and floods on sides. Place accents in wheel wells, underbody, and grille for balanced glow.
Why? This prevents overload, ensures DOT compliance, and creates symmetry. Expect a blueprint that fits your build's theme—subtle daily driver or aggressive trail beast.
Image: Overhead truck sketch with red dots for light placements.
💡 Tips:
⚠️ Warnings:
Choose IP67+ waterproof LEDs: straight bars for roofs, curved for bumpers, pod spots for corners. For accents, pick RGB rock lights (4-8 pack) with app control.
Test all lights on a bench with 12V battery—confirm brightness, colors, beam patterns. Clean mounting surfaces with isopropyl alcohol.
Success: All lights fire up evenly, no flickers.
Image: Assorted LED bars and rock lights on workbench.
💡 Tips:
⚠️ Warnings:
Secure bumper lights with adjustable brackets/U-bolts. Roof-mount A-pillar/windshield bars using clamps—drill minimally.
Torque to spec (usually 10-15 ft-lbs), angle for optimal spread (30° down for trails). Why? Proper aim prevents glare and maximizes trail coverage.
Check: Lights don't rattle on bumps.
Image: Close-up of light bar clamped to roof rack.
💡 Tips:
⚠️ Warnings:
Drop rock lights into wheel wells (magnetic or screw-in), run strips along frame rails. Zip-tie securely, avoiding exhaust/moving parts.
Accent styling tip: Alternate colors or chase patterns for dynamic effect. Expect even underglow without hotspots.
Image: RGB lights glowing in truck wheel wells at night.
💡 Tips:
⚠️ Warnings:
Run positive/ground wires from battery to relay (use 12-14 AWG). Daisy-chain lights to harness switch. Solder/crimp connections, seal with heat shrink.
Why sequential? Prevents voltage drop. Install inline fuse near battery.
Test continuity with multimeter.
Image: Wiring diagram schematic.
💡 Tips:
⚠️ Warnings:
Mount rocker switches in cab (drill dash hole if needed). Power on: Cycle off-road highs/lows, accent modes.
Walk around at night—adjust aim, tweak colors. Success: Seamless operation, no interference.
Image: Truck lit up fully at dusk.
💡 Tips:
⚠️ Warnings:
Apply dielectric grease to connectors, silicone around mounts. Add light shields or bezels for custom vibe.
Polish lenses. Drive test: Confirm no water ingress or rattles.
Final look: Pro-styled rig ready for trails/shows.
💡 Tips:
⚠️ Warnings:
Problem: Lights flicker or dim
Solution: Check ground connections and voltage drop; upgrade wire gauge or add capacitor.
Problem: No power to accents
Solution: Verify relay click and fuse; test switch continuity.
Problem: Water in lights
Solution: Dry, reseal with silicone; replace if lens cracked.
Problem: Hyperflash or errors
Solution: Add load resistors if integrating turn signals; consult pro for CAN-bus issues.
Bright 36,000LM output with combo beam for versatile off-road use; spot/flood perfect for styling.
Best for: Bumper or roof mount on trucks like F-150 or Silverado.
Price Range: $69.99
App-controlled colors/patterns for dynamic accent styling; IP68 waterproof for trails.
Best for: Wheel wells and underbody on lifted trucks.
Price Range: $39.99
Plug-and-play with relay/blinker compatibility; simplifies pro wiring.
Best for: Powering multiple lights without voltage issues.
Price Range: $19.99
Adjustable fit for most bars; durable steel for vibration resistance.
Best for: Secure roof or bumper installs.
Price Range: $29.99
SAE-compliant fog/spot pods for legal accent/off-road hybrid.
Best for: Corner mounts for daily/trail balance.
Price Range: $100-$150
Bumper or roof mount on trucks like F-150 or Silverado.
Nilight 42 Inch Curved LED Light Bar Bright 36,000LM output with combo beam for versatile off-road use; spot/flood perfect for styling.
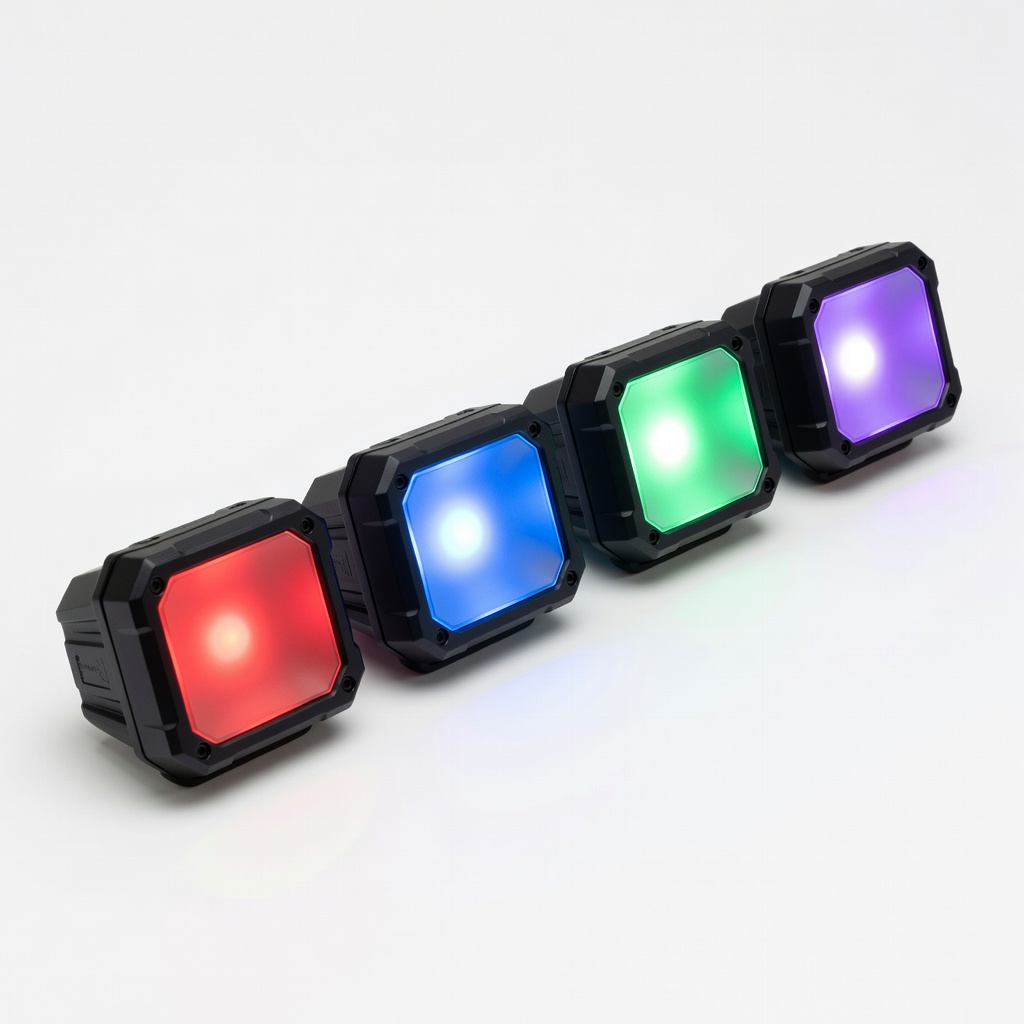
Wheel wells and underbody on lifted trucks.
Auxbeam 4PCS RGB LED Rock Lights App-controlled colors/patterns for dynamic accent styling; IP68 waterproof for trails.
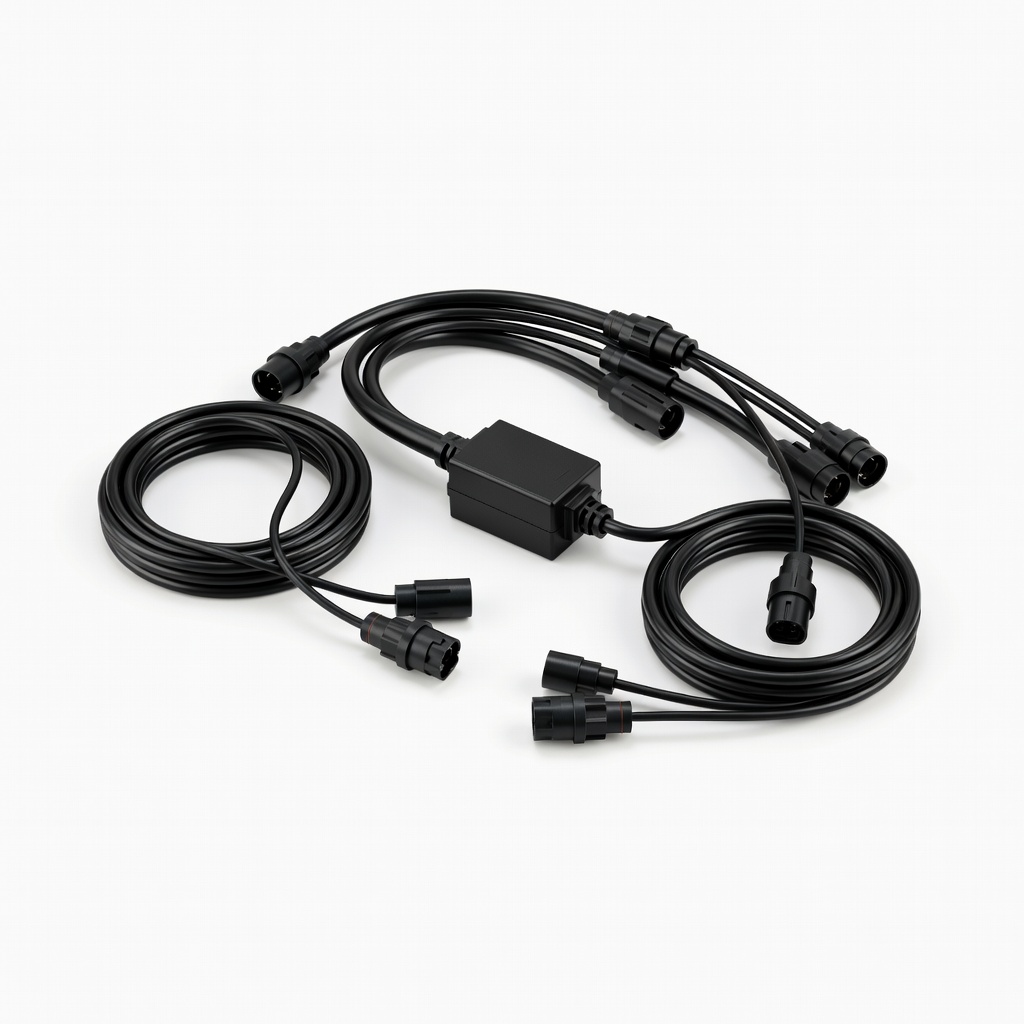
Powering multiple lights without voltage issues.
Nilight Wiring Harness Kit Plug-and-play with relay/blinker compatibility; simplifies pro wiring.
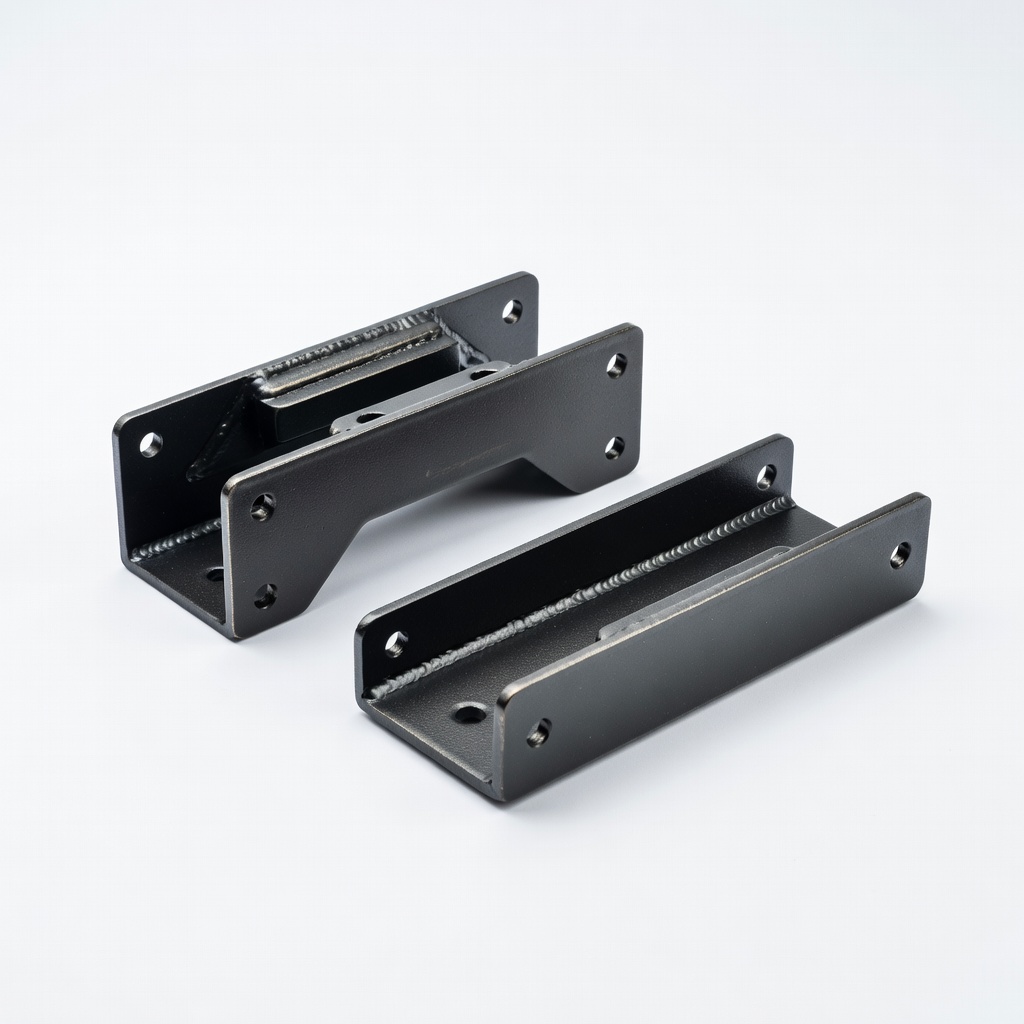
Secure roof or bumper installs.
Rough Country Universal Mounting Brackets Adjustable fit for most bars; durable steel for vibration resistance.
Corner mounts for daily/trail balance.
Diode Dynamics SL3 Series LED Pods SAE-compliant fog/spot pods for legal accent/off-road hybrid.