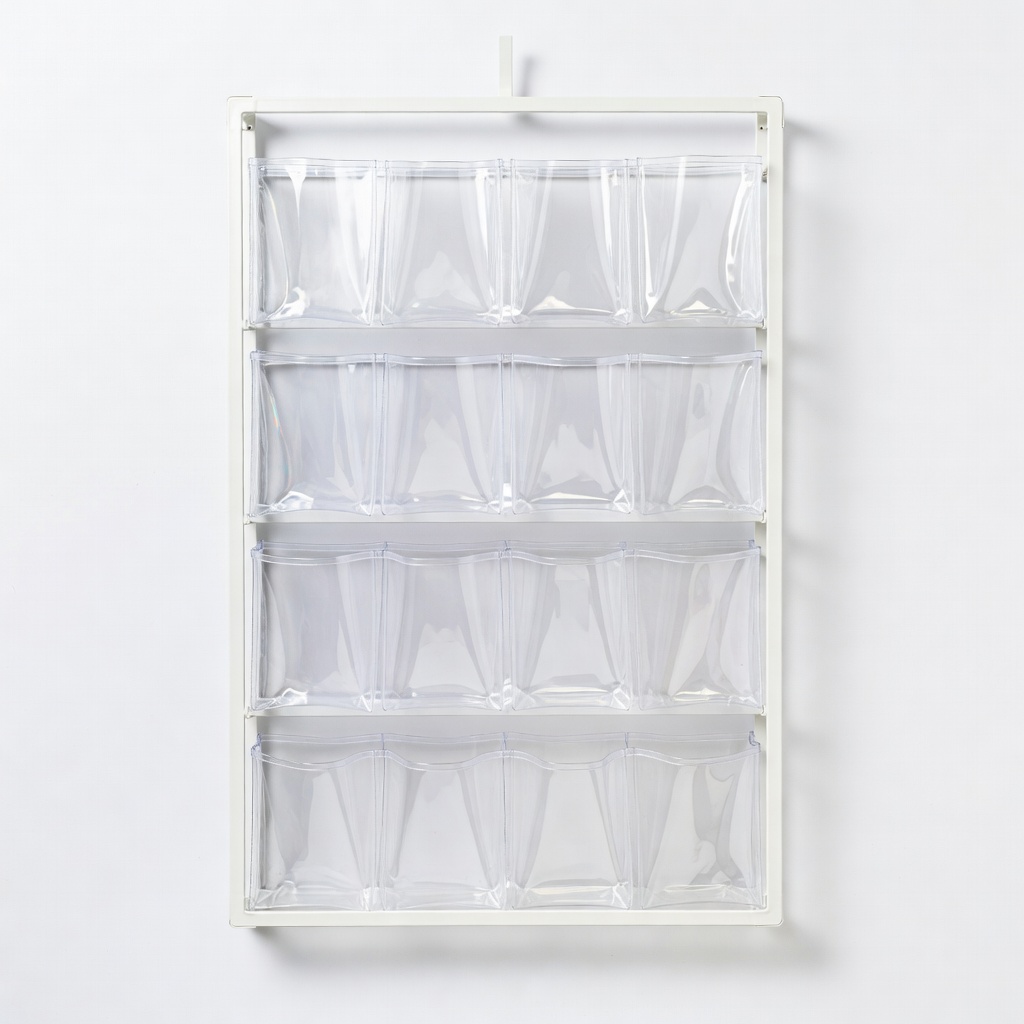
Simple Houseware Crystal Clear Over Door Organizer
Kitchen or bathroom doors for small organizers.
$12.99
Simple Houseware Crystal Clear Over Door Organizer Perfect for hanging accessory organizers without drilling, maximizing door space.
Get the App
Better experience on mobile
Maximize your RV space with simple steps to organize accessory organizers for clutter-free travel and quick access on the road.
RVs are compact living spaces, and accessory organizers—for cables, tools, utensils, and more—can quickly turn into clutter if not stored properly. Scattered organizers lead to frustration during trips, wasted time searching, and potential damage from bouncing around on bumpy roads. This guide solves that by teaching you how to store them efficiently.
You'll learn a beginner-friendly, step-by-step process to assess space, categorize items, and secure organizers in your RV. Expect a tidy, accessible system that withstands travel vibrations. The whole process takes 30-60 minutes and requires no special skills—just basic tools.
By the end, your RV will feel more spacious, and you'll grab what you need without hassle, making every road trip smoother.
Estimated Time: 30-60 minutes Difficulty: beginner
Start by walking through your RV and identifying underutilized areas like cabinet doors, under seats, bunk walls, or pantry shelves. Measure these spots with a tape measure—note width, height, and depth. Prioritize spots near where you'll use the accessories, like kitchen organizers near the sink.
This step matters because RVs have limited square footage; poor space choice leads to blocking pathways. Expect to find 3-5 viable spots. Sketch a quick map on paper.
Success looks like: A list of 3+ measured locations ready for storage.
💡 Tips:
⚠️ Warnings:
Gather all accessory organizers and empty them out on a table. Sort contents into piles: cables/electronics, kitchen tools, cleaning supplies, etc. Count and note sizes of each organizer.
Why? This reveals duplicates or unused items to declutter, saving space. Expect to discard or donate 10-20% of items.
Success looks like: Sorted piles with a decluttered set of 5-15 organizers.
💡 Tips:
⚠️ Warnings:
Group similar organizers together: e.g., all small drawer organizers in one bin, hanging ones for doors. Match groups to your measured spaces from Step 1.
This creates logical zones, speeding up access. Expect groups like 'electronics pod' or 'hygiene kit.'
Success looks like: 3-5 labeled groups fitting your spaces.
💡 Tips:
Wipe down chosen RV spots with cleaning wipes or soap/water. Dry thoroughly. This prevents dirt transfer to organizers.
Clean surfaces ensure secure adhesion for hooks/Velcro. Takes 5 minutes.
Success looks like: Spotless, dry surfaces ready for installation.
⚠️ Warnings:
Mount hooks, bins, or nets using manufacturer instructions—press Velcro firmly or screw lightly if needed. Start with over-door or wall-mounted options for no-drill ease.
Secure installs prevent crashes during travel. Test by tugging.
Success looks like: Firmly attached storage in place.
💡 Tips:
Load groups into storage: fill bins, hook hanging organizers, net loose ones. Use Velcro or ties to fasten them down.
Securing withstands road bumps. Distribute weight evenly.
Success looks like: Full, stable storage without wobble.
⚠️ Warnings:
Apply clear labels to each organizer and storage spot. Shake the RV (or simulate bumps) to test stability—adjust as needed.
Labels save time; testing ensures safety.
Success looks like: Labeled, shake-proof organization ready for travel.
💡 Tips:
Problem: Storage falls off during travel
Solution: Reinforce with extra Velcro or screws; check for smooth surfaces.
Problem: Not enough space found
Solution: Declutter more or use collapsible organizers; try under-bed areas.
Problem: Items shift despite securing
Solution: Add foam padding inside; tighten ties weekly.
Problem: Labels peel off
Solution: Use laminated or vinyl labels; clean before applying.
Perfect for hanging accessory organizers without drilling, maximizing door space.
Best for: Kitchen or bathroom doors for small organizers.
Price Range: $12.99
Damage-free mounting for lightweight organizers; removable adhesive.
Best for: Cabinets and walls for quick-install hooks.
Price Range: $8.99
Breathable, space-saving bags for bulkier organizers under beds or in bays.
Best for: External RV storage compartments.
Price Range: $26.99
Reusable ties secure organizers against vibrations.
Best for: Bundling and fastening in motion.
Price Range: $9.99
Creates durable, customizable labels for instant identification.
Best for: Labeling all storage for family use.
Price Range: $29.99
Kitchen or bathroom doors for small organizers.
Simple Houseware Crystal Clear Over Door Organizer Perfect for hanging accessory organizers without drilling, maximizing door space.

Cabinets and walls for quick-install hooks.
Command Clear Hooks and Strips Damage-free mounting for lightweight organizers; removable adhesive.
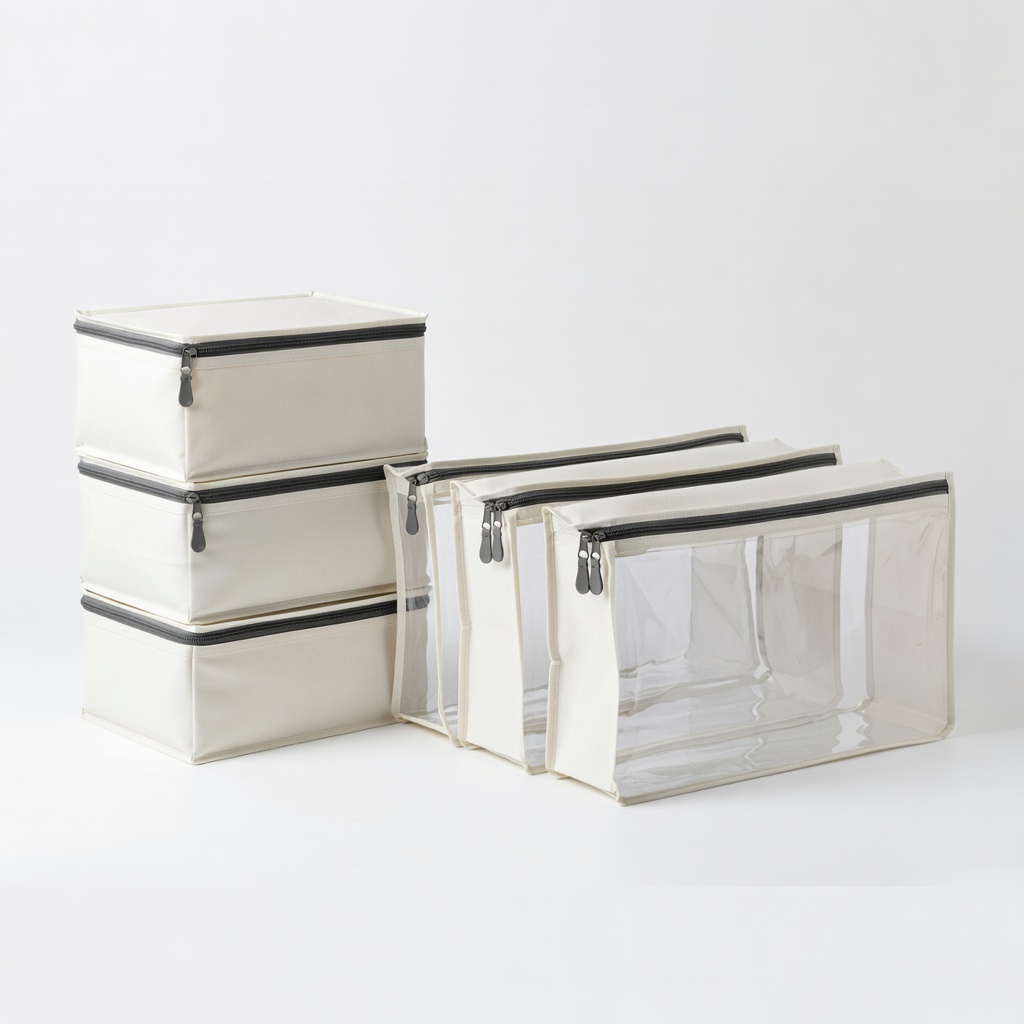
External RV storage compartments.
KESYOO Closet Organizers and Storage Bags (6 Pack) Breathable, space-saving bags for bulkier organizers under beds or in bays.
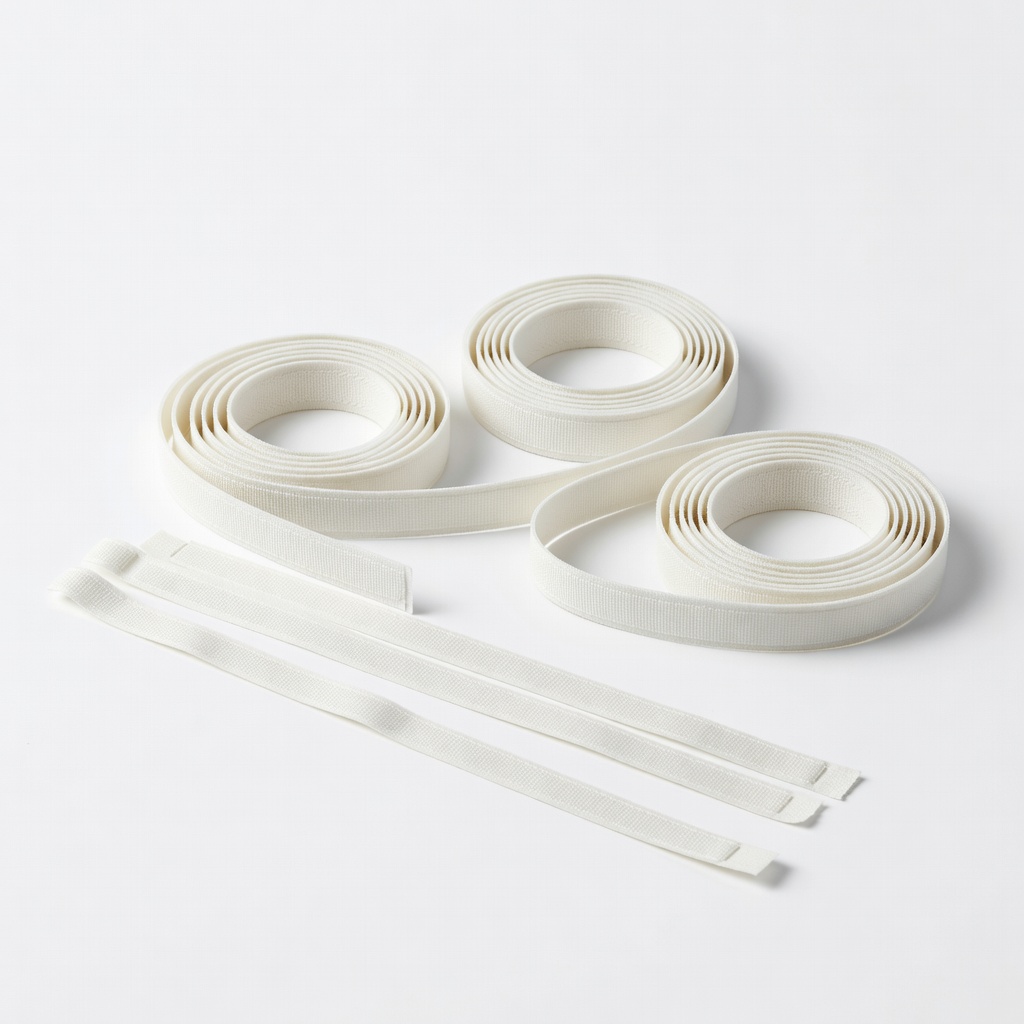
Bundling and fastening in motion.
Velcro Brand ONE-WRAP Cable Ties Reusable ties secure organizers against vibrations.
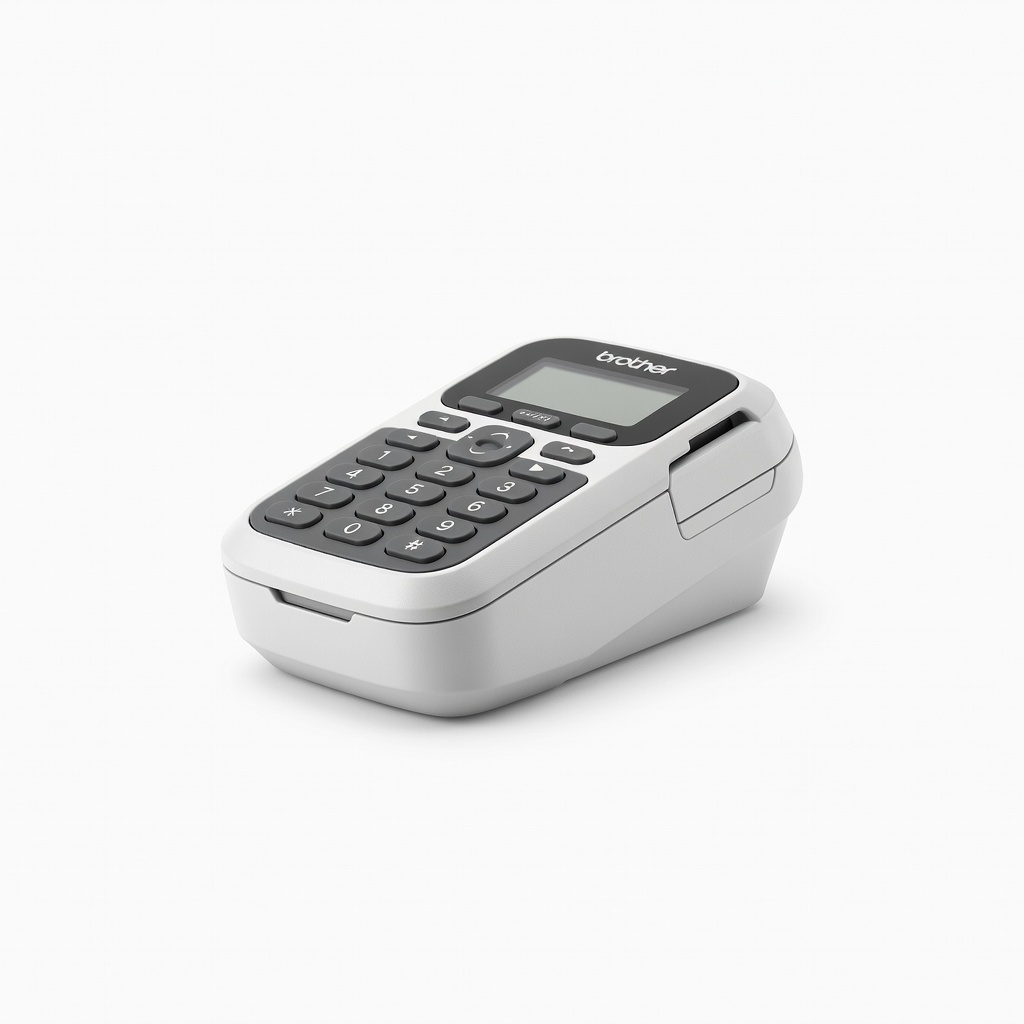
Labeling all storage for family use.
Brother P-Touch PT-D210 Label Maker Creates durable, customizable labels for instant identification.