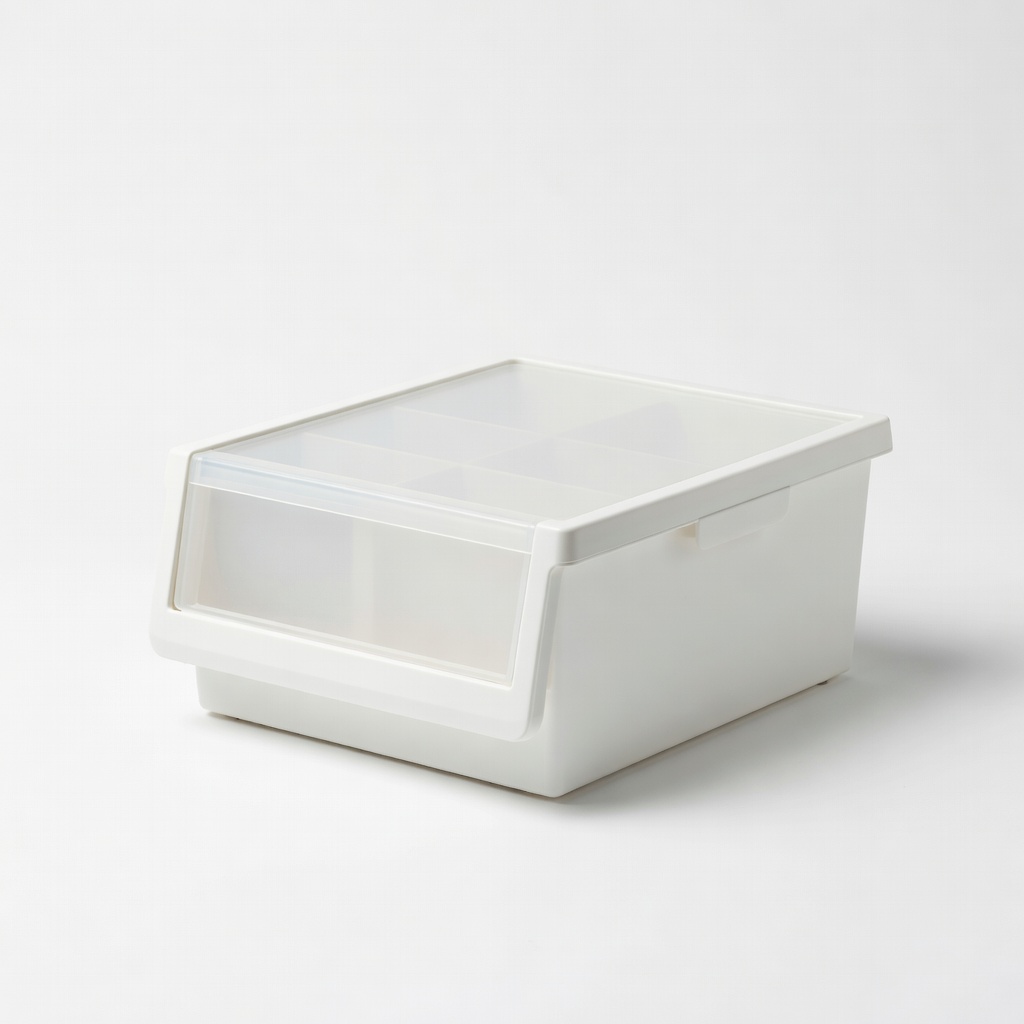
ArtBin 6903AB Essentials Storage Box
Ideal for beginners sorting 100s of tiny pieces without mess.
$10-$15
ArtBin 6903AB Essentials Storage Box Durable, clear compartments perfect for beads and small findings; secure latches prevent spills.
Get the App
Better experience on mobile
Organize your beads, wires, tools, and findings in under an hour for a clutter-free workspace and faster crafting sessions.
Tired of digging through tangled wires, spilled beads, and lost tools every time you sit down to craft jewelry? A disorganized stash leads to frustration, lost time, and even broken pieces. Proper storage keeps everything accessible, protects delicate items, and sparks creativity by making your supplies easy to see and grab.
In this beginner-friendly guide, you'll learn a simple system to sort, store, and maintain your jewelry crafting accessories and supplies. We'll cover assessing your collection, choosing the right containers, and labeling for efficiency. Expect to spend 30-60 minutes setting up, with no special skills needed—just a bit of sorting and planning.
By the end, you'll have a tidy, functional storage setup that scales as your hobby grows, saving you hours on future projects.
Estimated Time: 30-60 minutes Difficulty: beginner
Gather all your jewelry craft items from around your home—beads, charms, wires, pliers, jump rings, earring findings, threads, and glues. Lay them out on a large table or tray in one spot.
This step matters because it reveals duplicates, damaged items, or forgotten treasures. Expect a big pile at first; it's normal for beginners to have scattered stashes. Sort roughly into piles: tools, beads/gems, findings/hardware, and consumables like glue.
What success looks like: A complete inventory visible—no more 'lost' items hiding in drawers.
💡 Tips:
⚠️ Warnings:
Divide your piles further: small beads (under 1cm), large beads, seed beads, metal findings (jump rings, clasps), tools (pliers, cutters), and flexible items (wire, cord).
Categorizing prevents mixing incompatible items—like oily tools with porous beads—and makes grabbing supplies quick. Success here: Neatly grouped piles, each labeled temporarily with scrap paper.
Pro tip: Use size as a sub-category; tiny items need tiny compartments to avoid spills.
💡 Tips:
Select containers based on categories: compartmentalized trays for beads, tall jars for straight wires/tools, drawer units for everything. Opt for clear plastic to see contents at a glance.
Why it matters: Wrong sizes lead to chaos. Stackable or portable options save space. Expect to test-fit a few items.
Success: Containers that fit your space and hold items securely without rattling.
⚠️ Warnings:
Wipe down tools with a soft cloth (use isopropyl alcohol for metal). Rinse beads if dusty, dry thoroughly. Clean containers with mild soap.
Clean items prevent residue transfer and extend life. Expect 5-10 minutes; air-dry beads on towels.
Success: Sparkling, residue-free supplies ready for storage.
💡 Tips:
Place items into compartments: smallest first in tiniest slots. Fill loosely to avoid pressure damage. Use ziplocks inside larger bins for sub-groups.
This creates an intuitive system. Success: Containers 70-80% full, easy to access without dumping.
Why: Prevents tangling and breakage during transport.
Apply labels to lids/ fronts: 'Seed Beads 4mm', 'Eye Pins Silver'. Use a label maker for durability.
Labels speed up crafting 10x. Success: Instant recognition—no opening 5 boxes to find one item.
💡 Tips:
Arrange containers on a shelf, in a drawer, or portable caddy near your workspace. Stack logically: most-used on top.
Centralizes your setup for efficiency. Success: Everything in one accessible area.
⚠️ Warnings:
After each session, return items immediately. Weekly: Check for spills/misplacements.
Sustains organization. Success: Setup stays tidy long-term.
💡 Tips:
Problem: Not enough space for growing collection
Solution: Upgrade to modular stackable systems or cull unused items annually.
Problem: Items spilling or tangling
Solution: Add bubble wrap padding or switch to smaller compartments.
Problem: Tarnish on metals
Solution: Include silica packets or anti-tarnish tabs; store in low-humidity area.
Problem: Can't find items quickly
Solution: Re-label with photos or upgrade to lighted drawers.
Durable, clear compartments perfect for beads and small findings; secure latches prevent spills.
Best for: Ideal for beginners sorting 100s of tiny pieces without mess.
Price Range: $10-$15
Removable drawers with customizable labels; expandable for tools and supplies.
Best for: Wall-mountable for space-saving in small craft rooms.
Price Range: $35-$45
Portable, easy labels that stick to plastic; fonts/sizes for clear organization.
Best for: Quick labeling during setup; durable for frequent use.
Price Range: $29.99
Stackable clear bins with handles; fits drawers for mixed supplies.
Best for: Portable for travel crafting or closet storage.
Price Range: $15-$25
Interlocking trays for easy reconfiguration; carry handle for mobility.
Best for: Great for workspace portability and frequent rearranging.
Price Range: $12-$18
Ideal for beginners sorting 100s of tiny pieces without mess.
ArtBin 6903AB Essentials Storage Box Durable, clear compartments perfect for beads and small findings; secure latches prevent spills.
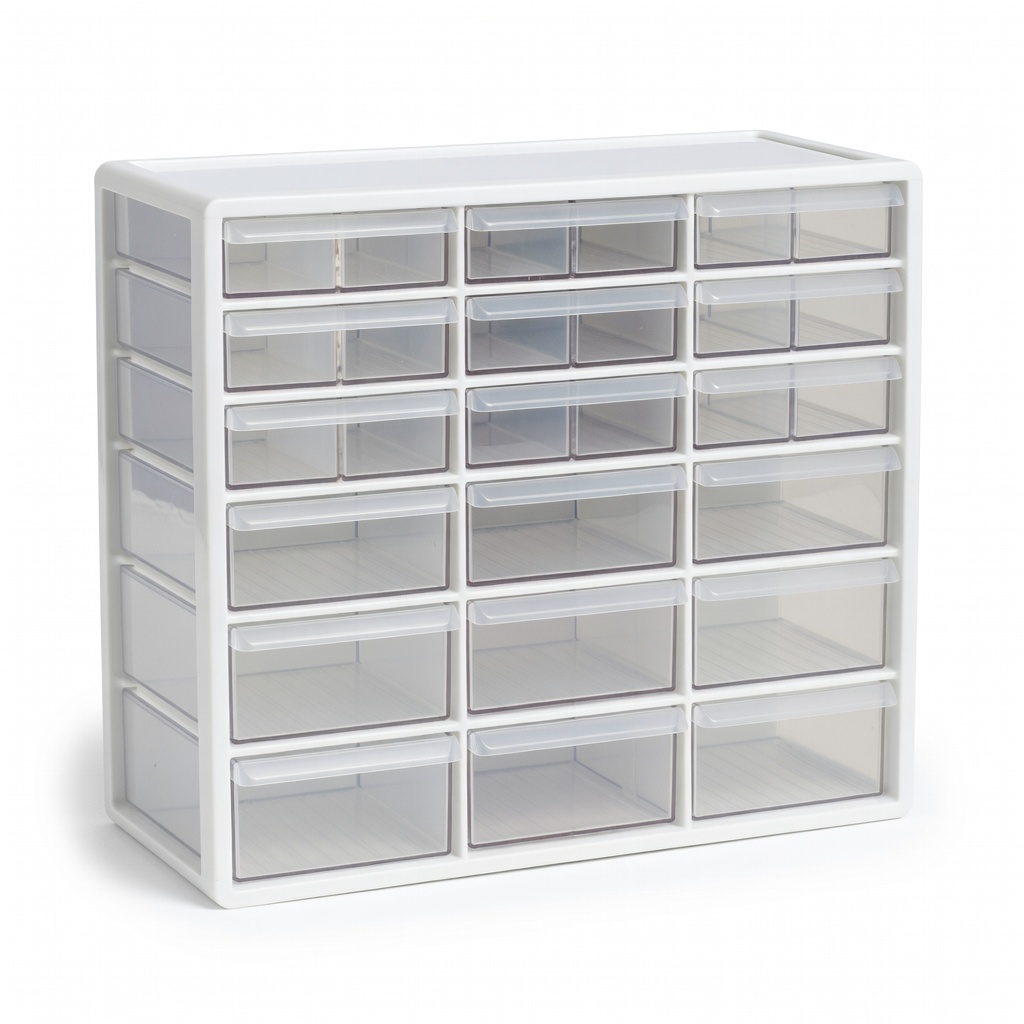
Wall-mountable for space-saving in small craft rooms.
Akro-Mils 26 Drawer Plastic Hardware and Craft Organizer Removable drawers with customizable labels; expandable for tools and supplies.

Quick labeling during setup; durable for frequent use.
Brother P-touch PT-D210 Label Maker Portable, easy labels that stick to plastic; fonts/sizes for clear organization.
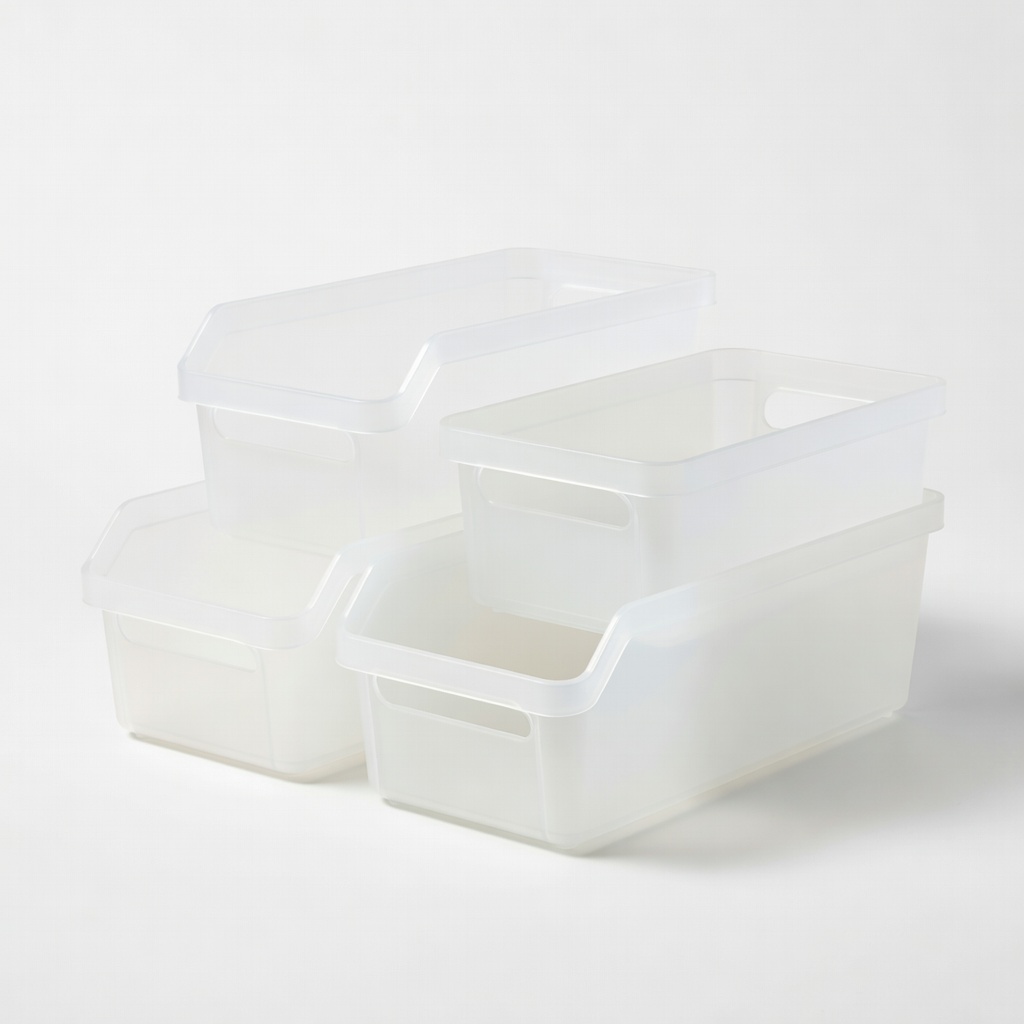
Portable for travel crafting or closet storage.
mDesign Plastic Storage Organizer Bin Set Stackable clear bins with handles; fits drawers for mixed supplies.
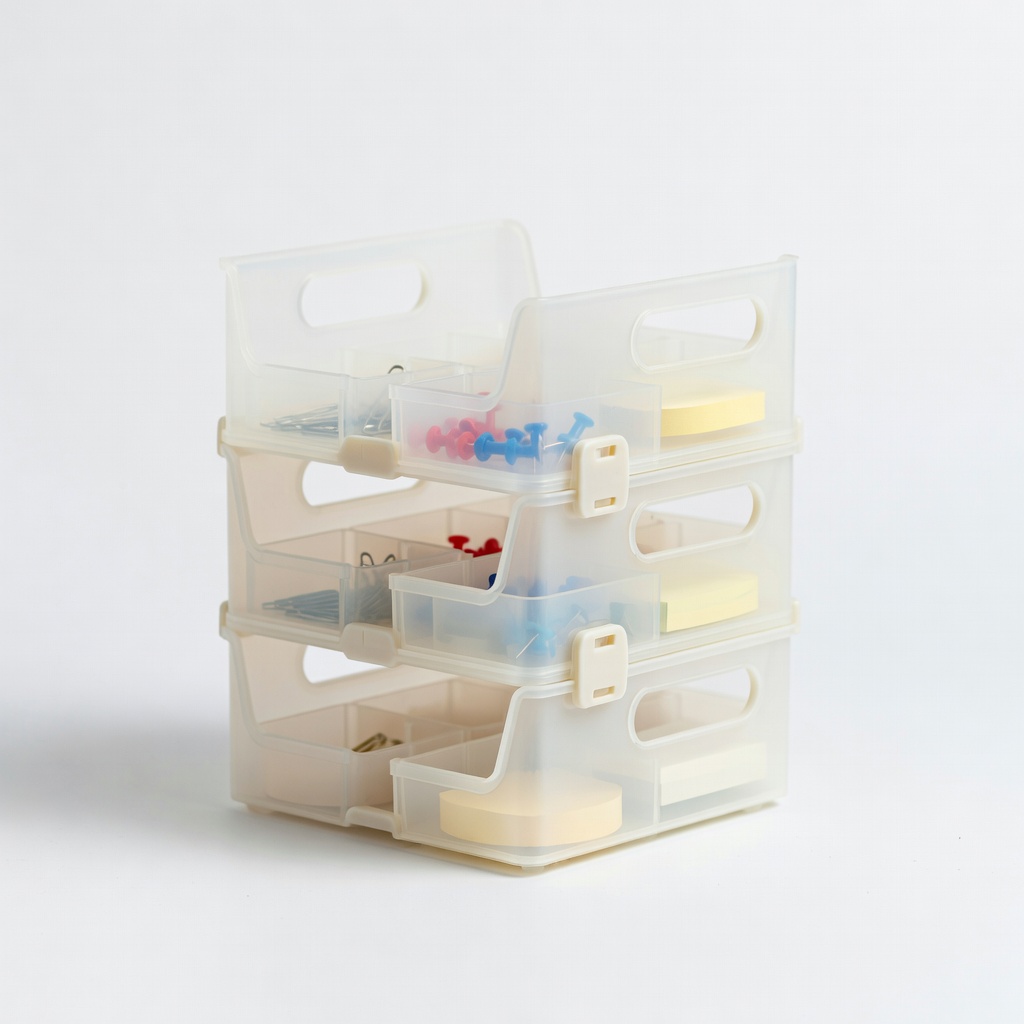
Great for workspace portability and frequent rearranging.
Deflecto Stackable Caddy Organizer Interlocking trays for easy reconfiguration; carry handle for mobility.