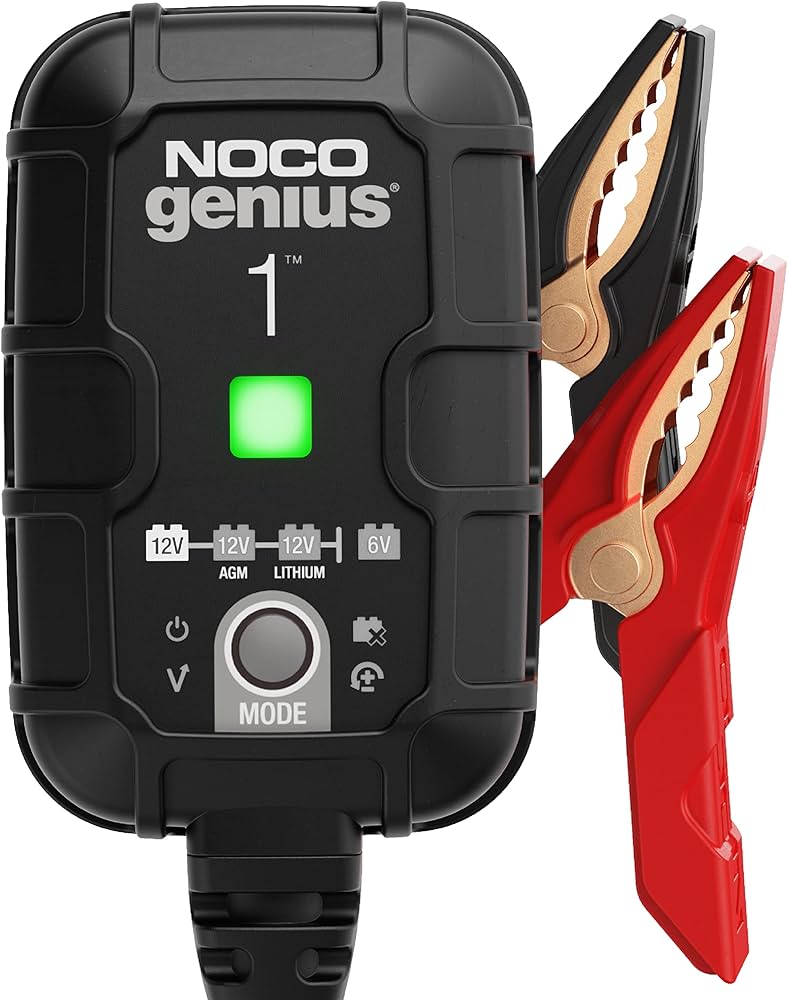
NOCO GENIUS1 6V/12V Smart Charger
Initial full charge and long-term winter trickle.
$29.95
NOCO GENIUS1 6V/12V Smart Charger Fully automates charging/desulfation/maintenance for 6V batteries, preventing overcharge.
Get the App
Better experience on mobile
Protect your 6V RV or golf cart batteries from winter damage with this step-by-step guide to ensure they last longer and start strong in spring.
Winter storage can be brutal on 6V batteries used in RVs, golf carts, or solar setups. Cold temperatures cause lead-acid batteries to lose charge faster, leading to sulfation, freezing, and premature failure. Many owners return in spring to dead batteries that need replacement, costing hundreds.
In this guide, you'll learn how to properly prepare, charge, and store your 6V deep-cycle batteries for months of inactivity. We'll cover safety, cleaning, charging, and maintenance to maximize lifespan. The process takes 45-90 minutes initially, plus 5 minutes monthly, and is ideal for intermediate DIYers with basic electrical knowledge.
By following these steps, expect fully charged batteries that hold voltage through winter, avoiding the common $150-300 replacement bill.
Estimated Time: 45-90 minutes initial setup + 5 minutes monthly checks Difficulty: intermediate
Before handling your 6V battery, put on protective gloves and goggles to shield against acid spills or sparks. Work in a well-ventilated area away from flames, as batteries can vent hydrogen gas.
Inspect your workspace: ensure it's dry and stable. Gather all tools from the 'What You Need' list. Success looks like: A safe setup with no risks of shorts or spills, ready to proceed without interruptions.
This step prevents 90% of accidents, as most battery injuries stem from poor preparation.
💡 Tips:
⚠️ Warnings:
Disconnect the negative (-) terminal first using a wrench, then the positive (+). This order prevents shorts. Gently lift the battery out of the RV, golf cart, or solar bank, avoiding tilting to prevent spills.
Place it on a stable, non-conductive surface. Success looks like: Battery fully disconnected and stable, no acid leaks or terminal damage visible.
Why it matters: Leaving connected drains the battery via parasitic loads over winter.
💡 Tips:
⚠️ Warnings:
Visually check for cracks, bulges, or leaks—discard if damaged. Wipe the case with a damp cloth and baking soda solution (1 tbsp per cup water) to neutralize acid residue. Rinse with water and dry thoroughly.
For flooded batteries, remove caps and check electrolyte levels; top off with distilled water if low. Success looks like: Clean, dry battery with full electrolyte (covers plates by 1/4 inch).
Cleaning removes corrosion that accelerates self-discharge.
💡 Tips:
⚠️ Warnings:
Disconnect cables if still attached. Scrub terminals with a wire brush and baking soda solution. Rinse, dry, and apply terminal protector spray or petroleum grease.
Success looks like: Shiny, corrosion-free terminals that pass the fingernail test (smooth, no white powder).
Corroded terminals cause voltage drops and poor charging.
💡 Tips:
⚠️ Warnings:
Set multimeter to DC volts (20V scale). Touch red probe to positive terminal, black to negative. Reading should be 6.3V+ (fully charged is 6.4V).
If below 6.0V, note for charging. Success looks like: Accurate reading confirming state-of-charge.
This baseline identifies weak batteries early.
💡 Tips:
⚠️ Warnings:
Connect to a 6V smart charger (mode set to AGM or flooded as appropriate). Charge until it indicates 100% (typically 4-12 hours). Retest voltage: aim for 6.4V+ at rest.
Success looks like: Green light on charger, stable 6.3-6.4V after 1-hour rest.
Full charge prevents sulfation during storage.
💡 Tips:
⚠️ Warnings:
Place in a cool (32-77°F), dry, ventilated spot off concrete (use wood shelf). Elevate in a battery box. Ideal temp: 50-70°F.
Success looks like: Battery secure, protected from extreme cold/heat, no floor contact.
Cold freezes discharged batteries; heat speeds self-discharge.
💡 Tips:
⚠️ Warnings:
Connect a trickle maintainer if storing >1 month. Check voltage monthly: recharge if below 6.3V. Log dates/readings.
Success looks like: Maintainer humming, voltage holds steady over months.
Monthly attention keeps batteries at 100%.
💡 Tips:
⚠️ Warnings:
Problem: Battery won't hold charge after full cycle
Solution: Test for shorts with multimeter (resistance <1 ohm bad); sulfated? Use desulfator charger. Replace if <6.2V after 24hr rest.
Problem: Corrosion returns quickly
Solution: Source is acid leak—check case integrity. Use dielectric grease liberally.
Problem: Voltage drops fast in storage
Solution: Upgrade to maintainer; check temp (warmer = faster discharge). Internal short likely if persistent.
Problem: Electrolyte low or discolored
Solution: Top with distilled water only; brown means overcharge damage—seek pro sulfation treatment.
Fully automates charging/desulfation/maintenance for 6V batteries, preventing overcharge.
Best for: Initial full charge and long-term winter trickle.
Price Range: $29.95
Accurate voltage/load testing for precise state-of-charge checks.
Best for: Baseline and monthly voltage tests.
Price Range: $14.99
6V-specific desulfator and float charger ideal for flooded/AGM winter storage.
Best for: Plug-and-forget monthly maintenance.
Price Range: $79.95
Seals terminals against corrosion during cleaning/storage.
Best for: Post-cleaning protection.
Price Range: $9.99
Ventilated, spill-proof enclosure keeps batteries safe and off floors.
Best for: Secure winter storage.
Price Range: $19.99
Initial full charge and long-term winter trickle.
NOCO GENIUS1 6V/12V Smart Charger Fully automates charging/desulfation/maintenance for 6V batteries, preventing overcharge.
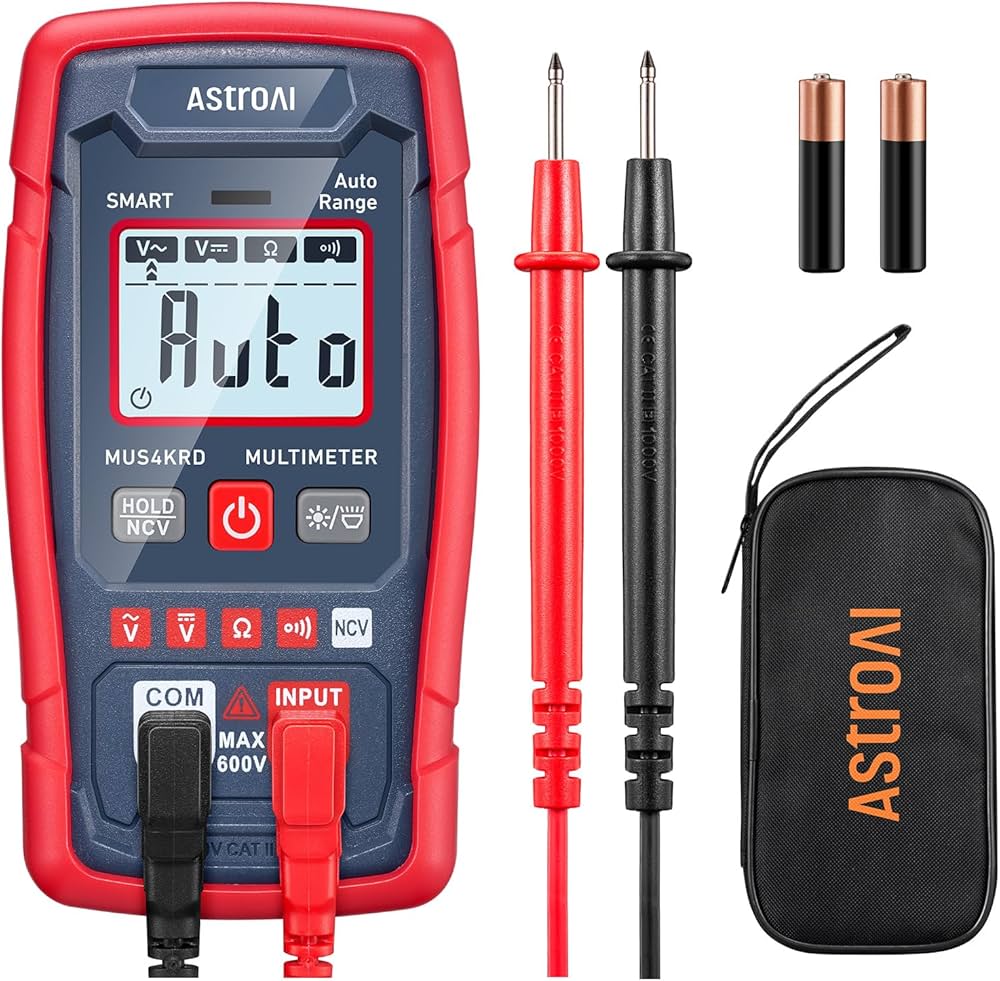
Baseline and monthly voltage tests.
AstroAI Digital Multimeter Accurate voltage/load testing for precise state-of-charge checks.
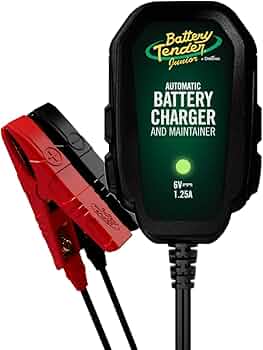
Plug-and-forget monthly maintenance.
BatteryMINDer 201-6V Maintainer 6V-specific desulfator and float charger ideal for flooded/AGM winter storage.
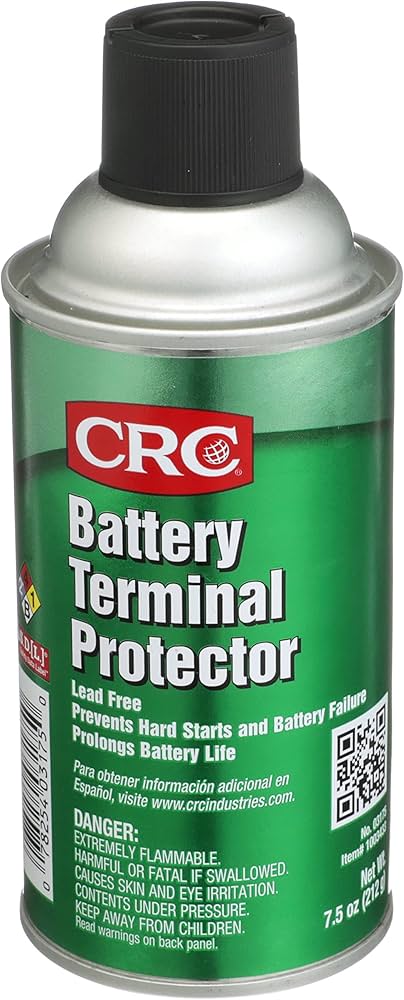
Post-cleaning protection.
CRC Battery Terminal Protector Spray Seals terminals against corrosion during cleaning/storage.

Secure winter storage.
Duratool Battery Storage Box Ventilated, spill-proof enclosure keeps batteries safe and off floors.