Composting is one of the most rewarding ways to reduce household waste and create free, organic fertilizer for your plants. If you've been throwing away food scraps and grass clippings, you're missing out on a valuable resource. This guide will walk you through everything you need to know to set up and maintain a backyard compost bin, from choosing the right location to harvesting your first batch of dark, crumbly compost. Even if you're a complete beginner, you can have a thriving compost pile in under an hour of setup time, with just a few minutes of weekly maintenance.
▸What You'll Need
- •Compost bin or bin materials (tumbler, stationary bin, or DIY enclosure)
- •Brown materials (dried leaves, straw, cardboard, paper, wood chips)
- •Green materials (vegetable scraps, fruit peels, coffee grounds, grass clippings)
- •Water source (hose or watering can)
- •Pitchfork, compost aerator, or shovel for turning
- •Kitchen compost pail for collecting scraps
- •Gloves (optional but recommended)
- •Thermometer (optional, to monitor pile temperature)
Estimated Time: 30 minutes to set up, plus 5-10 minutes weekly for maintenance. First compost ready in 2-6 months.
Difficulty: beginner
▸Step-by-Step Instructions
Step 1: Choose a Location for Your Compost Bin
Select a spot in your yard that is level, well-drained, and convenient to your kitchen and garden. Partial shade is ideal—too much sun can dry out the pile, while full shade may keep it too cool. Leave at least 2 feet of space around the bin for air circulation and easy access. Avoid placing it directly against a wooden fence or structure, as moisture can cause rot.
💡 Tips:
- •If you live in a dry climate, place the bin in partial shade to retain moisture.
- •Ensure the location is accessible year-round, even in rain or snow.
⚠️ Warnings:
- •Avoid low-lying areas where water pools—standing water will make your compost soggy and smelly.
- •Keep the bin at least 50 feet from any well or water source to prevent contamination.
Step 2: Select or Build Your Compost Bin
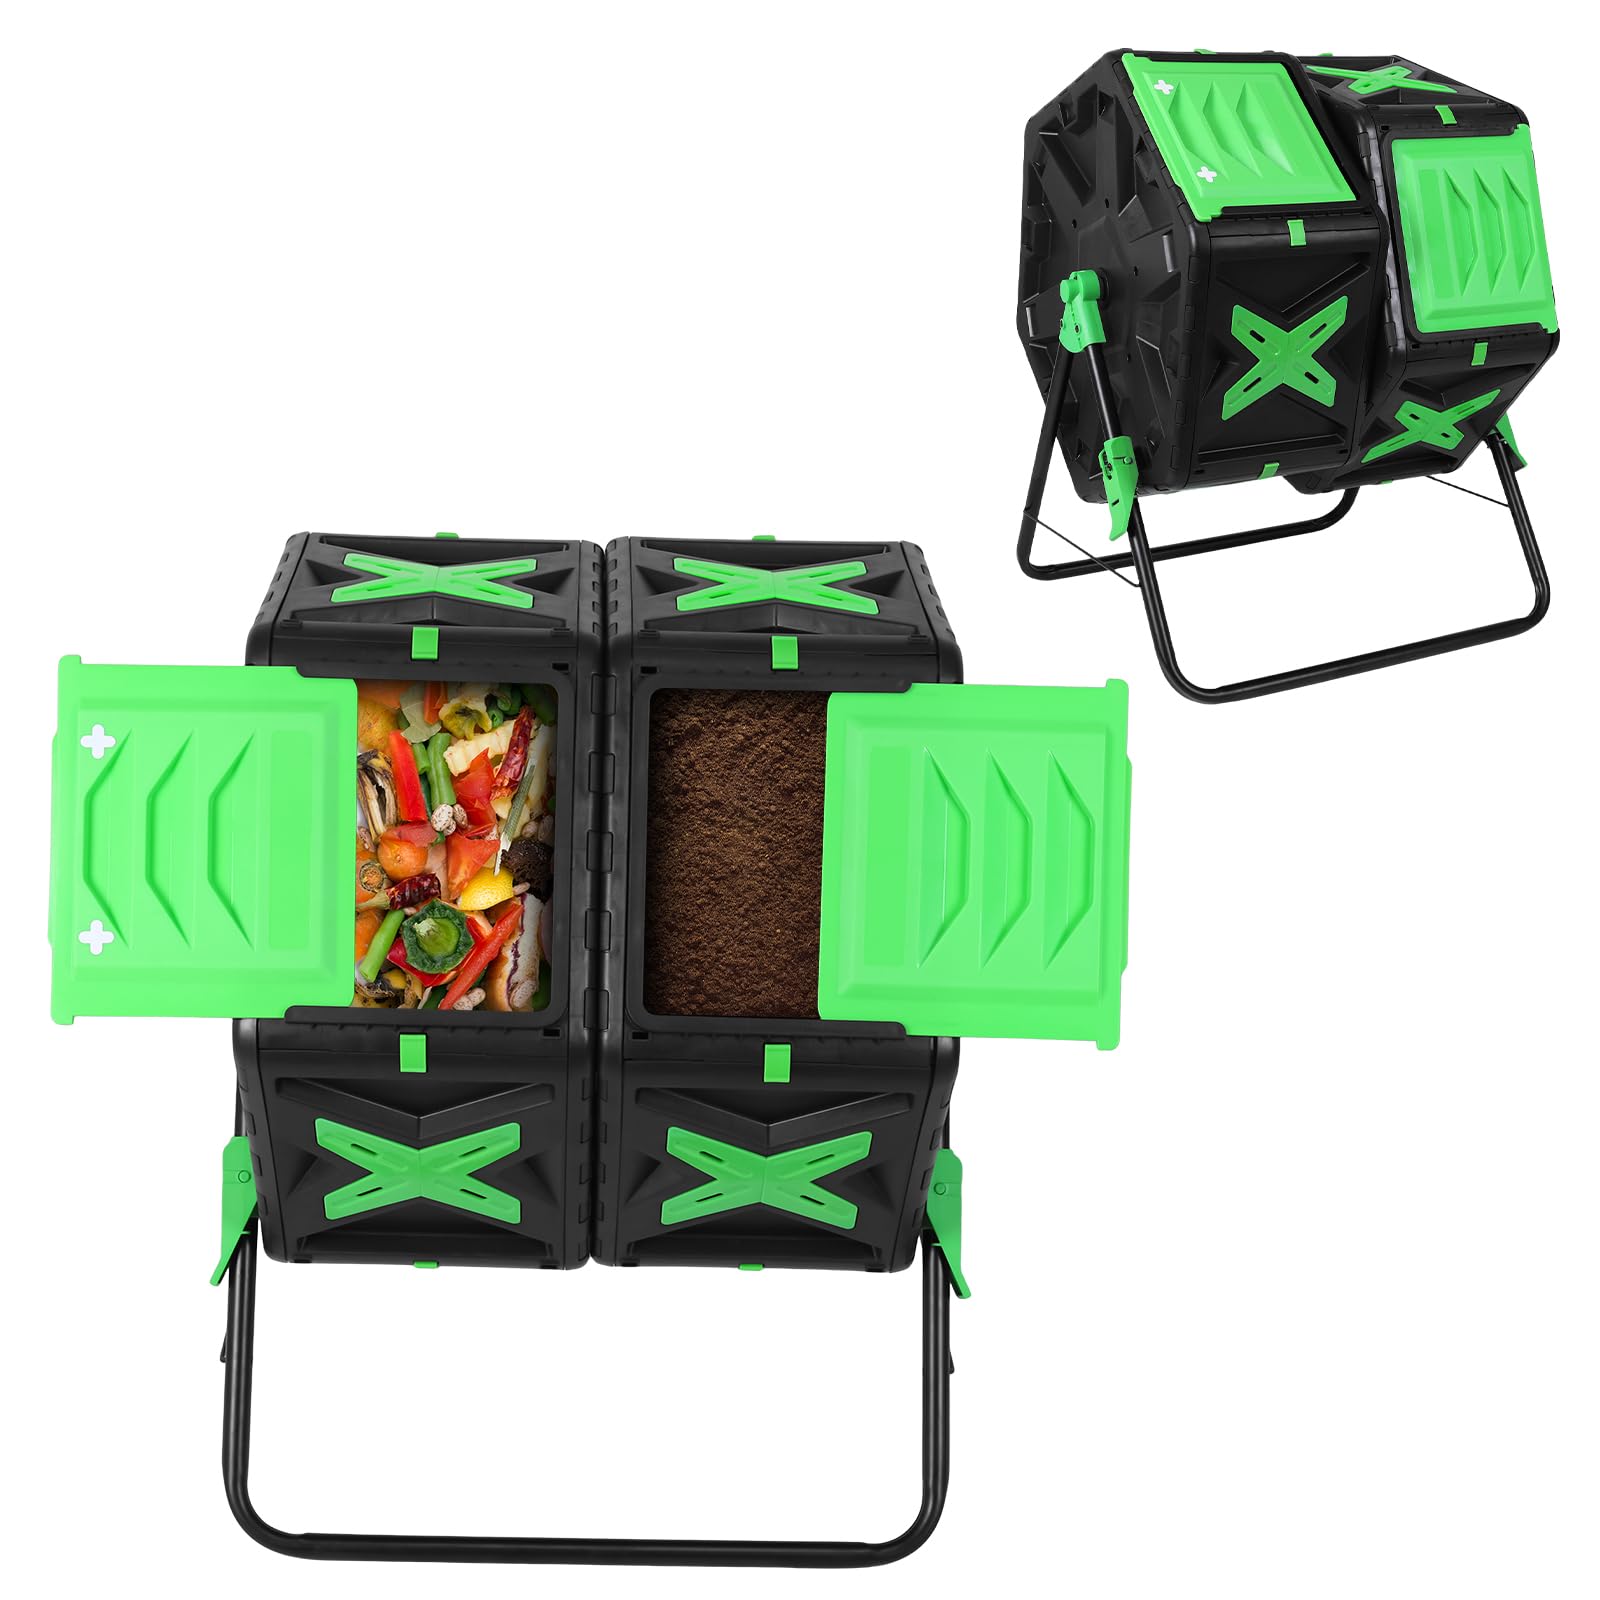
Choose a bin that fits your space and needs. For beginners, a tumbling composter (like the FCMP Outdoor IM4000) is easy to turn and speeds up decomposition. Stationary bins are cheaper and hold more volume. You can also build a simple wire mesh enclosure or use a wooden pallet bin. Make sure your bin has ventilation holes or slats for airflow. If using a stationary bin, place it directly on bare soil so worms and microorganisms can enter.
💡 Tips:
- •A two-bin or three-bin system allows you to have piles at different stages of decomposition.
- •For small yards, a compact tumbling bin works best.
⚠️ Warnings:
- •Avoid bins with solid sides and no bottom—they trap moisture and lack aeration.
- •If using a DIY bin, untreated wood is best; pressure-treated lumber may leach chemicals.
Step 3: Add a Layer of Brown Materials
Start your pile with a 4-6 inch layer of brown materials (carbon-rich). This includes dried leaves, straw, shredded newspaper, cardboard, or wood chips. This base layer helps with drainage and provides carbon for the microbes. Moisten the layer lightly as you add it—it should feel like a wrung-out sponge. Brown materials balance the nitrogen-rich greens and prevent odors.
💡 Tips:
- •Shred larger browns like cardboard and leaves into smaller pieces to speed up decomposition.
- •Store extra browns in a dry place near your bin so you always have some on hand.
⚠️ Warnings:
- •Do not use glossy paper or colored ink—stick to plain paper and cardboard.
- •Avoid walnut leaves, as they contain juglone, which can harm plants.
Step 4: Add a Layer of Green Materials
On top of the browns, add a 2-3 inch layer of green materials (nitrogen-rich). This includes kitchen scraps (vegetable peels, fruit waste, coffee grounds), fresh grass clippings, and plant trimmings. Chop larger scraps into small pieces to accelerate breakdown. Cover greens immediately with browns to deter flies and pests. The ratio of browns to greens should be roughly 2:1 or 3:1 by volume.
💡 Tips:
- •Keep a kitchen compost pail on your counter to collect scraps easily.
- •Add eggshells for calcium, but crush them first.
⚠️ Warnings:
- •Never add meat, dairy, oily foods, or pet waste—they attract pests and create foul odors.
- •Avoid adding diseased plants or weeds that have gone to seed.
Step 5: Moisten the Pile
Add water to each layer as you build the pile. The goal is to achieve the consistency of a wrung-out sponge—moist but not dripping. Water activates the microbes that break down the materials. If the pile is too dry, decomposition slows; if too wet, it becomes anaerobic and smelly. Use a watering can or hose with a gentle spray to moisten evenly.
💡 Tips:
- •In dry weather, check moisture every few days and add water as needed.
- •Cover the pile with a tarp or lid during heavy rain to prevent waterlogging.
⚠️ Warnings:
- •Do not soak the pile—excess water will drown the beneficial organisms and cause rot.
- •If you notice a sour smell, the pile may be too wet; add more browns to absorb moisture.
Step 6: Mix the Pile Thoroughly
After adding the initial layers, use a pitchfork or compost aerator to turn the pile, mixing the browns and greens together. This incorporates oxygen, which is essential for aerobic decomposition. For a stationary bin, turn the pile by moving the outer material to the center. For a tumbler, simply rotate the drum a few times. Aim to turn the pile once a week after initial setup.
💡 Tips:
- •A compost thermometer helps you know when to turn—when the center cools down, it's time to mix.
- •Turning also redistributes moisture and prevents matting.
⚠️ Warnings:
- •Be careful not to injure your back—use proper lifting techniques or a tool with a long handle.
- •If the pile smells like ammonia, it has too much green material—add more browns when turning.
Step 7: Maintain Moisture and Aeration
Ongoing maintenance is key to successful composting. Check the pile weekly for moisture level and temperature. The pile should feel warm to the touch (between 130-150°F or 55-65°C in the core is ideal). Turn the pile every 5-7 days to keep it aerated. If it's too dry, add water while turning. If it's too wet, add more browns. Continue adding new materials in layers (browns then greens) on top, and turn them into the pile.
💡 Tips:
- •During hot summer, the pile may dry out quickly—monitor closely.
- •Keep a stash of brown materials like leaves nearby to cover fresh kitchen scraps.
⚠️ Warnings:
- •If you stop turning, the pile can go anaerobic and produce methane (bad smell).
- •Do not let the pile exceed 160°F (71°C) for extended periods—it can kill beneficial microbes.
Step 8: Harvest Your Finished Compost
After 2 to 6 months (depending on conditions), your compost will turn dark, crumbly, and smell like earth. Stop adding new materials 2-3 weeks before harvesting to allow the pile to finish. Scoop out the finished compost from the bottom of a stationary bin or from one chamber of a tumbler. Sift it through a screen if desired to remove any large chunks. Use the compost as a soil amendment, mulch, or mix with potting soil.
💡 Tips:
- •If the pile has not broken down, it may need more time, moisture, or turning.
- •Leave some finished compost in the bin to inoculate the next batch with microbes.
⚠️ Warnings:
- •Do not use compost that smells foul or still has recognizable food scraps—it's not ready.
- •Wear a dust mask when handling dry compost to avoid inhaling fine particles.
▸Pro Tips
- •Chop or shred materials into smaller pieces to speed up decomposition.
- •Keep a 2:1 ratio of browns to greens by volume for optimal carbon-nitrogen balance.
- •Layer materials like lasagna—browns, greens, browns—to reduce odors and pests.
- •Use a kitchen compost pail with a charcoal filter to control smells indoors.
- •Inoculate your pile with a few shovelfuls of garden soil or finished compost to introduce microbes.
- •Turn the pile more often in warm weather (every 3-4 days) and less in cold (every 2 weeks).
- •Cover food scraps with a layer of browns each time you add them to deter flies.
- •If the pile freezes in winter, it will resume decomposition when it thaws—just keep adding materials.
▸Common Mistakes to Avoid
- •Adding too many greens and not enough browns, causing a smelly, slimy pile. Solution: always add an equal volume of browns with every addition.
- •Letting the pile dry out completely, which halts decomposition. Check moisture weekly and water as needed.
- •Turning the pile too infrequently, leading to anaerobic conditions and bad odors. Turn at least once a week.
- •Adding meat, dairy, or oily foods, which attract rats, raccoons, and flies. Stick to plant-based scraps.
- •Using a bin with poor ventilation, which causes excess moisture and rotting. Ensure your bin has holes or slats.
▸Troubleshooting
Problem: The pile smells like ammonia or rotten eggs.
Solution: This indicates too much nitrogen (greens) or too little oxygen. Add more browns and turn the pile thoroughly to aerate.
Problem: The pile is not heating up and decomposition is slow.
Solution: The pile may be too small, too dry, or lacking nitrogen. Make sure the pile is at least 3x3 feet, add moisture, and mix in fresh grass clippings or coffee grounds.
Problem: Flies or pests are attracted to the pile.
Solution: Bury food scraps under a layer of browns or soil. Avoid adding meat or dairy. Cover the pile with a lid or tarp.
Problem: The pile is too wet and has a sour smell.
Solution: Add more dry browns like leaves, straw, or shredded paper. Turn the pile to incorporate air and break up clumps.
Problem: The pile is not composting even after months.
Solution: Check the carbon-nitrogen ratio (add greens if too brown, add browns if too green). Ensure the pile is moist and turned regularly.
FCMP Outdoor IM4000 Dual Chamber Tumbling Composter
Easy to turn with a handle, two chambers allow continuous composting, and it keeps pests out. Great for beginners.
Best for: Perfect for small to medium backyards where you want quick, odor-free composting without heavy lifting.
Price Range: $100-$130
OXO Good Grips Kitchen Compost Bin
Stainless steel with a charcoal filter to trap odors, dishwasher safe, and a generous capacity for countertop use.
Best for: Ideal for collecting daily kitchen scraps without smells before you take them outside.
Price Range: $20-$30
REOTEMP Compost Thermometer
Helps you monitor pile temperature to ensure it is in the active range for fast decomposition.
Best for: Use when turning the pile to check if the core is heating up and when to turn next.
Price Range: $15-$25
Fiskars D-handle Compost Aerator
Long handle reaching 36 inches, allows turning without bending, and mixing tool breaks up clumps effectively.
Best for: Essential for turning stationary bins to aerate and mix materials.
Price Range: $30-$40
Dr. Earth Compost Starter
Contains beneficial microorganisms and enzymes to speed up decomposition, especially in new piles.
Best for: Sprinkle on each layer when starting a bin or when the pile is sluggish.
Price Range: $10-$15