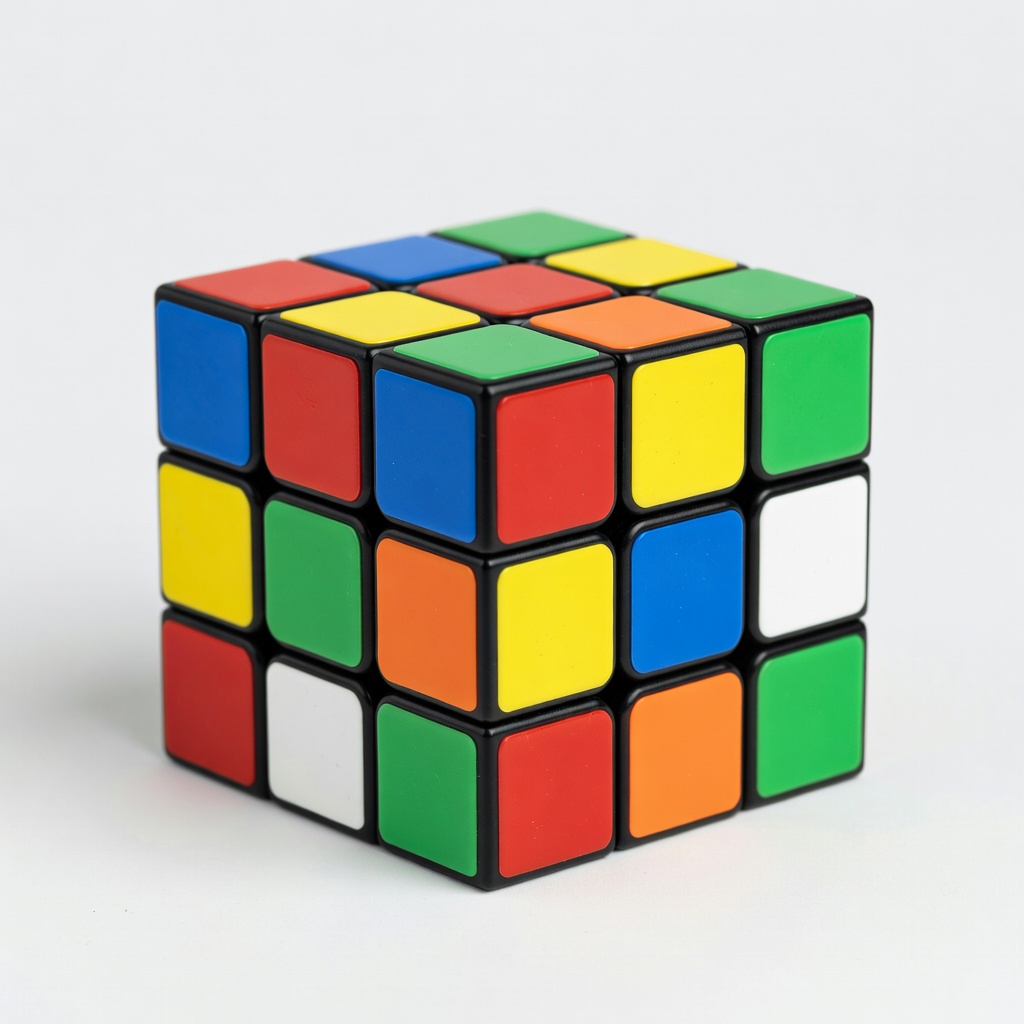
Rubik's Cube 3x3 Puzzle Game
Daily practice and first solves; sturdy for repeated turns.
$9.99
Rubik's Cube 3x3 Puzzle Game Official beginner cube with smooth stickers and reliable mechanism—ideal for learning without frustration.
Get the App
Better experience on mobile
Unlock the secrets of the Rubik's Cube with this beginner's guide to solving it layer by layer in just a few hours of practice.
Ever stared at a scrambled Rubik's Cube, feeling overwhelmed by its colorful chaos? You're not alone—millions have felt that frustration since the puzzle's invention in 1974. But solving it isn't about genius; it's about following a systematic method that anyone can learn, turning confusion into triumph.
In this guide, you'll master the beginner-friendly layer-by-layer technique, starting with the first white layer and building up to a fully solved cube. We'll break it down into clear steps, explain why each move matters, and show you what success looks like at every stage. No prior experience needed—just patience and practice.
Expect to spend 1-2 hours learning the basics, with solving times dropping to under 2 minutes after a week of daily practice. By the end, you'll have the confidence to impress friends and tackle variations like 2x2 or 4x4 cubes.
Estimated Time: 1-2 hours to learn and first solve; 10-20 minutes per solve with practice Difficulty: beginner
Before diving in, learn the basics of how to 'speak' Rubik's Cube. The cube has six faces: Front (F), Back (B), Up (U), Down (D), Left (L), Right (R). A move like 'F' means turn the front face 90 degrees clockwise. 'F'' (with a prime) is counterclockwise, and 'F2' is 180 degrees.
Hold the cube with the white center facing down and yellow up—this orients your solving. Why it matters: Notation lets you follow algorithms (sequences of moves) without guesswork. Expect a scrambled cube; success here is knowing your moves without hesitation.
Practice by turning faces slowly. This foundation prevents confusion later.
💡 Tips:
⚠️ Warnings:
Find the four white edge pieces (those with white on one side and another color) and position them around the white center to form a white cross. Ignore corners for now.
Move edges from the top layer to the bottom by aligning the side color with its center and using simple turns (e.g., U to position, then R U R' to insert). Why it matters: This creates a solid base layer, making the rest easier. Success looks like a white cross with matching side colors—no white stickers on top or sides mismatched.
If an edge is in the middle layer, pop it out with moves like F2 U L' U'. Be patient; it might take 5-10 minutes.
💡 Tips:
⚠️ Warnings:
Locate the four white corner pieces (white plus two other colors) and insert them into the bottom layer to complete the white face. Position the cube so the corner is in the top layer above its target spot.
Use the algorithm: R U R' U' (repeat until the corner is correctly oriented and drops in). Why it matters: This finishes the first layer, giving you a stable foundation. Success: The entire bottom face is white, with the second layer's centers visible and aligned.
If a corner is already in the bottom but wrong, use the same algorithm to pop it out first.
💡 Tips:
⚠️ Warnings:
With the first layer done, tackle the middle edges (no white or yellow stickers). Find an edge on the top layer and align it with its center color.
For right-side insertion: U R U' R' U' F' U F. For left: U' L' U L U F U' F'. Why it matters: This builds the cube layer by layer, avoiding parity issues later. Success: Four middle edges in place, forming complete side faces up to the yellow top.
If an edge is stuck in the middle wrong, use the opposite algorithm to eject it.
💡 Tips:
⚠️ Warnings:
Now focus on the yellow top. Your goal: A yellow cross ignoring edges' side colors.
Use one of two algorithms based on your pattern: For a dot, F R U R' U' F'. For an L-shape, F U R U' R' F'. Why it matters: It sets up the final layer without disassembling progress. Success: Yellow cross visible on top, though edges may be flipped.
Repeat as needed; the cube will cycle through patterns.
💡 Tips:
⚠️ Warnings:
Match the yellow edges' side colors to the middle layer centers.
Position a mismatched edge in front, then: R U R' U R U2 R' (repeat for each). Why it matters: Proper orientation ensures no gaps in the final solve. Success: Yellow cross with all side colors matching below.
Cycle through all four edges; it may take 4-8 repeats.
💡 Tips:
⚠️ Warnings:
Get yellow corners in their correct positions (ignore orientation).
Hold a solved corner in front-right-top, then: U R U' L' U R' U' L (repeat U to next). Why it matters: This places pieces without twisting the whole cube. Success: Yellow corners in right spots, even if upside down.
It cycles three corners; the last follows automatically.
💡 Tips:
⚠️ Warnings:
Finally, twist the yellow corners to face up.
Hold unsolved corner in front-right-top: R' D' R D (repeat until oriented, then U to next). Why it matters: This completes the cube without affecting positions. Success: All yellow stickers up, entire cube solved!
Do this for each corner; the last two may need fewer repeats.
💡 Tips:
⚠️ Warnings:
Problem: A piece won't insert correctly in the middle layer
Solution: Eject it using the opposite algorithm (e.g., if right insert failed, use left insert in reverse), then retry.
Problem: Yellow layer has odd parity (two edges flipped or corners swapped)
Solution: This shouldn't happen in layer-by-layer; if it does, redo the yellow cross step. For speedsolving, learn parity algos later.
Problem: Cube turns stiffly or sticks
Solution: Apply cube lubricant sparingly; disassemble and clean if needed. If persistent, replace with a better cube.
Problem: Can't find a specific piece
Solution: Scramble lightly and restart that layer—full scrambles can hide pieces in wrong layers.
Official beginner cube with smooth stickers and reliable mechanism—ideal for learning without frustration.
Best for: Daily practice and first solves; sturdy for repeated turns.
Price Range: $9.99
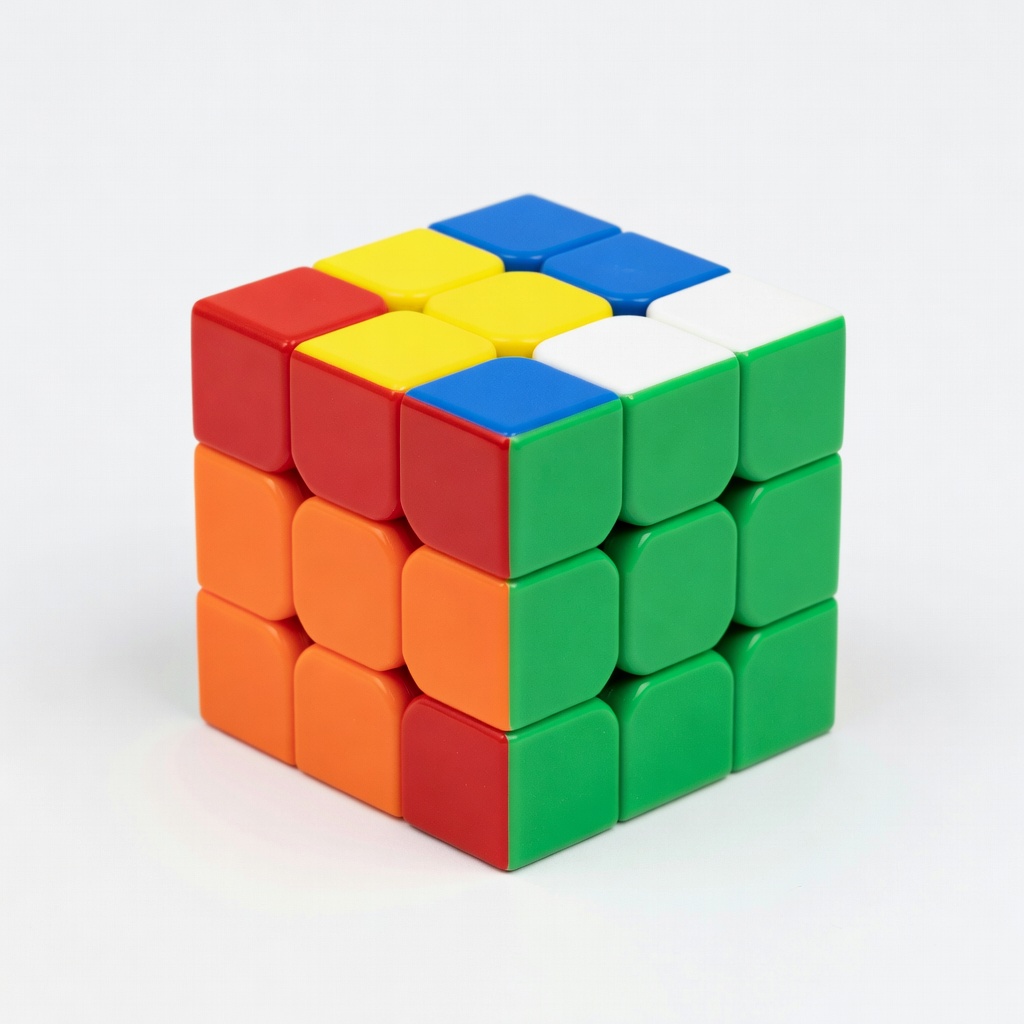
Magnetic alignment for precise, fast turns—helps beginners transition to speed solving smoothly.
Best for: After mastering basics, for quicker algorithms and less popping.
Price Range: $15-$20
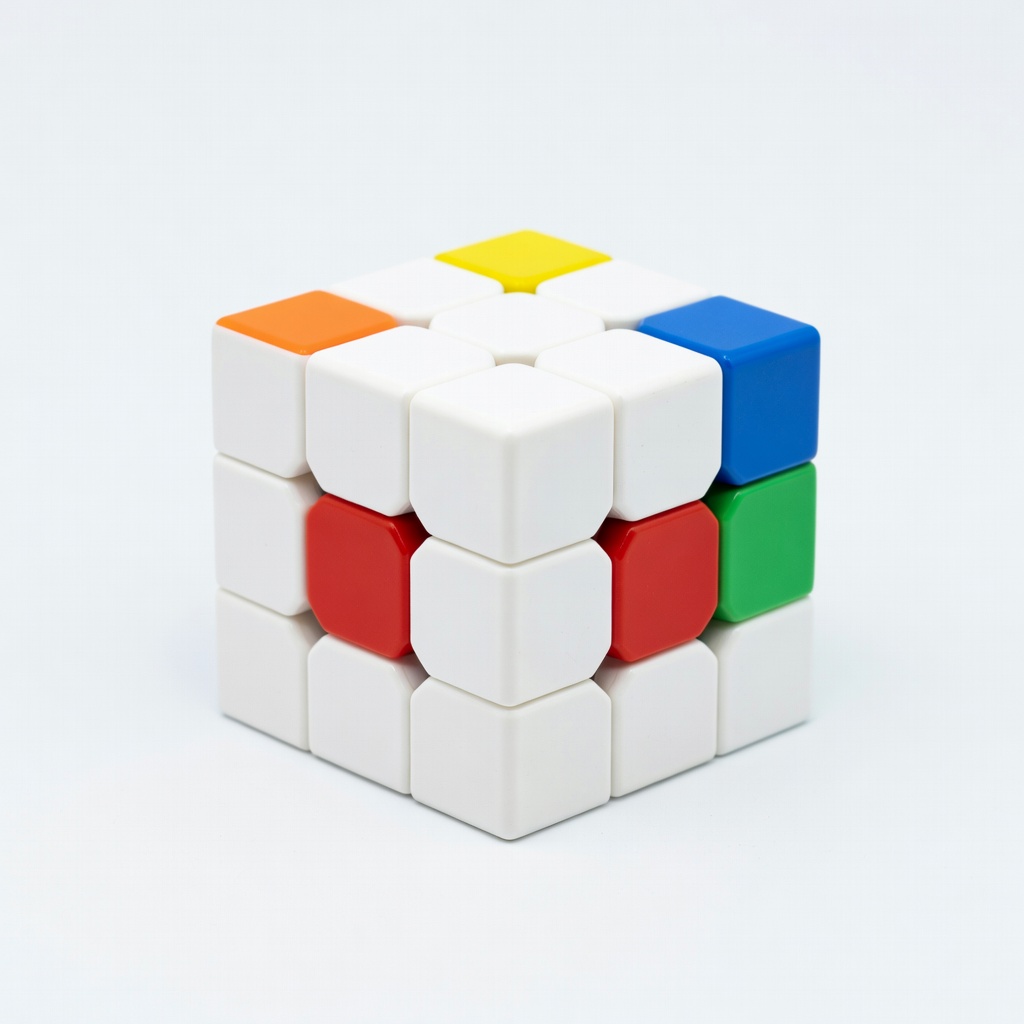
Lightweight with customizable tension—great for small hands or those wanting pro-level feel early on.
Best for: Intermediate practice; adjust for comfort during long sessions.
Price Range: $20-$25
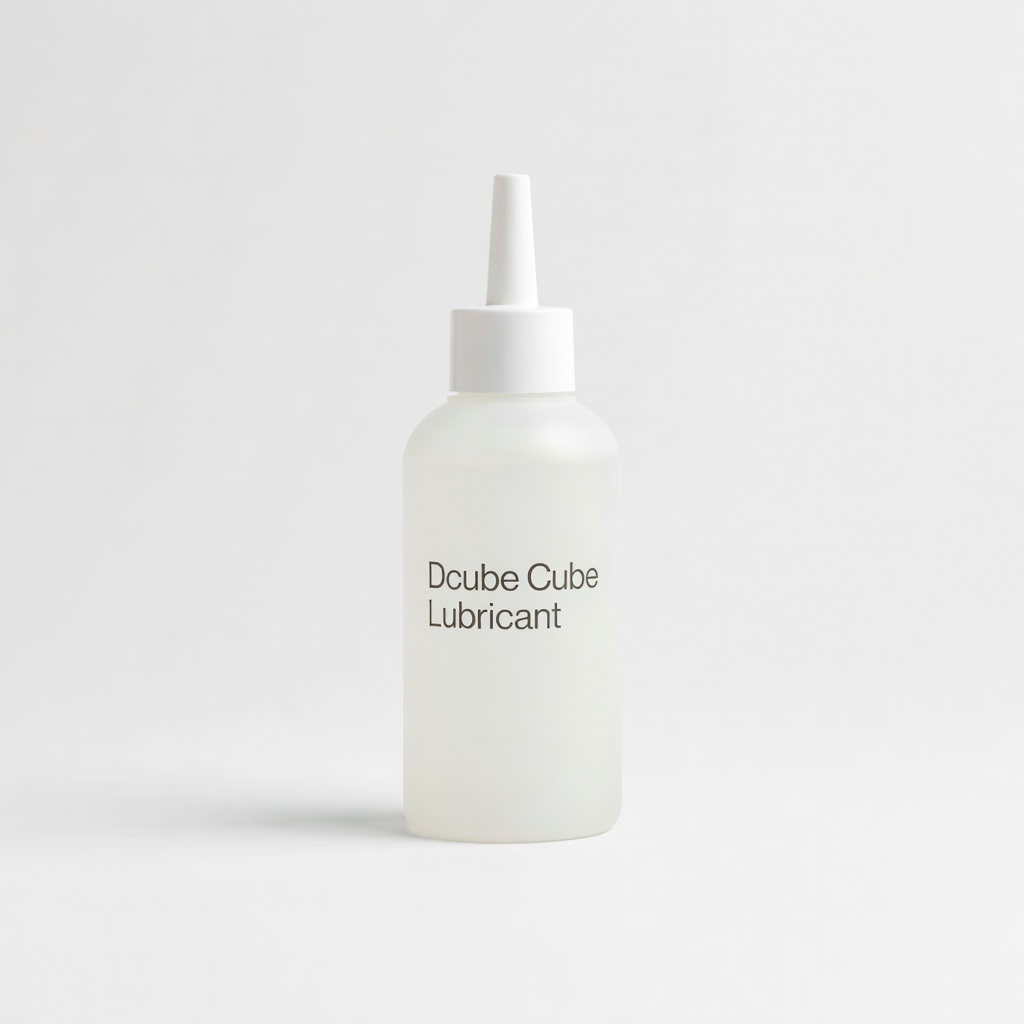
Silicone-based lube reduces friction without residue—keeps any cube turning like new.
Best for: Maintenance for sticky cubes; apply after 50+ solves.
Price Range: $8.99
Classic book with illustrated beginner method—complements this guide for offline reference.
Best for: Visual learners; read alongside practice for deeper understanding.
Price Range: $10-$15
Daily practice and first solves; sturdy for repeated turns.
Rubik's Cube 3x3 Puzzle Game Official beginner cube with smooth stickers and reliable mechanism—ideal for learning without frustration.
After mastering basics, for quicker algorithms and less popping.
MoYu RS3M 3x3 Speed Cube Magnetic alignment for precise, fast turns—helps beginners transition to speed solving smoothly.
Intermediate practice; adjust for comfort during long sessions.
GAN 356 M Lite Speed Cube Lightweight with customizable tension—great for small hands or those wanting pro-level feel early on.
Maintenance for sticky cubes; apply after 50+ solves.
Dcube Cube Lubricant Silicone-based lube reduces friction without residue—keeps any cube turning like new.
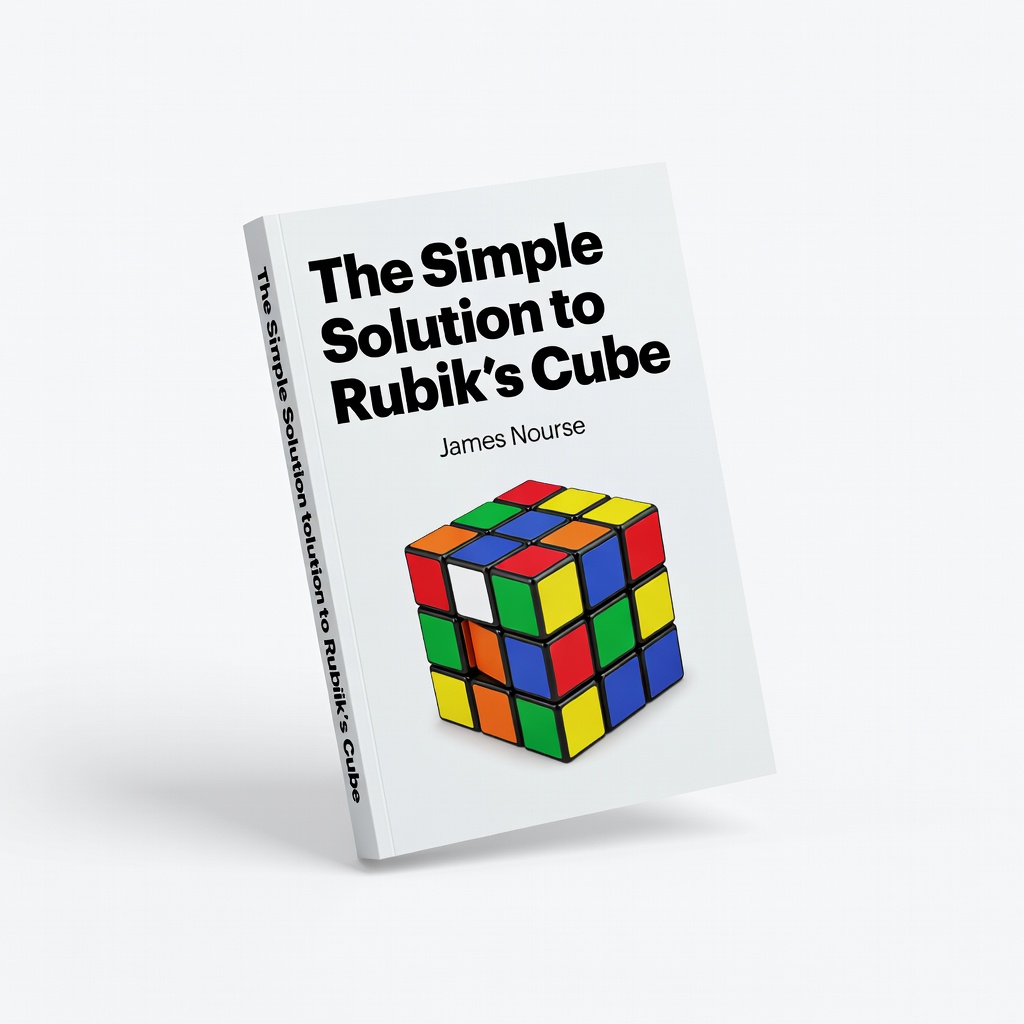
Visual learners; read alongside practice for deeper understanding.
The Simple Solution to Rubik's Cube by James Nourse Classic book with illustrated beginner method—complements this guide for offline reference.