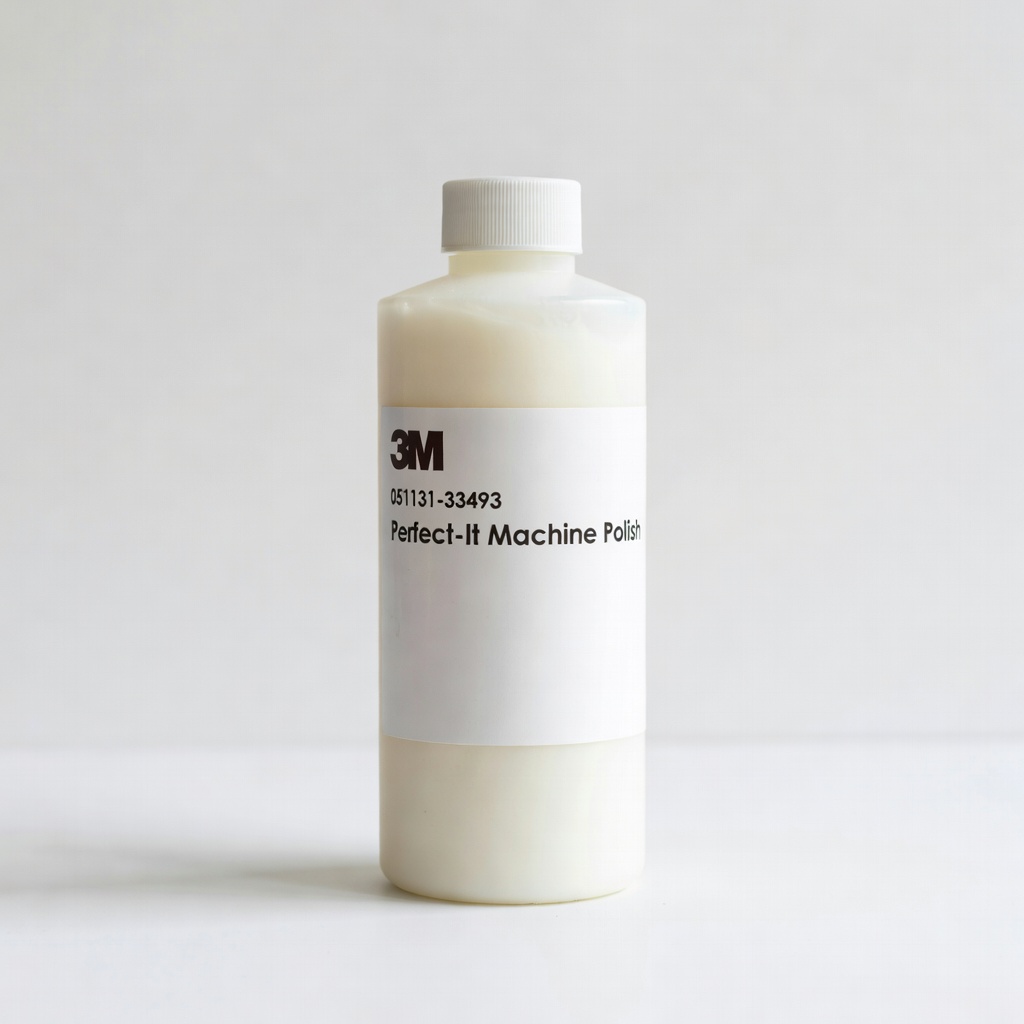
3M 051131-33493 Perfect-It Machine Polish
Last-step buffing on stainless/aluminum for mirror finish.
$28.99
3M 051131-33493 Perfect-It Machine Polish Ultra-fine polish removes P3000 haze without holograms, ideal for final streak elimination.
Get the App
Better experience on mobile
Achieve flawless, streak-free metal finishes using advanced abrasive techniques and pro polishing methods in under 2 hours.
Streaks from abrasive finishing—often called 'holograms,' 'chatters,' or linear scratches—can make even the best metalwork look amateurish, wasting hours of prep and reducing part value. Common in automotive, aerospace, and fabrication shops, these defects stem from inconsistent pressure, wrong grit progression, or improper tool motion. For advanced fabricators, eliminating them is essential for mirror-like results.
In this guide, you'll learn to diagnose streak types, select optimal abrasives, and execute a progressive finishing system. Expect professional-grade outcomes with stainless steel, aluminum, or alloy parts gleaming uniformly. This advanced process takes 1-2 hours per square foot, requiring precision and experience with power tools.
We'll cover safety first, then step-by-step from diagnosis to final inspection—no guesswork, just proven methods from industry pros.
Estimated Time: 1-2 hours per square foot Difficulty: advanced
Inspect under bright, angled LED light. Hold the metal at 45° and move the light to reveal holograms (swirl marks from orbital tools), linear streaks (from straight-line sanding), or chatters (vibration lines).
Note the depth: Surface-level (polishable) vs. deep gouges (requiring coarser start). Why it matters: Wrong diagnosis leads to over-sanding or residue-trapped defects. Expect to identify 80% of issues here—mark streaks with painter's tape if needed.
Pro tip: Use cross-polarization filters if available for hidden holograms.
💡 Tips:
⚠️ Warnings:
Degrease with isopropyl alcohol (90%+) or panel wipe. Wipe in straight lines with microfiber, avoiding circles that embed contaminants. Rinse with distilled water if oily residues persist.
Why? Oils, fingerprints, or old compound cause 'ghosting' streaks. Dry completely with compressed air or tack cloth. Success: Surface feels slick, no residue under fingernail test.
💡 Tips:
⚠️ Warnings:
Choose grits based on streak depth: Start 2-3 grits coarser than visible scratches (e.g., P800 for medium). Use wet/dry sheets or Hookit discs matched to your polisher.
Attach to backing pad, soak in distilled water 5 mins for wet sanding. Why progressive? Skips cause deeper scratches; levels ensure uniform removal. Expect even cutting without clogging.
💡 Tips:
⚠️ Warnings:
Set polisher to 3,000-4,000 RPM, low pressure. Spray water liberally, sand in overlapping cross-hatch pattern (90° angles) at 15° overlap. Work 2x2 ft sections, 1-2 minutes each.
Maintain constant speed/motion—why? Prevents linear streaks. Check every 30s: Hazy matte finish means level. Rinse, dry, inspect—no deep scratches left.
💡 Tips:
⚠️ Warnings:
Switch to P2000, increase RPM to 4,500. Repeat cross-hatch, lighter pressure. Focus on removing prior scratches fully.
Why mid-grit? Bridges coarse-to-fine without micro-marring. Success: Uniform satin sheen, no prior pattern visible under light.
💡 Tips:
⚠️ Warnings:
Final abrasive: P3000 at 5,000 RPM. Minimal pressure, quick passes. Dry if possible for speed.
Preps for polish by minimizing haze. Expect glassy micro-finish ready for compounding.
💡 Tips:
⚠️ Warnings:
Dab 4-5 pea-sized drops on pad, spread on surface. Polish at 4,000-5,000 RPM, low pressure, 60° overlapping sweeps.
Why? Cuts remaining haze holographically-safe. Work to dry/sheen, buff off with microfiber. Success: 90% streak-free, warm glow.
💡 Tips:
⚠️ Warnings:
Ultra-fine polish, 3,000 RPM. Light passes to refine. Wipe clean, inspect under multiple lights/angles.
Buff edges by hand. Success: Mirror reflection, no distortion or swirls—pro finish achieved.
💡 Tips:
⚠️ Warnings:
Problem: Streaks persist after polish
Solution: Revert to P2000 sanding; ensure full leveling before advancing.
Problem: Holograms from polisher
Solution: Switch to DA polisher or lower RPM; use finishing pad.
Problem: Surface burns or discoloration
Solution: Cool with water, use lighter pressure; check RPM under 6,000.
Problem: Compound slinging/residue
Solution: Less product, mist surface; clean pads with air.
Problem: Uneven finish on curves
Solution: Hand sand flexible sheets; avoid rigid backing.
Ultra-fine polish removes P3000 haze without holograms, ideal for final streak elimination.
Best for: Last-step buffing on stainless/aluminum for mirror finish.
Price Range: $28.99
Sharp, fast-cutting for ultra-fine sanding without loading or heat streaks.
Best for: Pre-polish leveling on DA polishers for metals.
Price Range: $15-20
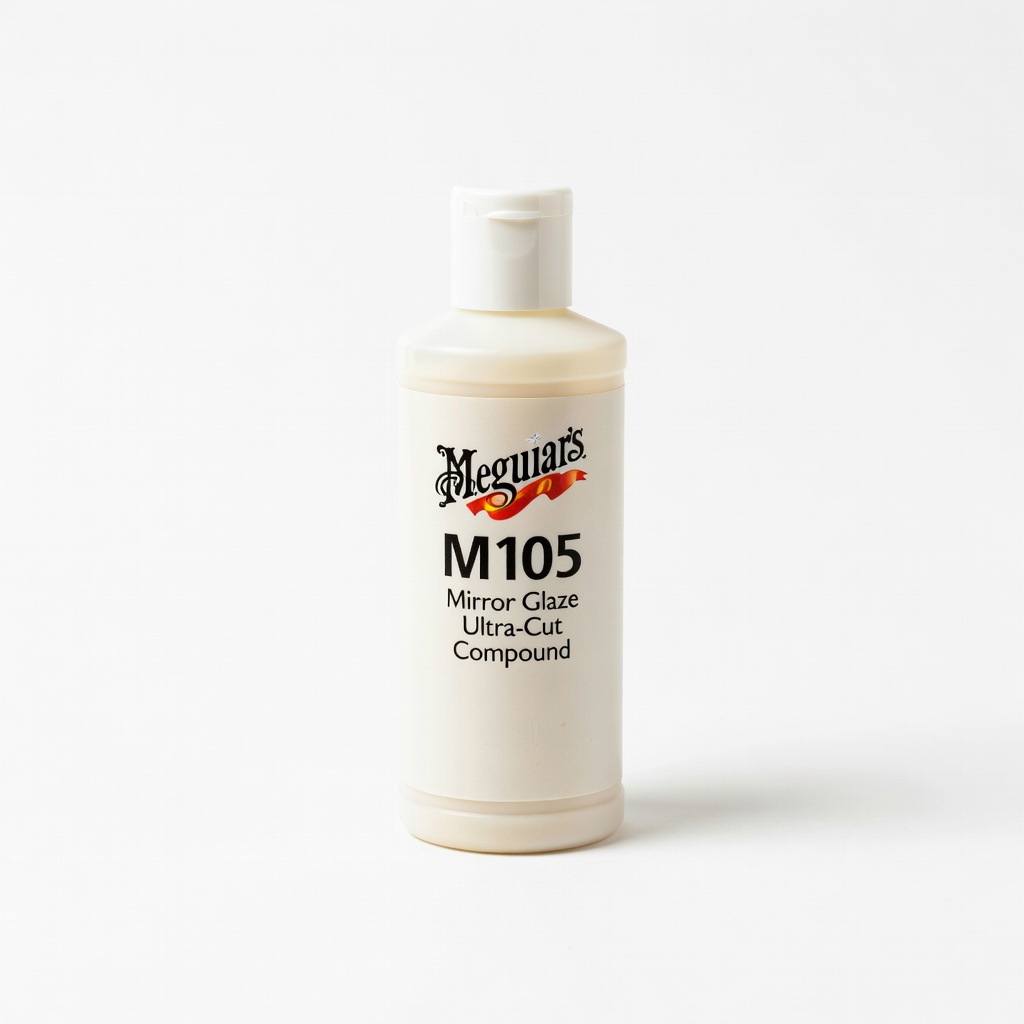
Aggressive cut for hologram removal while being metal-safe.
Best for: Mid-stage compounding after wet sanding.
Price Range: $25.99
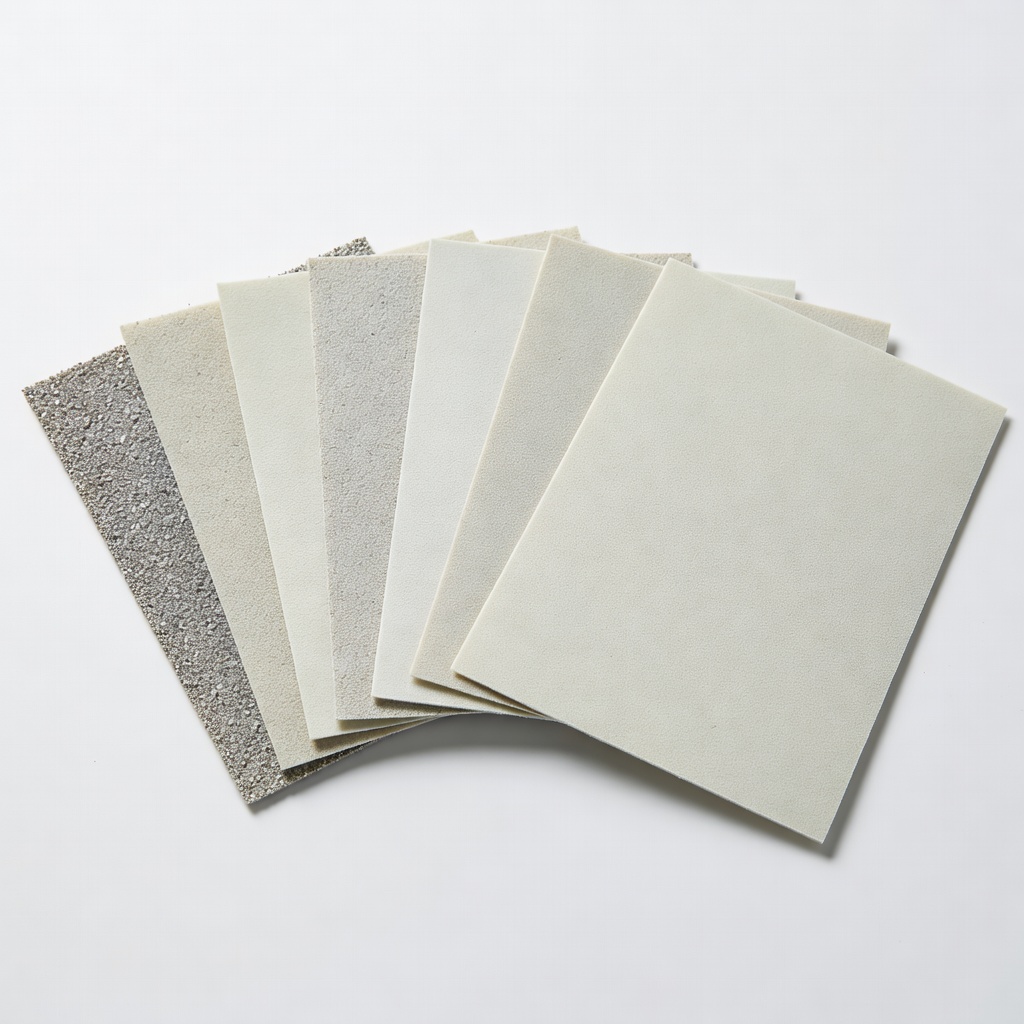
Affordable progressive sheets for precise grit stepping.
Best for: Hand or machine wet sanding on irregular surfaces.
Price Range: $12.99
Variable speed DA prevents new swirls, pro-level control.
Best for: All sanding/polishing stages for streak-free results.
Price Range: $149-169
Last-step buffing on stainless/aluminum for mirror finish.
3M 051131-33493 Perfect-It Machine Polish Ultra-fine polish removes P3000 haze without holograms, ideal for final streak elimination.

Pre-polish leveling on DA polishers for metals.
3M 7340 Gold Fre-Cut P3000 Discs (5-pack) Sharp, fast-cutting for ultra-fine sanding without loading or heat streaks.
Mid-stage compounding after wet sanding.
Meguiar's M105 Mirror Glaze Ultra-Cut Compound Aggressive cut for hologram removal while being metal-safe.
Hand or machine wet sanding on irregular surfaces.
LotFancy Wet Dry Sandpaper Assortment (400-3000 Grit) Affordable progressive sheets for precise grit stepping.

All sanding/polishing stages for streak-free results.
Griot's Garage 10838 Random Orbital Polisher Variable speed DA prevents new swirls, pro-level control.