Working on 12V systems—whether it's installing a new car stereo, wiring LED lights in a van, or building a solar charge controller—requires secure, durable connections. Crimping is fast, but soldering provides the best electrical conductivity and mechanical strength for permanent joints.
This guide walks you through the entire soldering process for 12V wires, from choosing the right tools to inspecting a finished joint. You'll learn the proper technique to avoid common pitfalls like cold joints or damage to insulation. By the end, you'll be able to confidently solder wires that can handle vibration, temperature changes, and current flow in any 12V application.
Expect to spend about 30–45 minutes on your first few joints. This is a beginner-friendly skill—no prior soldering experience required, just patience and attention to detail.
▸What You'll Need
- •Soldering iron (40–60W, temperature-controlled recommended)
- •Lead-based or lead-free rosin-core solder (0.032–0.062 inch diameter)
- •Wire strippers (adjustable or gauge-specific)
- •Helping hands (third hand with alligator clips) or a clamp
- •Flux pen or additional flux (if using old solder)
- •Heat shrink tubing (various sizes to match wire gauge)
- •Heat gun or lighter for shrinking tubing
- •Solder sucker or desoldering braid (for mistakes)
- •Safety glasses
- •Ventilation (fan or open window)
Estimated Time: 30–45 minutes for a few joints
Difficulty: beginner
▸Step-by-Step Instructions
Step 1: Gather Your Tools and Prepare the Workspace
Set up a clean, well-lit area with your soldering iron, solder, helping hands, and other tools. Unroll a length of heat shrink tubing onto each wire before you start—you won’t be able to slip it on after the joint is made.
Plug in the soldering iron and let it heat up to the recommended temperature (typically 350°C / 660°F for leaded solder). Place the iron in its stand and wait a few minutes. While heating, put on safety glasses and ensure good ventilation.
💡 Tips:
- •Use a temperature-controlled iron; it prevents overheating that can damage insulation.
- •Tinning the tip (applying fresh solder) on first heat-up improves heat transfer.
⚠️ Warnings:
- •Never touch the tip of the soldering iron—it sits at 350°C+.
- •Work in a ventilated area to avoid inhaling flux fumes.
Step 2: Strip the Wires to the Correct Length
Use wire strippers to remove about 6–10 mm (1/4–3/8 inch) of insulation from each wire end. Choose the correct gauge slot on the strippers to avoid nicking the copper strands. If the strands are damaged, cut the wire back and strip again.
For 12V systems, a clean strip is critical—any broken strands reduce current carrying capacity and create a weak point. After stripping, twist the strands lightly to keep them together.
💡 Tips:
- •Twist the strands gently with your fingers in the direction of the natural twist.
- •If the wire is stranded, avoid over-twisting; you want a compact bundle, not a tight rope.
⚠️ Warnings:
- •Don’t strip too long; exposed wire beyond the joint can short against adjacent terminals.
Step 3: Slide Heat Shrink Tubing Over One Wire
Before making the joint, slide a piece of heat shrink tubing onto one of the wires. Choose a tubing diameter that fits snugly over the finished joint (typically slightly larger than the wire's outer diameter). Push it far enough away from the joint area so it won't interfere with soldering.
💡 Tips:
- •Cut tubing slightly longer than the exposed bare wire (about 10–15 mm).
- •For 12V wiring, use tubing with a 2:1 or 3:1 shrink ratio for a tight seal.
⚠️ Warnings:
- •If you forget the tubing, you’ll have to desolder and restart—always do this step first.
Step 4: Tin the Soldering Iron Tip and Both Wires
Tinning the iron tip: melt a small amount of solder onto the tip to create a shiny coating. This improves heat transfer to the joint.
Tinning the wires: heat the stripped wire end with the iron (touch the iron to the copper, not the solder). Feed a small amount of solder onto the heated wire, letting it flow into the strands. The wire should look silver and shiny. Do this for both wire ends.
Tinning ensures the solder wets the copper quickly when joining, reducing the time the iron is on the wire and preventing insulation melt.
💡 Tips:
- •Apply solder to the wire, not the iron, when tinning—the wire heat should melt the solder.
- •Keep tinning short (3–5 seconds) to avoid heat traveling up and damaging insulation.
⚠️ Warnings:
- •Do not hold the iron on the wire too long—PVC insulation can melt or shrink back.
Step 5: Join the Tinned Wires Together
Place the two tinned wire ends side by side (overlap by about the length of the stripped section) or hook them together for a mechanical lock. For butt joints, a straight overlap works well. For T-junctions (e.g., tapping into a wire), wrap the tap wire around the main wire.
Hold the wires steady with helping hands or a clamp. They should be aligned so the joint is as compact as possible.
💡 Tips:
- •For a stronger mechanical joint, twist the wires together before soldering (especially for connections that will experience vibration).
- •Keep the wires parallel to avoid a bulky joint that is hard to insulate.
⚠️ Warnings:
- •Do not rely on soldering alone to hold wires together; a poor mechanical grip can lead to failure.
Step 6: Apply Heat and Solder to the Joint
Touch the soldering iron tip to the underside of the joined wires, not to the solder. Wait 1–2 seconds for the wires to reach soldering temperature. Then feed solder into the joint from the top side, allowing it to flow into the wires by capillary action. You'll see the solder melt and wick into the strands.
Use just enough solder to fill the gaps—a concave fillet around the joint is ideal. The joint should look shiny and smooth. Remove the iron and let the joint cool undisturbed for 5–10 seconds.
💡 Tips:
- •A good joint takes about 2–4 seconds of heating. If it takes longer, check iron temperature or tip cleanliness.
- •Use a 'solder bridge' technique: apply solder to the iron tip first, then transfer to the joint by touching the tip to the wires.
⚠️ Warnings:
- •Do not move the joint while cooling—this creates a 'cold solder joint' that is brittle and resistive.
- •Do not apply too much solder; it can drip or create a ball that bridges to adjacent pins.
Step 7: Inspect the Solder Joint
Once cooled, examine the joint: it should be shiny, smooth, and fully encase the wire strands. There should be no visible gaps, sharp points, or balls of solder. The wires should be firmly bonded.
If the joint is dull, granular, or cloudy, it's a cold joint—reheat with flux and add a little fresh solder. If you see excess solder, use a solder sucker or braid to remove it and redo.
💡 Tips:
- •A good joint also has a slight 'feathered' appearance where the solder meets the insulation (indicating proper wetting).
- •Pull gently on the wires to test mechanical strength; they should not separate.
⚠️ Warnings:
- •Never power a 12V circuit with a cold joint—it will overheat and fail under load.
Step 8: Slide Heat Shrink Over the Joint and Shrink It
Slide the pre-placed heat shrink tubing over the joint so it covers the entire exposed metal area and overlaps the insulation on both sides. Use a heat gun (or a lighter held at a safe distance) to shrink the tubing evenly. Rotate the wire to apply heat from all sides. The tubing should become tight and form a protective, insulating seal.
Allow the tubing to cool completely before handling.
💡 Tips:
- •If using a lighter, keep the flame moving to avoid burning the tubing.
- •Use adhesive-lined heat shrink for outdoor or marine 12V applications to prevent moisture ingress.
⚠️ Warnings:
- •Do not over-shrink—tubing can crack if overheated.
- •Ensure the tubing covers both insulation ends completely; exposed bare wire is a short hazard.
▸Pro Tips
- •Always tin your iron tip regularly during soldering to prevent oxidation and improve heat transfer.
- •Use a damp sponge or brass tip cleaner to wipe the tip clean of old solder before each joint.
- •For small wires (e.g., 22 AWG), use a lower iron temperature (300°C) to avoid melting insulation.
- •Label wire polarity or function before soldering to avoid confusion in complex wiring.
- •Practice on scrap wires first—soldering is muscle memory; a few practice joints build confidence.
- •Keep a small fan blowing across your work area to direct fumes away from your face.
▸Common Mistakes to Avoid
- •Cold solder joint: Caused by moving the wires while the solder solidifies or insufficient heating. The joint looks dull and has poor conductivity. Prevent by letting the joint cool completely undisturbed.
- •Too much solder: Creates a large blob that may make the joint brittle or cause shorts. Use just enough to fill the gaps; the joint should have a concave profile.
- •Overheating: Holding the iron too long melts wire insulation or damages nearby components. Use a temperature-controlled iron and keep contact time under 5 seconds.
- •Not tinning wires: Leads to poor wetting and unreliable joints. Always tin stranded wires before joining.
- •Forgetting heat shrink: If you forget to slide tubing on before soldering, you’ll need to desolder. Always thread tubing onto one wire as your very first step.
▸Troubleshooting
Problem: Solder does not stick to the wire (beads up).
Solution: Wire is dirty or has old oxidation. Use flux or re-tin the wire with fresh solder. Also ensure the iron tip is clean and tinned.
Problem: Joint is dull and grainy (cold joint).
Solution: Reheat the joint with the iron, add a bit of flux and fresh solder, and let it cool without moving.
Problem: Insulation melts back from the wire end.
Solution: The iron was too hot or held too long. Trim the damaged insulation and re-strip. Use a lower temperature or heatsink clip to protect insulation.
Problem: Solder forms a sharp spike or bridge.
Solution: You used too much solder. Use a solder sucker to remove excess, or wick it away with desoldering braid.
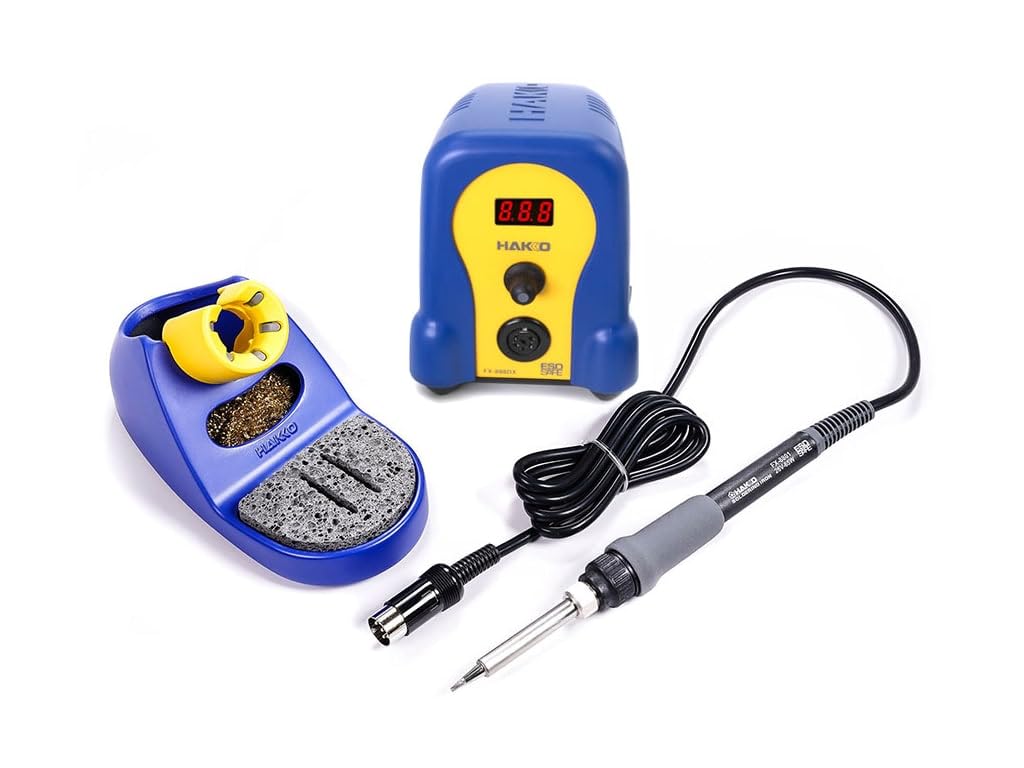
Hakko FX-888D Digital Soldering Station
Temperature-controlled and reliable; ideal for 12V wire soldering where precise heat is needed to avoid melting insulation.
Best for: Best for regular soldering tasks on various wire gauges.
Price Range: $90–$120
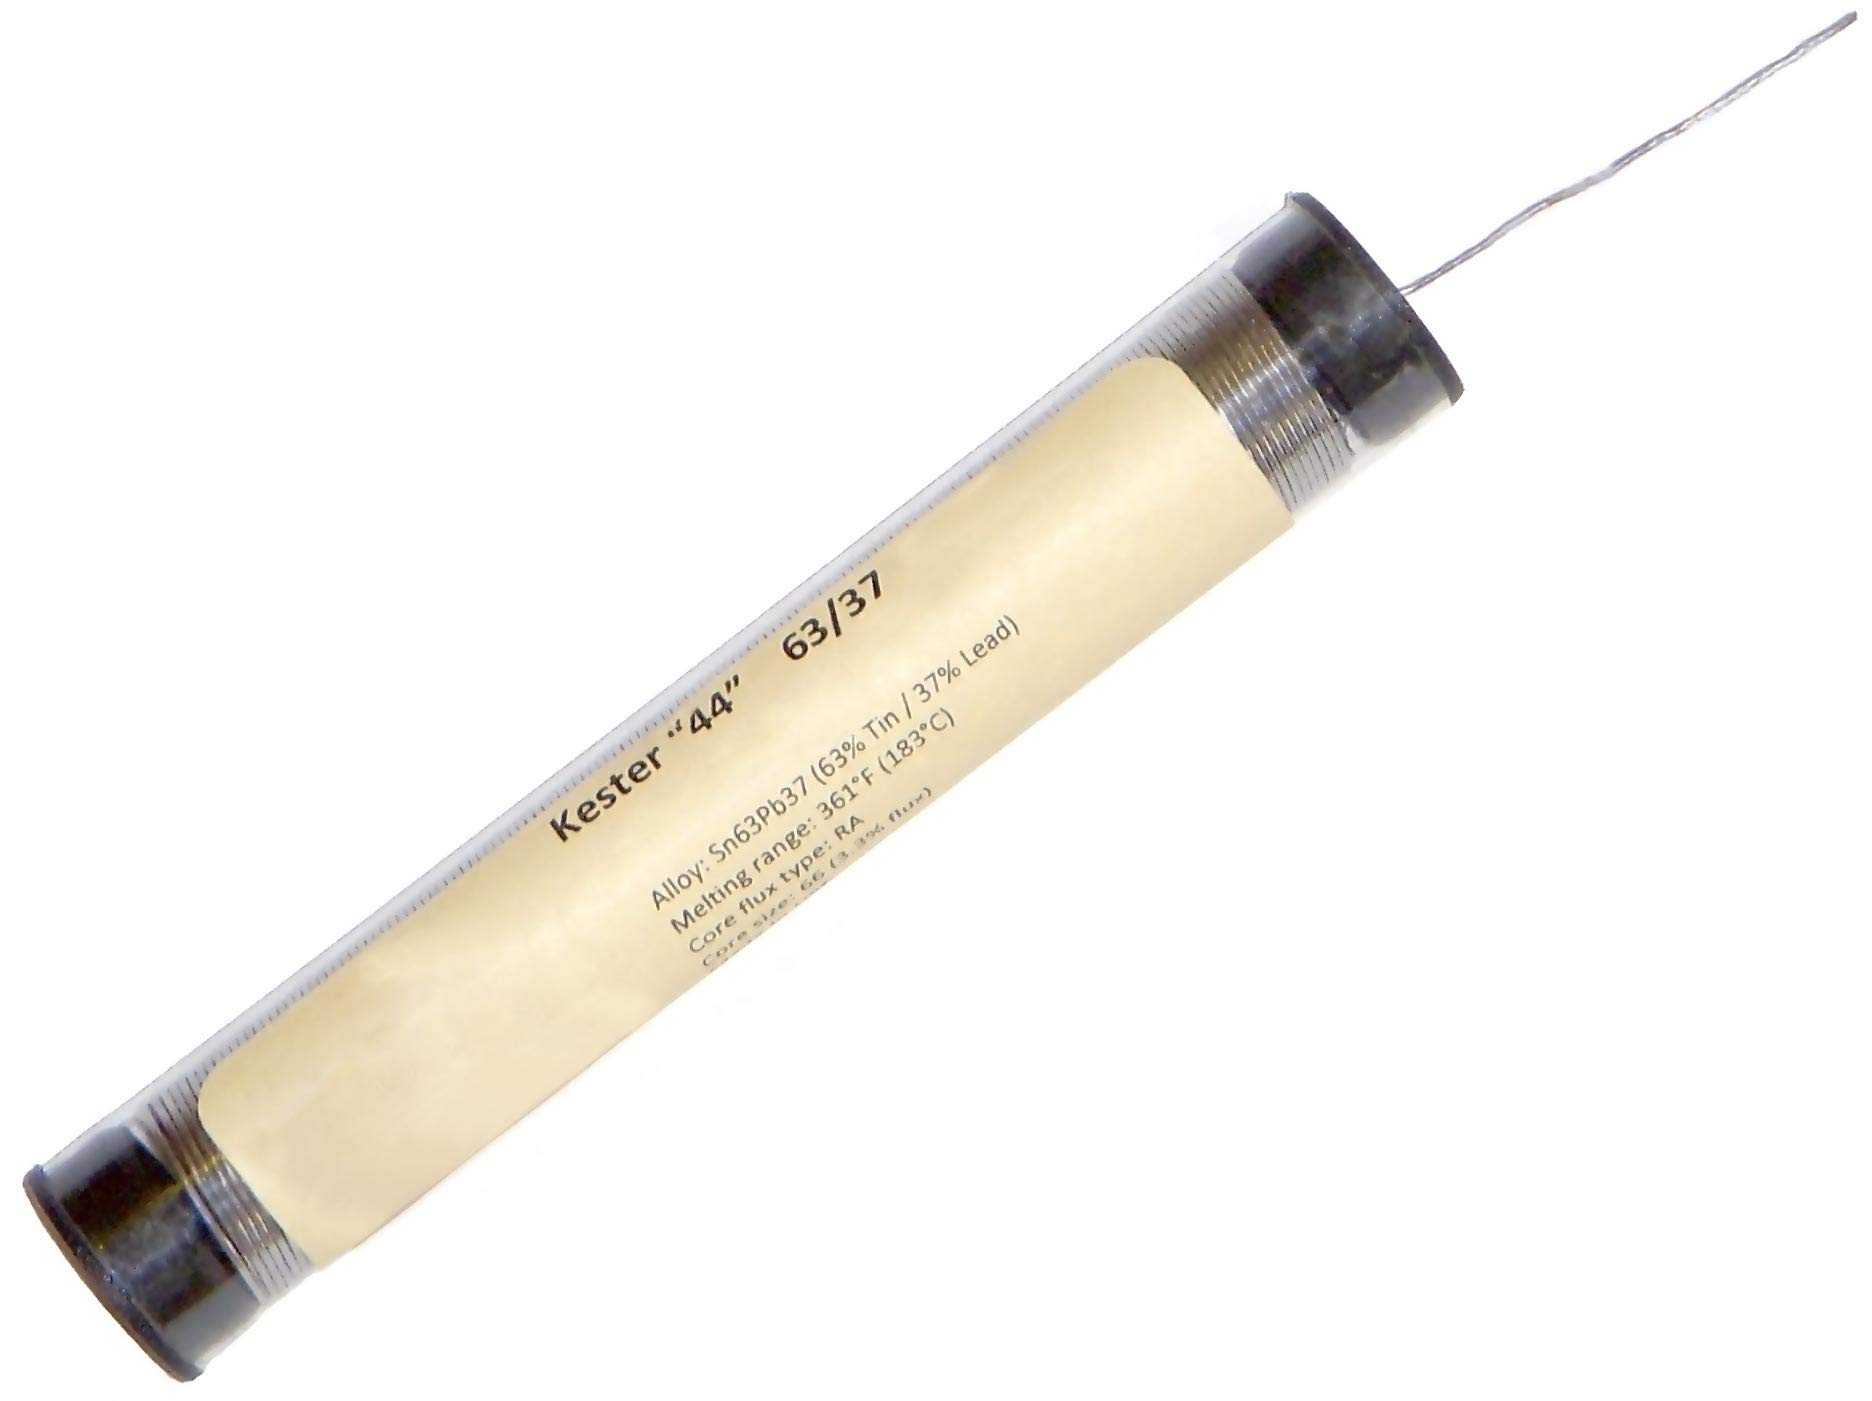
Kester 44 Rosin Core Solder 0.031 inch
High-quality leaded solder with excellent wetting; produces strong, shiny joints ideal for 12V connections.
Best for: General purpose soldering for electronics and electrical wiring.
Price Range: $15–$25
Hakko 599B-02 Wire Stripper
Precision stripper for 10–30 AWG wire; adjustable stop prevents over-stripping.
Best for: Stripping insulation cleanly without nicking copper strands.
Price Range: $12–$18
SE 8668 Helping Hands with Magnifying Glass
Third hand tool with alligator clips and a magnifier; holds wires steady for precise soldering.
Best for: Essential for holding small wires and components while soldering.
Price Range: $12–$20
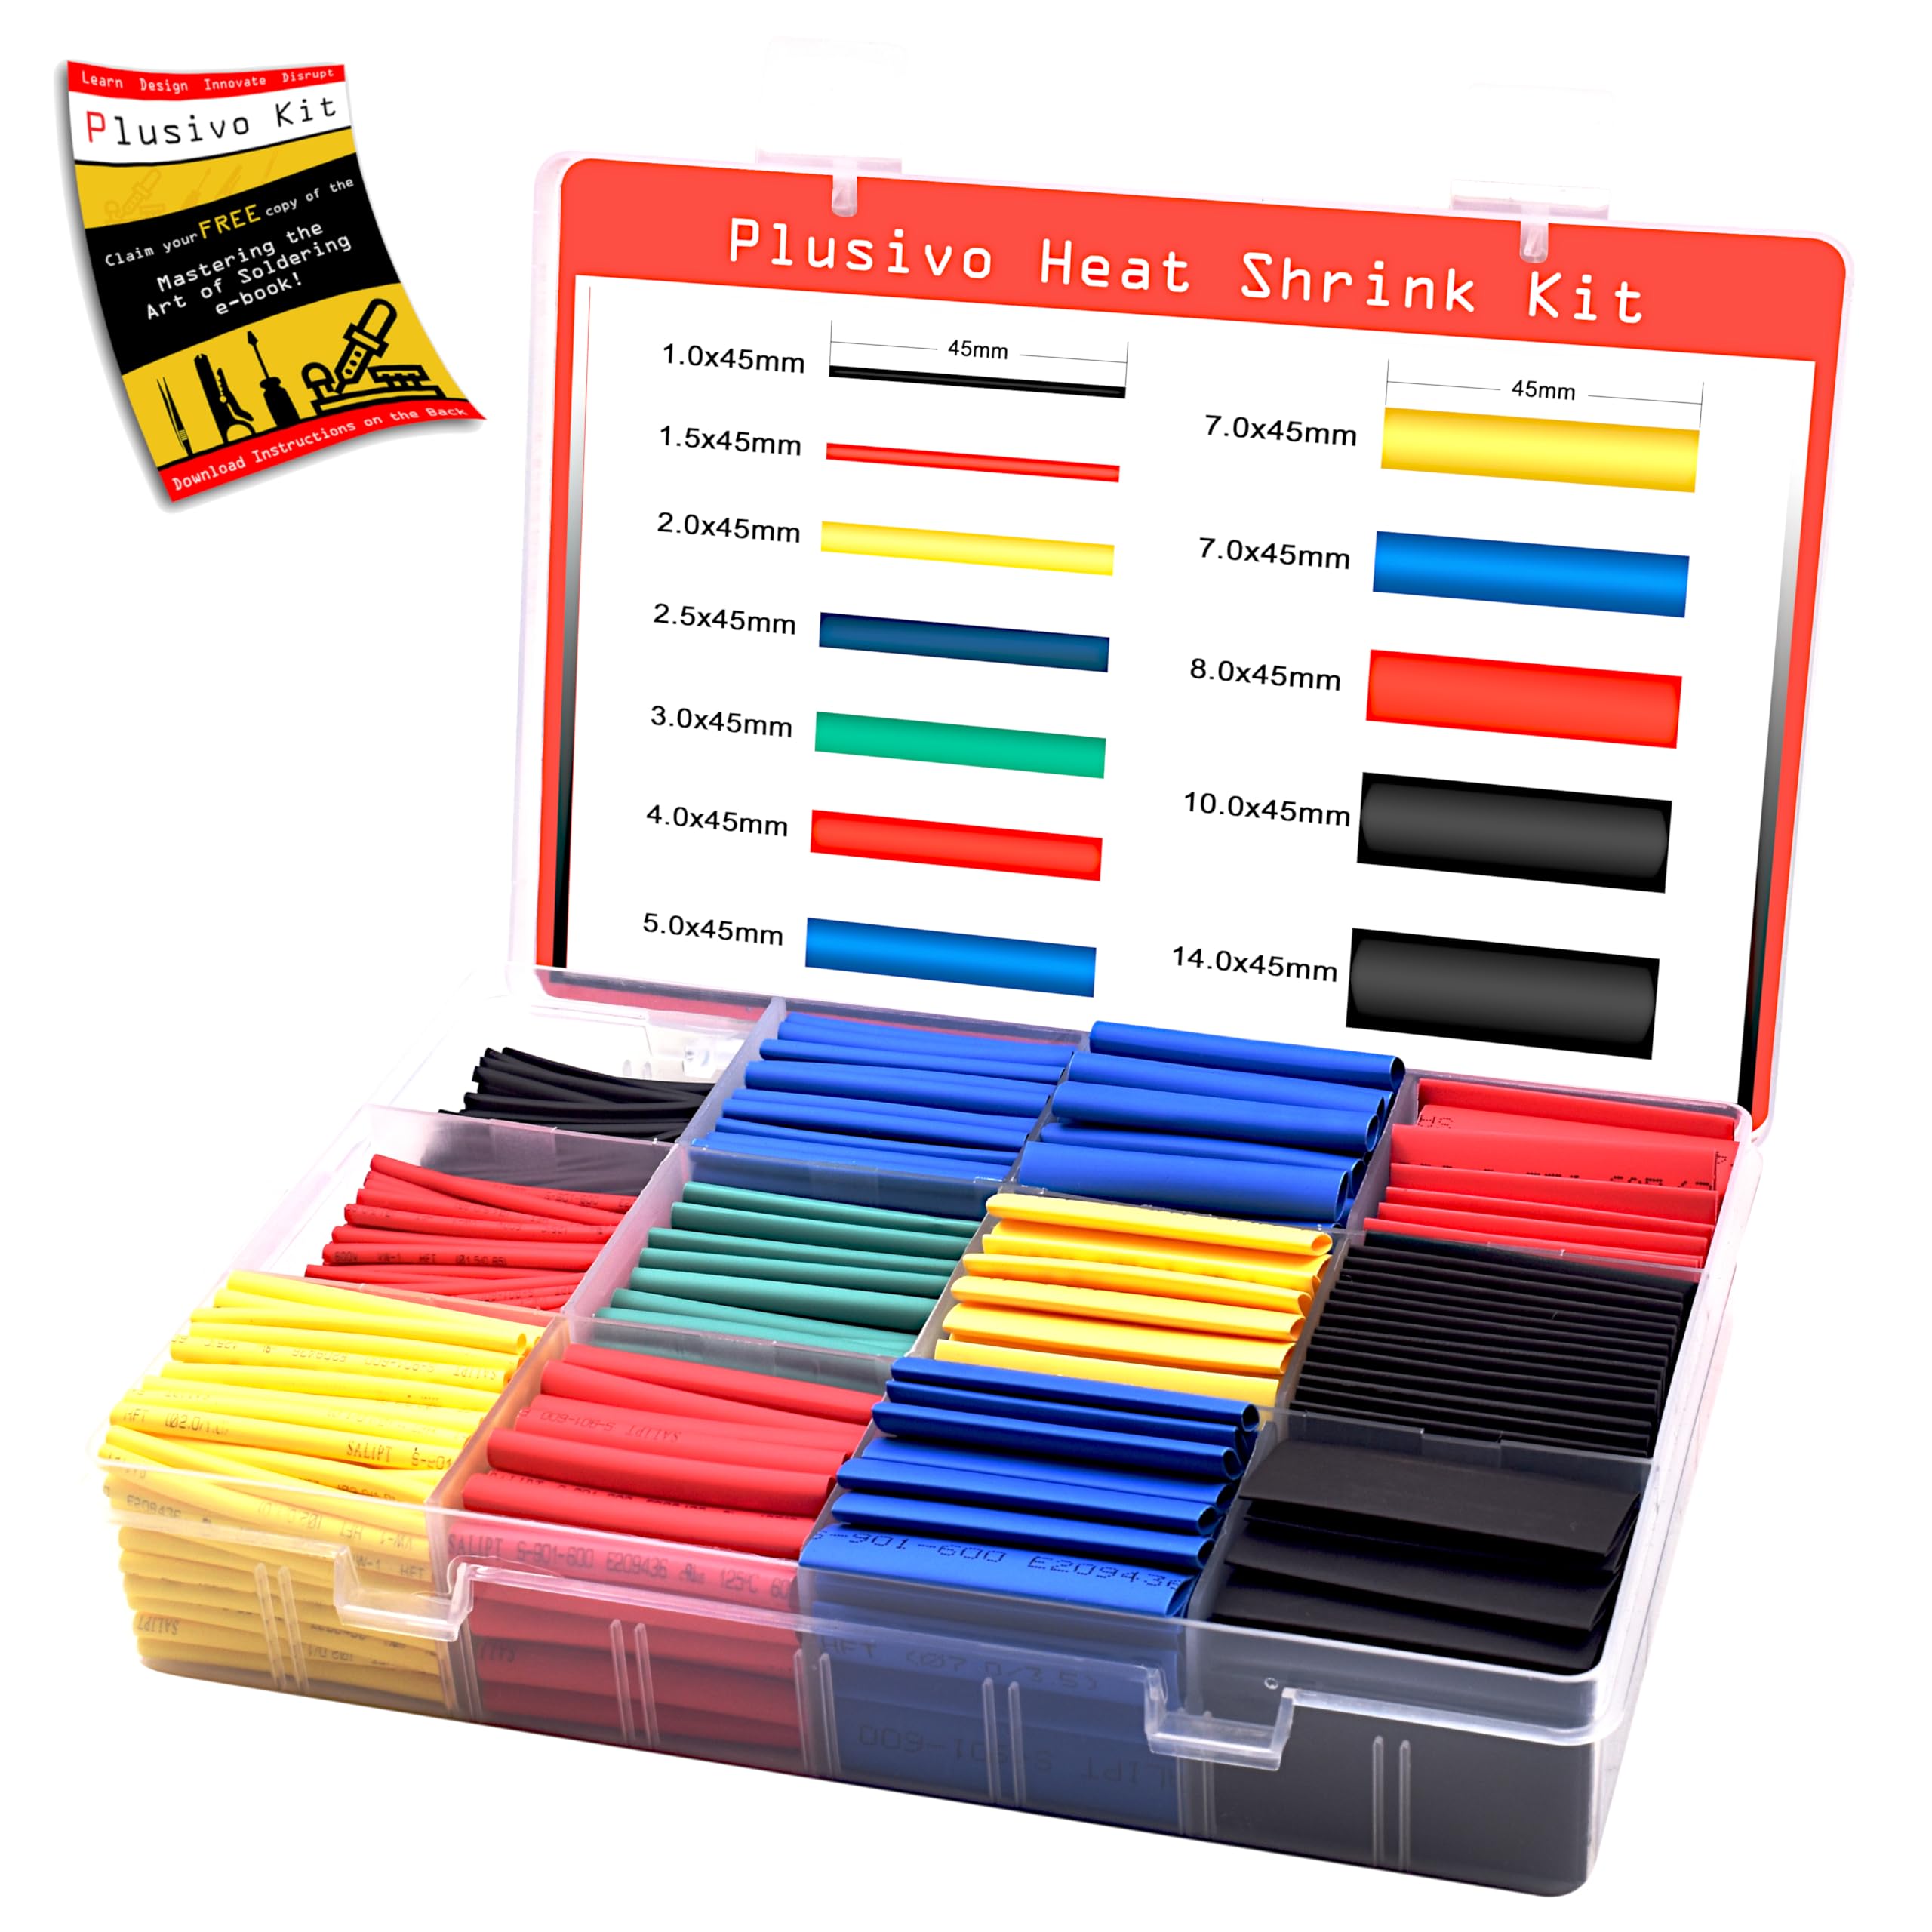
Solder-It Heat Shrink Tubing Kit
Assorted 2:1 shrink ratio tubing with adhesive lining; waterproof seal protects 12V joints from moisture and corrosion.
Best for: Insulating and sealing soldered connections in automotive, marine, or outdoor wiring.
Price Range: $8–$15