Dull lawn mower blades can turn your weekend yard work into a frustrating ordeal, leaving grass unevenly cut, tearing instead of slicing, and even stressing your lawn by inviting diseases. If you've noticed brown tips on your grass or your mower struggling to cut, it's time to sharpen those blades. The good news? You don't need to remove them to do it right.
In this guide, you'll learn a straightforward, in-place sharpening technique that's safe for beginners. We'll walk you through preparing your mower, accessing the blade safely, and sharpening it step by step using basic tools. This process will help your mower perform like new, saving you time and money on professional services.
Expect to spend about 30-45 minutes on this task. It's beginner-level, requiring no advanced mechanical skills—just patience and safety awareness. By the end, your blades will be sharp, and your lawn will thank you with vibrant, healthy growth.
▸What You'll Need
- •Heavy-duty work gloves (required for safety)
- •Lawn mower jack or sturdy wooden blocks/ramp (required to lift the mower safely)
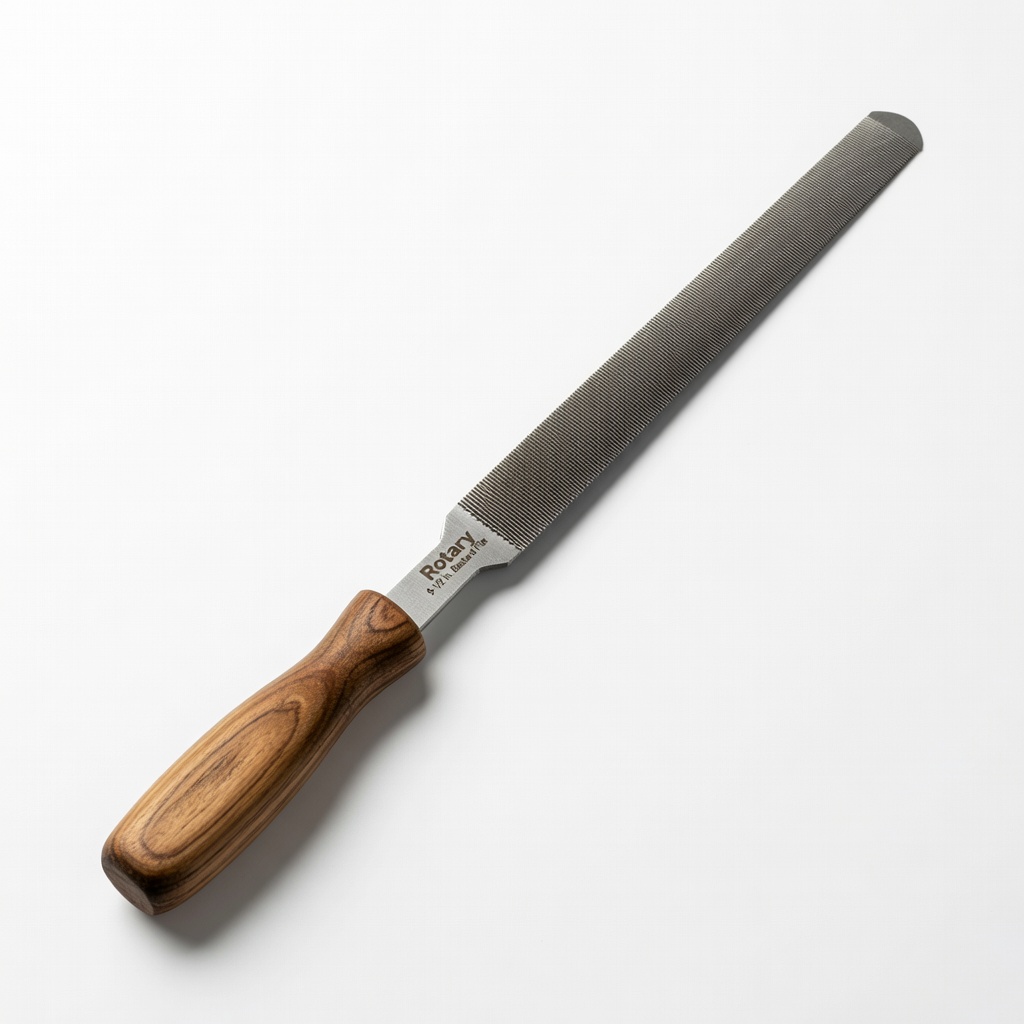
- •Bastard file or rotary mower blade sharpener (required for sharpening; file for manual, sharpener for powered)
- •Wire brush or scraper (required to clean debris)
- •Rags or shop towels (required for wiping)
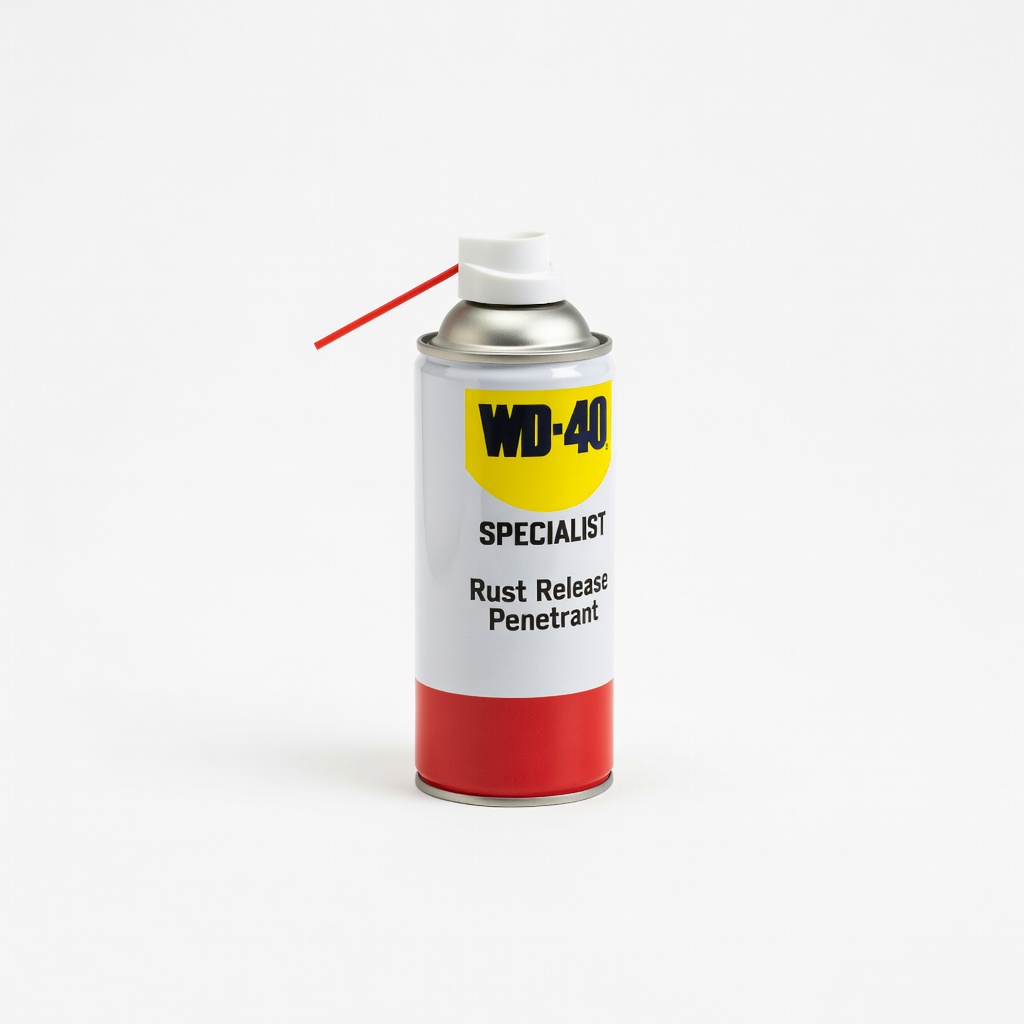
- •Lubricating oil or WD-40 (optional, for post-sharpening protection)
- •Safety glasses (recommended for eye protection)
Estimated Time: 30-45 minutes
Difficulty: beginner
▸Step-by-Step Instructions
Step 1: Prepare Your Workspace and Safety Gear
Start by choosing a flat, stable surface like a driveway or garage floor to work on. Ensure the area is well-lit and free of flammable materials. Put on your heavy-duty work gloves and safety glasses to protect against metal shavings and debris.
Why this matters: Safety is paramount when dealing with sharp blades and lifting equipment. A stable workspace prevents accidents, and gear shields you from injuries. Expect a quick setup—your mower should be turned off, unplugged (if electric), and cooled down if recently used.
This step sets a calm, organized tone for the entire process.
💡 Tips:
- •Work in good weather to avoid slippery conditions.
- •Keep a first-aid kit nearby for minor cuts.
⚠️ Warnings:
- •Never work on a running or hot mower—risk of burns or blade engagement.
Step 2: Disconnect the Spark Plug (for Gas Mowers)
For gas-powered mowers, locate the spark plug wire on the side of the engine and gently pull it off the plug. This prevents accidental starts. If you have an electric mower, simply unplug it from the power source.
Why it matters: Accidental engine starts can cause severe injury from the spinning blade. You'll feel a secure disconnection, ensuring the mower won't power on unexpectedly. This is a crucial safety lockout step before lifting.
Electric mower users can skip the wire but confirm it's unplugged.
💡 Tips:
- •Wrap the spark plug wire in a rag to keep it from reconnecting accidentally.
⚠️ Warnings:
- •Double-check the disconnection—test by trying to pull the starter cord; it shouldn't engage.
Step 3: Lift the Mower Safely
Position the mower on its side or use a jack/blocks to tilt it so the blade side is facing up and accessible. For side-tilting, choose the side with the air filter up to avoid oil spills (check your manual). Secure it with a jack under the deck or prop with blocks.
Why it matters: Proper lifting gives clear access without removing the blade, keeping the process simple. Expect the mower to feel stable once positioned—no wobbling. This avoids the hassle of full disassembly.
Refer to your mower's manual for model-specific tilting instructions.
💡 Tips:
- •If no jack, use two cinder blocks under the deck for support.
⚠️ Warnings:
- •Don't lift by hand alone if the mower is heavy; use aids to prevent back strain.
Step 4: Clean the Blade Thoroughly
Use a wire brush or scraper to remove grass clippings, rust, and caked-on dirt from the blade edges. Wipe it down with a rag soaked in soapy water, then dry completely.
Why it matters: A clean blade ensures even sharpening and reveals dull spots accurately. You'll see the metal shine through, making the next steps easier and more effective. Debris can dull tools or cause uneven cuts.
This prep step takes just a few minutes but prevents future mower clogs.
💡 Tips:
- •Scrub gently to avoid scratching the blade further.
⚠️ Warnings:
- •Avoid using harsh chemicals that could damage the mower deck.
Step 5: Inspect the Blade for Damage
Examine the blade for nicks, bends, or cracks. Run your finger along the edge (carefully, with gloves on) to feel for dullness. If severely damaged, consider replacement over sharpening.
Why it matters: Sharpening a damaged blade won't fix balance issues, leading to vibrations. Success looks like a mostly intact blade with just dull edges—smooth but not razor-sharp yet.
This quick check saves time by identifying if professional help is needed.
💡 Tips:
- •Take photos for reference if unsure about damage.
⚠️ Warnings:
- •Bent blades can cause uneven cutting; replace if bent more than 1/4 inch.
Step 6: Sharpen the Blade Edge
Hold your file at a 45-degree angle to the blade edge and push it forward along the beveled side (not the flat back). Make 10-15 even strokes per section, maintaining the original angle. For powered sharpeners, follow the tool's guide to grind lightly.
Why it matters: This restores the cutting edge without altering balance. Expect the edge to feel sharper to the touch and look more defined after strokes. File only the curved cutting side to mimic factory sharpness.
Work in sections around the blade for uniformity.
💡 Tips:
- •Keep strokes consistent for even sharpening.
- •Sharpen both ends if it's a multi-blade mower.
⚠️ Warnings:
- •Don't over-sharpen—remove only 1/16 inch of metal to avoid weakening.
Step 7: Check and Balance the Blade
Spin the blade by hand to ensure it rotates smoothly. Hang it from a nail by the center hole—if one end dips, file lightly on the heavy side until balanced.
Why it matters: Imbalance causes vibrations that damage the mower. Success is a level blade that spins evenly without wobbling.
This final check ensures safe operation post-sharpening.
💡 Tips:
- •Use a blade balancer tool for precision if available.
⚠️ Warnings:
- •Unbalanced blades can lead to engine strain; recheck after use.
Step 8: Lower the Mower and Test
Carefully lower the mower back to all wheels, reconnect the spark plug, and start it briefly (without engaging the blade). Then, mow a small test patch to verify clean cuts.
Why it matters: Testing confirms the sharpening worked without issues. Expect crisp, even grass cuts instead of tears.
Wipe any oil residue and store tools.
💡 Tips:
- •Mow slowly on the test to observe performance.
⚠️ Warnings:
- •If vibrations persist, stop and re-inspect.
▸Pro Tips
- •Sharpen blades every 20-25 hours of use or monthly during peak season for best results.
- •Mark the blade with tape before starting to track progress on each section.
- •Apply a light coat of oil to the edge after sharpening to prevent rust.
- •For thicker grass, sharpen at a slightly steeper angle for better durability.
- •Keep your file clean by wiping it between strokes to avoid clogging.
- •If you're short on time, focus on the outer 2/3 of the blade where most cutting happens.
- •Combine this with an oil change for full mower maintenance in one session.
▸Common Mistakes to Avoid
- •Tilting the mower incorrectly, causing oil leaks—always check the manual for the right side.
- •Over-filing the blade, leading to imbalance and vibrations—stick to light, even strokes.
- •Skipping the cleaning step, which dulls tools and results in uneven sharpening.
- •Not disconnecting the spark plug, risking accidental starts—always verify safety first.
- •Ignoring balance check, causing long-term mower damage from uneven wear.
▸Troubleshooting
Problem: Blade won't sharpen evenly due to rust buildup
Solution: Soak the rusty area in vinegar for 10 minutes before brushing, then dry and retry sharpening. If persistent, use a rust remover spray.
Problem: Mower vibrates after sharpening
Solution: Re-check balance by filing the heavier side lightly. If it continues, the blade may need replacement—inspect for hidden damage.
Problem: Can't access the blade easily
Solution: Use a taller jack or ramp for better angle. For push mowers, remove the grass catcher first. If still difficult, consult a pro.
Problem: Edge feels too sharp and nicks skin
Solution: Lightly dull the very tip with a few file strokes on the back side. Test carefully before full use.
Oregon 42-100 10 in. Rotary Lawn Mower Sharpener
This powered sharpener attaches directly to a drill for quick, even sharpening without removing the blade, saving time for beginners.
Best for: Ideal for frequent maintenance on push or riding mowers; use when manual filing feels tedious.
Price Range: $15-20
Mechanix Wear Original Work Gloves
Durable, fitted gloves provide excellent grip and cut resistance, essential for handling sharp blades safely.
Best for: Wear during cleaning and sharpening to protect hands from nicks; great for all DIY lawn tasks.
Price Range: $12-15
Rotary 9-1/2 in. Bastard File
A high-quality, single-cut file designed for metal edges like mower blades, offering precise control for manual sharpening.
Best for: Best for beginners preferring a hands-on approach; use on mildly dull blades for 10-15 strokes per side.
Price Range: $8-12
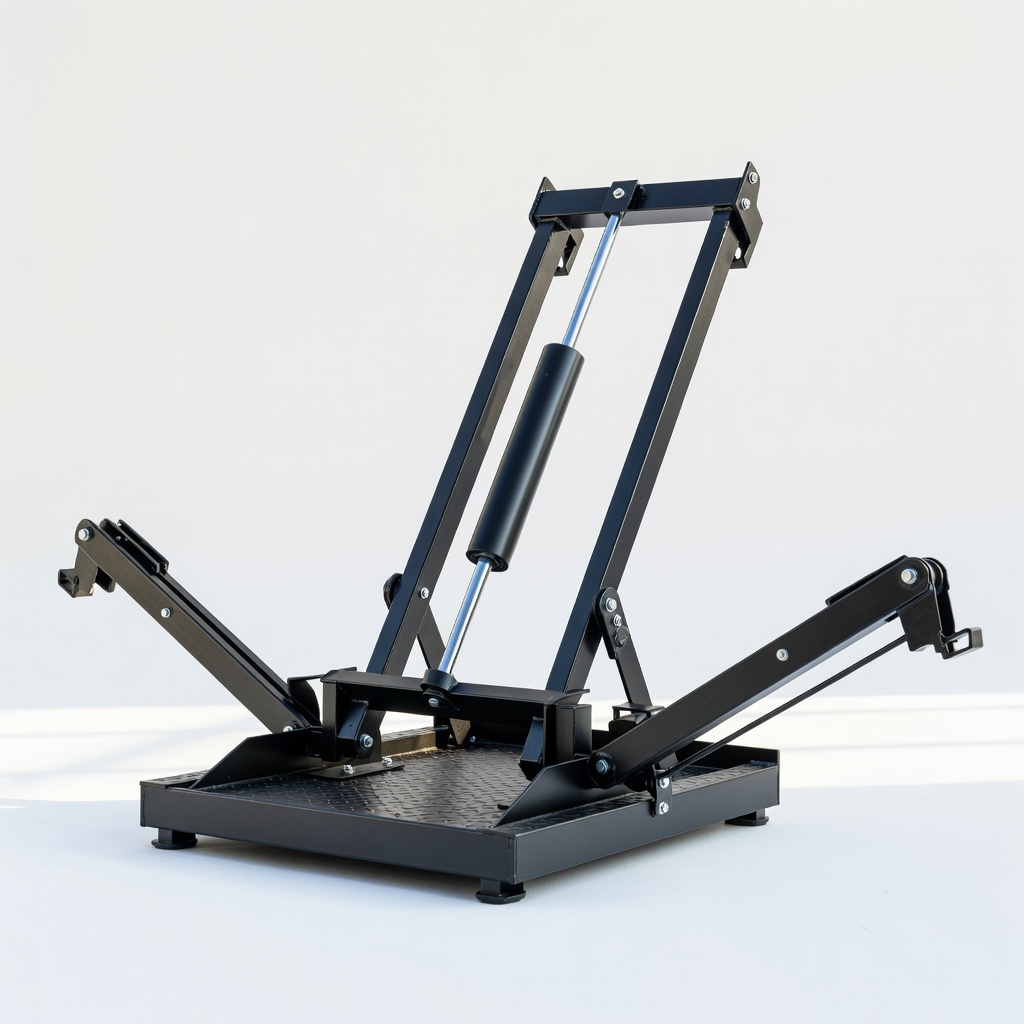
MoJack HDL-500 Lawn Mower Lift
This hydraulic jack raises the mower securely without tilting, providing stable access to the blade underside.
Best for: Perfect for heavier mowers or those avoiding oil spills; use for in-place sharpening on riding models.
Price Range: $150-180
WD-40 Specialist Rust Release Penetrant
Helps loosen stuck debris and prevents rust post-sharpening, extending blade life.
Best for: Apply sparingly after cleaning rusty blades; also useful for loosening bolts if needed.
Price Range: $6-10