Dull kitchen knives can turn cooking into a frustrating and even dangerous task—slipping blades lead to accidents, uneven cuts ruin ingredients, and extra effort tires you out. If you're tired of sending your knives to a professional sharpener or replacing them too soon, learning to sharpen them yourself with a whetstone is a game-changer. This method delivers professional-level results at home, extending your knives' lifespan and enhancing your culinary skills.
In this guide, you'll learn the step-by-step process to sharpen any straight-edged kitchen knife using a whetstone, from preparation to testing the edge. We'll cover the essentials for intermediate users who have basic knife handling experience but want to refine their technique. The process involves soaking the stone, maintaining the correct angle, and using controlled strokes—expect to spend 20-45 minutes per knife, depending on its condition and your practice level.
By the end, your knives will slice through paper or tomatoes effortlessly, proving your success. No fancy equipment needed beyond a quality whetstone, just patience and consistency for lasting sharpness.
▸What You'll Need
- •Whetstone (combination 1000/6000 grit for coarse and fine sharpening; water stones are common and require soaking)
- •Clean water (for soaking and lubricating water stones; or honing oil for oil stones)
- •Damp towel or non-slip mat (to secure the whetstone on your work surface)
- •Kitchen knife to sharpen (straight-edged; avoid serrated blades)
- •Optional: Angle guide tool (to maintain consistent bevel angle)
- •Optional: Leather strop or honing rod (for final polishing)
Estimated Time: 20-45 minutes per knife
Difficulty: intermediate
▸Step-by-Step Instructions
Step 1: Soak the Whetstone
Begin by fully submerging your whetstone in water for 10-15 minutes if it's a water stone (most affordable options are). This prevents the stone from drying out during use and ensures smooth sharpening without clogging pores with metal particles. Oil stones skip this and use honing oil instead, but water stones are beginner-friendly for intermediates stepping up.
Why it matters: A properly soaked stone glides the blade effortlessly, reducing friction and heat that could damage the knife edge. Expect the stone to feel heavy and water-saturated—test by tapping it; no hollow sound means it's ready.
Place it on a stable surface afterward to avoid slips.
💡 Tips:
- •Use room-temperature water to avoid thermal shock to the stone.
- •If using an oil stone, apply a thin layer of food-grade mineral oil.
⚠️ Warnings:
- •Don't rush soaking; insufficient water leads to uneven sharpening and stone wear.
Step 2: Set Up Your Workspace
Lay a damp towel or non-slip mat on a flat, stable countertop to anchor the whetstone. Position the stone with the coarse grit side (lower number, like 1000) facing up for initial sharpening. Ensure good lighting and a comfortable height to avoid straining your back or wrists during the process.
This setup matters for safety and precision— a secure base prevents the stone from sliding, which could nick the blade or cause injury. You'll know it's right when the stone doesn't budge under light pressure.
Have your knife, water bowl for rinsing, and towel nearby for easy access.
💡 Tips:
- •Work in a well-ventilated area if using oil to avoid fumes.
- •Keep a trash bin close for metal shavings.
⚠️ Warnings:
- •Avoid sharpening near edges or on unstable surfaces to prevent accidents.
Step 3: Identify and Match the Bevel Angle
Hold your knife and inspect the existing edge bevel—most kitchen knives are sharpened at 15-20 degrees per side (30-40 degrees total). Use an angle guide if you're unsure, clipping it to the blade's spine to maintain consistency. For Japanese-style knives, aim for 15 degrees; Western styles often need 20.
Maintaining the angle is crucial because inconsistency creates a wavy edge that dulls quickly. Success here looks like the blade gliding smoothly without rocking. Practice on scrap paper first if needed.
Grip the knife handle with three fingers and support the blade with your thumb and index finger for control.
💡 Tips:
- •Eyeball the angle by tilting the blade until you see a thin line of light along the edge.
- •Mark the bevel with a Sharpie to visualize wear during sharpening.
⚠️ Warnings:
- •Too steep an angle dulls the edge; too shallow chips it—stick to the guide.
Step 4: Sharpen on the Coarse Side
Place the knife edge against the coarse grit at the stone's far corner, heel leading. Push the blade forward in a sweeping arc from heel to tip while maintaining the bevel angle, applying light pressure (like petting a cat). Pull back straight or in a slight arc. Do 10-15 strokes per side, alternating sides evenly.
This removes nicks and dull metal, creating a fresh burr (a raised wire edge). Why it matters: Coarse grit does the heavy lifting for very dull knives. Expect gray slurry (metal-water mix) forming—that's normal and helps the process.
Rinse the blade occasionally to check progress; the edge should feel slightly rougher but straighter.
💡 Tips:
- •Use your whole arm for strokes, not just wrist, for even pressure.
- •Count strokes aloud to stay balanced between sides.
⚠️ Warnings:
- •Press too hard and you'll gouge the blade; light is key.
Step 5: Flip to the Fine Side for Refinement
Flip the whetstone to the fine grit (higher number, like 6000) or use a separate fine stone. Repeat the same motion: 8-10 strokes per side, lighter pressure now. Focus on smoothing the edge and removing the burr from the coarse step by feeling along the edge with your fingertip.
This polishes for a keen edge that lasts longer. It matters because fine grit hones without removing excess metal. Success: The burr should flip sides and then disappear after even strokes—no more wire feeling.
Alternate sides until the edge slices paper cleanly without tearing.
💡 Tips:
- •Go slower on fine grit for precision.
- •If no burr forms, return to coarse for more passes.
⚠️ Warnings:
- •Over-sharpening on fine can round the edge—stop when sharp.
Step 6: Hone and Test the Edge
Run the spine of the knife gently along a leather strop or honing rod 5-10 times per side to align the microscopic teeth. Then test: Try slicing a tomato (should cut with its own weight) or shaving arm hair (clean pull, no tugging).
Honing sets the edge for immediate use; testing confirms sharpness. Why it matters: It ensures safety and performance. Expect effortless cuts—if not, repeat fine sharpening.
Wipe the knife dry and store properly.
💡 Tips:
- •Test on newsprint for a quick check.
- •Hone after every few sharpenings to maintain.
⚠️ Warnings:
- •Don't test on skin directly; use safe methods to avoid cuts.
Step 7: Clean and Store
Rinse the whetstone under running water to remove slurry, then air-dry fully (don't wipe to avoid clogging). Clean the knife with soap and water, dry thoroughly to prevent rust. Store the stone in its box or a dry place.
Proper cleanup extends tool life and prevents contamination. It matters for hygiene and readiness next time. Success: Everything looks clean and organized.
Inspect for damage; flatten the stone if it becomes uneven over time.
💡 Tips:
- •Soak the stone in water with a drop of dish soap for deep cleaning monthly.
- •Use a flattening stone for maintenance every 5-10 uses.
⚠️ Warnings:
- •Never put the whetstone in the dishwasher— it can crack.
▸Pro Tips
- •Always sharpen away from your body to minimize injury risk.
- •Practice on cheap knives first to build muscle memory for the angle.
- •Keep the stone wet during use by splashing water as needed for consistent lubrication.
- •Sharpen both sides equally to avoid blade imbalance.
- •For left-handed users, mirror the strokes for comfort.
- •Invest in a nagura stone to create better slurry on water stones.
- •Sharpen monthly for heavy use or quarterly for occasional cooks.
▸Common Mistakes to Avoid
- •Inconsistent angle: Leads to a dull, wavy edge; avoid by using a guide or practicing with a marker.
- •Uneven pressure or stroke count: Causes one side to be sharper; fix by counting and alternating strictly.
- •Skipping the soak: Results in dry, clogged stone and poor sharpening; always submerge fully.
- •Over-sharpening: Removes too much metal, shortening knife life; stop once burr is gone.
- •Ignoring burr removal: Leaves a wire edge that folds over; feel and refine on fine grit.
▸Troubleshooting
Problem: Blade won't hold an edge or chips easily
Solution: The knife may have manufacturing defects or be too hard—reduce angle slightly and use fewer coarse strokes; consult a pro for high-end steels.
Problem: Uneven sharpening or burred edge won't smooth
Solution: Check for consistent angle and pressure; return to coarse for balance, then fine. If stone is warped, flatten it first.
Problem: Stone dries out mid-process
Solution: Keep a spray bottle of water handy for quick re-wetting; for oil stones, reapply thinly.
Problem: Slurry too thick or blade heats up
Solution: Rinse more frequently and use lighter pressure; pause to cool if needed—heat warps edges.
Problem: Knife feels dull after sharpening
Solution: Hone properly and test correctly; if persists, the bevel might need reprofiling by a professional.
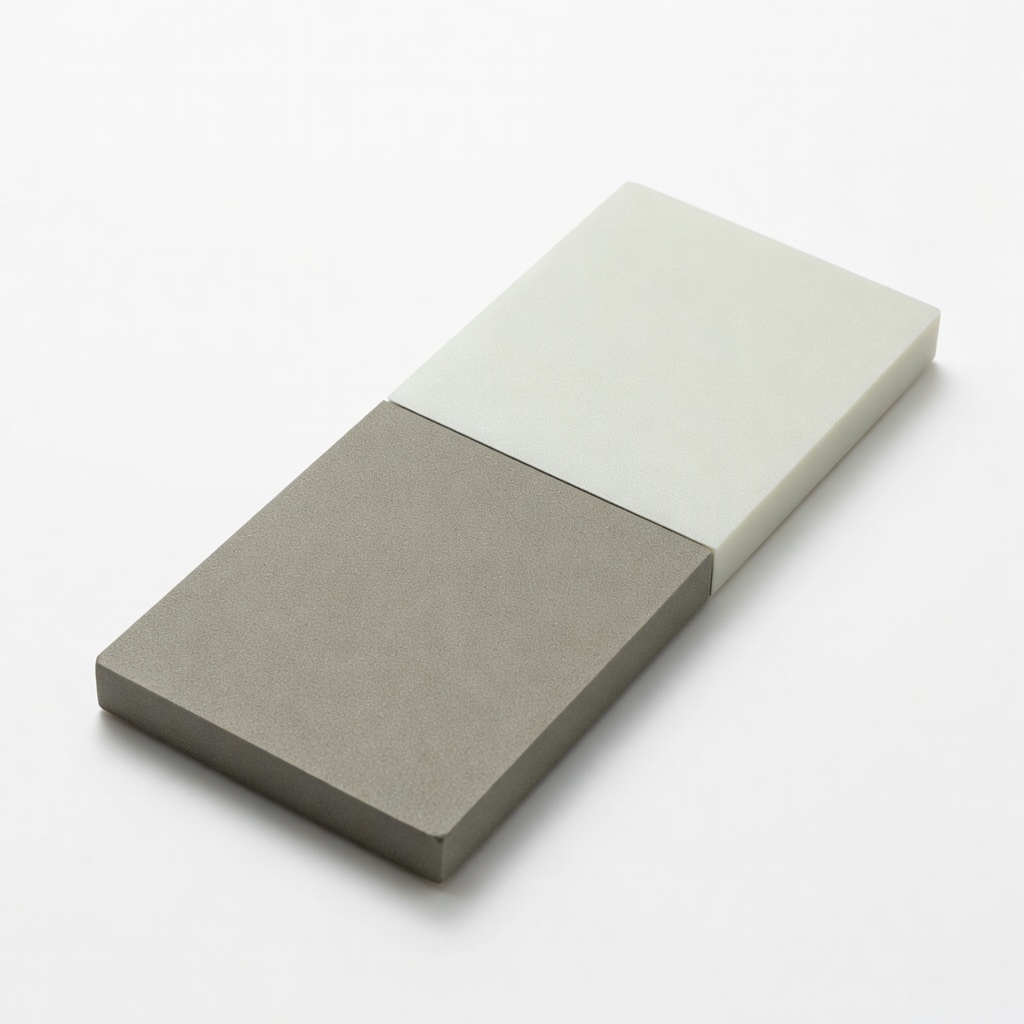
King KW65 1000/6000 Grit Combination Whetstone
This dual-grit water stone is durable, affordable, and ideal for intermediate users tackling both coarse repair and fine polishing in one tool.
Best for: Perfect for regular home sharpening of kitchen knives; soak and use for all steps.
Price Range: $25-$30
Whetstone Sharpening Angle Guide
Helps maintain the precise 15-20 degree bevel, reducing errors for those building confidence in freehand sharpening.
Best for: Clip onto the blade spine during strokes for consistent angles on any straight-edge knife.
Price Range: $8-$12
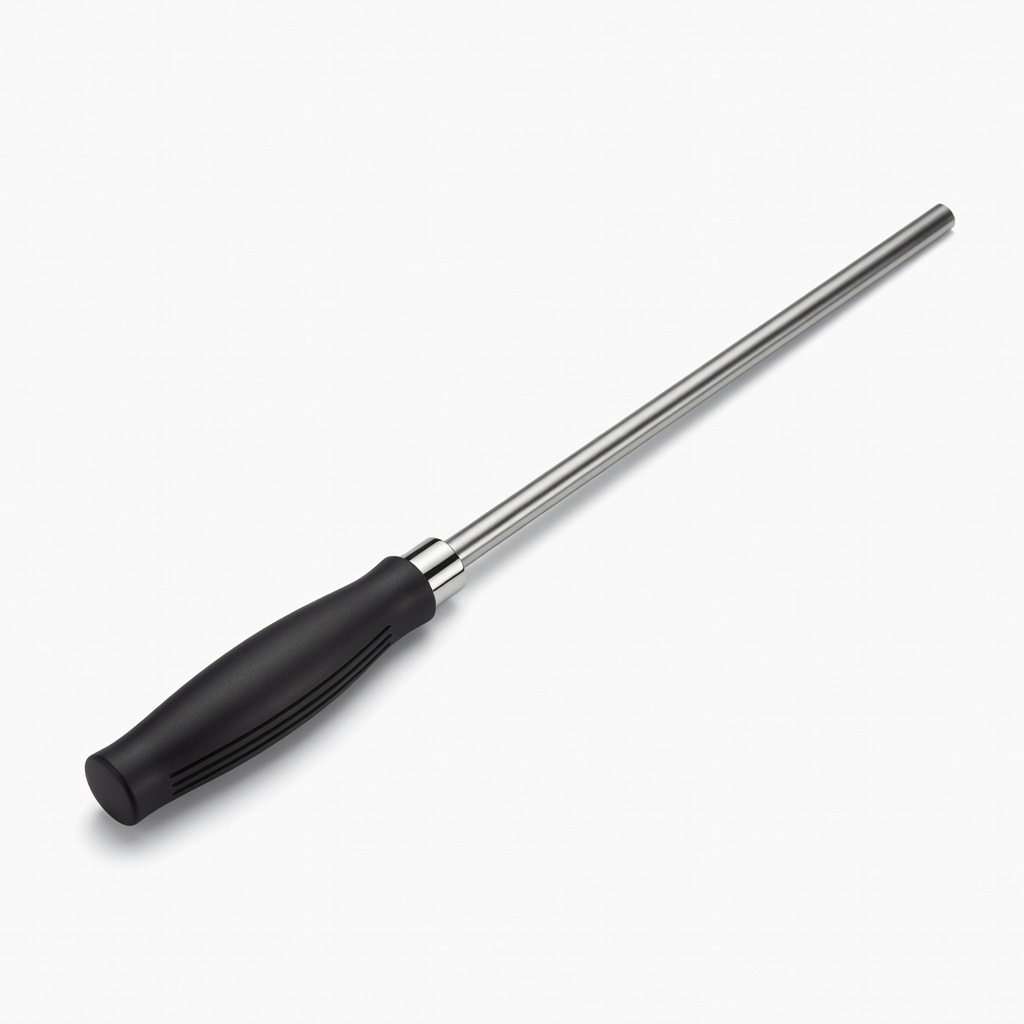
Wüsthof Classic Honing Steel
High-quality steel rod for final honing, aligning the edge without removing metal for a polished finish.
Best for: Use after whetstone sharpening to set the edge; great for German-style knives.
Price Range: $30-$35
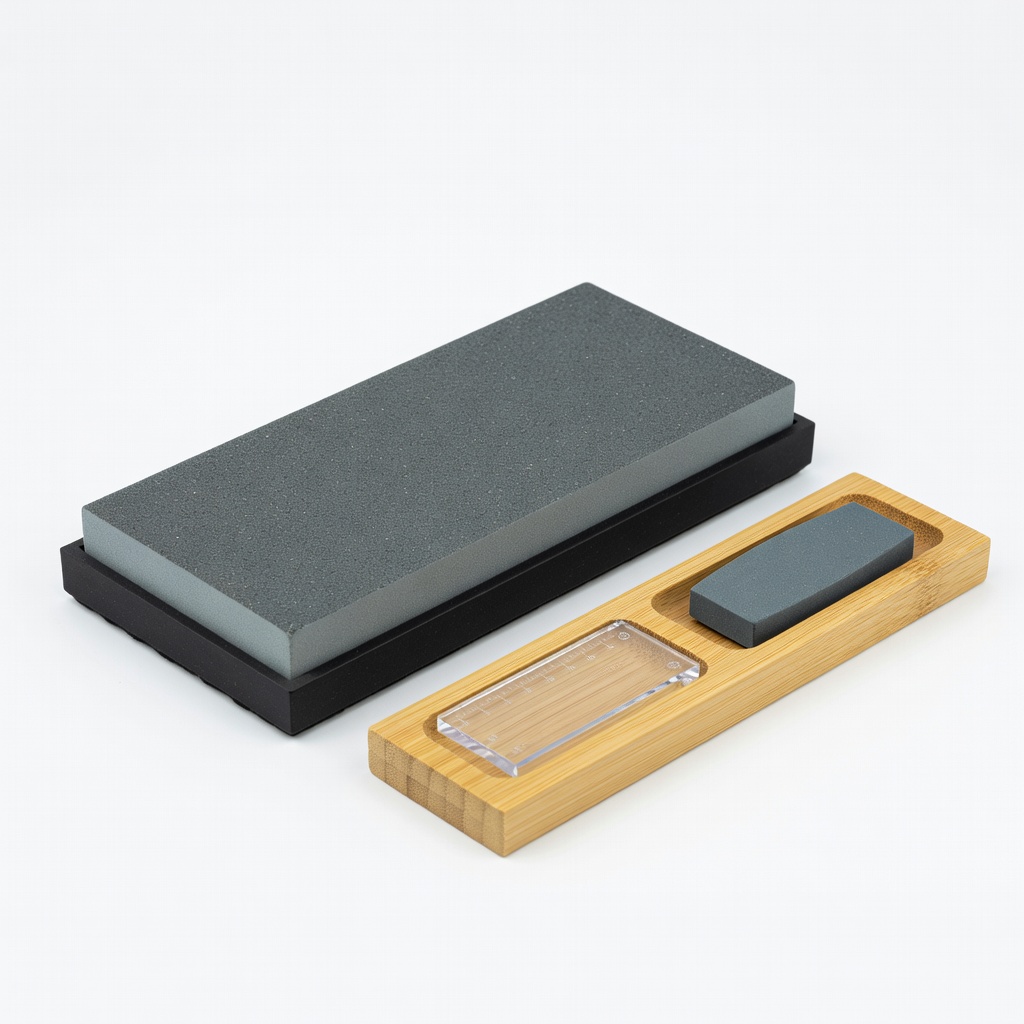
Sharp Pebble Premium Whetstone Knife Sharpening Kit
Includes base, angle guide, and flattening stone, making it a complete starter set for hassle-free sharpening.
Best for: Ideal for beginners to intermediates wanting an all-in-one solution for multiple knives.
Price Range: $35-$40
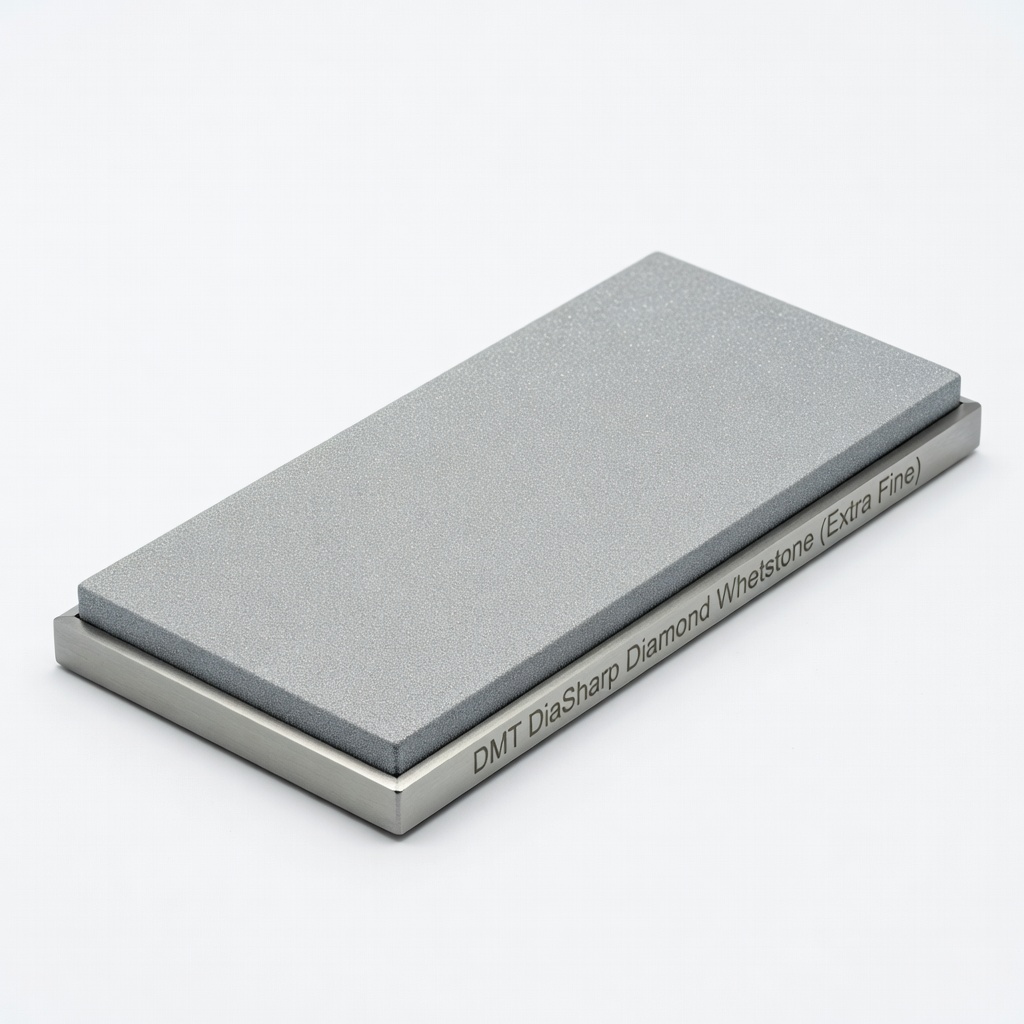
DMT DiaSharp Diamond Whetstone (Extra Fine)
Diamond surface for fast, durable sharpening without soaking; great for quick touch-ups on harder steels.
Best for: Supplement your water stone for fine polishing when time is short.
Price Range: $50-$60