Dull knives are not only frustrating to use—they’re actually more dangerous than sharp ones, because they require more force and can slip unexpectedly. Whether you’re a home cook or a budding chef, knowing how to sharpen your own knives saves money and keeps your blades performing at their best. In this guide, you’ll learn three main methods: whetstone (the most traditional and versatile), honing rod (for maintenance between sharpenings), and electric/pull-through sharpeners (for quick convenience). We’ll cover everything from selecting the right tools to step-by-step techniques and common pitfalls. Expect to spend 15–30 minutes per knife when using a whetstone, less for other methods. This guide is designed for intermediate users—if you’ve never sharpened before, the detailed steps and tips will build your confidence quickly.
▸What You'll Need
- •Whetstone (combination coarse/medium/fine, e.g., 400/1000 grit and 3000/8000 grit)
- •Honing rod (steel or ceramic; ideally same hardness as your knife)
- •Electric or pull-through sharpener (optional, for convenience)
- •Non-slip mat or damp towel (to hold whetstone in place)
- •Clean cloth or paper towels
- •Angle guide or marker (to help maintain consistent angle)
- •Water or honing oil (depending on stone type; water stones require soaking)
- •Leather strop with polishing compound (optional, for final fine edge)
Estimated Time: 15-30 minutes per knife (whetstone method); 5-10 minutes for electric or pull-through; 1-2 minutes for honing (maintenance)
Difficulty: intermediate
▸Step-by-Step Instructions
Step 1: Prepare Your Workstation and Stone
Set up your sharpening station on a stable, flat surface. Place a non-slip mat or damp towel under the whetstone to prevent slipping during use. If you’re using a water stone (the most common type), soak it in water for the time recommended by the manufacturer—typically 10–15 minutes for combination stones, until air bubbles stop rising. The stone should be thoroughly saturated so it provides a slurry that aids cutting. Keep a small bowl of water nearby to keep the stone wet during sharpening. For oil stones, apply a thin layer of honing oil instead of water. Wipe your knife clean of any debris or grease before you begin.
💡 Tips:
- •Mark the edge with a permanent marker to see where the stone is removing metal—this helps maintain a consistent angle.
- •If your stone doesn’t come with a flattening stone, consider using a diamond plate or wet/dry sandpaper to keep the surface flat over time.
⚠️ Warnings:
- •Always use a stable surface; a moving stone can damage the knife or injure you.
- •Don’t oversoak water stones—follow manufacturer instructions to avoid cracking.
Step 2: Set the Sharpening Angle
Most Western-style kitchen knives require a 20-degree angle per side, while Japanese knives often use 15 degrees. To find 20 degrees, imagine the edge of the knife touching the stone; lift the spine to create a gap roughly the thickness of a coin at the spine. Many whetstones come with angle guides, or you can purchase a separate angle guide tool. Consistency is more important than perfection—keep the same angle throughout each stroke. If you’re unsure, use the marker trick: color the bevel with a permanent marker, then make a few light strokes. If the marker is removed evenly along the edge, your angle is correct. If not, adjust accordingly.
💡 Tips:
- •For beginners, a guided sharpening system (e.g., Worksharp Precision Adjust) can lock the angle and simplify the process.
- •Practice on an old or inexpensive knife first to build muscle memory.
⚠️ Warnings:
- •Too steep an angle (more than 25 degrees) makes the edge dull quickly; too shallow (less than 15 degrees) makes it fragile.
Step 3: Start with Coarse Grit (If Needed)
If your knife is very dull, chipped, or needs a new bevel, start with a coarse grit (200–400). This step aggressively removes metal to reshape the edge. Place the knife edge against the stone at the desired angle, then push the blade across the stone from heel to tip, as if you’re slicing a thin layer off the stone. Use consistent, even pressure—enough to keep the knife contacting the stone, but not so hard that you bend the blade. Repeat this motion 10–15 times per side, alternating sides every few strokes to keep the bevel centered. Check progress by looking for a burr: a tiny ridge of metal on the opposite side of the edge. Once a burr forms along the entire edge, you’ve sharpened enough on that grit.
💡 Tips:
- •Keep the stone wet throughout—add water as needed to maintain a slurry.
- •Use full blade strokes (heel to tip) to ensure even wear on the stone and knife.
⚠️ Warnings:
- •Don’t use a sawing motion; the edge should always move forward into the stone to avoid cutting into the stone unevenly.
- •If the knife is only slightly dull, skip the coarse grit and start with medium (1000 grit).
Step 4: Refine with Medium Grit
Switch to a medium grit stone (1000–2000). This removes the scratches from the coarse grit and begins to define the edge. Repeat the same stroking motion, but use slightly lighter pressure. Alternate sides every 5–10 strokes. Again, raise a burr on the opposite side; this burr will be finer than the one from the coarse stone. Continue until the edge feels sharp but still slightly rough. Typically this takes 10–20 strokes per side, depending on the condition. Keep the stone wet to prevent metal particles from clogging the pores.
💡 Tips:
- •Rinse the stone between grit changes to remove loose metal particles and prevent contamination.
- •If you don’t have a separate medium stone, a combination 1000/6000 stone works well.
Step 5: Polish with Fine Grit
Use a fine grit stone (3000–6000) or higher to polish the edge, removing the scratches left by the medium grit and creating a razor-sharp finish. Apply very light pressure—almost just the weight of the knife. Continue alternating sides, 5–10 strokes per side. You’ll notice the burr becomes very fine and may eventually disappear. If you still feel a burr, you can remove it by running the knife edge across a piece of cork or stropping on a leather strop. For most kitchen use, a 3000–4000 grit finish is sufficient; going to 8000+ gives a polished edge that is ideal for slicing raw fish but may be too fragile for heavy chopping.
💡 Tips:
- •To test sharpness, try slicing a piece of paper: a sharp knife will cut with minimal drag and a clean line.
- •If the edge seems “sticky” or pulls on the paper, you may have a wire edge—a thin, fragile burr that needs to be removed via stropping or light passes on a fine stone.
⚠️ Warnings:
- •Don’t overdo the fine grit; excessive polishing can round the edge and reduce cutting performance.
- •Use a leather strop with polishing compound (e.g., 1–3 micron) for a final refined edge.
Step 6: Hone the Edge (Between Sharpenings)
Honing realigns the microscopic teeth on the blade’s edge without removing metal. It’s essential for maintaining sharpness between full sharpenings. Hold the honing rod vertically with the tip resting on a non-slip surface. With your other hand, place the heel of the knife against the top of the rod at a 20-degree angle (15 for Japanese). Draw the knife down the rod, from heel to tip, as if slicing the rod. Use light pressure—the weight of the knife is enough. Alternating sides, repeat 5–10 strokes per side. Honing can be done weekly or before each use. Note: Ceramic rods are slightly abrasive and can remove a tiny amount of metal; steel rods only realign.
💡 Tips:
- •Honing is often misunderstood as sharpening—it maintains, not restores, a dull edge.
- •If your knife is very dull, sharpen first, then hone afterward.
⚠️ Warnings:
- •Don’t use a steel rod on hard powdered steel knives (e.g., ZDP-189) as it may chip the edge; use a ceramic rod instead.
- •Avoid rapid or aggressive strokes—let the knife glide smoothly.
Step 7: Strop for a Razor Edge (Optional but Recommended)
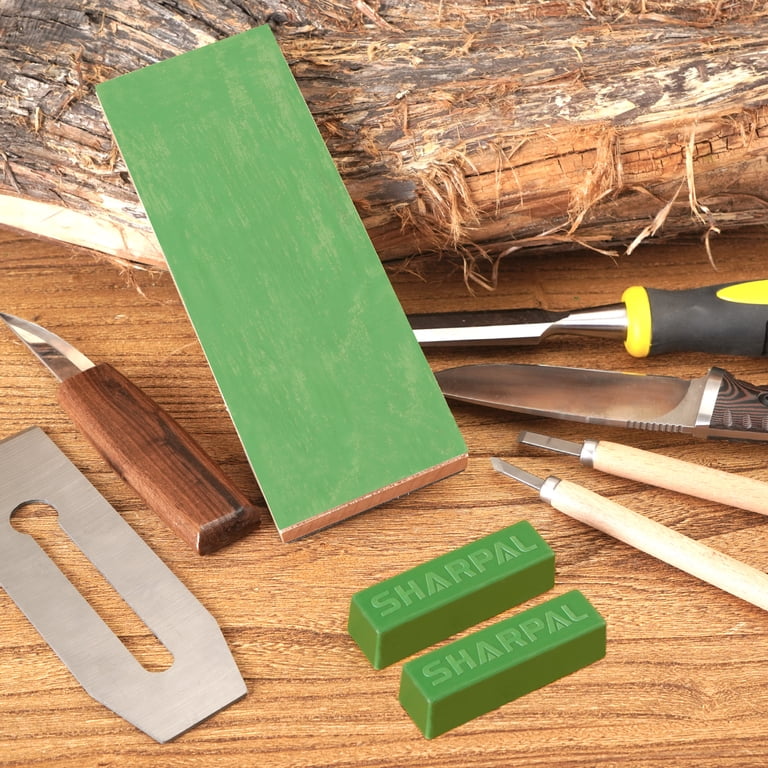
Stropping removes the very last burr and polishes the edge to a mirror finish. Use a leather strop with or without polishing compound (e.g., green chromium oxide compound). Hold the strop taut and drag the edge backward across the leather—spine first, edge trailing. This ensures the edge doesn’t dig into the leather. Use light pressure and alternate sides, 10–20 strokes per side. Stropping after sharpening or honing can significantly improve edge sharpness and longevity. A strop is especially beneficial for straight razors and very fine kitchen knives.
💡 Tips:
- •If you don’t have a strop, you can use a clean leather belt or even a piece of denim as an alternative.
- •Strop on a flat, smooth surface; avoid curls and folds in the leather.
⚠️ Warnings:
- •Never push the edge into the strop (edge leading)—this will gouge the leather and damage the edge.
- •Keep the strop clean; built-up compound can become abrasive and leave scratches.
Step 8: Test and Clean Your Knife
After sharpening , honing, or stropping, test the edge on a piece of paper, a tomato, or an onion peel. A properly sharpened knife should cut cleanly without tearing. If it still feels dull, repeat the medium and fine grit steps or ensure you’ve removed the burr completely. Once satisfied, wipe the blade clean with a damp cloth to remove any metal filings or polishing compound. Dry it thoroughly before storing. Never store a wet knife, as moisture can cause rust or corrosion. If you used an electric sharpener, follow the manufacturer’s cleaning instructions—often a quick wipe is enough.
💡 Tips:
- •Use a cutting board made of wood or soft plastic to protect your newly sharpened edge.
- •Store knives in a block, magnetic strip, or blade guards—never loose in a drawer where they can dull against other utensils.
⚠️ Warnings:
- •A razor-sharp knife is extremely dangerous—always cut away from yourself and use proper cutting techniques.
- •Don’t test sharpness on your finger or arm; use a safe object like paper or a tomato.
▸Pro Tips
- •Use the marker trick on the knife’s bevel to verify your angle – if the ink is removed uniformly, you’re doing it right.
- •Keep a spray bottle of water handy to keep the whetstone wet – a dry stone clogs and cuts slowly.
- •Alternate sides after every few strokes to keep the edge centered and prevent uneven bevels.
- •For a quick touch-up, use a ceramic honing rod – it removes a tiny amount of metal and restores edge alignment.
- •Invest in a quality set of whetstones (e.g., 400/1000 and 3000/8000) – they last for years with proper care.
- •If you’re short on time, an electric pull-through sharpener can re-edge a very dull knife in under 2 minutes.
- •Always cut on a soft surface like wood or plastic – glass or stone cutting boards will quickly dull your edge.
- •Store your sharpening stones in a dry place and flatten them periodically with a flattening stone or sandpaper.
▸Common Mistakes to Avoid
- •Applying too much pressure: This removes too much metal and can damage the edge or stone. Use light, consistent pressure.
- •Skipping grits: Jumping from coarse to very fine leaves deep scratches and fails to produce a clean edge. Progress through grits stepwise.
- •Using the wrong angle: A 20-degree angle is standard for most Western knives, but 15 degrees is common for Japanese. Check manufacturer recommendations.
- •Neglecting the burr: The burr must be fully removed at each grit stage; otherwise, the final edge will feel rough and dull quickly.
- •Honing a dull knife: Honing only realigns the edge; it cannot restore lost metal. If your knife is dull, sharpen it first, then hone for maintenance.
▸Troubleshooting
Problem: Edge feels sharp but tears paper or food rather than cutting cleanly.
Solution: You may have a wire edge. Lightly strop on leather or make a few very light passes on a fine stone to remove it. Alternatively, run the edge through a piece of cork.
Problem: Uneven sharpening – one side has a burr but the other doesn’t.
Solution: Spend more strokes on the side without the burr. Also check that you’re using the same angle on both sides.
Problem: Knife still dull after sharpening.
Solution: You may not have created a burr on the coarse stone. Go back to coarse grit and ensure a burr forms along the entire length. Alternatively, the angle may be too steep (you’re sharpening the shoulder, not the edge).
Problem: Scratches or deep gouges on the blade after sharpening.
Solution: You may have used a stone with grit too coarse and applied heavy pressure. Progress through finer grits to remove scratches. If the damage is deep, you’ll need to start over with a low grit and spend more time refining.
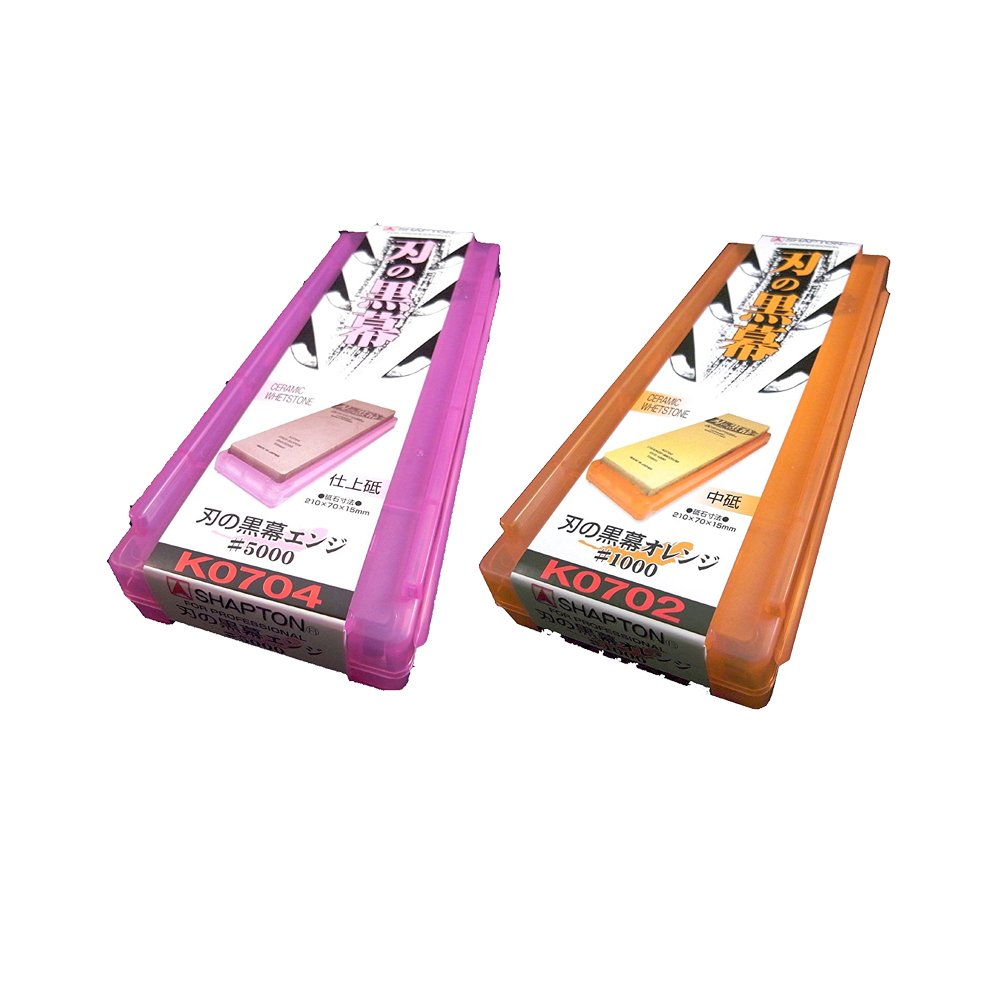
Shapton Pro 1000/3000 Whetstone Set
High-quality, fast-cutting water stones that require minimal soaking and stay flat longer than many alternatives. Excellent for intermediate users who want a reliable sharpening system.
Best for: Ideal for serious home cooks who want to sharpen multiple knives regularly and prefer a manual method with consistent results.
Price Range: $70–$80
Work Sharp Ken Onion Electric Knife Sharpener
Versatile electric sharpener with adjustable angle slots and a flexible belt system that can sharpen straight, serrated, and curved blades. It’s fast and easy to use, with guides to maintain correct angle.
Best for: Perfect for families or busy cooks who need to sharpen multiple knives quickly without learning whetstone technique.
Price Range: $60–$70
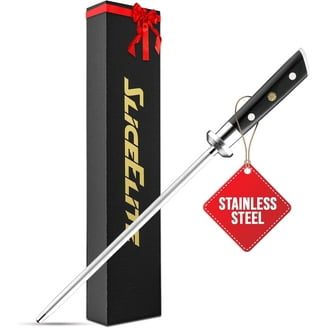
F. Dick Pro-Fessional 12-inch Steel Honing Rod
Made by a trusted German manufacturer, this polished steel rod provides excellent edge realignment. Its ergonomic handle and balanced weight make honing comfortable and effective.
Best for: Essential for weekly honing maintenance between sharpenings, suitable for most Western knives.
Price Range: $30–$40
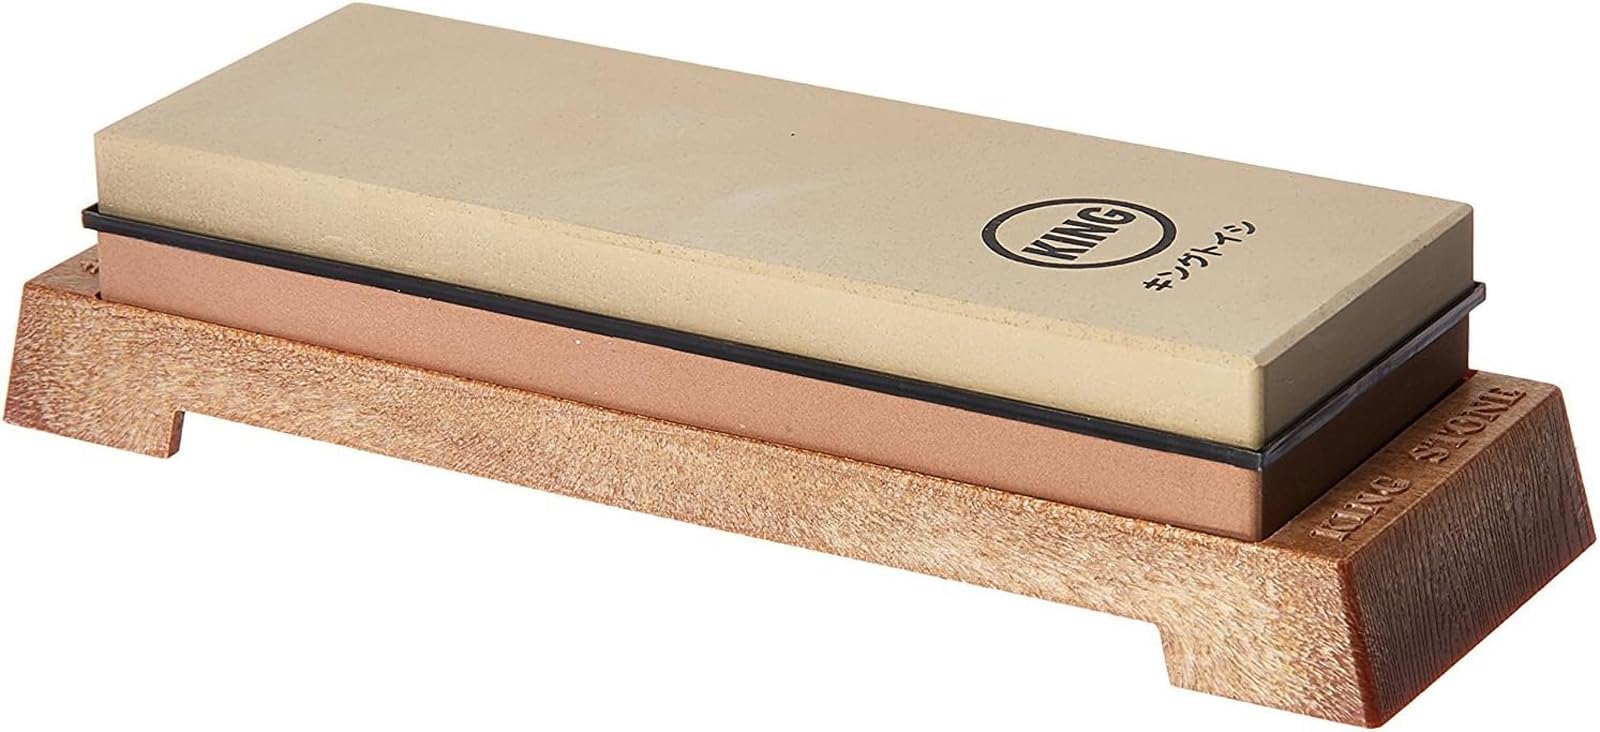
King KW65 1000/6000 Combination Water Stone
A budget-friendly double-sided stone that covers medium and fine grit. It’s a common entry point for beginners moving to intermediate, and the 6000 side polishes well for kitchen use.
Best for: Great starter stone for those who want to try whetstone sharpening without investing in separate grits.
Price Range: $25–$35
Strop Man Leather Strop with Green Compound
A high-quality strop made from premium cowhide with a pre-applied polishing compound. The included instructions make it easy for beginners to finish their edges professionally.
Best for: Adds a razor-sharp final edge after sharpening or honing, especially valuable for sushi chefs or anyone wanting a push-cutting edge.
Price Range: $20–$30