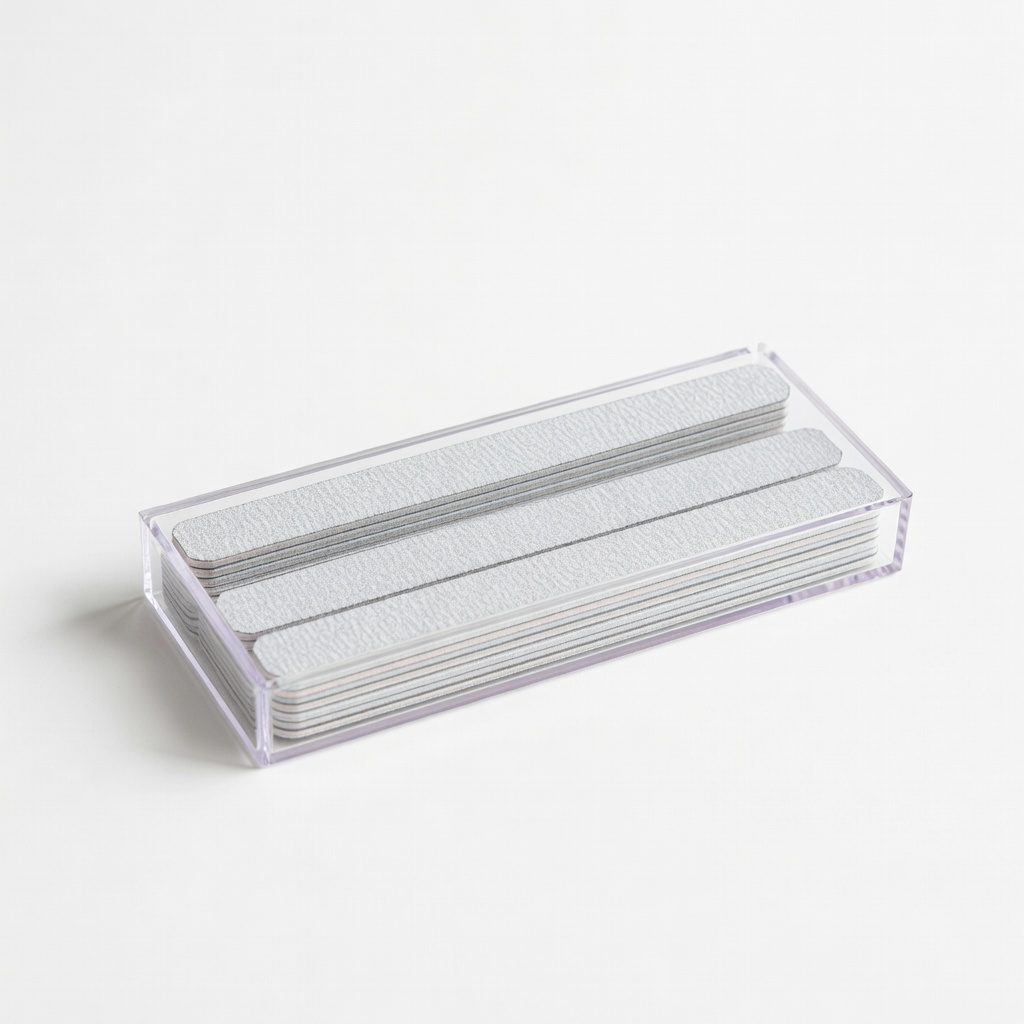
Modelones Nail Files 180/240 Grit (12 Pack)
Primary shaping and smoothing steps.
$8.99
Modelones Nail Files 180/240 Grit (12 Pack) Double-sided professional files perfect for beginners shaping acrylics without damage.
Get the App
Better experience on mobile
Master filing acrylic nails into stunning shapes like square, coffin, or almond with this beginner-friendly step-by-step guide.
Struggling with uneven or bulky acrylic nails that ruin your manicure? Shaping acrylic nails properly with files is a game-changer for achieving salon-quality results at home. Many beginners over-file or skip grits, leading to weak nails or rough finishes—but it doesn't have to be that way.
In this guide, you'll learn the exact techniques to shape your acrylics safely and precisely, from choosing the right file grit to perfecting popular shapes. Whether you're going for a classic square or edgy stiletto, these steps will give you smooth, durable nails that last weeks.
Expect to spend 20-30 minutes per hand. It's beginner-level with practice, using basic tools—no advanced skills needed.
Estimated Time: 20-30 minutes per hand Difficulty: beginner
Start by setting up a clean, well-lit area with a towel to catch dust. Wash and dry your hands thoroughly to remove oils. Gently push back cuticles if needed, but avoid cutting live skin.
Inspect your acrylic nails for any lifting or damage. If they're freshly applied, wait 24 hours for full curing. Clip the free edge to your desired length using nail clippers for control—this prevents over-filing later.
Success looks like: Clean, dry nails at even rough length, no debris.
💡 Tips:
⚠️ Warnings:
Decide on a shape: square (straight edges), coffin (tapered square), almond (oval taper), or stiletto (pointy). Visualize by holding a nail form or looking at reference images.
Popular for beginners: coffin or squoval (soft square). Mark guidelines lightly with a white pencil if unsure.
Success looks like: Mental plan or light marks on nails matching your chosen style.
💡 Tips:
Hold the 180-grit file at a 45-degree angle to the free edge. File from side to center in short, downward strokes—never saw back and forth, as it weakens acrylic.
Shape the underside slightly for strength. Wipe dust frequently with a brush.
Success looks like: Smooth, even free edge matching your shape's curve.
💡 Tips:
⚠️ Warnings:
Using the same 180-grit file, hold at 45 degrees to the side walls. File from bottom corner upward toward the center, tapering if needed for coffin/almond.
Keep sides straight or curved per shape. Alternate hands to maintain consistency.
Success looks like: Symmetrical side walls with no bulges.
💡 Tips:
Switch to 180-grit and file the top from cuticle to free edge at 45 degrees, creating a gentle C-curve. This thins bulk without weakening.
Check profile by tilting hand—aim for even bevel.
Success looks like: Flat-topped nail with smooth bevel, no thick spots.
⚠️ Warnings:
Refine all surfaces with 240-grit in the same directional strokes. Eliminate ridges or scratches from coarse filing.
Blend sidewalls seamlessly into top and edge.
Success looks like: Uniform surface ready for shine.
💡 Tips:
Use buffer block: 180-grit side for final shape tweaks, 240 for smoothing, 400 for shine. Buff lightly in circles.
Brush off dust, apply cuticle oil, and admire!
Success looks like: Glossy, professional-shaped nails.
💡 Tips:
⚠️ Warnings:
Problem: Nails feel weak or cracking
Solution: Stop filing immediately, apply strengthener, and avoid water for 24 hours. Next time, file less aggressively.
Problem: Uneven shape on one side
Solution: Measure with a straight edge or form, then gently re-file the longer side with 240-grit.
Problem: Dust irritates eyes/skin
Solution: Wear safety glasses, use a manicure bowl for dust, and wash hands after.
Problem: File dulls quickly
Solution: Replace after 5-10 uses or soak in soapy water. Switch to quality files.
Double-sided professional files perfect for beginners shaping acrylics without damage.
Best for: Primary shaping and smoothing steps.
Price Range: $8.99
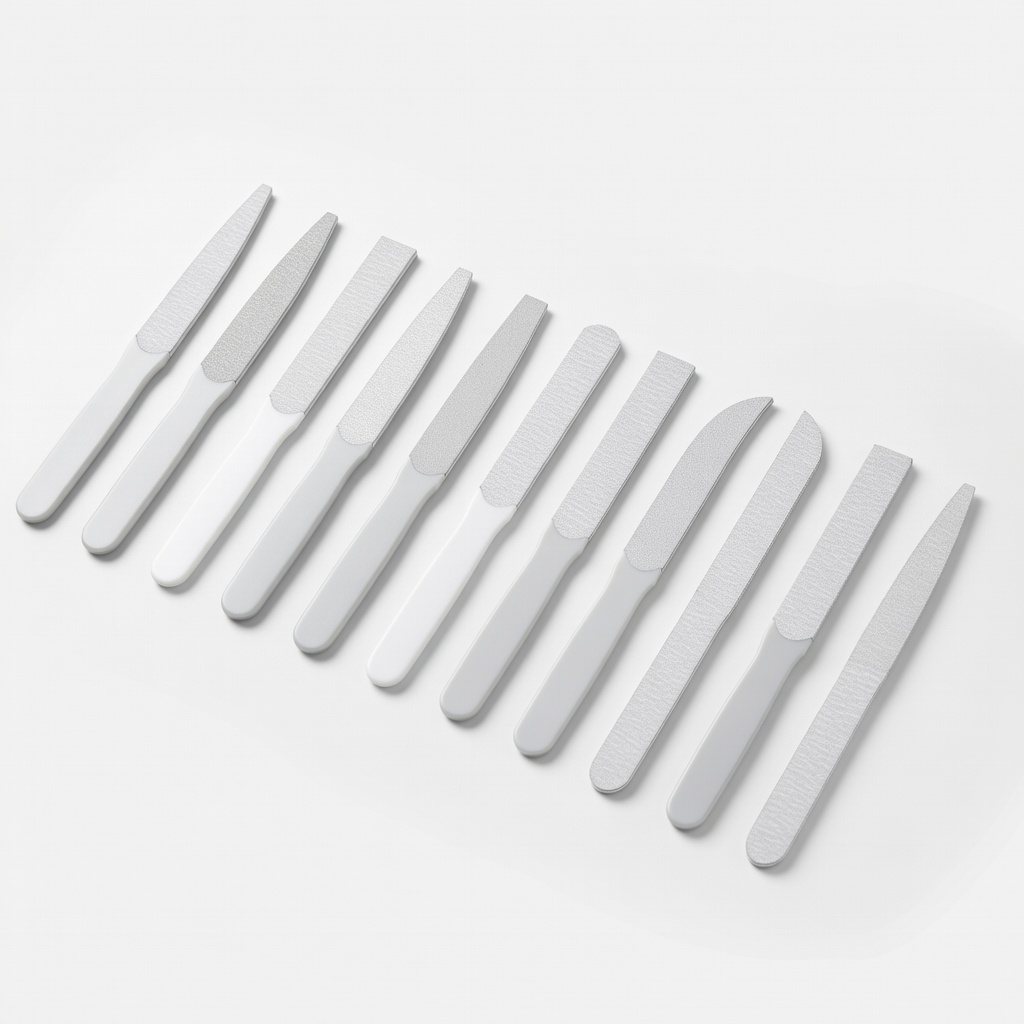
All-in-one kit with multiple grits for seamless progression from coarse to shine.
Best for: Buffing and finishing after shaping.
Price Range: $9.99
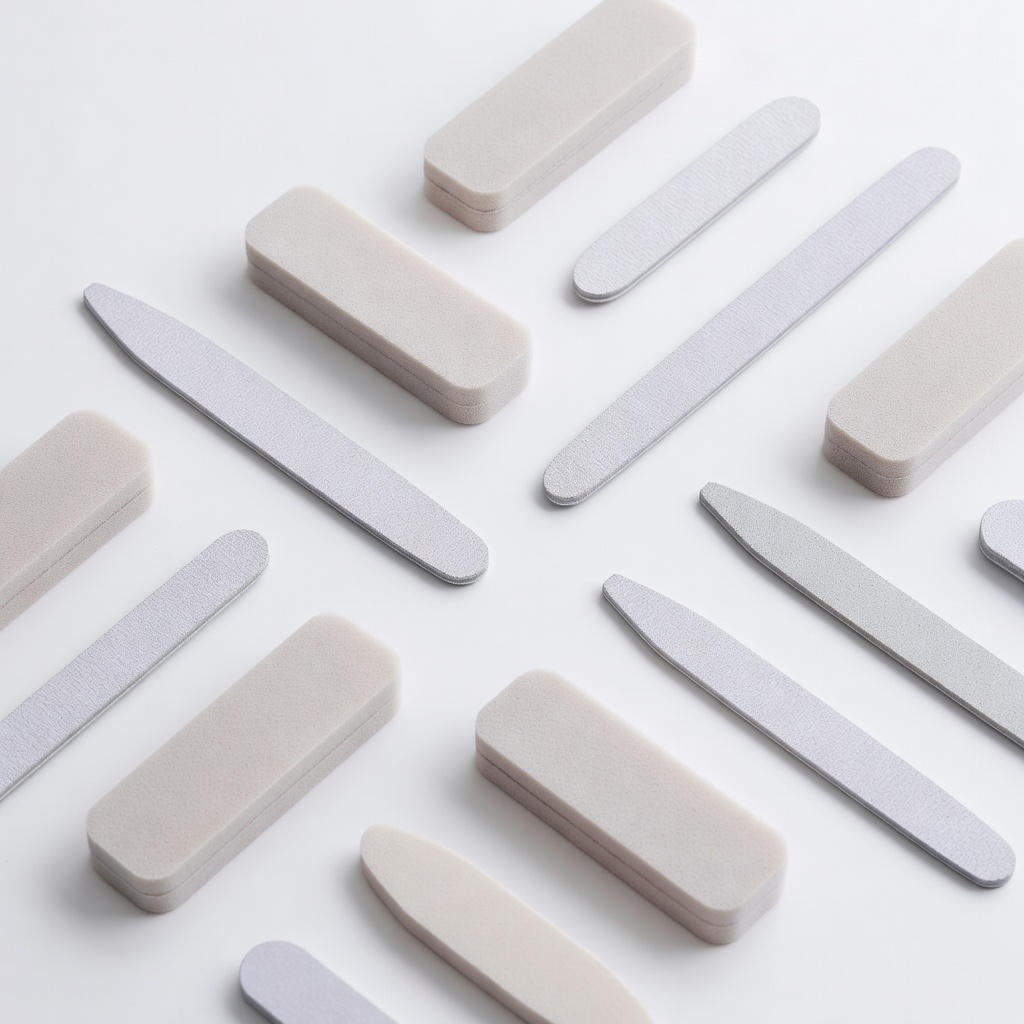
Variety of grits and shapes for precise control on different nail forms.
Best for: Sidewall tapering and edge refinement.
Price Range: $7.99
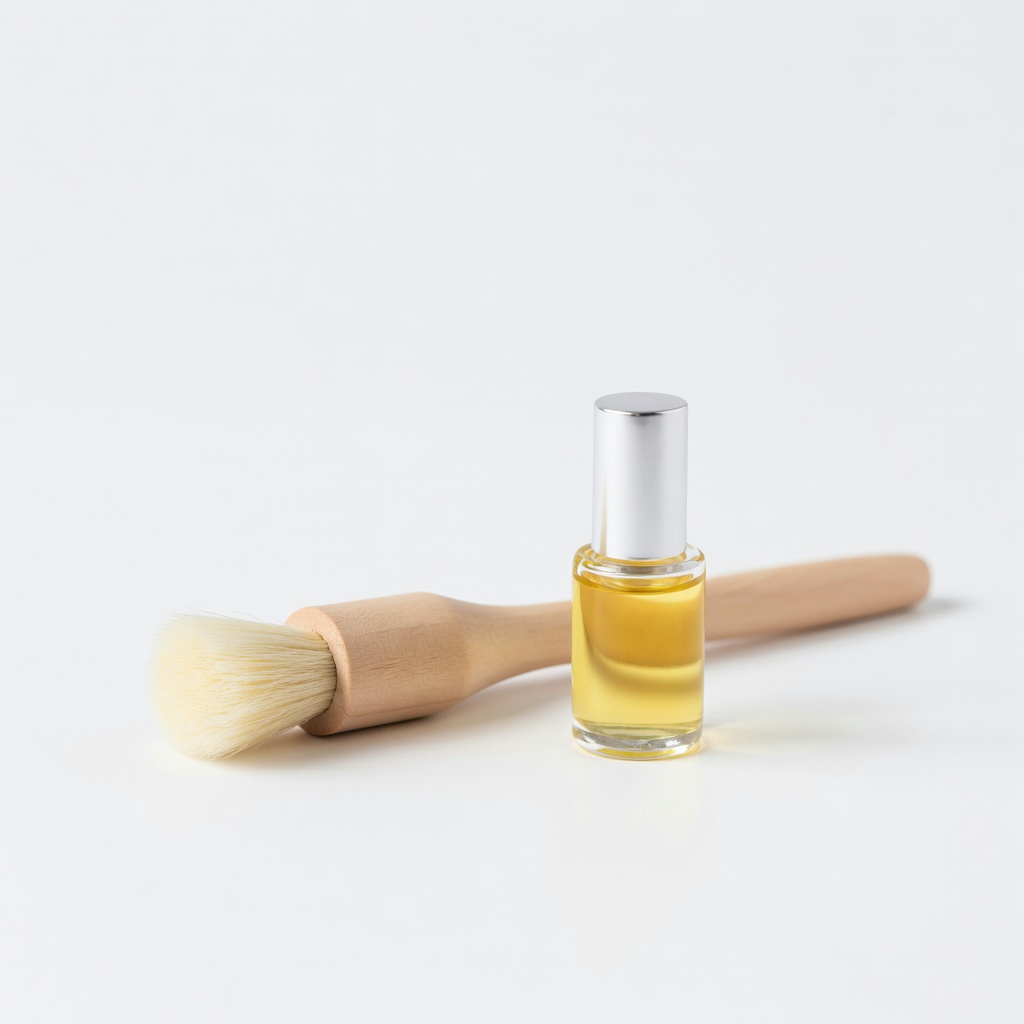
Keeps workspace clean and hydrates nails post-filing for strength.
Best for: Cleanup and aftercare.
Price Range: $6.99
Primary shaping and smoothing steps.
Modelones Nail Files 180/240 Grit (12 Pack) Double-sided professional files perfect for beginners shaping acrylics without damage.
Buffing and finishing after shaping.
MelodySusie Nail Buffer and File Set All-in-one kit with multiple grits for seamless progression from coarse to shine.
Sidewall tapering and edge refinement.
Beetles Professional Nail File Set (10pcs) Variety of grits and shapes for precise control on different nail forms.
Cleanup and aftercare.
Saviland Dust Brush and Cuticle Oil Keeps workspace clean and hydrates nails post-filing for strength.