Performing live with an acoustic-electric guitar can turn disastrous without proper setup—think piercing feedback, muddy tone, or signal dropouts mid-song. Advanced players know that stage readiness goes beyond plugging in; it demands precise electronics optimization, gain staging, and system integration to cut through the mix reliably.
In this guide, you'll learn a complete, sequential process to transform your acoustic-electric into a stage beast. We'll cover preamp checks, pickup blending, EQ sculpting, DI routing, and feedback taming—tailored for gigging pros. Expect 1-2 hours total, assuming you have intermediate electronics knowledge and access to a PA or amp.
By the end, your guitar will deliver natural, amplified acoustic tone that shines uncolored in any venue, from coffee shops to arenas.
▸What You'll Need
- •Acoustic-electric guitar with onboard preamp (e.g., Fishman or LR Baggs system)
- •9V battery or power supply for preamp
- •High-quality instrument cable (10-20 ft)
- •Direct box (DI) - active or passive
- •Tuner pedal or clip-on tuner
- •Multi-effects or acoustic preamp pedal (e.g., for imaging/EQ)
- •Amplifier or PA system for testing
- •Screwdriver set for battery compartment
- •Optional: Soundhole cover or feedback buster
- •Optional: Multi-tool for truss rod/action tweaks
Estimated Time: 1-2 hours
Difficulty: advanced
▸Step-by-Step Instructions
Step 1: Inspect Guitar and Electronics
Start with a full visual and functional check. Remove strings if needed for access, but for stage prep, focus on non-invasive tests. Open the battery compartment (usually inside soundhole) and verify a fresh 9V battery—low voltage causes weak output and noise.
Power on the preamp/volume knob; check LED indicators. Test each pickup (piezo saddle, undersaddle, magnetic neck/bridge) individually via the guitar's controls. Play open strings and chords; listen for balanced output without hum or dropouts.
Success looks like: Clean, even response from all pickups with no static or imbalance.
💡 Tips:
- •Use a multimeter to test battery voltage (>8.5V ideal).
- •Label pickup knobs if unlabeled for quick stage recall.
⚠️ Warnings:
- •Avoid loose battery contacts—secure with foam if rattling.
Step 2: Tune and Check Intonation
Clip on a precision tuner and tune to standard pitch (E-A-D-G-B-E) using a chromatic mode. Strum barre chords up the neck; adjust saddle position or truss rod if intonation drifts sharp/flat beyond 12th fret.
For stage, prioritize low-action setup (2-3mm at 12th fret) to avoid string buzz under high gain. Use feeler gauges for accuracy.
Success looks like: Harmonics match fretted notes perfectly across all strings.
💡 Tips:
- •Tune slightly sharp (5-10 cents) for acoustic projection.
- •Check under stage lights—humidity changes pitch.
⚠️ Warnings:
- •Don't over-tighten truss rod; small 1/8 turns only.
Step 3: Assemble Signal Chain and Cabling
Connect guitar → high-quality cable → preamp pedal/DI → amp/PA. Use shielded, low-capacitance cables to minimize noise. If blending pickups, set piezo at 60-70% and magnetic at 30-40% for natural tone.
Power everything in order: guitar preamp first, then pedals, last amp. Set all volumes to zero initially.
Success looks like: Silent chain with no hum when volumes up.
💡 Tips:
- •Elevate cables off floor to avoid interference.
- •Use right-angle plugs for stage pedalboard stability.
Step 4: Set Gain Staging and Basic Levels
Bring guitar volume to 80%, strum hard—adjust preamp gain for 0dB peaks on amp meter (no clipping redline). Set output to unity gain. Balance pickup blend for full-range tone: cut mud (below 100Hz) lightly.
Test at gig volume; earball dynamic range from fingerpicking to strums.
Success looks like: Clean peaks without distortion, ample headroom.
💡 Tips:
- •Use a meter app on phone for precise dB reading.
- •Mark 'sweet' knob positions with tape.
⚠️ Warnings:
- •Clipping kills tone—stay under 0dB.
Step 5: Dial In EQ for Stage Voicing
On preamp or pedal, boost mids (800Hz-2kHz) for cut-through, cut lows (80-200Hz) to reduce boom, highs (4-8kHz) for sparkle without ice-pick. Use parametric EQ if available: notch problem frequencies.
Sweep for your guitar's voice—acoustics resonate differently.
Success looks like: Tone sits above drums/bass, natural like unamped.
💡 Tips:
- •Start flat, boost/cut 3dB max.
- •Save presets for venues (small/large room).
Step 6: Eliminate Feedback and Ring Out
Crank PA/amp to gig volume, play loudest note sustaining chords. Use feedback destroyer or manually notch ringing freqs (often 250Hz, 1kHz). Install soundhole cover if persistent.
Ring out monitors separately—position guitar away from speakers.
Success looks like: No squeals at full volume.
💡 Tips:
- •Point guitar at 45° from speakers.
- •Use dynamic playing to find thresholds.
⚠️ Warnings:
- •Don't notch too much—kills body.
Step 7: Integrate with PA via DI
Route through DI box: guitar → preamp → DI (ground lift if hum) → PA snake. Set DI pad if hot signal (-10/+4dB match). Test FOH mix with engineer.
Balance stage amp volume low for monitors only.
Success looks like: Identical FOH and stage sound.
💡 Tips:
- •Passive DI for piezo, active for magnetic.
- •Carry spare XLR cable.
Step 8: Full Soundcheck and Backup Prep
Run setlist excerpts at volume. Check for dropouts, adjust on-the-fly. Pack spares: batteries, cables, strings. Mark all settings.
Success looks like: Gig-ready with zero issues in 10-min check.
💡 Tips:
- •Record soundcheck for reference.
- •Test in venue space if possible.
▸Pro Tips
- •Use acoustic IR pedals for amp'd unplugged tone.
- •Humidity pack in case to prevent wood swelling onstage.
- •Tape setlist with knob positions on guitar body.
- •Position pick at bridge for attack, neck for warmth.
- •Warm up guitar pre-gig for stable tone.
- •Blend piezo + mic sim for hybrid realism.
- •Invest in wireless if moving much—low latency key.
▸Common Mistakes to Avoid
- •Dead battery overlooked—causes gig panic; always test pre-show.
- •Over-boosted lows lead to mud in mix; cut first.
- •Ignoring ground loops creates hum; use DI lift switch.
- •No feedback prep—starts sets badly; ring out always.
- •High action buzzes under gain; setup neck beforehand.
▸Troubleshooting
Problem: Persistent feedback
Solution: Notch exact freq (±3dB narrow Q), reposition guitar/speakers, add soundhole damper. Seek acoustic treatment if chronic.
Problem: Weak output or dropouts
Solution: Replace battery/cable, check pickup wires, reseat plugs. Pro luthier for internal faults.
Problem: Hum or noise
Solution: Ground lift on DI, shorter cables, battery swap. Faraday shielding if venue AC interference.
Problem: Muddy PA tone
Solution: HPF at 100Hz, mid boost, check phase alignment on blends. FOH EQ tweak.
Problem: Intonation drifts live
Solution: Lock-in saddles, tune sharp, climate control case.
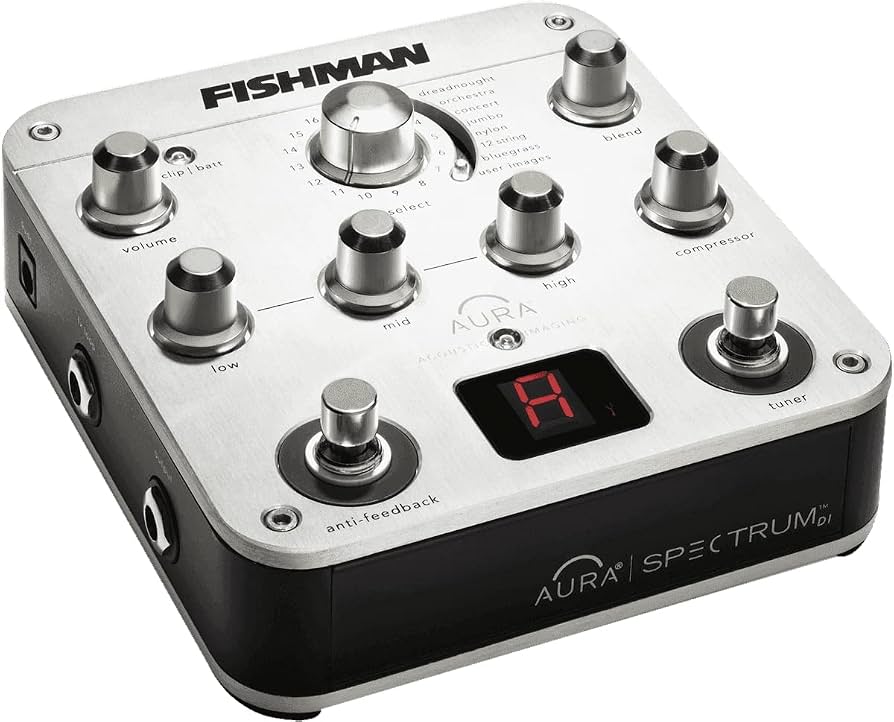
Fishman Aura Spectrum Acoustic Imaging Pedal
Provides pro acoustic imaging and EQ presets to emulate perfect mic'd tone, eliminating thin piezo sound.
Best for: Core for blending and voicing before DI on stage.
Price Range: $400-$450
Boss TU-3 Chromatic Tuner Pedal
Ultra-accurate, true bypass tuner with buffer for long cable runs without tone loss.
Best for: First in chain for precise tuning under stage lights/noise.
Price Range: $99-$110
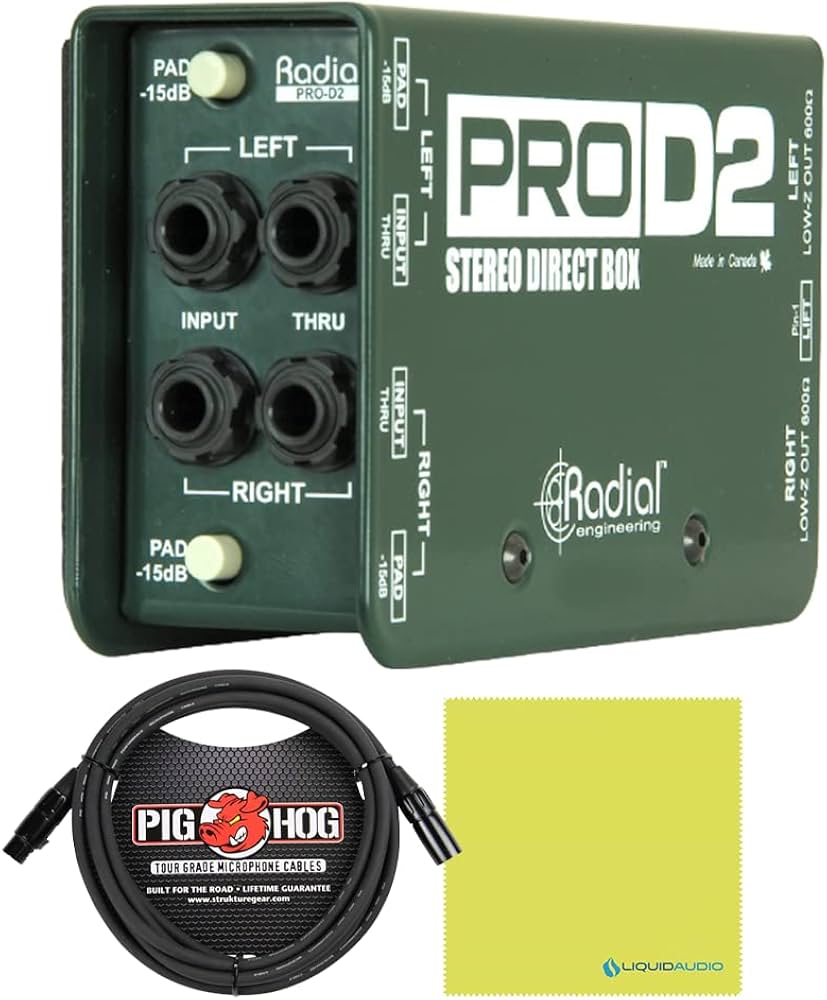
Radial ProD2 Stereo DI Box
Dual-channel passive DI with ground lift and phase reverse for clean PA send from blends.
Best for: PA integration for mono/stereo rigs, hum elimination.
Price Range: $180-$200
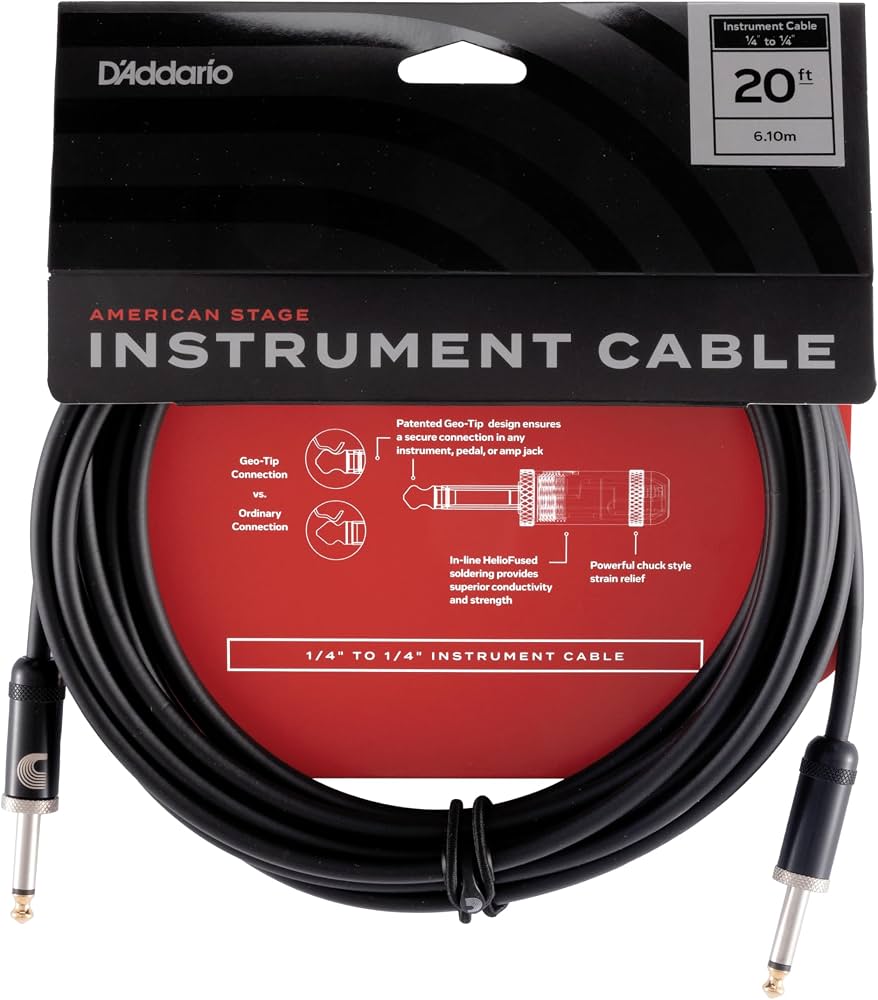
D'Addario Planet Waves American Stage Cable 20ft
Oxygen-free copper, ultra-low capacitance for noise-free long runs.
Best for: Reliable stage cabling without signal degradation.
Price Range: $35-$45
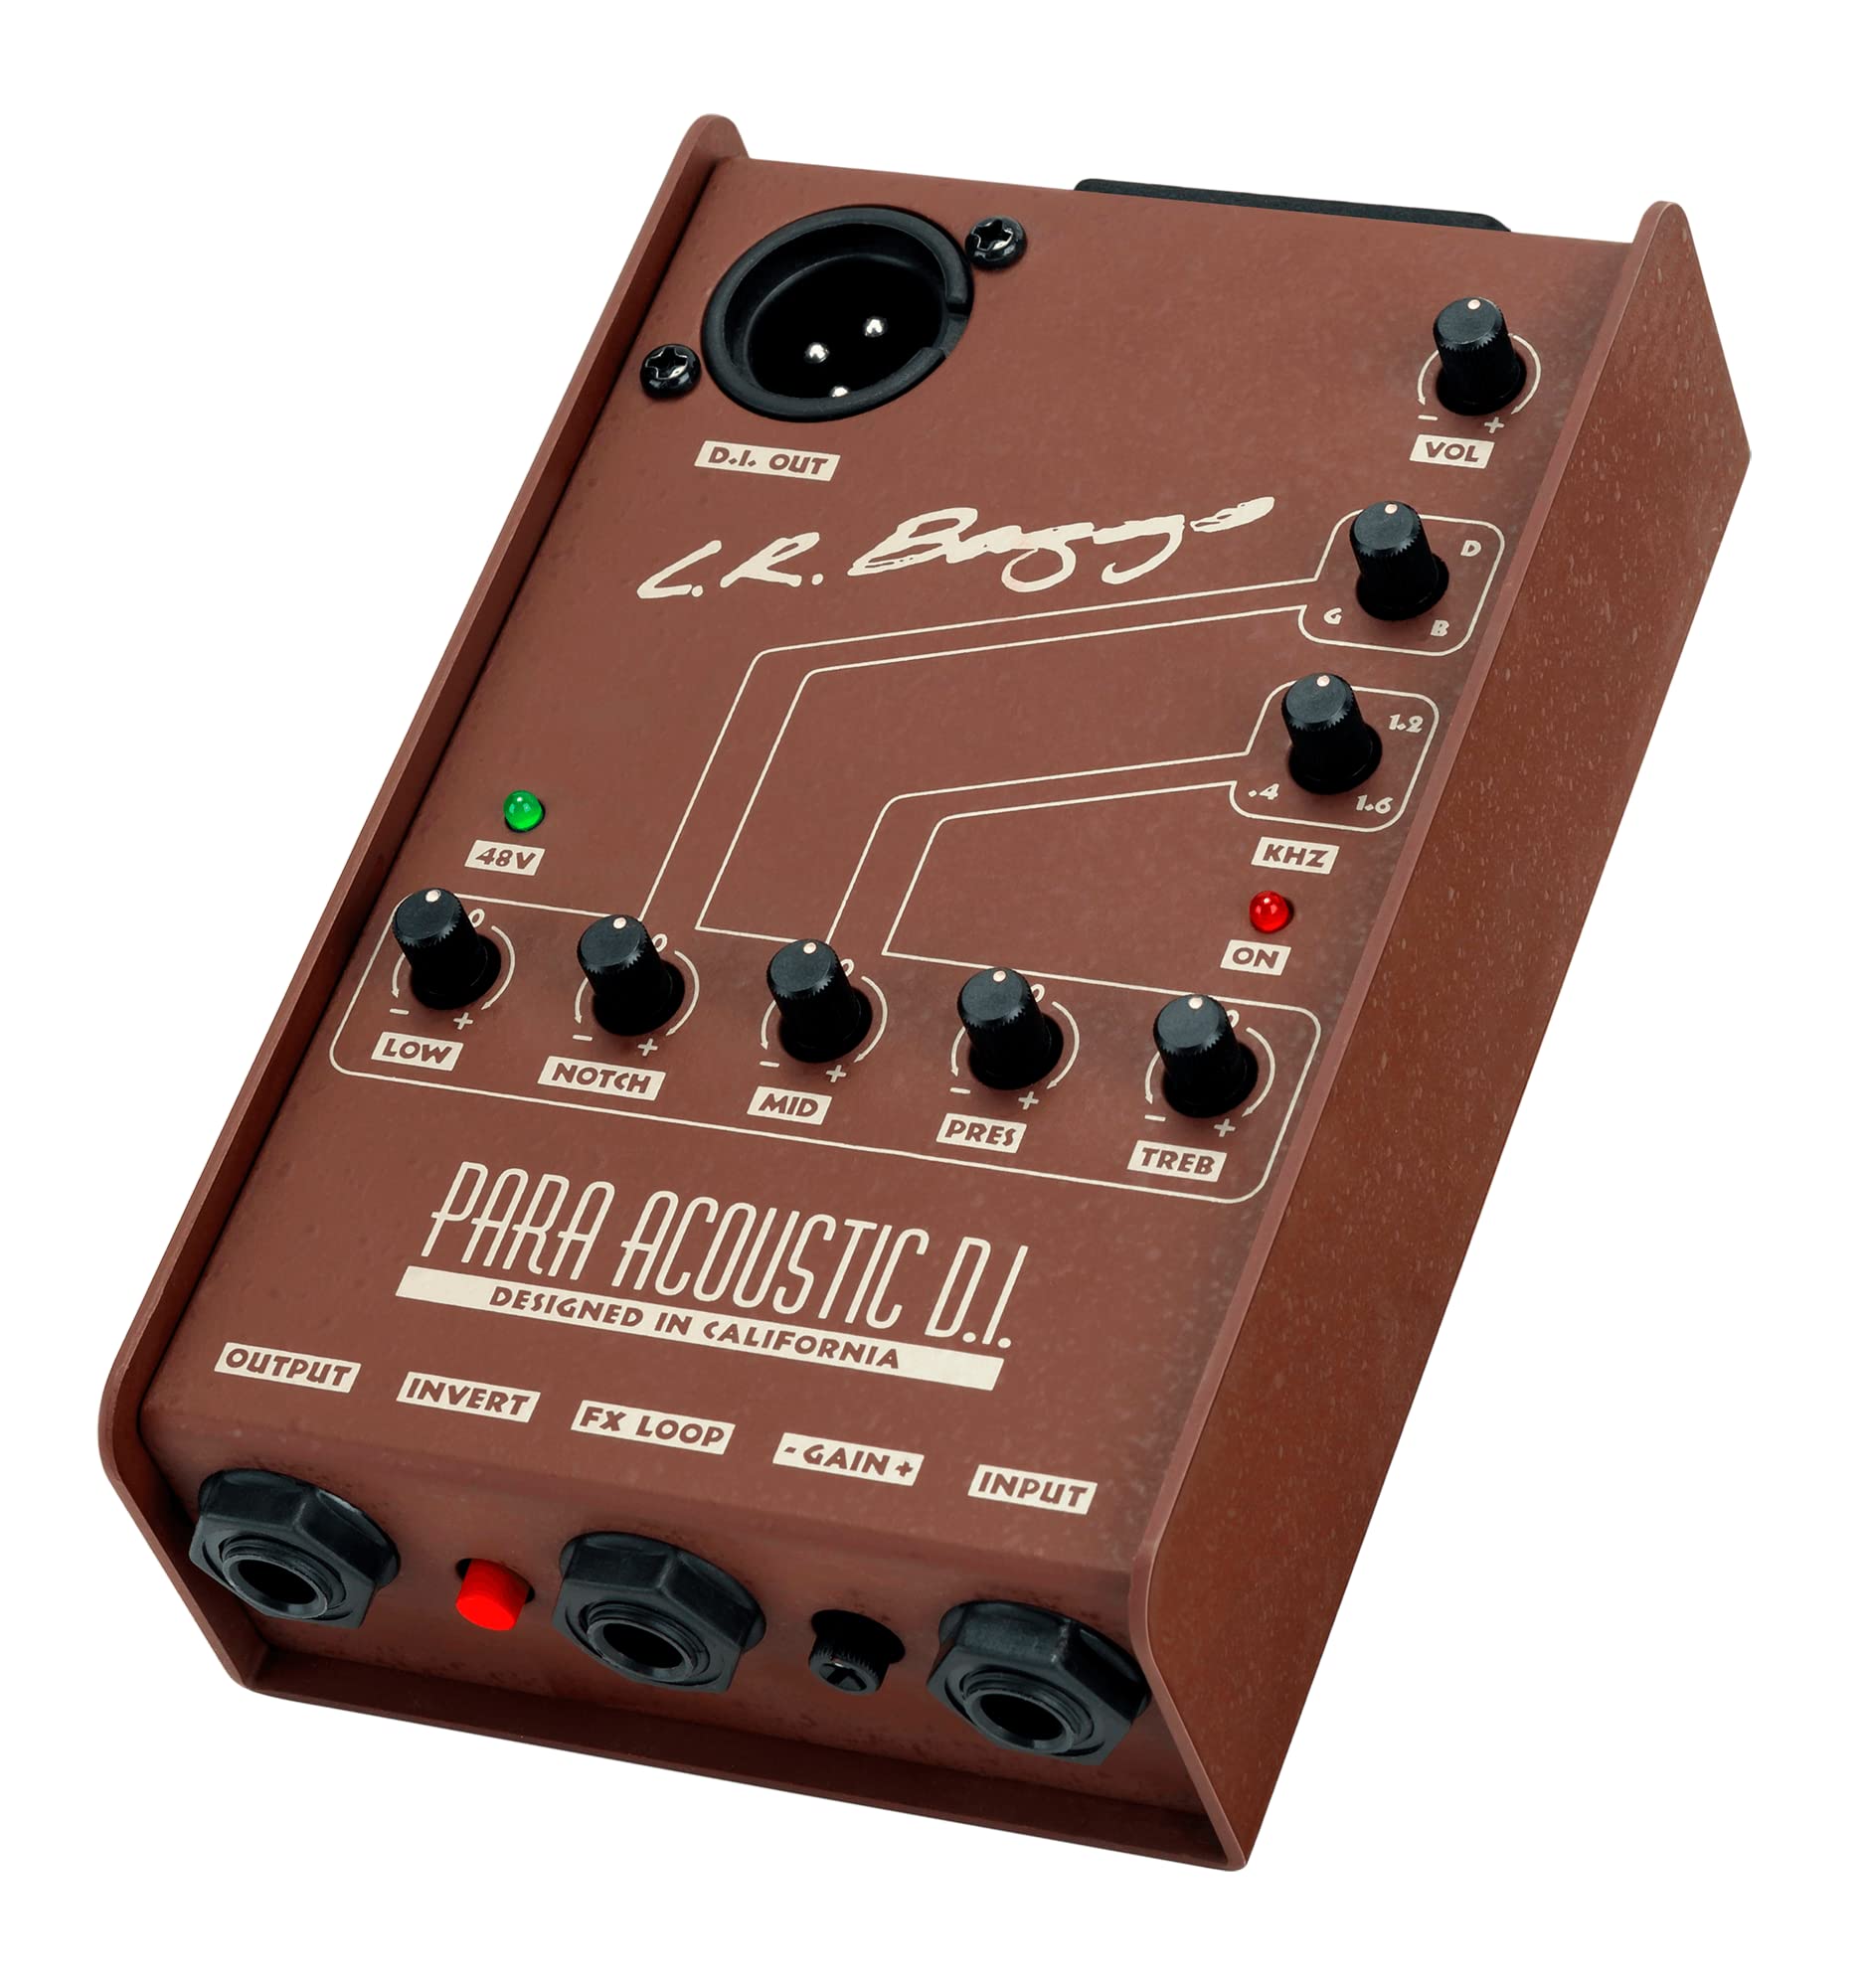
LR Baggs Para Acoustic DI
Variable EQ and notch filter tailored for acoustics, phase invert for feedback.
Best for: All-in-one preamp/DI for simple yet pro setups.
Price Range: $200-$220