
Peloton Bike Mat
Essential under the bike during setup and workouts to prevent slipping on hard floors.
$50-60
Peloton Bike Mat Protects your floor from scratches and absorbs sweat/vibrations for a stable ride.
Get the App
Better experience on mobile
Follow this beginner-friendly guide to unbox, assemble, and connect your Peloton Bike in under an hour for seamless home workouts.
Getting a Peloton Bike is an exciting step toward fun, effective home fitness, but the setup process can feel daunting if you're new to it. Many beginners worry about complicated assembly or tech glitches, but rest assured, Peloton designs their bikes for straightforward setup with minimal tools. This guide will walk you through every step, ensuring you can start pedaling confidently without frustration.
In this tutorial, you'll learn how to unbox your bike, assemble the key components, connect it to power and Wi-Fi, and launch your first ride via the Peloton app. The entire process is designed for beginners and typically takes 45-60 minutes, depending on your space and any help you have. No prior experience is needed—just follow along sequentially for a stable, functional setup.
By the end, your Peloton Bike will be ready for immersive classes, complete with metrics tracking and leaderboards. Expect a sturdy ride that feels professional, setting you up for consistent workouts that boost cardio, strength, and motivation.
Estimated Time: 45-60 minutes Difficulty: beginner
Start by carefully opening the shipping box in a spacious area. The Peloton Bike arrives partially pre-assembled to simplify setup. Remove all protective foam, plastic wraps, and accessories like the pedals, screen, and tools from the box. Lay out the components: main frame, stabilizers, handlebar post, resistance knob, and power cord.
This step matters because it prevents damage during handling and lets you inventory parts upfront. Expect to see the heavy flywheel attached to the rear—handle it gently to avoid scratches. If you're alone, use the box's built-in ramps to roll the frame out safely.
Success looks like all parts accounted for and the main frame upright on the floor.
💡 Tips:
⚠️ Warnings:
Clear a flat, level surface at least 7 feet long by 4 feet wide, away from walls or obstacles. Ensure good lighting and ventilation. If your floor is uneven, place a mat underneath to protect it and aid stability.
Preparation is key to a smooth assembly, as a cluttered space can lead to misplaced tools or tipped parts. You'll need about 2-3 feet of clearance around the bike for maneuvering. Test the power outlet with another device to confirm it works.
Success: A clean, spacious area ready for the frame, with tools within arm's reach.
💡 Tips:
⚠️ Warnings:
Position the main frame upright. Align the front stabilizer with the frame's front legs and insert the bolts provided. Use the included Allen wrench to tighten them securely—hand-tighten first, then fully with the tool.
This creates the bike's base stability, preventing wobbles during rides. It takes about 5 minutes and requires moderate strength. Expect the frame to feel more solid once attached.
Success: Front legs firmly connected, with no play when shaken gently.
💡 Tips:
⚠️ Warnings:
Flip the frame carefully (get help if needed). Align the rear stabilizer with the back legs and secure with bolts using the Allen wrench. The flywheel is pre-attached but ensure it's not rubbing.
The rear provides balance for intense workouts. This step adds weight, so move slowly. It should take 5-7 minutes.
Success: Full base assembled, bike standing steadily on all four legs.
💡 Tips:
⚠️ Warnings:
Slide the handlebar post into the frame's upright tube. Secure with the provided bolts using the Torx screwdriver. Adjust height if needed later via the app.
Handlebars ensure proper riding posture. Tighten evenly for security. Expect 5 minutes.
Success: Handlebars locked in place, adjustable for your height.
💡 Tips:
⚠️ Warnings:
Locate the hole near the handlebars and insert the resistance knob assembly. Tighten the nut underneath with the wrench.
This allows manual resistance adjustments. It's a quick 2-minute step.
Success: Knob turns smoothly without looseness.
💡 Tips:
⚠️ Warnings:
Mount the screen arm to the frame's bracket and connect the cables (power, HDMI, audio). Secure with bolts using the Allen wrench. Route cables neatly to avoid snags.
The screen delivers classes and metrics. Handle delicately—it's the tech heart. Takes 10 minutes.
Success: Screen powered on (plug in first) and displaying the setup screen.
💡 Tips:
⚠️ Warnings:
Screw the left pedal (marked L) counterclockwise into the crank arm, and the right (R) clockwise. Tighten with the wrench.
Proper pedals ensure secure footing. 3-5 minutes.
Success: Pedals spin freely without wobble.
💡 Tips:
⚠️ Warnings:
Plug in the power cord to the bike and outlet. Use the leveling feet on stabilizers to make it rock-free—place a level tool if needed.
Power activates everything; leveling prevents vibrations. 5 minutes.
Success: Bike stable, screen boots up.
💡 Tips:
⚠️ Warnings:
Download the Peloton app on your device. Scan the QR code on the screen or enter the serial number to pair. Create or log in to your account, connect Wi-Fi, and calibrate.
This enables classes and tracking. 10 minutes.
Success: App synced, ready for a test ride with metrics.
💡 Tips:
⚠️ Warnings:
Problem: Screen won't turn on
Solution: Check power cord connections and outlet. Unplug for 30 seconds, then replug. If persists, contact Peloton support via app.
Problem: Bike feels unstable
Solution: Re-level using stabilizer feet. Ensure all bolts are tight. Place on a mat if floor is uneven.
Problem: App won't pair with bike
Solution: Restart both devices, ensure Bluetooth is on, and re-scan QR code. Verify Wi-Fi strength.
Problem: Pedals slip during test
Solution: Tighten with wrench and check cleat compatibility if using shoes. Clean threads if dirty.
Problem: No sound from screen
Solution: Adjust volume in settings and check audio cable. Test with headphones.
Protects your floor from scratches and absorbs sweat/vibrations for a stable ride.
Best for: Essential under the bike during setup and workouts to prevent slipping on hard floors.
Price Range: $50-60
Delta cleats provide secure pedal attachment, improving power transfer and safety for beginners.
Best for: Use immediately after setup for clip-in rides; compatible with SPD if you have them.
Price Range: $125
Adds comfort and padding for longer sessions, as the stock seat can feel firm for new riders.
Best for: Swap on post-setup if the default seat causes discomfort during initial rides.
Price Range: $20-40
Gentle on the screen and frame, removing fingerprints without streaks during and after setup.
Best for: Wipe down components before first use to maintain the bike's sleek look.
Price Range: $10-15 for pack
Boosts signal for reliable streaming if your setup area has weak Wi-Fi.
Best for: Place near the bike during app pairing to ensure smooth class loading.
Price Range: $30-50
Essential under the bike during setup and workouts to prevent slipping on hard floors.
Peloton Bike Mat Protects your floor from scratches and absorbs sweat/vibrations for a stable ride.

Use immediately after setup for clip-in rides; compatible with SPD if you have them.
Peloton Bike Shoes Delta cleats provide secure pedal attachment, improving power transfer and safety for beginners.
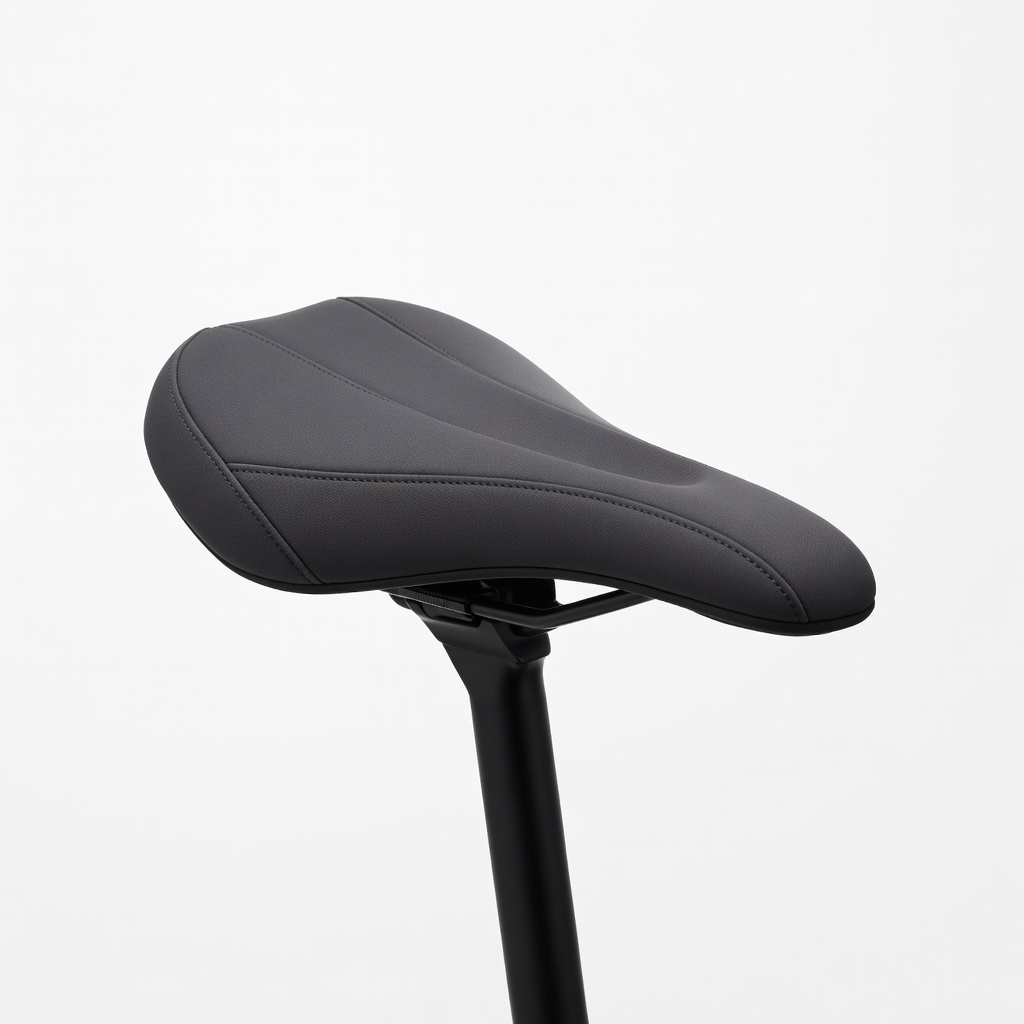
Swap on post-setup if the default seat causes discomfort during initial rides.
Echelon Bike Seat Cover Adds comfort and padding for longer sessions, as the stock seat can feel firm for new riders.
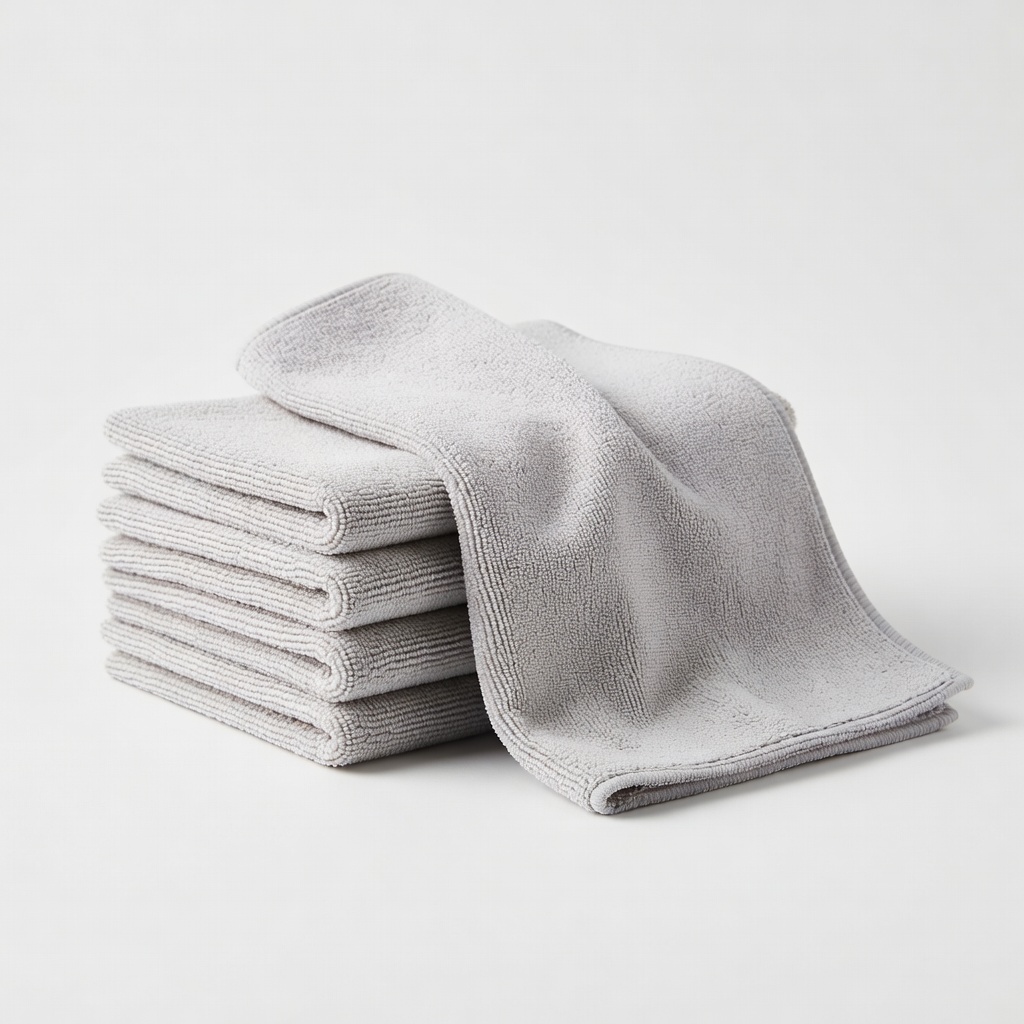
Wipe down components before first use to maintain the bike's sleek look.
Microfiber Cleaning Cloths (Amazon Basics) Gentle on the screen and frame, removing fingerprints without streaks during and after setup.
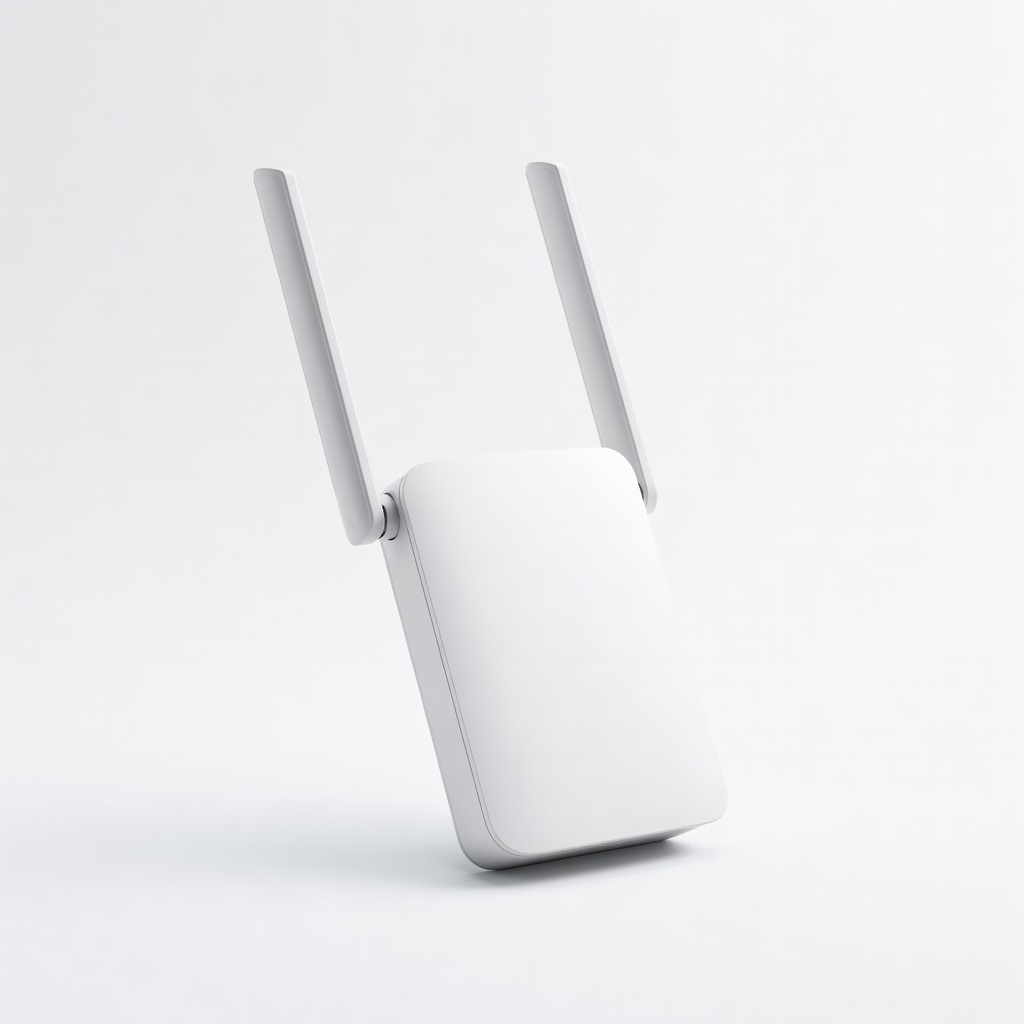
Place near the bike during app pairing to ensure smooth class loading.
TP-Link Wi-Fi Extender Boosts signal for reliable streaming if your setup area has weak Wi-Fi.