Every parent knows the worry: you hand your child a smartphone and suddenly they have unlimited access to games, social media, and the wild, unregulated internet. The good news is that Apple builds a surprisingly powerful set of parental controls into iOS, right under the Screen Time settings. You don't need to buy any extra software—you can restrict apps, schedule downtime, block inappropriate content, and even approve every purchase your child tries to make.
In this guide, you'll learn how to set up Screen Time on your child's iPhone (and your own) using Family Sharing, how to create a passcode that locks these settings, and how to fine-tune restrictions for apps, content, and communication. We'll walk through the process step by step, so you can feel confident your child can use their phone safely—and you'll get a quick checklist of common mistakes to avoid. By the end, you'll have a system that encourages healthy digital habits without the constant hovering. The whole setup takes about 15–20 minutes and requires no technical expertise.
▸What You'll Need
- •An iPhone or iPad running iOS 12 or later (iOS 16/17/18 recommended for the most up-to-date features)
- •Your own Apple ID and password (for turning on Screen Time and Family Sharing)
- •A child's Apple ID (you can create one during setup if needed)
- •If you're using Family Sharing: a second Apple device (your iPhone) to manage the child's settings remotely
- •A paper or password manager to write down your Screen Time passcode
Estimated Time: 15–20 minutes (longer if you need to create a child Apple ID or set up Family Sharing)
Difficulty: beginner
▸Step-by-Step Instructions
Step 1: Create a Child Apple ID with Family Sharing (Recommended)
If your child is under 13, Apple won't let them create their own Apple ID alone—you need to create a managed account through Family Sharing. Open Settings on your own iPhone and tap your name at the top. Tap Family Sharing → Add Member → Create an Account for a Child. You'll enter your child's name and date of birth. You'll also need to provide your payment method or choose None if you prefer to block all purchases. Once your child's Apple ID is created, you'll automatically become their parent or guardian on the family group.
This step matters because it lets you manage Screen Time remotely from your own phone, approve purchases with Ask to Buy, and set up age-based content restrictions. If your child is older than 13 and already has an Apple ID, you can invite them to join your Family Sharing group instead. In that case, just skip this step and go to step 2.
💡 Tips:
- •Use your child's real birth date—not a fake one—so that the App Store and media content restrictions follow the correct age ratings.
- •When asked for a payment method, you can choose "None" and still use Apple's free apps, but your child will need a gift card or your approval to buy anything.
⚠️ Warnings:
- •You'll be asked to verify with your own Apple ID password before creating a child account. This is normal and ensures you're the parent/guardian.
Step 2: Turn On Screen Time on the Child's Device
Screen Time is the core of Apple's parental controls. If you have set up Family Sharing, you can turn on Screen Time directly from your own iPhone by going to Settings → Screen Time, then selecting your child's name under the Family list. Alternatively, on the child's iPhone, open Settings → Screen Time and tap Turn On Screen Time. You'll be given a choice: Set Up as Child Device (recommended when you are setting it up directly on their phone) or Continue if you're setting it up for your own device. If you're using Family Sharing, you'll instead tap the child's name and then enable Screen Time.
When you turn on Screen Time, you're enabling a system that will track usage, block apps, and enforce limits. The child will see a message that Screen Time is active, and they'll need your permission to change it. If the child has already been using the phone for a while, Screen Time will also show you a historical report of their app usage, which can help you set more informed limits.
💡 Tips:
- •You can also turn on Screen Time from your own phone for any child in your family group—you don't need physical access to the child's device.
- •If you're just setting up your own phone and want a trial, you can turn on Screen Time without a child account. But for parental controls, use Family Sharing.
⚠️ Warnings:
- •If you're setting up on the child's device, make sure you know the device passcode—otherwise, you won't be able to complete the setup.
Step 3: Create a Screen Time Passcode
After you enable Screen Time, iPhone will ask you to create a four-digit Screen Time passcode. This is different from the phone's unlock code. You'll enter the four digits twice to confirm. Starting with iOS 13.4, Apple gives you the option to enter your Apple ID as a recovery account. If you ever forget the passcode, you can use your Apple ID to reset it. Take advantage of this! Write the passcode down and store it in a secure place (like a password manager) because you'll need it to change limits or turn off restrictions in the future.
The Screen Time passcode is your child's last obstacle. Even if they guess your iPhone's lock code, they won't be able to change the parental control settings without this separate passcode. Never share it with your child—even older teens may be tempted to extend their own downtime.
💡 Tips:
- •Use a random, unpredictable four-digit code—avoid 1234, 0000, or your child's birthday.
- •Store it in a password vault like 1Password or Apple's Keychain so you won't lose it.
⚠️ Warnings:
- •If you forget this passcode and didn't set up Apple ID recovery, the only way to reset it is to erase your iPhone and restore from a backup—which can be very disruptive.
Step 4: Set Downtime Schedules
Downtime is Screen Time's 'bedtime' feature. It blocks most apps during a set period, allowing only phone calls, messages, and apps you specifically allow. To configure it, go to Settings → Screen Time → Downtime. Toggle it on and set a schedule. You can choose the same time for every day (e.g., 9:00 PM–7:00 AM) or customize it per day (for example, allowing quiet evening hours but enforcing an earlier cutoff on school nights).
When Downtime is active, app icons on the Home Screen become dim, and opening them shows a blue 'Downtime' message. The only apps that remain accessible are those in the 'Always Allowed' list, plus Phone, FaceTime, and Messages (unless you block those too). You can also toggle Block at Downtime so that even allowed apps can't be opened after the daily limit—this is a stricter optional setting.
💡 Tips:
- •Start with a fixed daily schedule—kids adapt better when the rule is consistent.
- •Use the 'Always Allowed' list to keep math, reading, or learning apps accessible during downtime if needed.
- •For extra structure, turn on 'Block at Downtime' so that after the daily limit they can't reopen even approved apps.
⚠️ Warnings:
- •Downtime does not hide phone calls, Messages, or FaceTime unless you explicitly block them under Communication Limits. If you need a full digital curfew, turn on 'Block at Downtime' and adjust Communication Limits.
- •Children can still start phone calls with contacts if you haven't set Communication Limits to 'Contacts Only'.
Step 5: Set App Limits for Apps and Categories
App Limits let you cap how long your child can use a particular app or category of apps each day. Go to Screen Time → App Limits and tap Add Limit. You'll see categories like Social Networking, Games, Entertainment, and Productivity. You can tap a category to select it, or tap Not Listed to choose individual apps. In the next screen, set the daily limit (e.g., 1 hour) and choose whether it applies every day or just certain days.
When your child reaches the limit, the app icon will become dim and tapping it will show a message that the time limit is up. They can ask you for more time by tapping 'Ask for More Time', which sends a request to your device if you're using Family Sharing. This is a great way to teach time management without constant arguments—once the limit is hit, the app simply locks.
💡 Tips:
- •For younger children, set shorter limits on entertainment apps and longer limits on education apps.
- •You can customize each day's allowance with 'Customize Days'—e.g., allow more gaming on weekends.
- •If you want to exclude a particular app from a category limit, select that app individually and set it to 'Never' limit.
⚠️ Warnings:
- •If you set a general category limit (e.g., Games) and your child downloads a new game, it will also count toward that category limit automatically.
- •Children may find loopholes by using different apps or deleting and re-downloading—keeping your iOS updated helps close known bypasses.
Step 6: Set Communication Limits
Communication Limits let you control who your child can contact during the day and during downtime. Tap Communication Limits inside Screen Time. You'll see options for During Downtime and During Screen Time (non-downtime hours). For each, you can choose 'Contacts Only' or 'Everyone'. Selecting 'Contacts Only' means your child can only exchange calls and messages with people in their own Contacts list—so make sure that list is clean and includes you, other important adults, and maybe a few close friends.
The same options exist for incoming communication: you can restrict who can contact your child. This helps protect them from strangers reaching out during unsupervised hours. For extra safety, you can also toggle Manage Parent's or Guardian's Contact Info so that you're never accidentally blocked from reaching your child.
💡 Tips:
- •Build your child's Contacts list together before turning on 'Contacts Only' so they know who they can reach.
- •Set 'During Downtime' to 'Contacts Only' and 'During Screen Time' to 'Everyone' if you want flexibility during the day but strict boundaries at night.
- •Make sure to add your own number to their contacts so you're never excluded.
⚠️ Warnings:
- •Communication Limits only affect Apple's Phone, FaceTime, and Messages. They won't restrict WhatsApp, Snapchat, or other third-party chat apps—use App Limits to block those separately.
Step 7: Set Content & Privacy Restrictions
This is the power layer of parental controls. Inside Screen Time tap Content & Privacy Restrictions and turn on the main toggle. Once enabled, you can restrict:
- •
Content: age ratings for movies, TV, music, books, apps, and more. You can also tap Web Content to choose 'Unrestricted Access', 'Limit Adult Websites', or 'Allowed Websites Only'. For a safer experience, choose 'Limit Adult Websites' (Apple relies on millions of approved sites) or go stricter with 'Allowed Websites Only', which only lets your child access the specific sites you add.
- •
Privacy: restrict changes to Location Services, Contacts, Calendars, Photos, Bluetooth, and more. You can disallow changes by setting each to 'Don't Allow', which is perfect for preventing your child from turning off Find My iPhone or changing privacy settings.
- •
Allow Changes: lock down account changes, cellular data changes, volume limit, and more. Under 'Allow Changes', scroll to System Services and disable 'Date & Time' to prevent kids from tampering with the device clock to bypass limits.
💡 Tips:
- •For web filtering, 'Limit Adult Websites' is a good balance—it blocks known adult content but still allows general browsing. Add trustworthy educational sites to the 'Always Allow' list.
- •To close the clock bypass, go to Content & Privacy → Allow Changes → System Services and set 'Date & Time' to 'Don't Allow'.
- •Turn on 'Prevent Account Changes' to stop your child from adding their own Apple ID or changing the existing one.
- •Block 'Install Apps' and 'Deleting Apps' if you want to prevent them from side-installing apps.
⚠️ Warnings:
- •Web restrictions are not foolproof. A determined child might use a proxy or VPN, but with Content & Privacy Restrictions you can block VPN installations by setting 'Install Apps' to 'Don't Allow'.
- •If you choose 'Allowed Websites Only', your child can only visit sites in that list. This is very restrictive—many educational sites will be blocked unless you add them.
Step 8: Enable Ask to Buy for App Store Purchases
Ask to Buy is a Family Sharing feature that requires your approval before your child can download anything from the App Store, iTunes Store, or Books Store—whether it's free or paid. To turn it on, go to Settings → [Your Name] → Family Sharing → select your child's profile → Ask to Buy → toggle it on. If your child is under 13, Ask to Buy is automatically enabled; you can turn it off later if you wish.
When your child tries to download an app, a notification appears on your iPhone with the app details. You can approve or decline without interrupting your own screen. Free apps also require your approval, which helps you vet every app that gets installed. This is a fantastic 'first line of defense' against unwanted apps and accidental purchases.
💡 Tips:
- •Keep Ask to Buy on even for older kids—it prevents impulse purchases and gives you a chance to talk about the apps they want.
- •If your child has their own gift card credit, Ask to Buy still works, but you can approve purchases that use that credit from your device.
- •For teens, you can gradually turn off Ask to Buy once they've demonstrated responsible digital behavior.
⚠️ Warnings:
- •Ask to Buy doesn't block free apps if you give your child a manual 'Install' permission via Screen Time. It's the main purchase approval, not a full download block. Use Content & Privacy Restrictions to block App Store completely if needed.
- •Ask to Buy cannot block in-app purchases if your child already has a stored payment method. Double-check that no credit card or payment method is linked to the child's Apple ID.
Step 9: Review 'Always Allowed' and Exceptions
After setting downtime, app limits, and content restrictions, check the 'Always Allowed' list. Go to Screen Time → Always Allowed. This list contains apps that can be used even during downtime and are not counted toward app limits. By default, Apple includes Phone and Messages. Remove anything else you don't want accessible at night—like games, social media, or YouTube. You can also add essential apps like Maps or Calculator if you want your child to have them at all times.
Additionally, scroll down to Allowed Apps During Downtime to see exactly what stays active—like FaceTime and Phone calls. Use this step to close any loopholes. For example, if your child uses Safari to browse inappropriate sites during downtime, remove Safari from Allowed Apps and use the content restrictions to limit web access.
💡 Tips:
- •Keep the Always Allowed list as minimal as possible—ideally just Phone and Messages (or FaceTime). This makes downtime truly 'screen-free'.
- •If you're setting this up for a teen, you might want to allow a music app during downtime for relaxation, but remember they can still use streaming apps.
- •As your child matures, revisit this list every few months to add or remove apps based on their responsibilities.
⚠️ Warnings:
- •If you find that after downtime your child can still open an app they shouldn't, the problem is almost always the 'Always Allowed' list. Double-check it each time you update your restrictions.
Step 10: Test Your Settings and Review Usage Regularly
Once everything is configured, it's time to test. Set a temporary 'mini' downtime (e.g., 5 minutes) and confirm that apps become blocked. Try changing a setting—make sure the Screen Time passcode is required. Verify that a website with adult content is truly blocked in Safari (or whatever browser you allow). If you're using Family Sharing, log in to your own iPhone and check the Screen Time dashboard to see your child's usage.
You should also develop a weekly habit of reviewing usage. Go to Settings → Screen Time and tap 'See All Activity' to see time spent in each app category. Compare the usage against the limits you've set. If your child is constantly hitting the limit, talk with them about balance—instead of simply extending the limit, ask how they plan to manage their time. Adjust limits as they grow and as their needs change.
💡 Tips:
- •Schedule a 'family media check-in' every Sunday evening: look at the weekly report together, celebrate positive usage, and adjust limits for the next week.
- •Use Screen Time's 'Fingerprint/Face ID' or 'Passcode' to protect changes—some parents use Face ID to prevent kids from changing settings when the parent is asleep.
- •If your child is mature enough, involve them in setting their own limits—it creates ownership and reduces conflict.
⚠️ Warnings:
- •Screen Time isn't a guaranteed wall. Kids may use alternative devices or reset the iPhone settings if they know how. Keep the dialogue open, and consider using the 'Reset Screen Time Passcode' recovery option to regain control if they find a workaround.
▸Pro Tips
- •Use Family Sharing so you can manage your child's Screen Time from your own iPhone—no need to physically pick up their device.
- •Write your Screen Time passcode in a secure place. Without it, you'll be locked out of your own settings, and resetting can erase your data.
- •Pair Screen Time with physical boundaries, like a family charging station outside the bedroom. Many kids easily fall asleep to apps, but a fixed charging spot finalizes the digital curfew.
- •Set different limits for each child. Screen Time is individual, so a 7-year-old and a 14-year-old can have separate rules and budgets.
- •Customize downtime days: allow later weekends or different schedules on school nights. Kids are more likely to comply when limits feel fair.
- •Talk about 'why' you're setting limits. When children understand the health, focus, and safety reasons, they're far more cooperative than when limits feel like punishment.
- •Allow some flexibility: screen time shouldn't be a battle. Use the 'One More Minute' feature (when your child asks for an extension) as a negotiation tool once in a while.
- •Review your Screen Time settings after each iOS major update. Apple often adds new features or shifts menu items, and you don't want a loophole to slip in.
▸Common Mistakes to Avoid
- •Forgetting the Screen Time passcode or using an easy one like 1234. Remember to store it safely and use a non-obvious code.
- •Setting up Screen Time directly on the child's device without Family Sharing. While it works, you lose the ability to manage limits remotely or see usage from your own phone.
- •Not enabling content & privacy restrictions, relying only on app limits. This leaves your child free to browse adult websites and change privacy settings.
- •Forgetting to set Ask to Buy, allowing children to accidentally spend real money in the App Store or on in-app purchases.
- •Setting one generic set of limits for all children, ignoring age and maturity. A teenage child might feel untrustworthy, and a young child might be exposed to too much.
- •Never reviewing the limits. Kids outgrow them—or find new apps. Monthly reviews are essential to keep settings relevant.
- •Ignoring the 'Always Allowed' list, which can accidentally leave YouTube or a game accessible during all downtime hours.
▸Troubleshooting
Problem: Forgot the Screen Time passcode.
Solution: If you entered your Apple ID as the recovery account, tap 'Forgot Passcode?' and follow the prompts to reset it. If you didn't, you'll need to erase your iPhone and restore from a backup. After restoring, you can set a new passcode.
Problem: Screen Time restrictions aren't applying to my child's device even though Family Sharing is set up.
Solution: Check that the child is properly listed in Family Sharing and that you've selected their name inside Screen Time on your own device. Update both devices to the latest iOS and try toggling Screen Time off and on for that child.
Problem: Child can bypass Screen Time by changing the date/time.
Solution: Go to Content & Privacy Restrictions → Allow Changes → System Services → Date & Time and set it to 'Don't Allow'. Also, keep iOS up to date because Apple has patched many clock-changing exploits.
Problem: App limit is exceeded but the child can still open the app.
Solution: Confirm the app is not in the 'Always Allowed' list. Check that you selected the specific app or the correct category. Sometimes children can delete and reinstall the app—remove App Store installs under Content & Privacy Restrictions to prevent this.
Problem: I can't change Screen Time settings from my parent device.
Solution: Make sure you're signed in to the same Apple ID that is the family organizer. If you're still stuck, try toggling off and back on Screen Time (with your passcode) or restart both devices. For a forgotten passcode, use the Apple ID recovery option.
Family Charging Station for Multiple Devices
A central charging station keeps phones, tablets, and smartwatches in a common area overnight. This physical habit strongly reinforces Screen Time's Downtime feature, reducing late-night device use.
Best for: Place the station in your living room or kitchen and make it a rule that all devices 'sleep' there every night.
Price Range: $20–$60
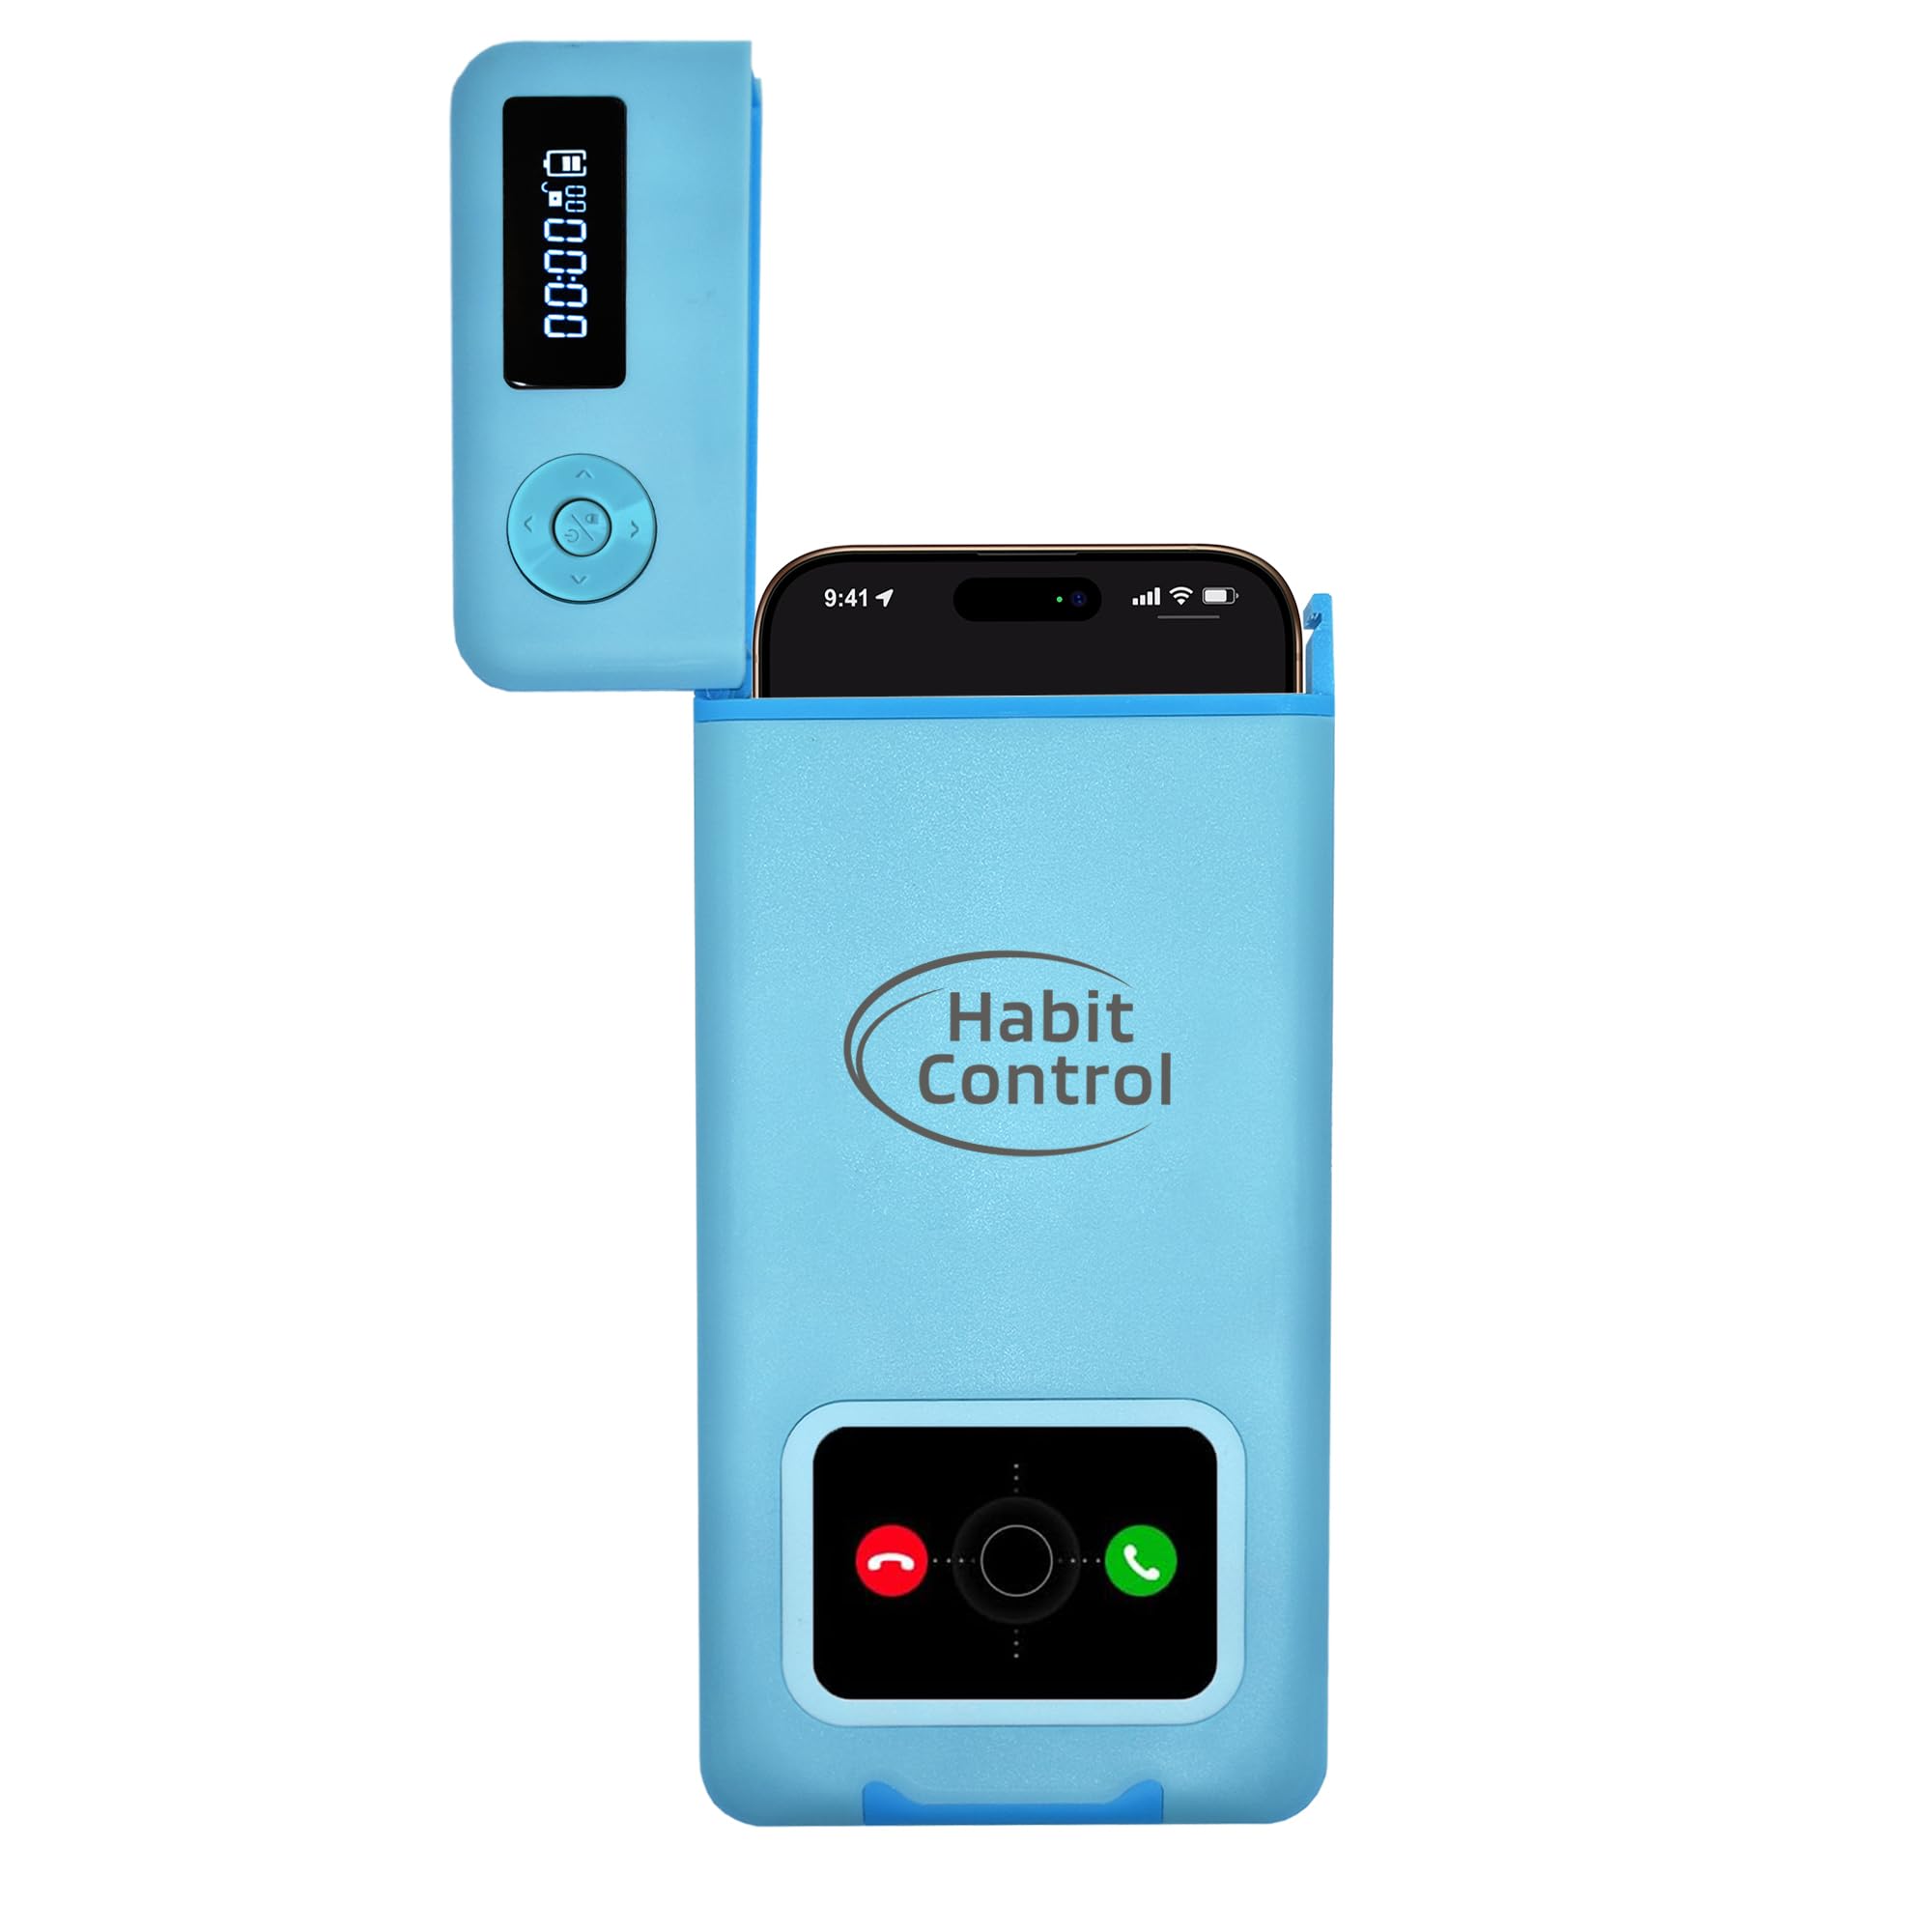
Time Lock Box for Cell Phones
Sometimes a digital limit isn't enough—especially for homework or family dinners. A timed lockbox lets your child place their phone inside for a set period, physically preventing use. It's a great visual reminder and teaches self-control.
Best for: Use it during study sessions, meals, or any time you want a phone-free block of time without constant reminders.
Price Range: $30–$80
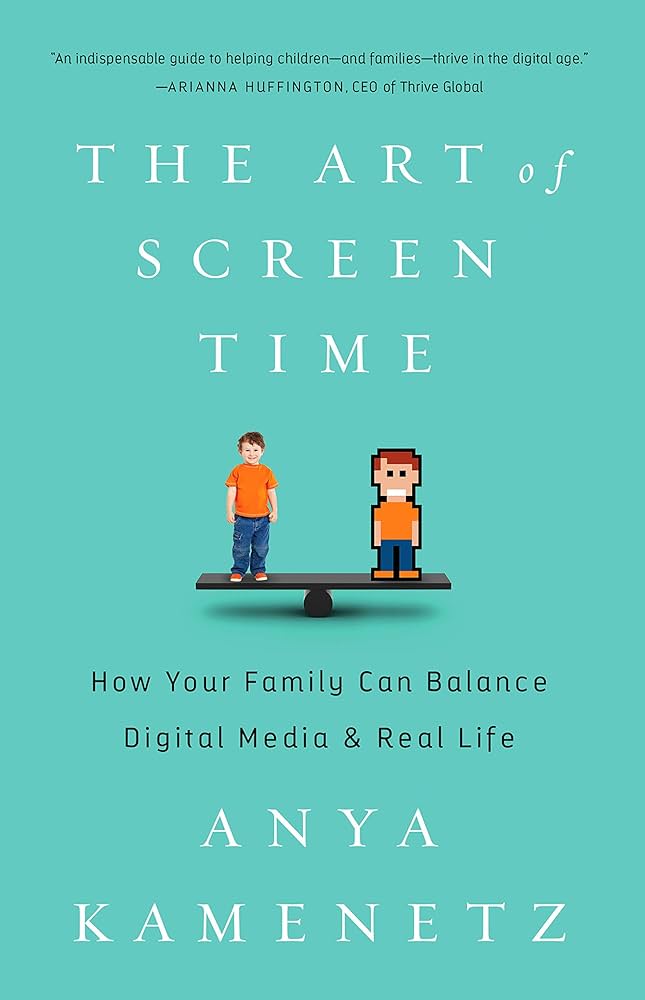
Digital Parenting Book – 'The Art of Screen Time'
Screen Time is just a tool; the real foundation is family rules. This research-based book offers practical strategies for balancing technology with healthy childhood development, helping you create a mindful digital environment.
Best for: Read it as a quick guide to design age-appropriate screen time boundaries and handle challenges like gaming addiction and social media.
Price Range: $10–$20
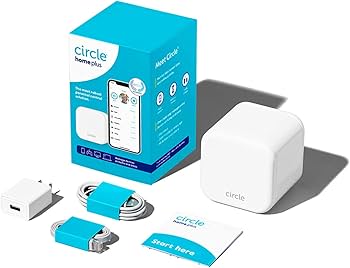
Parental Control Router (e.g., Circle Home Plus or Gryphon)
Screen Time only controls the iPhone. A smart router can filter content and pause the internet for every device in your home, including game consoles, smart TVs, and computers. It provides an extra layer of safety for tech-savvy kids who might try to use other devices.
Best for: Set it up in your home network and manage family profiles, bedtimes, and website filtering from one app.
Price Range: $100–$300
iPhone Privacy Screen Protector
While not a functional parental control, a privacy screen protector limits your child's ability to view content to the person directly in front of the screen. It can be helpful in public spaces to prevent others from seeing what your child is viewing.
Best for: Apply this to your child's phone if they use it on public transit or in other public places, reducing the risk of strangers seeing their on-screen activity.
Price Range: $10–$25