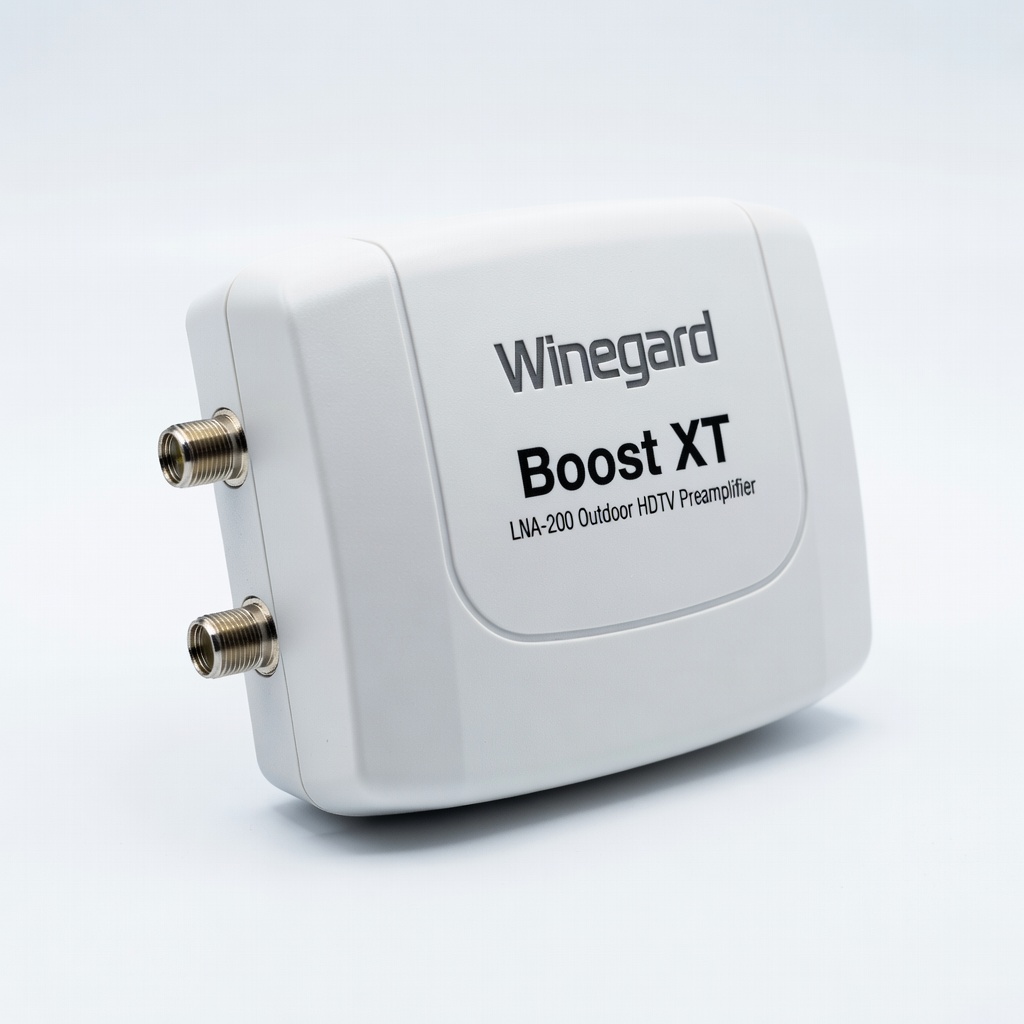
Winegard LNA-200 Boost XT Outdoor HDTV Preamplifier
General suburban installs 20-60 miles from towers.
$45-$55
Winegard LNA-200 Boost XT Outdoor HDTV Preamplifier Ultra-low noise (1dB) and 18dB gain make it ideal for weak signals without overload.
Get the App
Better experience on mobile
Improve your over-the-air TV signal with this step-by-step guide to installing antenna toppers for clearer channels and fewer dropouts.
Struggling with pixelated TV signals, dropped channels, or weak reception even after installing a good outdoor antenna? You're not alone—long cable runs from your antenna to your TV can degrade signals significantly. Antenna toppers (also called preamplifiers) mount directly on your antenna to boost the signal at the source, delivering stronger, more reliable reception.
In this guide, you'll learn how to safely install an antenna topper on your existing or new outdoor TV antenna. Expect crystal-clear HD channels from more stations. The process takes 45-90 minutes and is suited for intermediate DIYers comfortable with ladders and basic wiring.
We'll cover evaluation, mounting, wiring, powering, and testing. No prior electrical experience needed, but safety is key—work with a buddy if possible.
Estimated Time: 45-90 minutes Difficulty: intermediate
Start by assessing your current reception. Use a TV signal finder app or website like tvfool.com to check local broadcast towers, distances (under 50 miles ideal for toppers), and signal strength.
Identify your antenna's location (roof, attic, or pole) and cable run length—toppers shine for runs over 50 ft. Note if your antenna has a mast or boom for mounting the topper.
Success: You'll have a report showing target channels and expected signal levels post-install.
💡 Tips:
⚠️ Warnings:
Select a topper matching your needs: low-gain (15-20dB) for strong areas, high-gain (30+dB) for fringe. Ensure it's outdoor-rated with low noise figure (<3dB).
Unbox and inspect: power injector, cables, mounting hardware. Charge or test indoors if applicable.
Success: Topper powered on (LED indicator if available) and ready for mounting.
💡 Tips:
On a dry day, set up your ladder securely. Have a spotter. Turn off power to antenna if powered.
Climb to the antenna and clean the mounting area (boom or mast) of debris. Secure loose parts.
Success: You're at the antenna with all tools in a bucket on a rope—no wobbling.
⚠️ Warnings:
Attach the topper to the antenna's shortest boom or mast using U-bolts or included clamps—position it as close to elements as possible, facing towers.
Tighten securely but don't overtighten plastic housings.
Success: Topper firmly attached, cables dangling for next steps.
💡 Tips:
Strip coax ends: 1/2 inch center conductor, fold braid back. Crimp F-connectors.
Connect incoming signal coax (from antenna elements) to topper INPUT. Run output coax from topper to house.
Apply sealant tape to all connections.
Success: Cables securely connected, no exposed braid.
⚠️ Warnings:
Mount a grounding block near the topper output. Run ground wire to house ground or rod.
Connect output coax through the block.
Success: Lightning protection in place for safety.
💡 Tips:
Indoors near TV, connect power injector: Topper output coax to 'To Amp' port, house coax to 'To TV', AC adapter to outlet.
Power on—LED should light.
Success: Power flows to topper (test with multimeter if unsure).
Scan for channels on your TV. Adjust antenna/topper aim if needed—re-scan after changes.
Compare signal meters before/after.
Success: 20-50% more channels, stronger signal strength (80%+ quality).
💡 Tips:
⚠️ Warnings:
Problem: No signal boost or weaker reception
Solution: Check power LED on injector/topper. Verify coax continuity with multimeter. Bypass topper to test.
Problem: Snowy picture or interference
Solution: Reduce gain or add FM trap. Check for coax shorts. Re-aim away from noise sources like power lines.
Problem: Topper gets hot or fails
Solution: Improve airflow; check for shorted coax. Replace if >5 years old. Seek electrician for grounding issues.
Problem: Channels drop during rain
Solution: Re-seal all connections. Upgrade to flooded coax. Professional install if persistent.
Ultra-low noise (1dB) and 18dB gain make it ideal for weak signals without overload.
Best for: General suburban installs 20-60 miles from towers.
Price Range: $45-$55
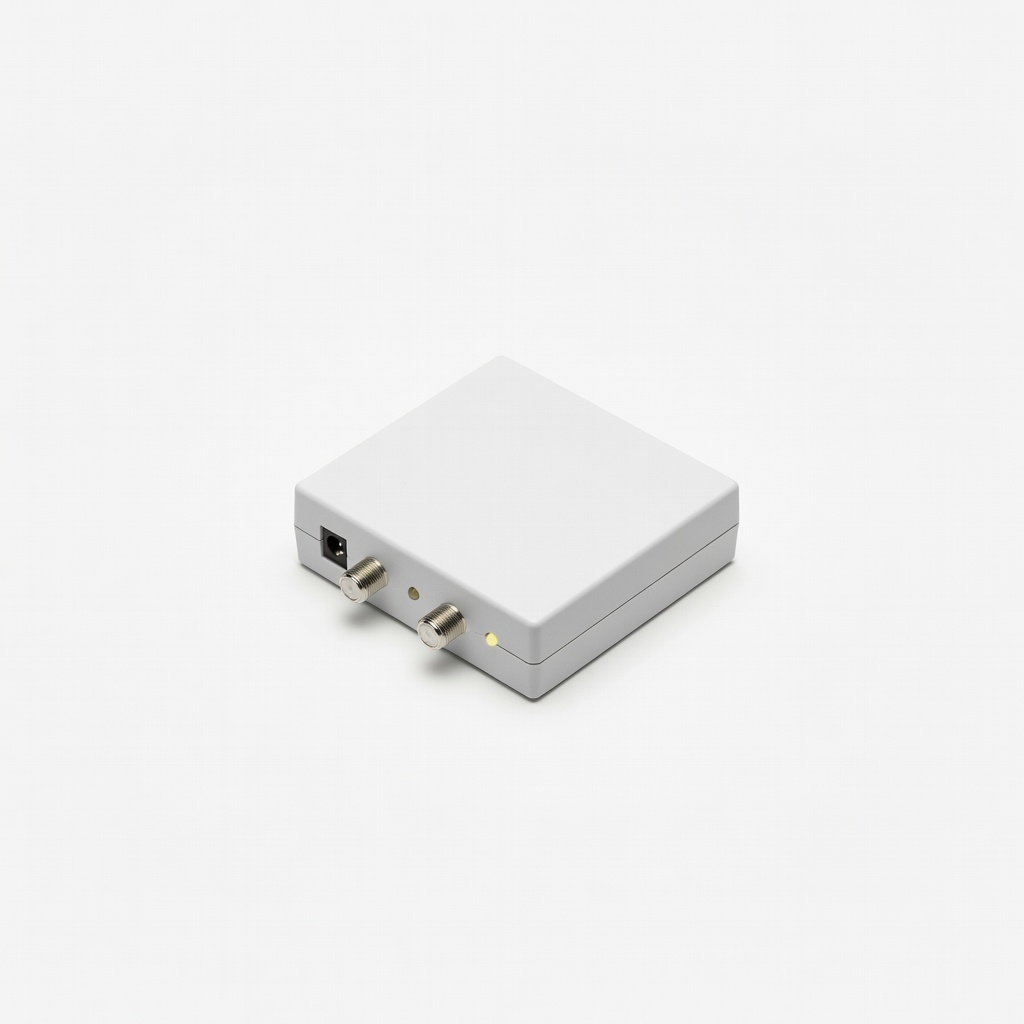
High 30dB gain with automatic gain control prevents overload in mixed signal areas.
Best for: Fringe reception or long cable runs (>100 ft).
Price Range: $60-$70
Budget-friendly with 20dB VHF/UHF boost and easy setup for beginners.
Best for: Short runs or urban strong-signal areas.
Price Range: $25-$35
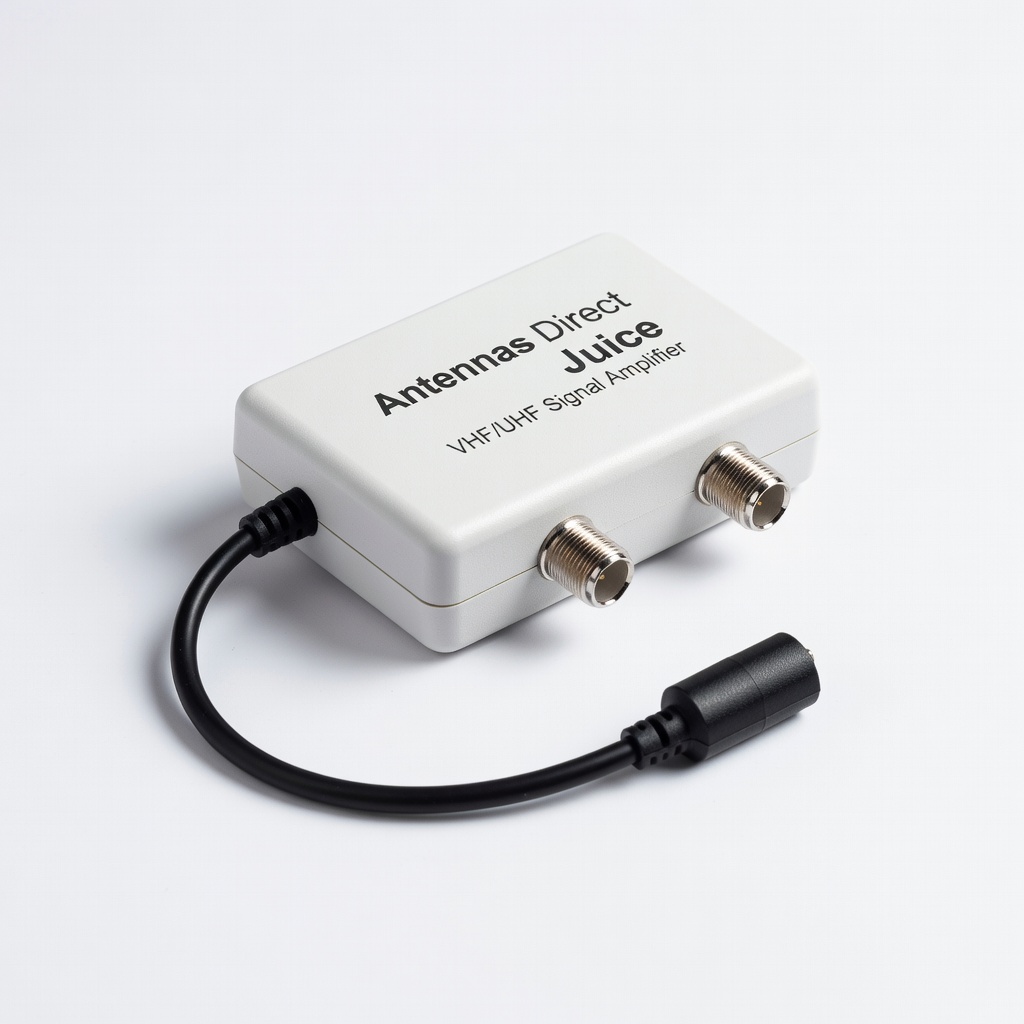
Modular design allows custom VHF/UHF combos; trusted brand for OTA enthusiasts.
Best for: Advanced users with separate VHF needs.
Price Range: $65-$75
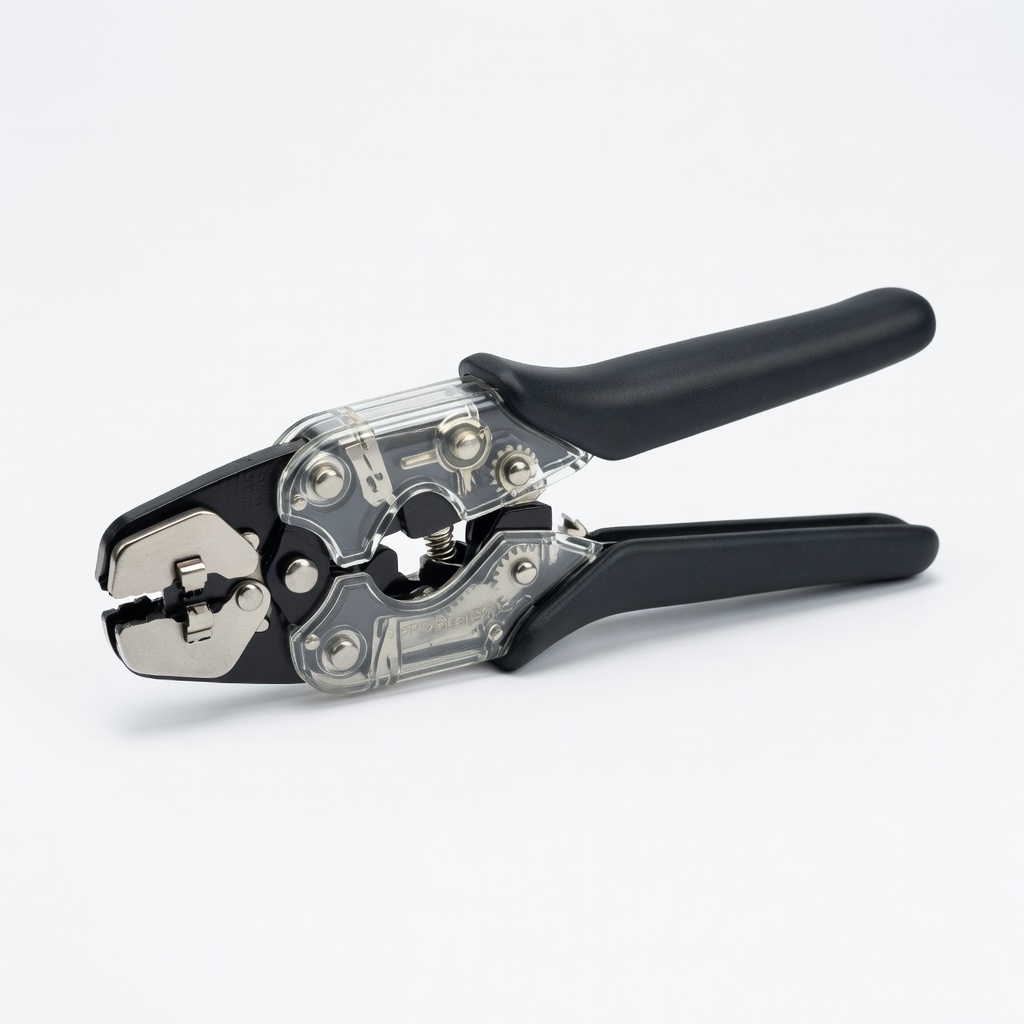
Precision tool for pro-grade F-connector crimps, essential for reliable connections.
Best for: Any install requiring custom coax cuts.
Price Range: $20-$30
General suburban installs 20-60 miles from towers.
Winegard LNA-200 Boost XT Outdoor HDTV Preamplifier Ultra-low noise (1dB) and 18dB gain make it ideal for weak signals without overload.

Fringe reception or long cable runs (>100 ft).
Channel Master CM-7777HD Amplify TV Antenna Preamp High 30dB gain with automatic gain control prevents overload in mixed signal areas.
Short runs or urban strong-signal areas.
RCA TVPRAMP12E Digital Antenna Preamplifier Budget-friendly with 20dB VHF/UHF boost and easy setup for beginners.
Advanced users with separate VHF needs.
Antennas Direct Juice VHF/UHF Signal Amplifier Modular design allows custom VHF/UHF combos; trusted brand for OTA enthusiasts.
Any install requiring custom coax cuts.
PPC ClearSAT-2 Coaxial Cable Stripper/Crimper Tool Precision tool for pro-grade F-connector crimps, essential for reliable connections.