If you still own an older TV that only picks up analog signals, you're missing out on the free over-the-air digital broadcasts that offer clearer pictures and more channels. The switch to digital TV happened years ago, but many households with legacy TVs need a simple solution like an analog-to-digital converter box to keep enjoying TV without buying a new set. This guide will walk you through the setup process, ensuring you can watch your favorite shows hassle-free.
In this step-by-step tutorial, you'll learn everything from unboxing the converter to scanning for channels. The whole process is straightforward, requiring no advanced technical skills—just basic cable connections and a bit of menu navigation. By the end, you'll have your TV tuned to digital signals, potentially saving hundreds on cable bills.
Expect the setup to take about 15-30 minutes, depending on your antenna quality and location. It's perfect for beginners, with clear instructions to avoid common pitfalls. Let's get your TV ready for the digital age!
▸What You'll Need
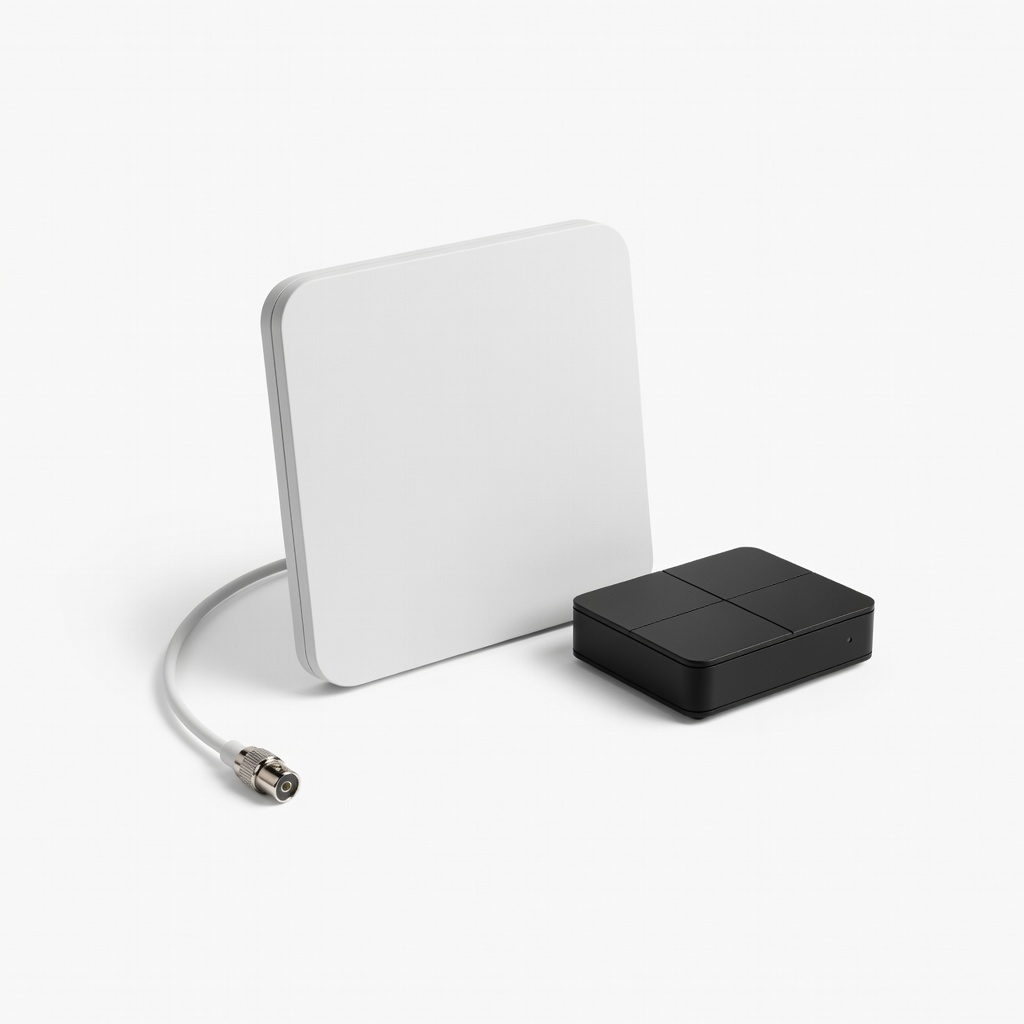
- •Analog-to-digital TV converter box (required)
- •Coaxial cable (usually included with the converter; required)
- •Outdoor or indoor TV antenna (required for signal reception)
- •Analog TV with coaxial input (your existing TV; required)
- •Power outlet and remote control (required)
- •Optional: RCA composite cables (if your TV lacks coaxial input)
- •Optional: HDMI cable (for converters with HDMI output, if your TV supports it)
Estimated Time: 15-30 minutes
Difficulty: beginner
▸Step-by-Step Instructions
Step 1: Unbox the Converter and Gather Materials
Start by carefully opening the packaging of your digital TV converter box. Inside, you'll typically find the converter unit, a remote control, batteries, a coaxial cable, and a user manual. Lay out all items on a flat surface near your TV setup area.
This step ensures you have everything needed before starting, preventing frustrating trips to the store mid-process. Check the manual for any model-specific notes—most converters are plug-and-play, but familiarizing yourself now saves time later. Success here looks like all components accounted for and ready to connect.
Why it matters: Missing parts can halt your progress, and the manual often includes troubleshooting tips tailored to your device.
💡 Tips:
- •Read the quick start guide first for any unique features.
- •Charge or insert batteries into the remote immediately.
⚠️ Warnings:
- •Avoid forcing any connections; if something doesn't fit, double-check the manual.
Step 2: Connect Your Antenna to the Converter
Locate the RF input port on the back of the converter box—it's usually labeled 'ANT IN' or similar. Attach one end of your coaxial cable to this port, then connect the other end to your TV antenna's output.
If using an indoor antenna, position it near a window for better signal; outdoor antennas may require mounting outside first. This connection feeds the digital signal from the airwaves into the converter, which translates it for your analog TV. Expect a secure twist-on connection; it should feel snug without tools.
Why it matters: A solid antenna link is crucial for receiving over-the-air signals. Without it, you'll get no channels during the scan.
💡 Tips:
- •For urban areas, a simple rabbit-ear antenna works; rural spots may need a powered outdoor one.
- •Test the antenna connection by gently tugging— it should hold firm.
⚠️ Warnings:
- •Don't use satellite or cable coax directly; this setup is for free broadcast TV only.
Step 3: Connect the Converter to Your TV
Find the coaxial output port on the converter (often labeled 'OUT TO TV') and connect another coaxial cable from there to your TV's RF input (usually on the back, labeled 'ANT' or 'VHF/UHF'). If your TV uses RCA inputs, use the provided AV cables instead for video and audio.
Power off both devices before connecting to avoid any electrical issues. This links the processed digital signal to your TV, allowing it to display channels as if it were native digital. Success: Cables are securely attached, and no loose ends dangle.
Why it matters: This is the bridge between old tech and new signals; improper connection leads to black screens or static.
💡 Tips:
- •Label cables if you have multiple to avoid confusion during future moves.
- •If HDMI is available on both, use it for sharper quality on compatible TVs.
⚠️ Warnings:
- •Ensure the TV is set to channel 3 or 4, as specified in the manual—mismatch causes no picture.
Step 4: Power On the Devices and Initial Setup
Plug the converter into a power outlet and turn it on using the power button or remote. Then, power on your TV and switch it to the correct channel (usually 3 or 4 for RF output).
You'll see the converter's startup screen or menu. Use the remote to navigate if prompted for initial language or region settings. This boots the system and prepares for channel scanning. Expect a welcome screen or auto-start scan on some models.
Why it matters: Proper powering ensures the converter initializes correctly, detecting your location for optimal channels.
💡 Tips:
- •Keep the remote handy; most controls are via IR, so point it directly at the box.
- •If no picture, double-check TV channel setting.
⚠️ Warnings:
- •Don't skip any on-screen prompts; they configure basics like time zone.
Step 5: Scan for Digital Channels
Access the menu on the converter using the remote (look for 'Menu' or 'Setup' button). Select the option to 'Scan Channels' or 'Auto Tune'—this may take 5-10 minutes as it searches for available broadcasts.
The scan detects ATSC digital signals in your area, adding them to the channel list. Position your antenna optimally during this; you might see a progress bar. Success: A list of channels appears, like local news on channel 2.1 or PBS on 13.1.
Why it matters: Scanning populates your TV with free content; without it, you'll have an empty guide.
💡 Tips:
- •Rescan monthly or after moving the antenna for updated signals.
- •In weak areas, scan during off-peak hours for better results.
⚠️ Warnings:
- •Interference from microwaves or Wi-Fi can disrupt; move away if possible.
Step 6: Test and Fine-Tune Reception
Exit the menu and browse channels using the remote's up/down arrows. Tune to a known local station and adjust the antenna position for the clearest picture and sound.
If signals are weak, rotate the antenna or use a signal meter app on your phone. This step verifies everything works and optimizes viewing. Expect crisp HD if available; otherwise, standard definition.
Why it matters: Good tuning prevents pixelation or dropouts, ensuring reliable watching.
💡 Tips:
- •Aim antenna toward broadcast towers—use FCC.gov's tower locator tool online.
- •For indoors, elevate the antenna above furniture.
⚠️ Warnings:
- •Over-tightening antenna mounts can damage ports; hand-tighten only.
Step 7: Save Settings and Enjoy
Once channels are clear, save any custom settings like favorite lists or closed captions via the menu. Turn off devices to test powering back on—channels should load quickly.
Your setup is complete! You've now converted your analog TV to digital, accessing free content like ABC, NBC, and more. Success: Seamless channel surfing without cable.
Why it matters: Finalizing locks in your configuration for daily use.
💡 Tips:
- •Program the remote to control TV volume if possible for one-remote convenience.
- •Update firmware via USB if your model supports it for new features.
⚠️ Warnings:
- •Avoid unplugging during scans to prevent incomplete lists.
▸Pro Tips
- •Position your antenna high and away from metal objects for 20-30% better signal strength.
- •Use the converter's signal strength indicator during setup to find the sweet spot quickly.
- •Label your TV's input channel (3 or 4) with tape for easy recall next time.
- •For multiple TVs, get a splitter but note it may weaken signals—test first.
- •Combine with a streaming device for hybrid setup, but keep the converter for locals.
- •Rescan channels seasonally as broadcasters adjust frequencies.
- •If in a fringe area, invest in an amplified antenna early to avoid frustration.
▸Common Mistakes to Avoid
- •Forgetting to set the TV to channel 3 or 4, leading to a blank screen—always verify in the manual.
- •Using the wrong cable type (e.g., Ethernet instead of coaxial), causing no connection—double-check ports.
- •Placing the antenna near electronics like routers, which interferes with signals—relocate for clarity.
- •Skipping the channel scan, resulting in no channels—always run it after connections.
- •Overlooking power source stability; use a surge protector to prevent damage from outages.
▸Troubleshooting
Problem: No picture or sound after connecting
Solution: Confirm TV is on channel 3 or 4, cables are secure, and devices are powered. Reseat connections and restart both.
Problem: Few or no channels found during scan
Solution: Reposition antenna toward towers (use online locators), rescan, or upgrade to a better antenna. Check for weather interference.
Problem: Pixelated or freezing video
Solution: Adjust antenna angle for stronger signal; if persistent, the location may need an outdoor amplified model. Seek pro install if DIY fails.
Problem: Remote not responding
Solution: Replace batteries, ensure line-of-sight to converter, and check for menu locks. Reset via manual if needed.
Problem: Converter overheats or shuts off
Solution: Ensure ventilation around the box; if ongoing, it may be faulty—contact manufacturer for warranty replacement.
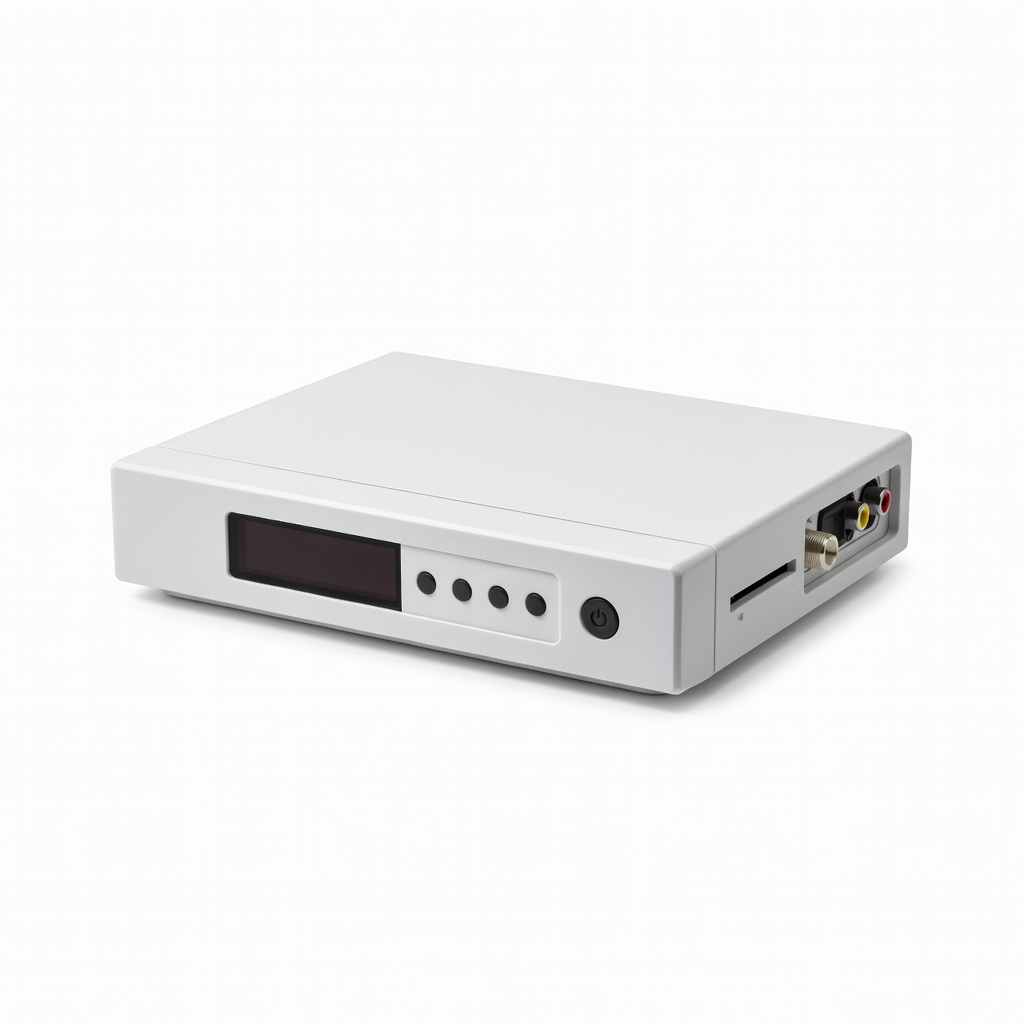
Mediasonic HomeWorx ATSC Digital Converter Box
Reliable and affordable for basic analog-to-digital conversion, with built-in recording via USB and clear HD support.
Best for: Ideal for beginners with older TVs wanting simple setup and DVR-like features for free channels.
Price Range: $25-$30
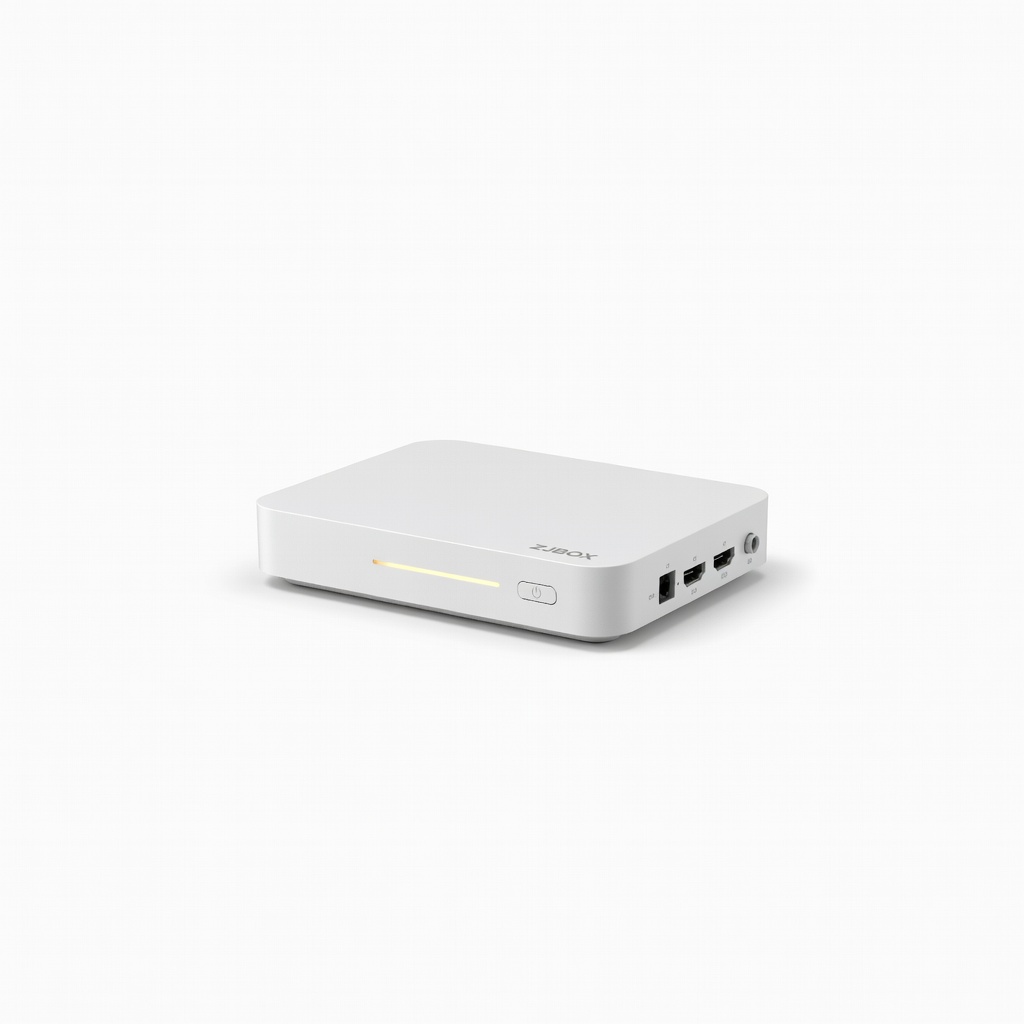
ZJBOX Digital TV Converter Box
Compact design with HDMI output option, making it versatile for both analog and some modern TVs; includes media player.
Best for: Great for users with mixed TV setups or wanting to play USB media alongside TV tuning.
Price Range: $20-$25
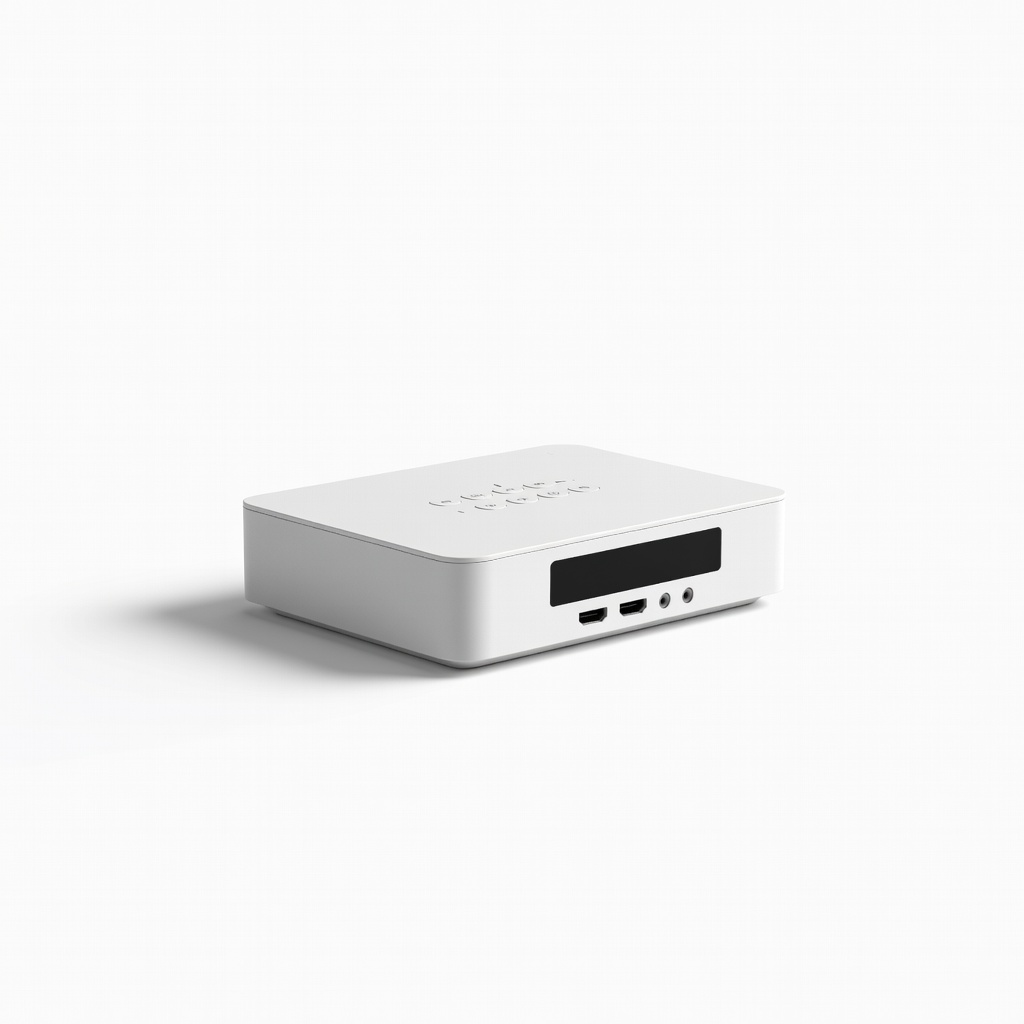
Leelooes Digital Converter Box for TV
Budget-friendly with strong signal reception and easy remote; supports 1080p upscaling for better analog TV quality.
Best for: Perfect for rural areas with weaker signals, where amplification helps pull in distant channels.
Price Range: $15-$20
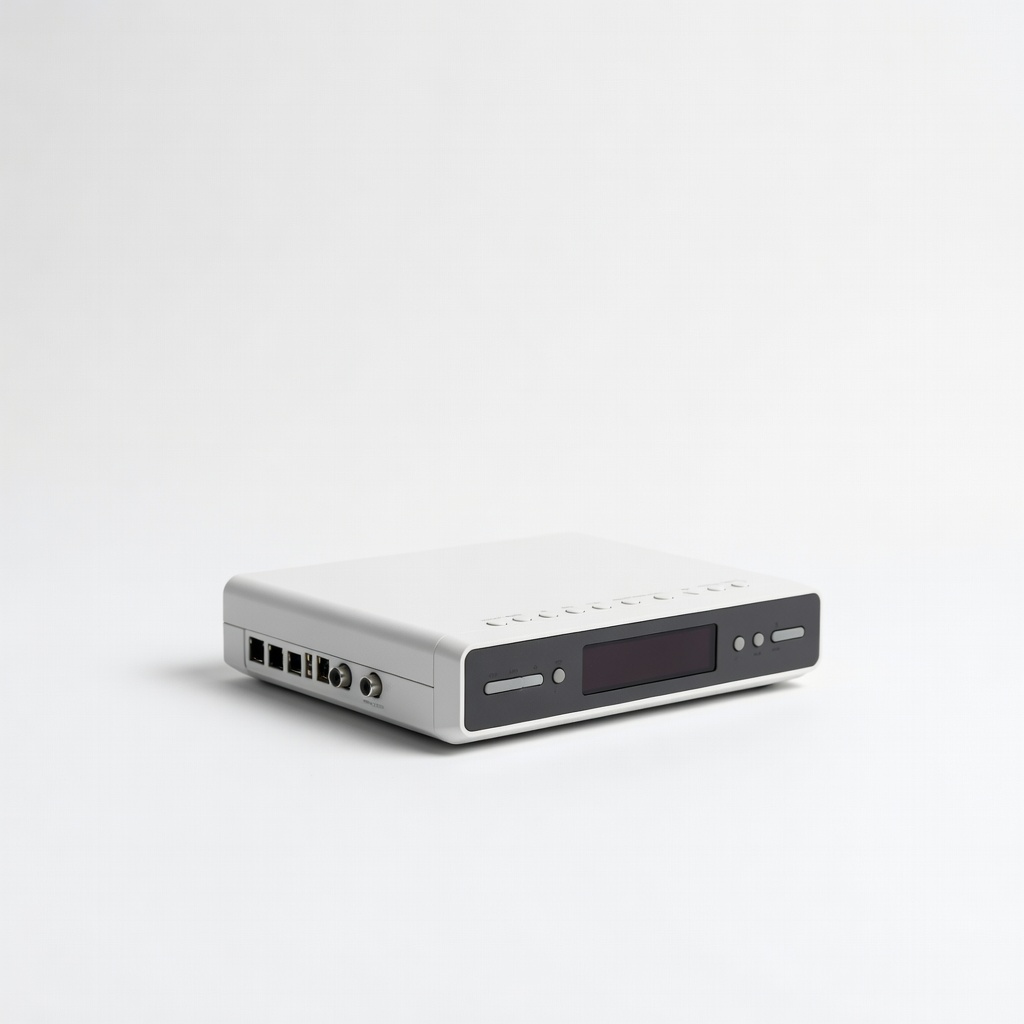
RCA Digital Converter Box
Trusted brand with straightforward setup and compatibility with most antennas; includes parental controls.
Best for: Suited for families needing channel locking features alongside basic conversion.
Price Range: $30-$40
Winegard FlatWave Amplified Antenna (pairs well with converters)
Excellent indoor antenna for boosting signals to the converter, covering up to 50 miles with low noise.
Best for: Recommended when built-in antennas fail; amplifies weak signals for urban apartments.
Price Range: $40-$50