In a world of streaming services and cable bills, many households still own older analog TVs that can't receive modern digital broadcasts. Since the 2009 digital TV transition, over-the-air signals are digital only, leaving analog sets in the dark without help. This guide solves that by showing you how to set up a simple antenna system with a DTV converter box, saving money on subscriptions while accessing local news, sports, and shows in HD.
You'll learn the basics of digital TV signals, what equipment to use, and a step-by-step process to get your setup running. No technical expertise required—this is beginner-friendly, focusing on safe, straightforward connections. By the end, you'll enjoy crystal-clear broadcasts without monthly fees.
Expect the whole process to take 30-45 minutes, depending on your setup. It's mostly plug-and-play, but we'll cover positioning your antenna for the best signal. Let's turn your vintage TV into a modern receiver!
▸What You'll Need
- •Digital-to-Analog Converter Box (DTV converter, required for analog TVs)
- •Indoor or outdoor TV antenna (required; choose based on your location)
- •Coaxial cable (at least 10-20 feet, required for connections)
- •Old analog TV with antenna input (required)
- •Remote control for the TV and converter (usually included)
- •Optional: Amplifier if in a weak signal area
- •Optional: Electrical outlet near your TV
Estimated Time: 30-45 minutes
Difficulty: beginner
▸Step-by-Step Instructions
Step 1: Gather and Unpack Your Equipment
Start by collecting all the items from your 'What You Need' list. Unbox the DTV converter box, antenna, and cables. Check for any included manuals or accessories like power adapters.
This step ensures you have everything ready, preventing mid-setup trips to the store. Lay out the components on a flat surface near your TV for easy access. The converter box is a small device that translates digital signals to analog for your old TV—it's the heart of this system.
Success looks like all parts accounted for, with no missing cables. If something's absent, contact the manufacturer.
💡 Tips:
- •Read the quick-start guide first for model-specific quirks.
- •Test the TV power beforehand to confirm it works.
⚠️ Warnings:
- •Avoid forcing connections; they should fit snugly.
Step 2: Position and Connect the Antenna
Place the antenna in a spot with a clear view of the outside, like near a window or higher up on a wall. For indoor antennas, avoid metal surfaces or electronics that could interfere. Connect one end of the coaxial cable to the antenna's output port.
Why this matters: Antenna placement directly affects signal strength—digital signals need line-of-sight to broadcast towers. Use online tools like FCC's DTV Reception Maps to find tower directions in your area.
Expect to adjust later if reception is spotty. Secure the antenna with tape or brackets if needed for stability.
💡 Tips:
- •Aim the antenna toward local broadcast towers for better results.
- •For rural areas, consider an outdoor model for stronger signals.
⚠️ Warnings:
- •Don't run cables near power lines to avoid interference.
Step 3: Connect the Antenna to the DTV Converter
Take the other end of the coaxial cable and plug it into the 'Antenna In' or 'RF In' port on the back of the DTV converter box. This feeds the digital signal from the antenna into the box.
The converter decodes ATSC digital signals (standard for US broadcasts) into analog for your TV. Ensure the connection is tight to prevent signal loss.
Success: The cable is securely attached, and the box's ports are clearly labeled. Power on the converter if it has a switch.
💡 Tips:
- •Use a high-quality coaxial cable to minimize signal degradation.
- •Label cables if you have multiple for future ease.
⚠️ Warnings:
- •Mismatched cables (e.g., using HDMI) won't work—stick to coaxial.
Step 4: Link the Converter to Your TV
Use another coaxial cable to connect the 'RF Out' or 'TV Out' port on the converter to the antenna input (usually labeled 'ANT' or 'VHF/UHF') on your analog TV. If your converter has composite outputs (RCA yellow/white/red), use those for better video quality on TVs with AV inputs.
This step bridges the digital-to-analog gap. Tune your TV to channel 3 or 4 (as specified in the converter manual) to view the converter's output.
Expect a blue screen or menu on the TV once powered on, indicating connection.
💡 Tips:
- •Switch TV to channel 3 first, then power on the converter.
- •For color TVs, RCA connections provide sharper pictures than RF.
⚠️ Warnings:
- •Power off all devices before connecting to avoid shorts.
Step 5: Power Up and Scan for Channels
Plug in the converter box and TV, then turn them on. Use the converter's remote to access the menu and select 'Channel Scan' or 'Auto Tune.' This searches for available digital channels, which can take 5-10 minutes.
Scanning builds a list of local stations like ABC, NBC, and PBS in HD. Why it matters: Without scanning, you'll see no channels.
Success: A list of channels appears, with live TV on the first one. Rescan periodically if signals change.
💡 Tips:
- •Scan during off-peak hours for fewer broadcast glitches.
- •Note down strong channels for antenna tweaks.
⚠️ Warnings:
- •Don't interrupt the scan; it may need to restart.
Step 6: Test and Optimize Reception
Flip through channels to check clarity. If some are pixelated, reposition the antenna or add an amplifier. Adjust volume and settings via the converter menu.
Optimization ensures reliable viewing. Expect 10-50 channels depending on location—urban areas get more.
Final success: Clear, consistent HD broadcasts without cable.
💡 Tips:
- •Use a signal meter app on your phone to fine-tune antenna angle.
- •Secure loose connections if static occurs.
⚠️ Warnings:
- •Strong weather can affect signals; indoor antennas may underperform in storms.
▸Pro Tips
- •Mount the antenna as high as possible for better line-of-sight to towers.
- •Use zip ties to organize cables and reduce clutter.
- •Enable closed captions in the converter menu for accessibility.
- •Rescan channels after moving the setup or seasonally.
- •Pair with a streaming device for non-broadcast content without replacing the TV.
- •Invest in a powered amplifier for fringe reception areas to boost weak signals.
- •Label your TV's channel 3/4 setting to avoid confusion with other inputs.
▸Common Mistakes to Avoid
- •Placing the antenna near metal objects or walls, which blocks signals—avoid by choosing open spots.
- •Forgetting to scan channels after setup, leading to a blank screen—always run the auto-tune.
- •Using damaged or low-quality cables, causing signal loss—inspect and replace if frayed.
- •Powering on in the wrong order (TV first, then converter)—this can prevent detection; follow sequence.
- •Ignoring location-specific tower directions, resulting in poor reception—use online maps first.
▸Troubleshooting
Problem: No signal or blank screen after scanning
Solution: Check all connections, rescan channels, and reposition the antenna toward towers. Ensure TV is on channel 3 or 4.
Problem: Pixelated or intermittent picture
Solution: Move the antenna higher or to a window; add an amplifier if in a rural area. Avoid interference from microwaves or Wi-Fi routers.
Problem: Converter won't power on
Solution: Verify the outlet works and adapter is secure. Try a different outlet. If persists, check warranty for replacement.
Problem: Only a few channels detected
Solution: Confirm antenna is suitable for your area (indoor vs. outdoor). Use FCC map to verify available channels and adjust direction.
Problem: Audio but no video
Solution: Ensure RF output is set correctly and cables are tight. Switch to channel 3/4 on TV. Test with RCA if available.
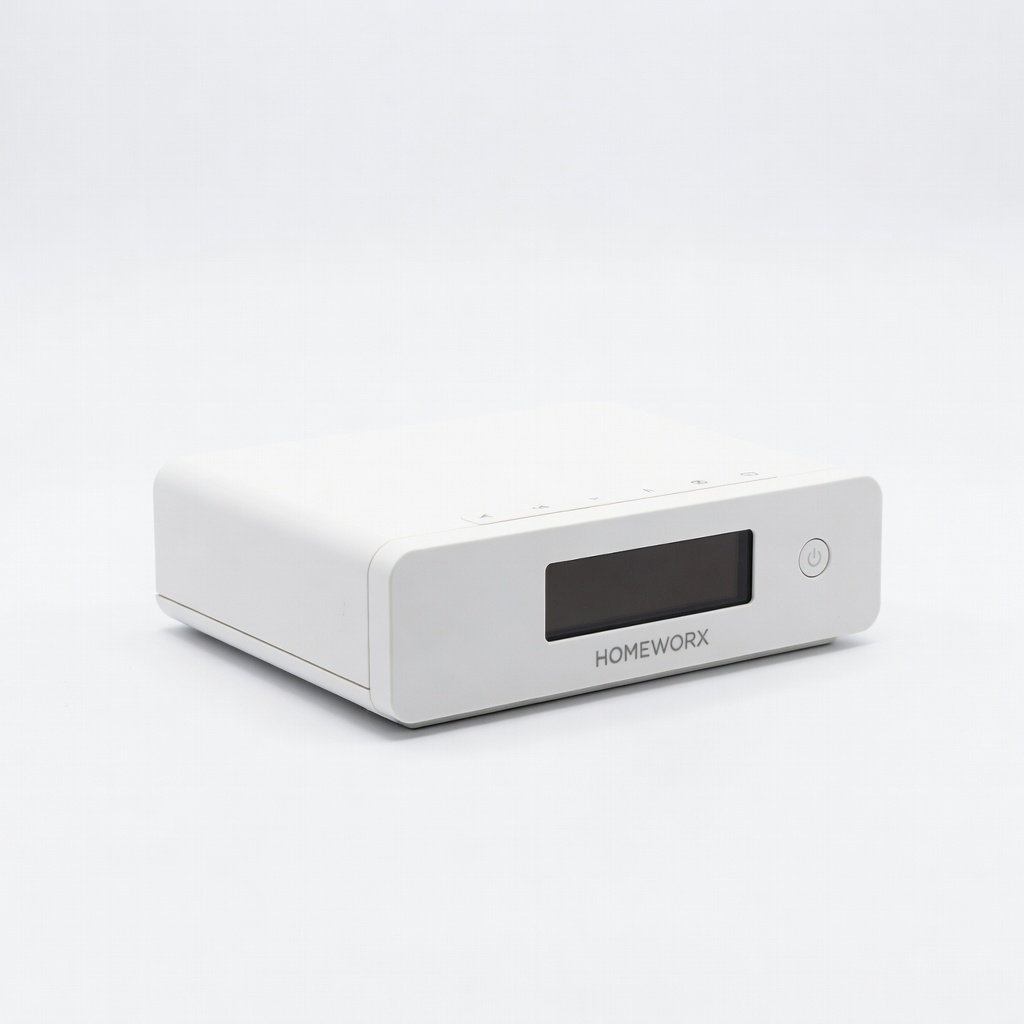
Mediasonic ATSC Digital Converter Box (HOMEWORX)
Reliable and affordable converter that supports 1080p HD passthrough and includes a remote for easy channel management.
Best for: Ideal for basic analog TV upgrades in urban areas with strong signals.
Price Range: $35-$40
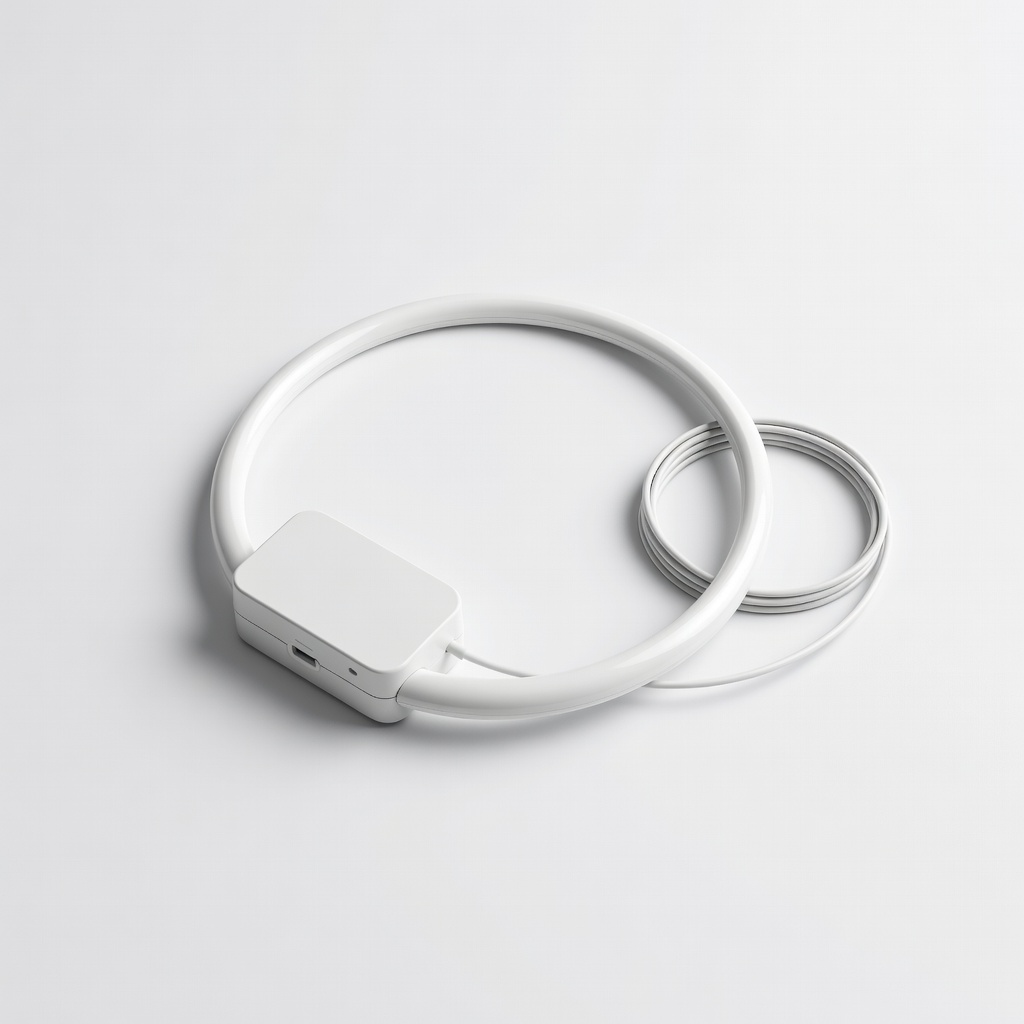
Antennas Direct ClearStream Eclipse Amplified TV Antenna
Multi-directional design captures signals from all directions without needing precise aiming, perfect for beginners.
Best for: Best for indoor setups in apartments or homes with obstructed views.
Price Range: $50-$60
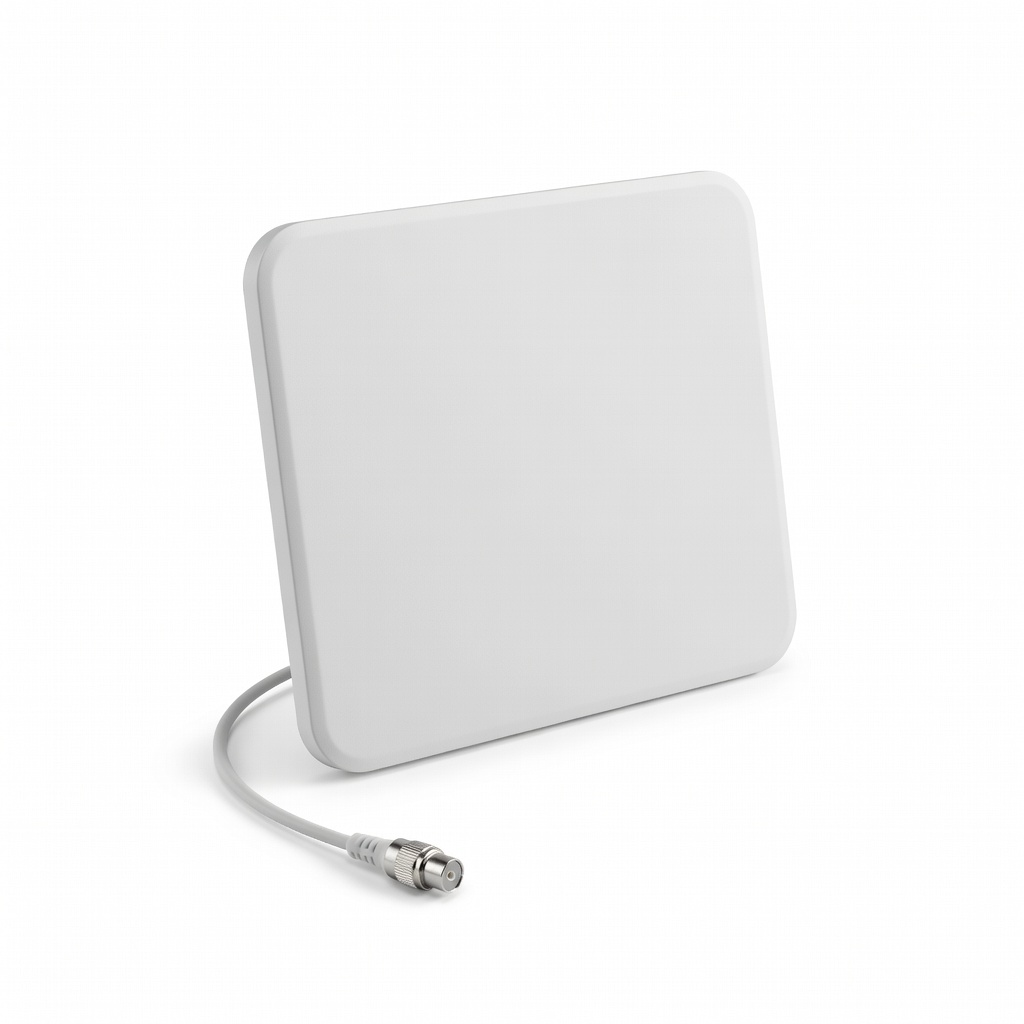
RCA ANT2100E Indoor Flat Multi-Directional TV Antenna
Compact, peel-and-stick option with 50+ mile range, easy to install without tools.
Best for: Great for small spaces or temporary setups on a budget.
Price Range: $20-$25
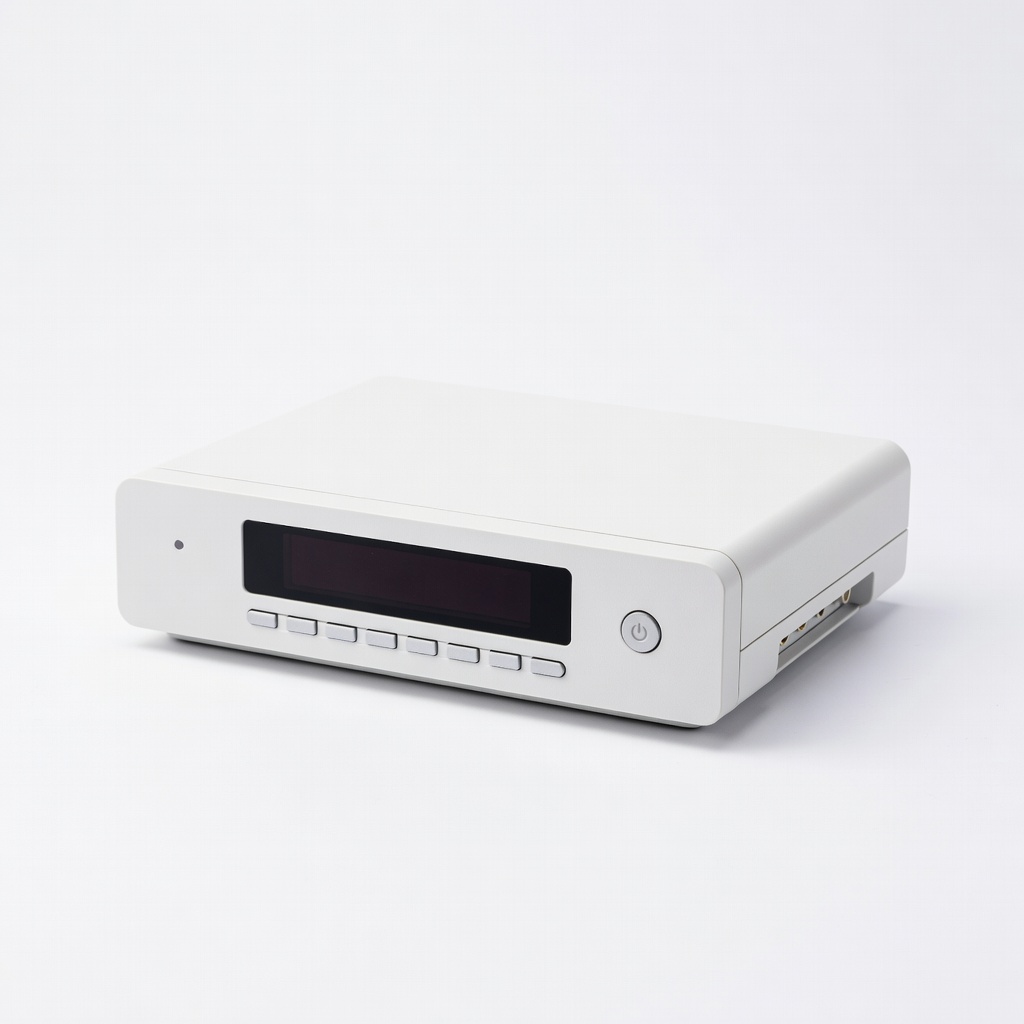
ViewTV ATSC Digital Converter Box
Supports recording via USB and has dual tuners for watching one channel while recording another.
Best for: For users wanting DVR-like features on older TVs.
Price Range: $45-$55
Winegard FlatWave Amped FL5500 Antenna
Built-in amplifier boosts weak signals up to 50 miles, with reversible design for aesthetics.
Best for: Recommended for suburban or rural areas with marginal reception.
Price Range: $40-$50