An adjustable bench is the single most versatile piece of equipment in a home dumbbell setup, but only if it's assembled correctly. A bench with a loose bolt or a half-engaged locking pin is an injury waiting to happen — just a few minutes of careful setup can make the difference between a lifelong piece of gear and a wobbly hazard.
This beginner-friendly guide walks you through the complete setup process: unboxing, identifying parts, bolting the frame together, adjusting and locking the backrest, and running a final safety check. You'll also learn the common assembly mistakes to avoid and how to fix the most frequent issues like wobbles and squeaks.
Most consumer adjustable benches follow the same simple mechanical design, so the steps here apply to almost every popular model on the market. Plan on about 30 minutes from box to first rep — no special skills or heavy tools are required.
▸What You'll Need
- •Adjustable bench (yours to assemble)
- •Manufacturer's assembly manual (paper or digital)
- •Included Allen key / hex wrench (or your own socket set)
- •Blue thread-locking compound (Loctite 242 or similar) — optional but recommended
- •Silicone spray or dry lubricant for pivot points
- •Clean cardboard or moving blanket to protect the floor
- •Magnetic parts tray or a few small bowls to organize hardware
- •Small torque wrench (only if the manual specifies torque values)
- •Rubber gym mat for the final placement (recommended)
Estimated Time: 30-45 minutes
Difficulty: beginner
▸Step-by-Step Instructions
Step 1: Prepare a Level, Open Assembly Space
Clear a generous workspace of at least 6 × 8 feet in the room where you plan to use the bench. Lay down a moving blanket, old sheet, or the large pieces of the shipping box to protect both the bench frame and your floor from scrapes. A garage or spare room with a flat, level floor is ideal; carpet can make the bench rock slightly, so a hard surface is better for both assembly and future workouts.
Read the entire assembly manual before opening the hardware bags. Most bench manuals show a parts diagram, a hardware chart, and a few simple step illustrations. Take a photo of the diagram with your phone so you can zoom in while working. Having a second person nearby is helpful for holding heavy pads in place, but is not required for most models.
💡 Tips:
- •Choose a well-lit area near an electrical outlet in case you need a work light.
- •Save the box and its cardboard panels — they make excellent padding for the frame pieces.
⚠️ Warnings:
- •Do not assemble the bench on a soft surface like a bed or couch, even temporarily — the frame can bend or scratch.
Step 2: Unbox and Inventory All Parts
Open the box and remove all packing materials, then lay out each component so you can see it at a glance. You should have: the main frame (often two or three pieces), the seat cushion, the backrest cushion, a hardware bag, and the adjustment mechanism (pop-pin or ladder hook) already attached to the frame.
Compare every part against the manual's parts list. Note the number of bolts, washers, and Allen keys you're supposed to have. If anything is missing or visibly damaged, stop here and contact the retailer or manufacturer — do not rig a substitute bolt from a hardware bin, because non-specified fasteners can fail under load.
💡 Tips:
- •Place the seat and backrest pads face down on a clean towel to protect the vinyl.
- •Take a photo of the opened hardware bag layout too, for later reference.
⚠️ Warnings:
- •Nylon washers and thin metal washers look similar. Separate them by size so you don't mix them up.
Step 3: Identify the Frame Pieces and Adjustment Type
Before bolting anything, walk your eyes and hands over each frame piece. You'll be dealing with three main components on most benches: the base/foot (an H-shaped or U-shaped tube), the vertical seat post, and the angled backrest support arm. Some budget benches arrive fully welded as one frame with a seat and backrest that you bolt on separately; others are a two-piece frame where the backrest slides onto the seat pivot.
You'll also identify your locking style: a spring-loaded pull-pin that snaps into a hole, a ladder lock where the backrest arm hooks onto a series of metal teeth, or a simple cotter-and-wedge system. Whichever style you have, locate the release mechanism and confirm it moves freely before you attach the pads.
💡 Tips:
- •Rub a drop of machine oil or silicone spray on the pin or pivot area now, while it's easy to reach.
- •Position the frame on the floor so the adjustment teeth/ladder face the back side, away from the seat.
⚠️ Warnings:
- •If any weld looks cracked or the frame appears bent out of shape, do not assemble it.
Step 4: Assemble the Base and the Seat Support
If your bench has a separate base and seat post, slide the post into the base's mounting socket and align the pre-drilled holes. Insert all four bolts by hand first — do not thread each one and tighten it as you go or the bracket can bind at an angle. When every bolt is started, snug them alternately in an X-pattern so the joint seats squarely.
If your bench is a one-piece welded frame, skip this and simply place the frame upright; you're ready for the seat pad. Regardless of design, apply a small dab of medium-strength thread locker to bolts that will be visible on the pivot joint — these are the bolts that hold the moving parts.
💡 Tips:
- •For hard-to-reach bolts, a short 3/8-inch drive ratchet with an extension beats a long Allen key.
- •Use a magnetic parts tray to keep bolts sorted by step.
⚠️ Warnings:
- •Do not fully torque the bolts down yet — you'll re-tighten everything after aligning the pads.
Step 5: Mount the Seat Bracket and Seat Cushion
Now for the seat assembly. On most benches, a seat bracket slides over the vertical post from the top, or a seat pad bolts directly to a flat metal flange. If the pad slides onto a bracket, push down until the pad's edge aligns flush with the frame.
If the seat uses bolts, start all four (or two) bolts by hand through the cushion's backing plate into the bracket. Use the washers exactly as shown in the manual — some benches use a nylon washer to prevent squeaks and to give the vinyl a buffer. Tighten until the pad no longer twists when you grab its edge, but still feels padded. Leave about one millimeter of play at this stage; final tightening comes in step 7.
💡 Tips:
- •Sit on the bare frame once the seat is mounted to check that it points straight forward, not off to one side.
⚠️ Warnings:
- •Don't let the vinyl pad scrape against sharp metal edges during installation.
Step 6: Mount the Backrest Bracket and Back Cushion
The backrest is the part that makes this an adjustable bench, so give it extra attention. If the backrest pad slides onto a long support arm, work it on slowly and keep the padded surface away from any sharp edges on the adjustment mechanism. For bolt-on designs, line up the pad over the backrest bracket, holding it by the edges.
Insert the bolts through the back pad, starting with the bottom two, then the top two. Before you fully tighten, test the adjustment: lift the pull-pin or release the ladder hook and pivot the backrest through its full range — flat, 30°, 45°, 90°, and decline if available. Watch that the bolts don't catch on the ladder teeth or pin path.
💡 Tips:
- •If the backrest feels heavy, have a helper support the underside while you insert the bolts.
⚠️ Warnings:
- •A backrest that's mounted backwards (so the seat pad is at the wrong end) is very common. Check the pad label or manual before tightening.
Step 7: Tighten All Bolts with the Right Tools
Go through the bench and torque every bolt to its proper snugness using the included Allen key or a socket wrench. Most consumer bench hardware is M8 or M10 metric bolts; tighten them firmly so the ratchet starts to click or resist, then add a quarter turn. Do not lean on a breaker bar and do not use an impact driver for final tightening — you can easily strip threads in the frame, especially on aluminum models.
If your manual gives a torque figure (a Newton-meter or foot-pound value), use a small click-style torque wrench to set it exactly. For most other benches, a hand-tight plus quarter turn with a 1/4-inch drive ratchet gives the right tension. After the first two workouts, check the bolts again — brand-new frames 'settle' and bolts can loosen slightly.
💡 Tips:
- •Blue (medium-strength) thread locker is the safe choice for any bolt that supports your body weight; it stays removable.
- •Mark a tiny line with a paint pen across the bolt head and frame to visually spot loosening later.
⚠️ Warnings:
- •Do not overtighten seat and backrest bolts — you'll compress the foam and create a hard spot in the padding.
Step 8: Test Every Adjustment Position
Now cycle the bench through all of its positions as the manufacturer intended. For a pop-pin bench, pull the spring-loaded pin, move the backrest to a new hole, and watch the pin snap in all the way. For a ladder-lock bench, lift the backrest slightly to disengage the hook, move to the next rung, and let it drop into place; it should seat with a solid click.
At each setting, press down on the backrest with both hands to feel for any movement or slop. Rock the entire bench side to side. A correctly engaged lock will not move more than a few millimeters under hand pressure. Test the seat adjustment too if your model has one.
💡 Tips:
- •Test with your bodyweight by leaning on the bench, but avoid dropping to a full lying position until step 9.
⚠️ Warnings:
- •If the pop-pin does not fully engage (you can see the pin still half-out), do not use the bench — adjust the hole alignment and try again.
Step 9: Perform a Weight and Stability Test
With all adjustments working, place the bench flat and try your first simulated rep. Sit on the seat with your feet flat, then press down on the backrest beside you. Feel for rocking, clunking, or creaking. Repeat sitting at the edge of the seat in the top incline position, where the bench experiences the most leverage.
Next, lie on the bench with a light dumbbell (10–20 lbs is plenty) resting on your chest and roll your bodyweight from one side to the other. A stable bench should feel like a solid rock with no audible clicks. If something feels off, go back to step 7 and re-check bolts and lock engagement.
💡 Tips:
- •A level placed on the seat will tell you if the floor is the source of a wobble.
- •Use a spotter to help you balance the dumbbell during this test.
⚠️ Warnings:
- •Do not perform this test while the bench is on carpet or a thick pad; the results will be misleading.
Step 10: Place the Bench and Do a Pre-Workout Safety Check
Finally, move the bench to its permanent spot — ideally on a rubber mat or firm exercise flooring rather than directly on carpet. Give the whole bench one final walk-through: every bolt tight, every pad secure, every pin and hook sharp and clean, and no residual packing foam obstructing the hinges.
Then warm up with light dumbbells and execute your first workout: a gentle flat press, an incline press, and a decline crunch. Listen for new squeaks, which usually mean a pivot needs a drop of lube. Keep the manual (or a photo of it) within reach, and plan to re-tighten the bolts after the first week — this is the single most important habit to keep your bench safe for years.
💡 Tips:
- •Write the tightening date on a masking tape label on the underside of the bench frame.
- •Take a printed or digital copy of the manual's spare parts section in case you need replacement bolts.
⚠️ Warnings:
- •Never exceed the weight capacity printed on the bench — overloading the frame is a common cause of failure.
▸Pro Tips
- •Select a hard, level surface for the bench and keep a rubber mat under it — this prevents both rocking and scratches.
- •Always start bolts by hand before reaching for any tool; hand-starting avoids cross-threading and keeps the bracket aligned.
- •Use blue thread locker (Loctite 242) on pivot and support bolts; it dries to a grippy finish that still lets you loosen bolts later.
- •Keep a small magnetic parts tray or paper plate near the work area and sort hardware into size groups.
- •Mark bolt heads with a paint pen; if the line is misaligned after a workout, you know it's time to tighten.
- •Re-tighten every fastener after the first three workouts — new benches 'settle' as the frame seats and foam compresses.
- •Apply silicone spray or dry Teflon lube to pivots and the pop-pin shaft; never oil the vinyl pads.
▸Common Mistakes to Avoid
- •Skipping the manual and then mounting the backrest backwards or upside down — always confirm the padded side faces the seat.
- •Tightening each bolt as you place it, which pulls the bracket into a skewed position — start all bolts, then tighten in an X-pattern.
- •Using a power drill or impact driver at full speed, which strips threads or cracks the frame — hand tools only for final tightening.
- •Testing the bench without the lock pin fully engaged — a half-seated pin can slip, causing the backrest to slam down mid-rep.
- •Placing the bench on an uneven, soft, or slippery floor — wobble that seems like a bench defect is often just a bad flooring choice.
▸Troubleshooting
Problem: The bench wobbles after assembly.
Solution: Check that every bolt is snug and that the floor is level. A rubber mat or hardboard shim under a low leg usually eliminates rocking. If the frame itself is warped, contact the manufacturer.
Problem: The backrest won't lock into place.
Solution: Move the backrest slightly up or down while engaging the ladder hook, or pull the pop-pin all the way out before repositioning. If the pin still won't seat, check for a burr or a small piece of packing foam blocking the hole.
Problem: Squeaking noises when I change positions.
Solution: Apply a drop of silicone spray or dry lube to the pivot point and the moving pin; do not use an oil that can drip on the pad or carpet.
Problem: Bolts keep loosening after a few workouts.
Solution: Remove the bolt, apply blue thread locker, re-tighten to a firm snug, and let it cure for 24 hours. Mark the bolt with a paint pen to monitor.
Problem: The seat pad twists or feels loose.
Solution: Tighten the pad bolts in a criss-cross pattern, and check that no washers are missing. If the backing plate is cracked, order a replacement from the manufacturer.
Problem: A weld is cracked or the frame looks bent.
Solution: Stop using the bench immediately and contact the manufacturer for a warranty claim — do not attempt to weld or improvise a repair at home.
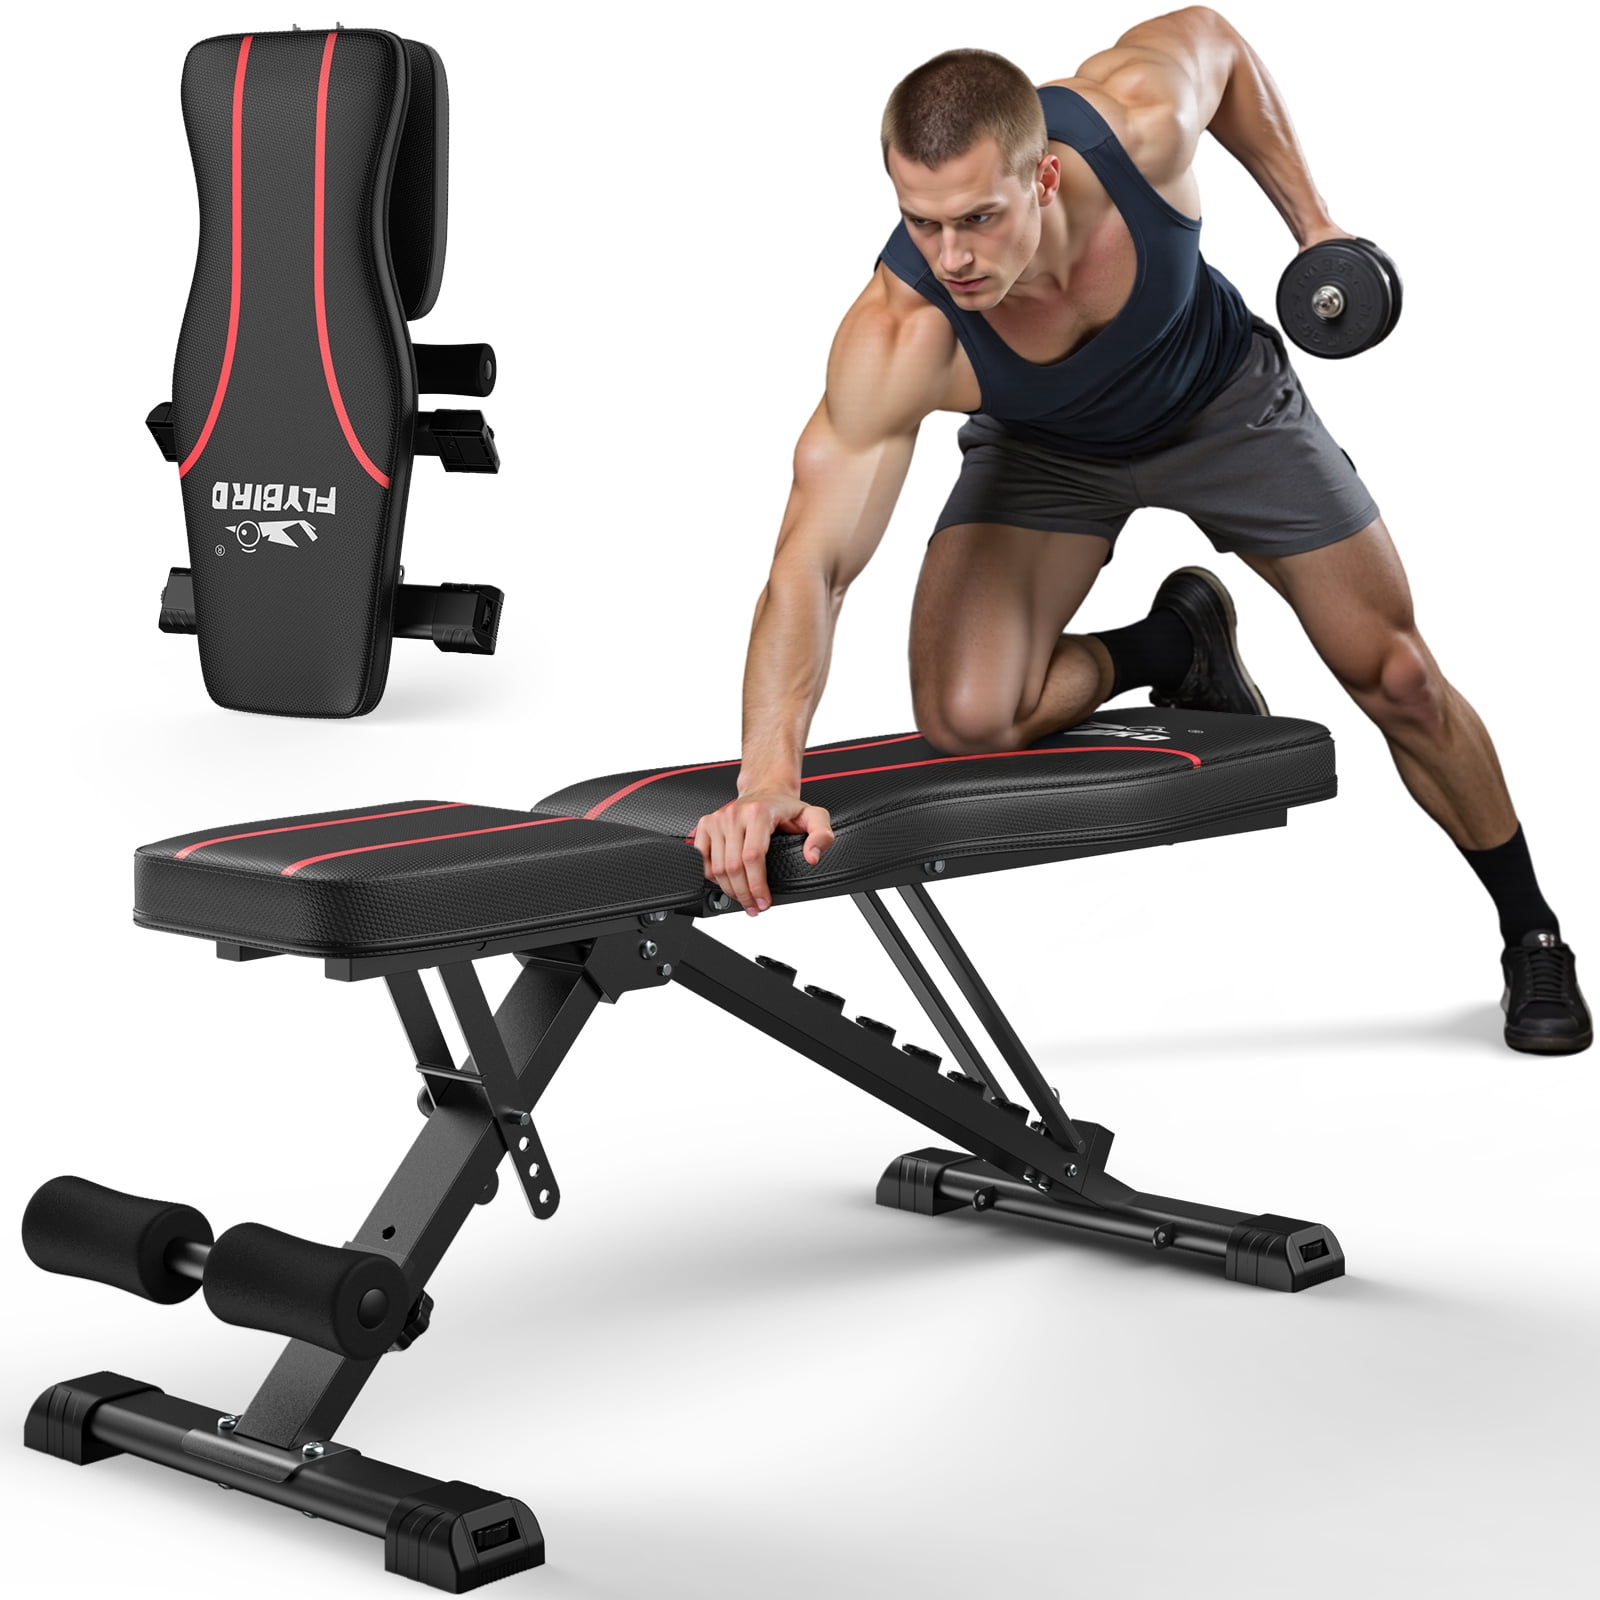
Flybird Adjustable Weight Bench
A widely purchased beginner-friendly bench with a sturdy steel frame, pop-pin backrest adjustment, and a straightforward assembly process that mirrors the steps in this guide. Excellent value for a first adjustable bench.
Best for: Choose this bench if you're starting a home gym and want a reliable, easy-to-assemble model with smooth adjustment positions from flat to 80° incline.
Price Range: $150-$180
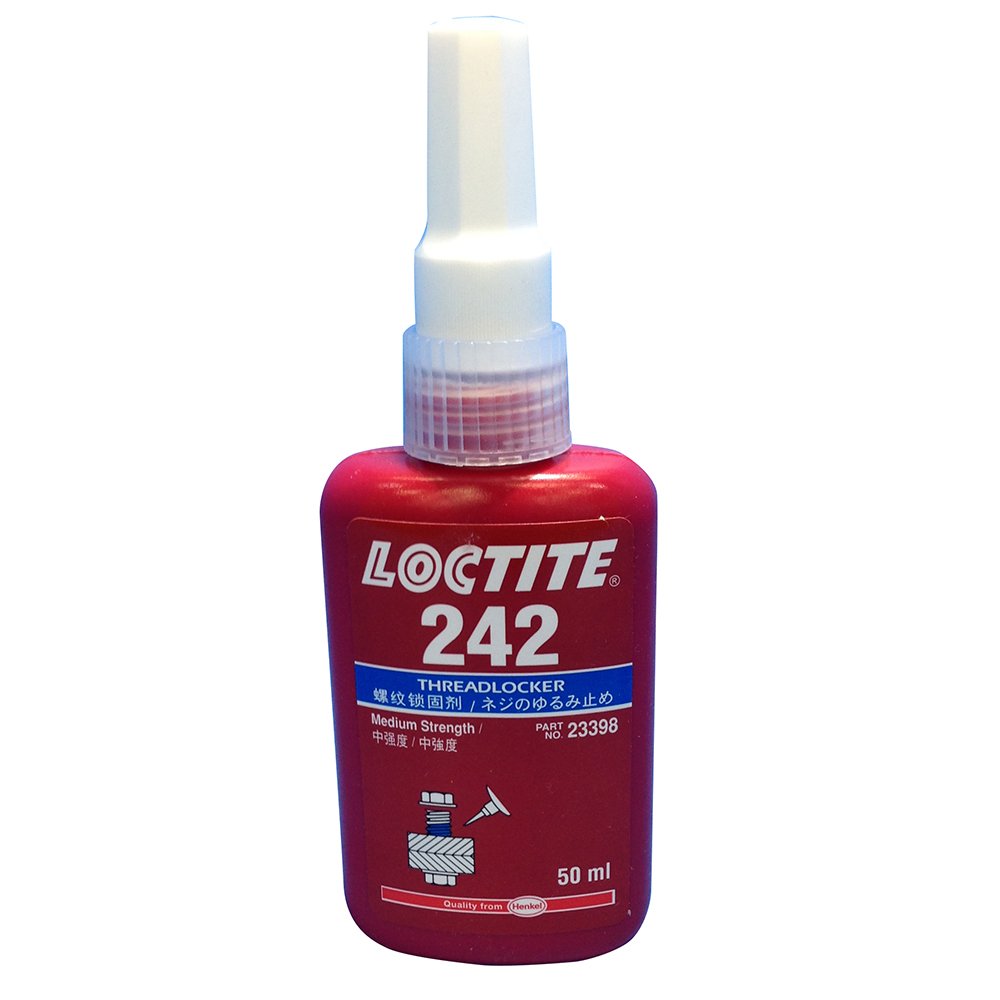
Loctite Blue 242 Threadlocker
Medium-strength thread locker is the safest way to keep support bolts from backing out under the vibration of workouts. It's removable, so you can still adjust the bench later.
Best for: Apply to pivot bolts and any fastener marked as 'safety critical' in the manual during assembly and in the break-in weeks.
Price Range: $8-$15
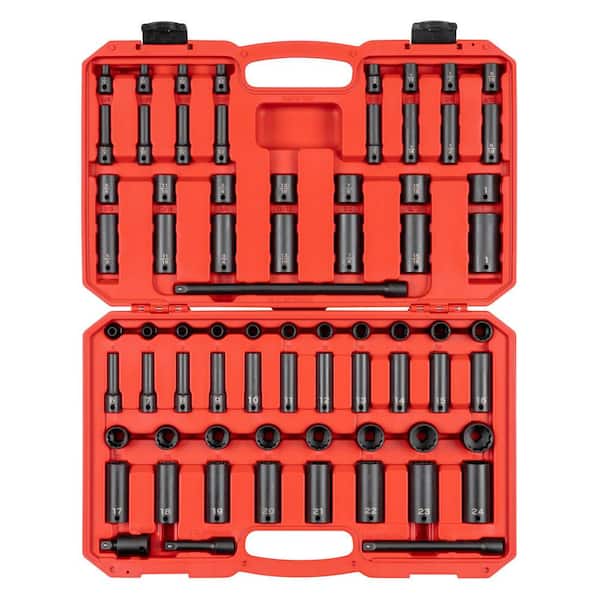
TEKTON 3/8-Inch Drive Socket Set
A compact socket set with a ratchet is faster and more accurate than the cheap Allen key included with many benches, especially for the larger base bolts.
Best for: Use it to snug and re-tighten frame and pad bolts during assembly and for the monthly maintenance checks.
Price Range: $40-$60
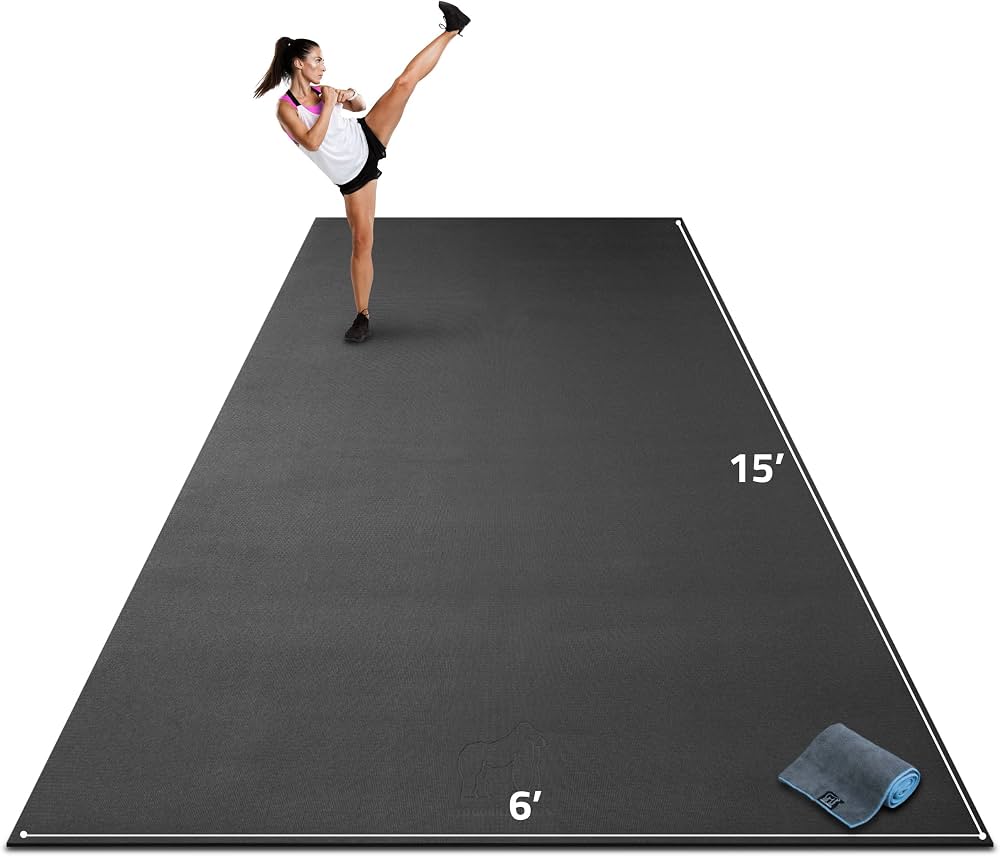
Gorilla Grip Large Rubber Exercise Mat
Protects your floor and gives the bench a non-slip, stable footprint. A firm, level floor is critical for the safety checks in step 9 of this guide.
Best for: Place under the bench in its final workout spot, especially if you have carpet, tile, or hardwood floors.
Price Range: $30-$55
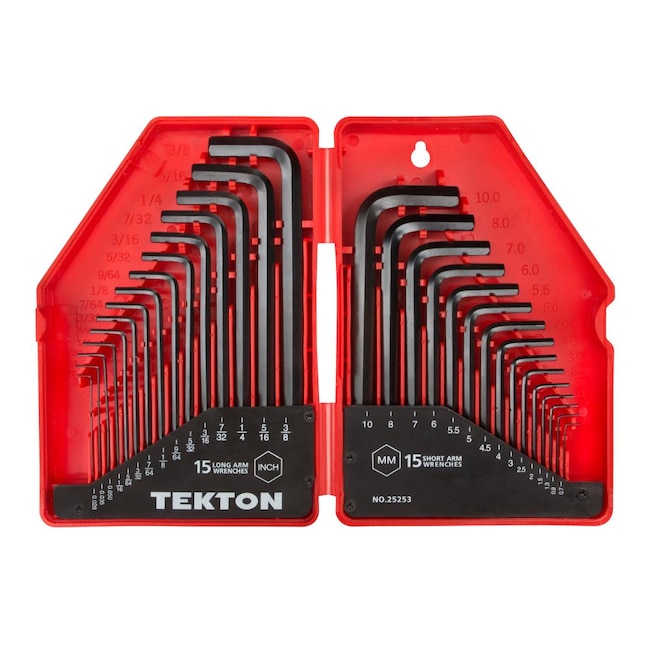
TEKTON Metric Hex Allen Wrench Set
Most bench bolts are M6–M8 Allen-head sizes, and a proper T-handle hex set provides better grip and leverage than the small L-key that ships in the box.
Best for: Keep these in your gym tool bag for quick weekly bolt checks and future adjustments or disassembly.
Price Range: $15-$25