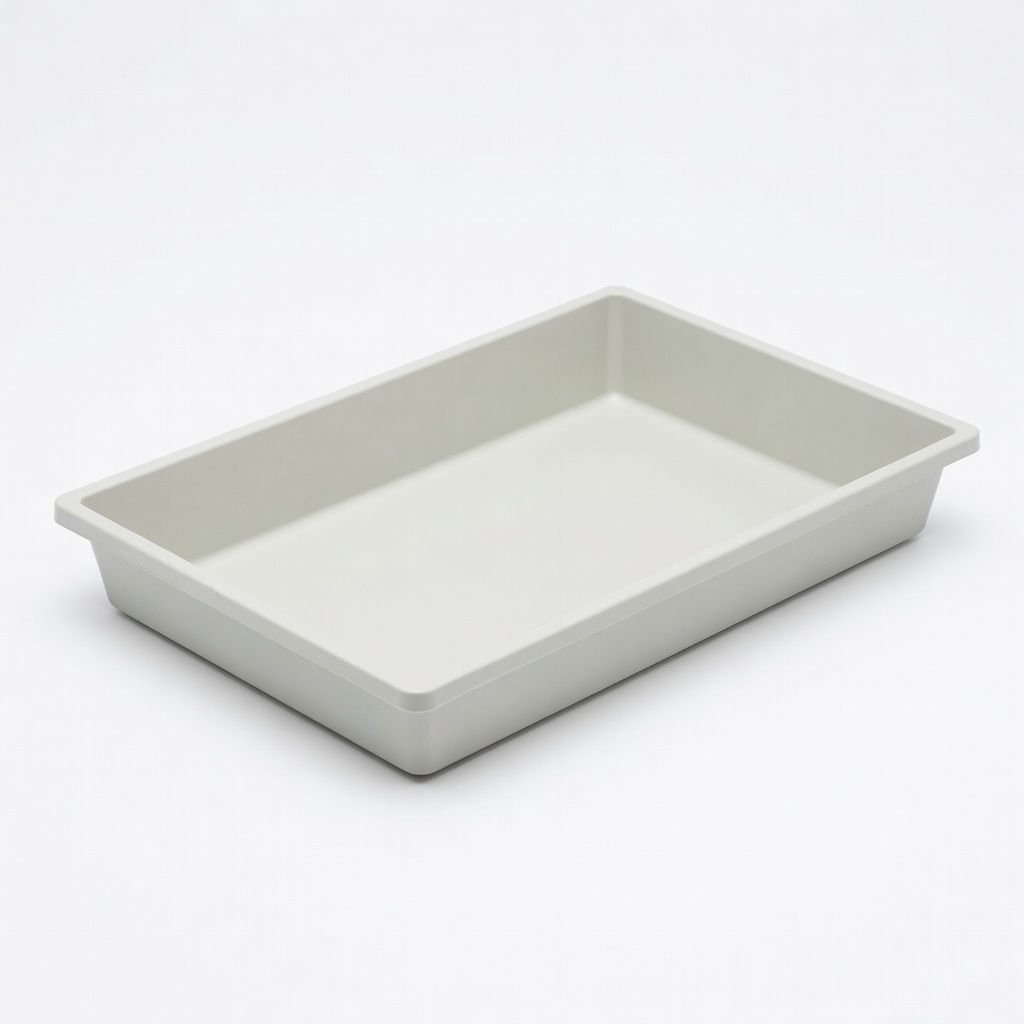
Bootstrap Farmer 1020 Germination Tray (No Holes)
Ideal for beginners filling with soil for veggies/herbs.
$10-$15
Bootstrap Farmer 1020 Germination Tray (No Holes) Durable, reusable trays perfect for bottom-watering and high-volume starting.
Get the App
Better experience on mobile
Master seed starting with this beginner-friendly guide to set up trays for healthy sprouts in just 20 minutes.
Starting seeds indoors gives you a head start on the growing season, healthier plants, and bigger harvests—without breaking the bank. Many beginners struggle with poor germination rates due to improper setup, leading to wasted seeds and frustration. This guide solves that by walking you through every step.
You'll learn how to prepare, fill, plant, and maintain germination trays for optimal results. The process is simple, using basic equipment, and takes about 20-30 minutes to set up. Expect to see sprouts in 7-14 days, depending on your seeds.
No prior experience needed—this is perfect for home gardeners wanting to grow veggies, herbs, or flowers from seed.
Estimated Time: 20-30 minutes for setup; ongoing monitoring 5 minutes/day Difficulty: beginner
Collect all items from the 'What You Need' list to avoid interruptions. Inspect trays for cracks or damage—discard any faulty ones. Clean trays with mild soap and water if reusing, then rinse thoroughly and let dry.
Why it matters: Clean equipment prevents mold and diseases, ensuring healthy germination. Expect trays to be ready in 5 minutes.
Image description: Photo of organized workspace with germination trays, soil bag, seeds, spray bottle, and labels laid out neatly.
💡 Tips:
⚠️ Warnings:
Select a warm spot (70-75°F/21-24°C) away from drafts, like near a south-facing window or under grow lights. Use a thermometer to check temperature. If outdoors, wait for stable spring weather.
Why it matters: Seeds need consistent warmth to sprout. Success looks like a stable, draft-free area ready for trays.
For colder homes, plug in a heat mat now.
Image description: Thermometer showing 72°F next to a germination tray on a windowsill.
💡 Tips:
Pour dry seed starting mix into trays, filling cells to 1/4 inch below the rim. Gently tamp down with fingers or a block to level without compacting too hard. Break up clumps for even distribution.
Why it matters: Loose, aerated soil allows roots to grow. Expect a firm, level surface that's easy to water.
Image description: Hands filling black plastic cells with light brown seed mix.
⚠️ Warnings:
Use a spray bottle to mist soil until evenly damp, like a wrung-out sponge—not soggy. Bottom-water by placing trays in a shallow pan of water for 10-15 minutes if preferred.
Why it matters: Wet soil activates seeds without washing them away. Success: Soil dark and moist throughout.
Image description: Spray bottle misting soil surface in tray.
💡 Tips:
Follow seed packet depths (usually 1/4-1/2 inch). Poke holes with a pencil, drop 1-2 seeds per cell, cover lightly, and firm soil. Larger seeds like beans go deeper.
Why it matters: Proper depth ensures emergence. Expect tiny seeds barely covered.
Image description: Pencil poking hole, seeds placed, covered with soil.
⚠️ Warnings:
Place humidity dome or plastic wrap over trays to trap moisture. Insert labels with seed type, date, and variety using waterproof marker.
Why it matters: High humidity (80-90%) mimics greenhouse conditions for faster sprouting.
Image description: Clear dome over labeled tray.
💡 Tips:
Place under grow lights 2-4 inches above or in bright indirect sun. Check daily: mist if dry, remove dome at first sprouts.
Why it matters: Light prevents leggy seedlings. Success: Sprouts in 7-14 days.
Water from bottom ongoing.
Image description: Trays under LED grow lights.
Problem: No sprouts after 2 weeks
Solution: Check temperature (too cold?), reseed if needed, ensure fresh seeds.
Problem: Mold on soil surface
Solution: Remove dome, increase airflow with fan, reduce watering.
Problem: Leggy seedlings
Solution: Lower lights closer or add more hours (14-16 daily).
Problem: Seeds rot before sprouting
Solution: Improve drainage, use sterile mix, bottom-water only.
Durable, reusable trays perfect for bottom-watering and high-volume starting.
Best for: Ideal for beginners filling with soil for veggies/herbs.
Price Range: $10-$15
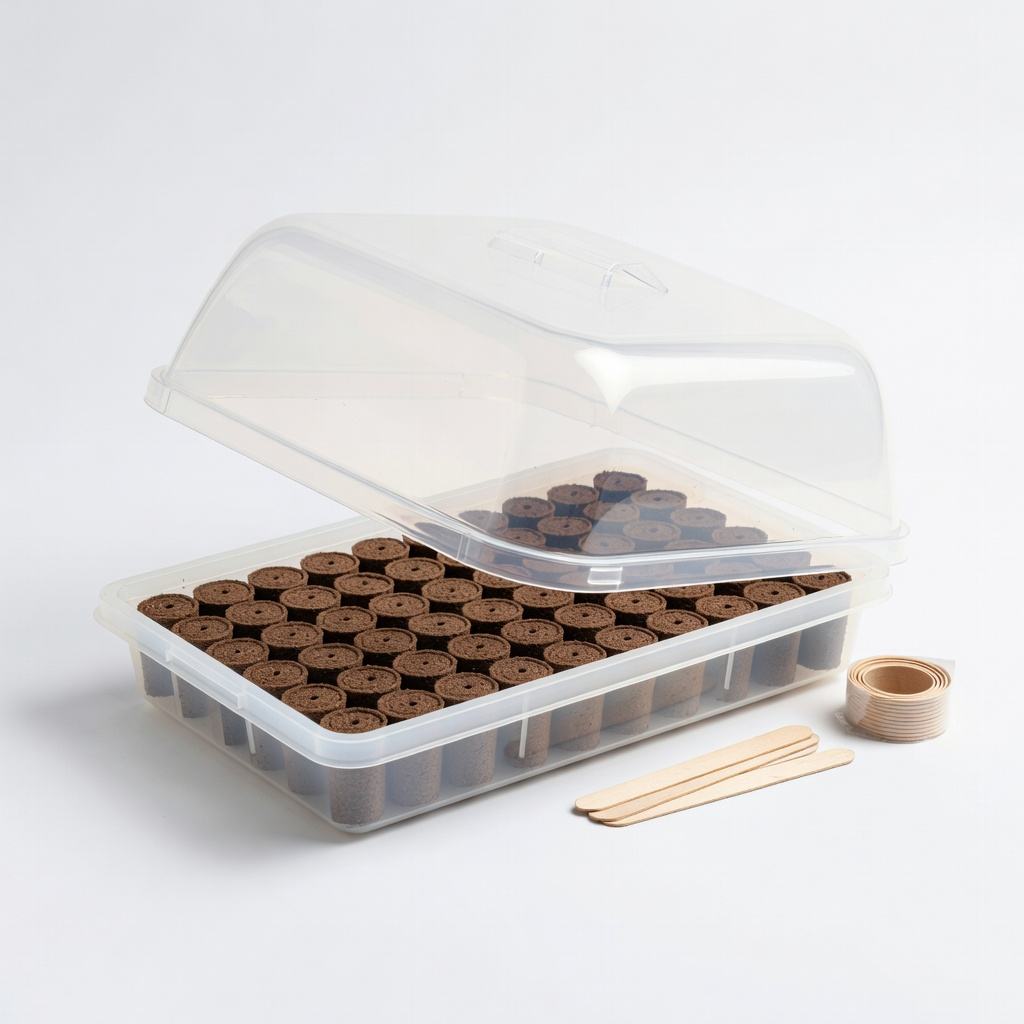
All-in-one kit with trays, domes, and pellets for foolproof setup.
Best for: Great for total beginners wanting no-mess peat plugs.
Price Range: $15-$20
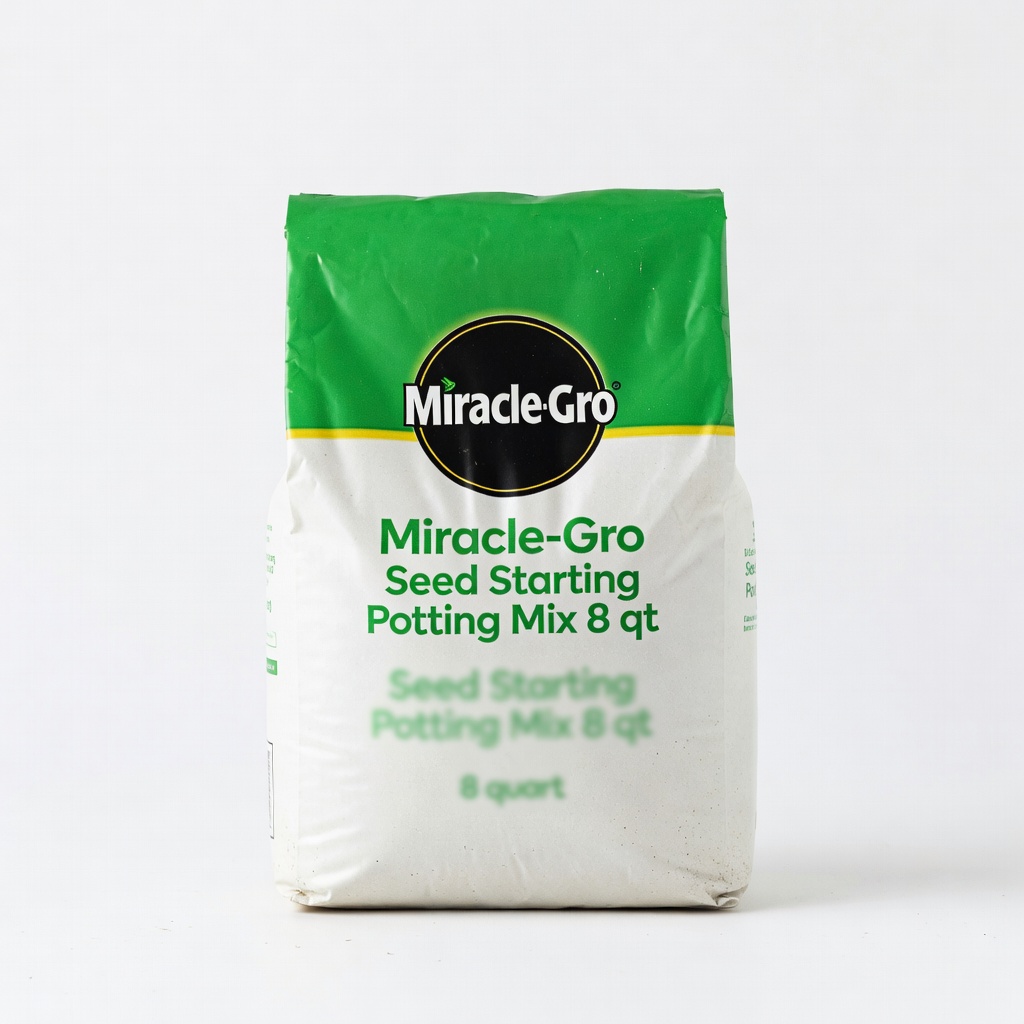
Sterile, lightweight mix optimized for germination without pathogens.
Best for: Essential for filling trays—promotes strong roots.
Price Range: $8-$12
Provides consistent bottom heat to speed germination by 2x.
Best for: For cool homes or slow-germinating seeds like peppers.
Price Range: $20-$30
Full-spectrum, energy-efficient lights mimic sunlight affordably.
Best for: Supplement windowsill light for sturdy seedlings.
Price Range: $20-$25
Ideal for beginners filling with soil for veggies/herbs.
Bootstrap Farmer 1020 Germination Tray (No Holes) Durable, reusable trays perfect for bottom-watering and high-volume starting.
Great for total beginners wanting no-mess peat plugs.
Jiffy Professional Seed Starter Greenhouse Kit All-in-one kit with trays, domes, and pellets for foolproof setup.
Essential for filling trays—promotes strong roots.
Miracle-Gro Seed Starting Potting Mix 8 qt Sterile, lightweight mix optimized for germination without pathogens.
For cool homes or slow-germinating seeds like peppers.
VIVOSUN Seedling Heat Mat Provides consistent bottom heat to speed germination by 2x.

Supplement windowsill light for sturdy seedlings.
Sansi 5W LED Grow Light Bulbs (4-Pack) Full-spectrum, energy-efficient lights mimic sunlight affordably.