
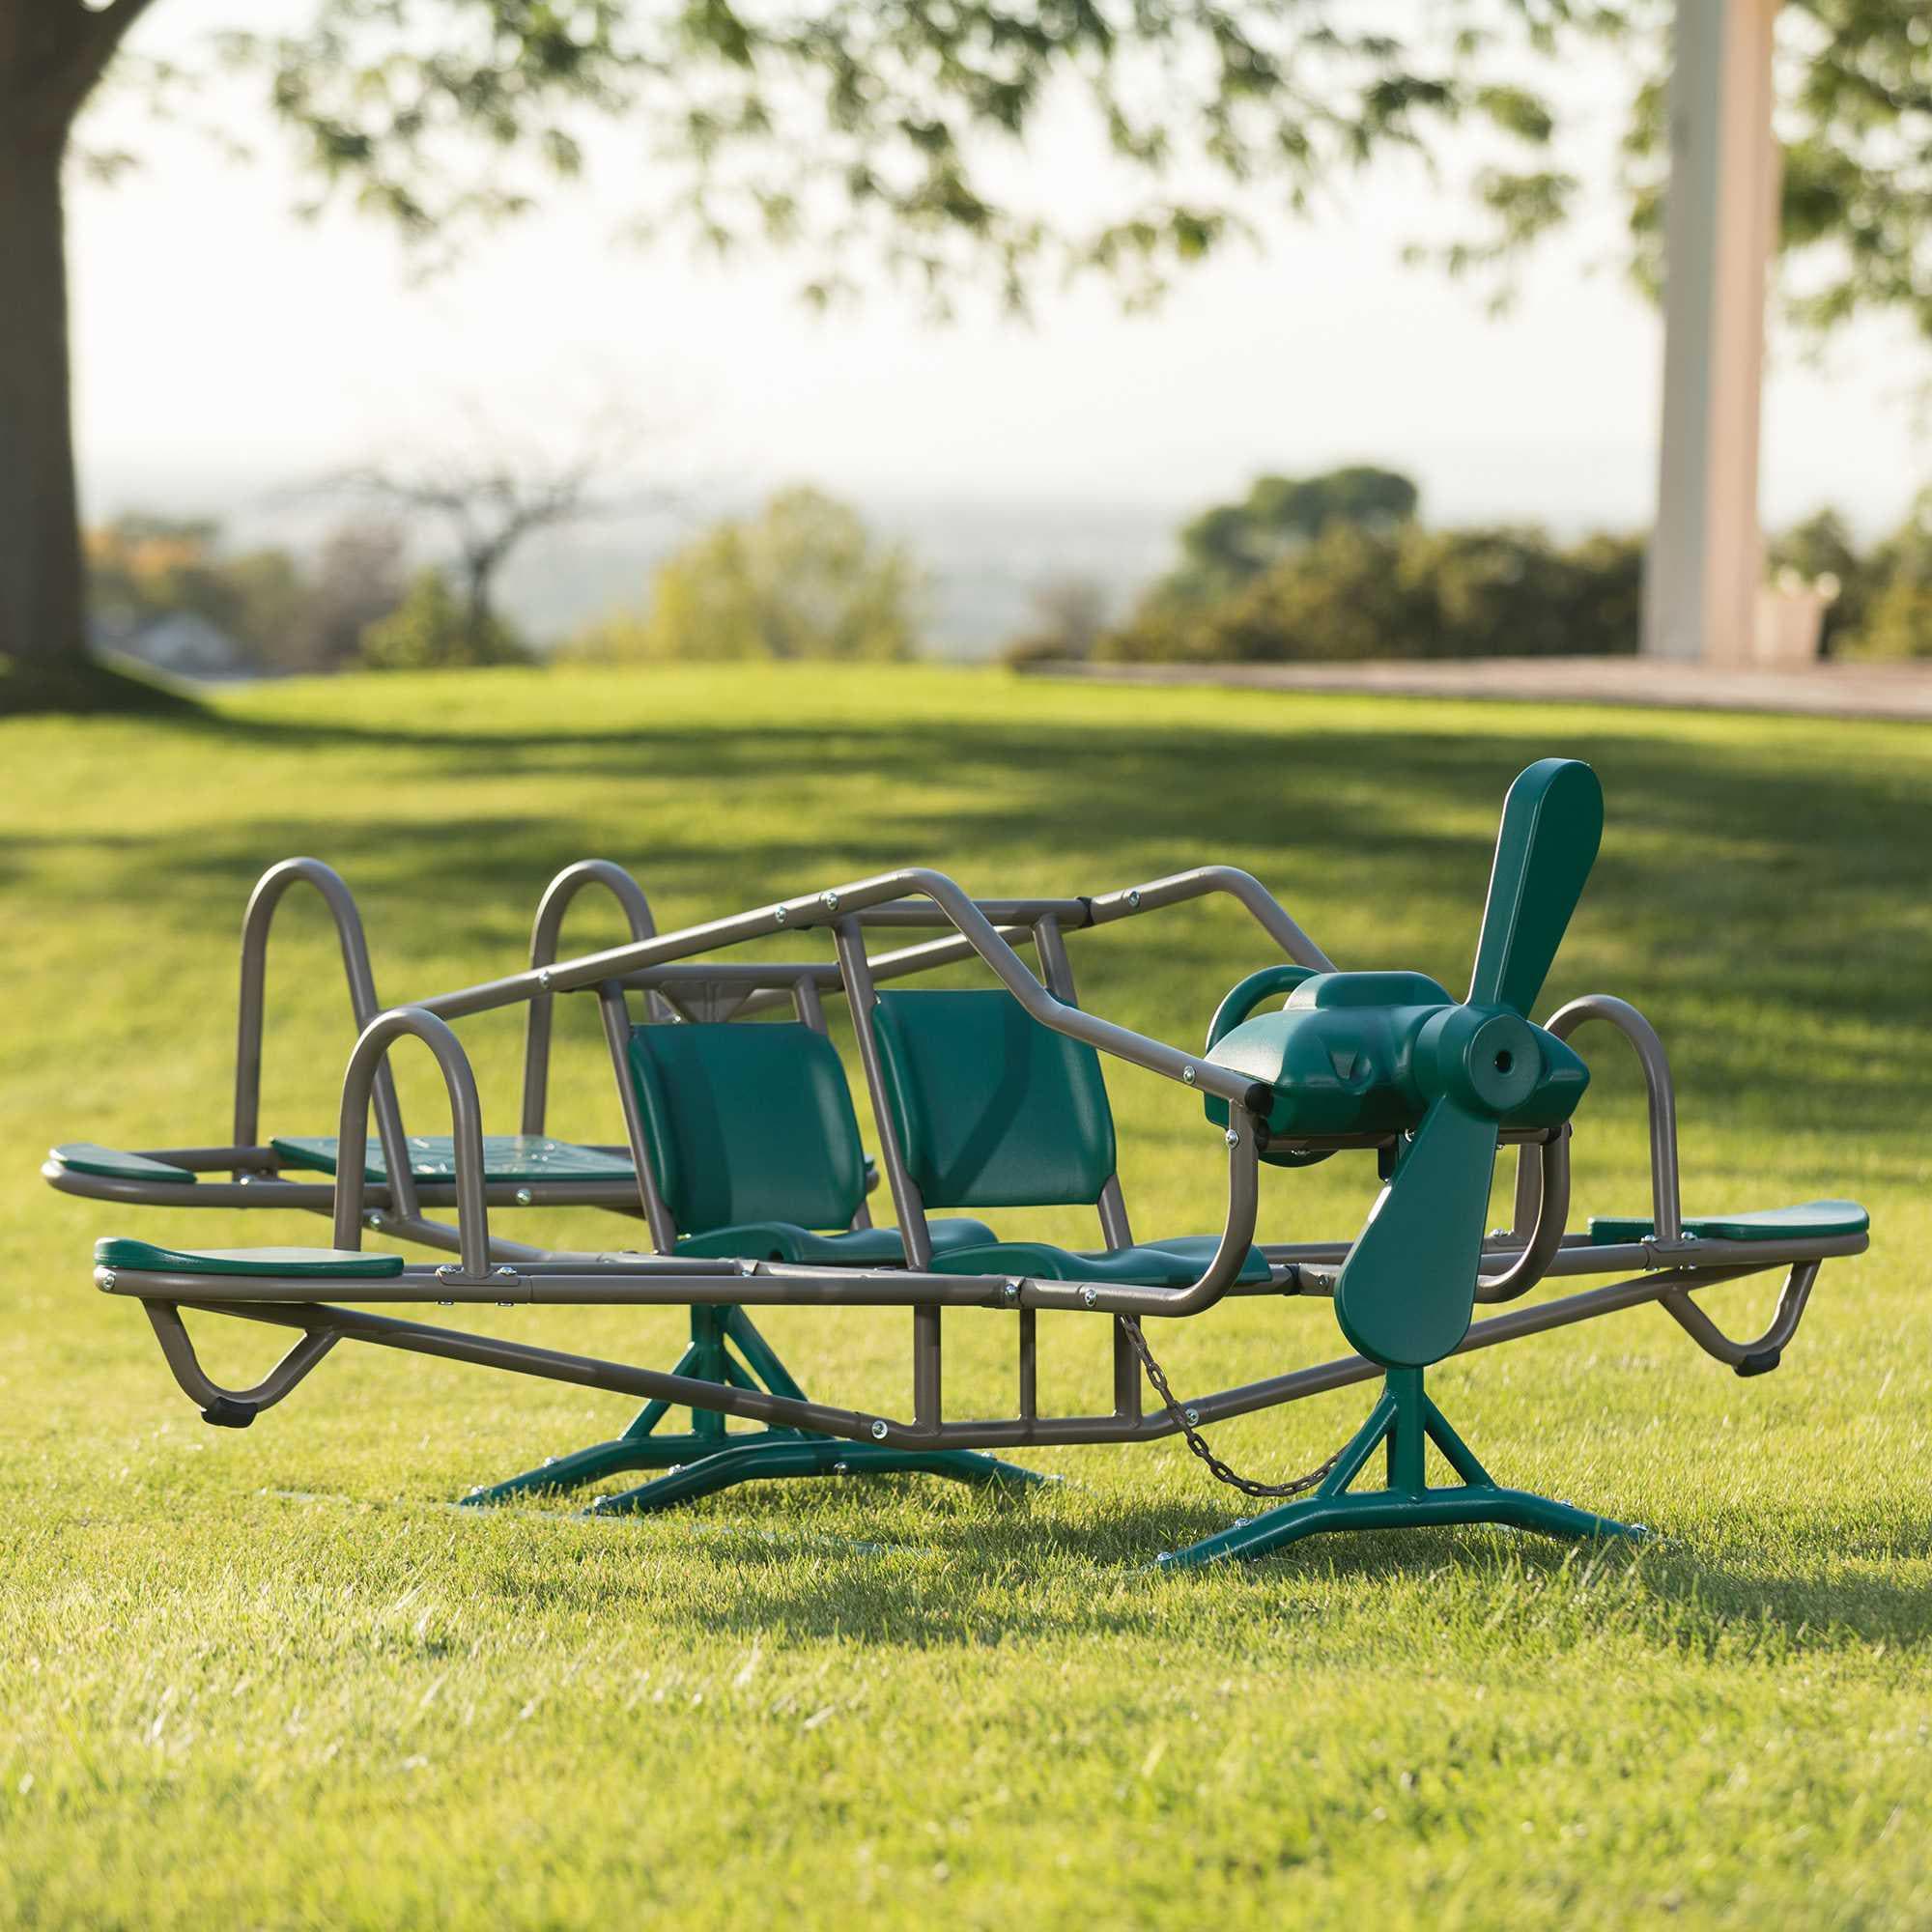
Lifetime 60152 Ace Flyer Teeter Totter
Central dynamic play in swing zones.
$140-$160
Lifetime 60152 Ace Flyer Teeter Totter Durable steel seesaw for active fun; holds multiple kids safely.
Get the App
Better experience on mobile
Create safe, fun backyard zones for kids' active play with simple steps—no experience needed.
In a world where screen time dominates, outdoor play is essential for kids' physical health, creativity, and development. But many parents struggle with disorganized yards or unsafe setups. This guide shows you how to build engaging activity centers that keep children active and happy.
You'll learn to plan, install, and safety-proof multiple play zones like swings, sandboxes, and climbing areas. The process is straightforward for beginners, focusing on affordable, durable setups.
Expect to spend 1-2 hours total, with most time on assembly. No advanced tools required—just basic DIY skills.
Estimated Time: 1-2 hours Difficulty: beginner
Select a flat, shaded backyard area at least 20x20 feet to allow safe play space (6 feet around each structure per safety standards). Measure with tape to mark boundaries—use spray paint or string for outlines.
Why it matters: Proper spacing prevents collisions and ensures accessibility. Expect a clear grid layout.
Success looks like: Defined play zones with 6+ ft buffers.
💡 Tips:
⚠️ Warnings:
Sketch zones: central swing/climber, sandbox corner, picnic table edge. Prioritize high-use items centrally. Use free apps like Home Design 3D for visuals.
This ensures flow—kids move easily between activities. Expect a balanced, zoned plan.
Pro tip: Include paths for easy adult supervision.
💡 Tips:
Rake and shovel to remove rocks/roots, then use a level to check flatness. Fill low spots with sand/soil and tamp down.
Even ground prevents tip-overs (key for safety). You'll see a smooth, bubble-centered level.
Success: Ground slopes under 1 inch per 4 feet.
⚠️ Warnings:
Lay rubber mats or 6-9 inches of mulch/engineered wood fiber over the entire zone. Secure edges with landscape staples.
This cushions falls (CPSC recommends 12-inch depth for swings). Expect a soft, uniform surface.
Why: Reduces injuries by 70% per studies.
💡 Tips:
Follow kit instructions: start with frame/posts for swings/climber. Use included hardware; drill pilot holes if wood.
Core fun element—kids love swings first. Success: Sturdy assembly, no wobbles when shaken.
Time: 30-45 mins per structure.
Position sandbox (fill 2/3 with play sand), picnic table, and sensory bins (water table). Anchor all with stakes.
Diversifies play for all ages. Expect integrated, themed areas ready for use.
💡 Tips:
Drive ground stakes through base plates; use concrete for permanence if needed. Tighten all bolts.
Prevents wind/shift damage. Tug-test: No movement over 1 inch.
⚠️ Warnings:
Inspect for sharp edges, loose parts; add signage. Supervise first play session.
Ensures compliance (ASTM standards). Kids playing happily = success!
💡 Tips:
Problem: Uneven settling after rain
Solution: Add more base gravel; re-level and tamp.
Problem: Splinters on wood
Solution: Sand smooth and apply non-toxic sealant.
Problem: Attracting bugs to sandbox
Solution: Use play sand (kiln-dried); cover nightly.
Problem: Structure wobbles
Solution: Check/tighten bolts; add diagonal braces.
Durable steel seesaw for active fun; holds multiple kids safely.
Best for: Central dynamic play in swing zones.
Price Range: $140-$160
UV-protected plastic resists fading; easy clean for meals/snacks.
Best for: Quiet zone for imaginative play.
Price Range: $70-$90
Dual sand/water play promotes sensory development; drain plug included.
Best for: Mess-free summer activity station.
Price Range: $80-$100
Interlocking EVA foam absorbs shocks up to 10 ft falls.
Best for: Under all structures for safety.
Price Range: $40-$60
Compact bouncer builds balance; handlebar for toddlers.
Best for: Edge cardio zone.
Price Range: $45-$55
Central dynamic play in swing zones.
Lifetime 60152 Ace Flyer Teeter Totter Durable steel seesaw for active fun; holds multiple kids safely.
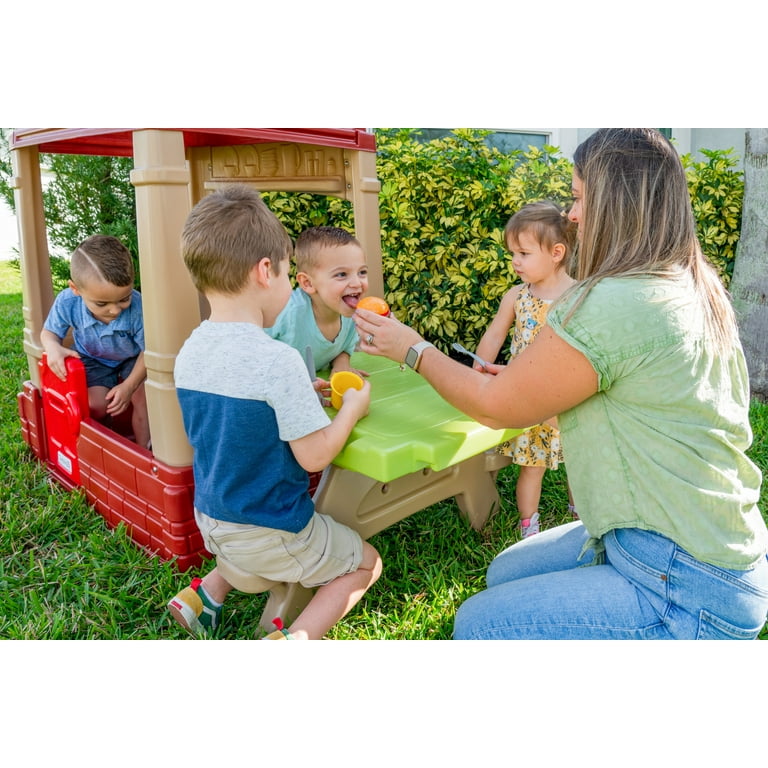
Quiet zone for imaginative play.
Simplay3 Original Kids Picnic Table UV-protected plastic resists fading; easy clean for meals/snacks.
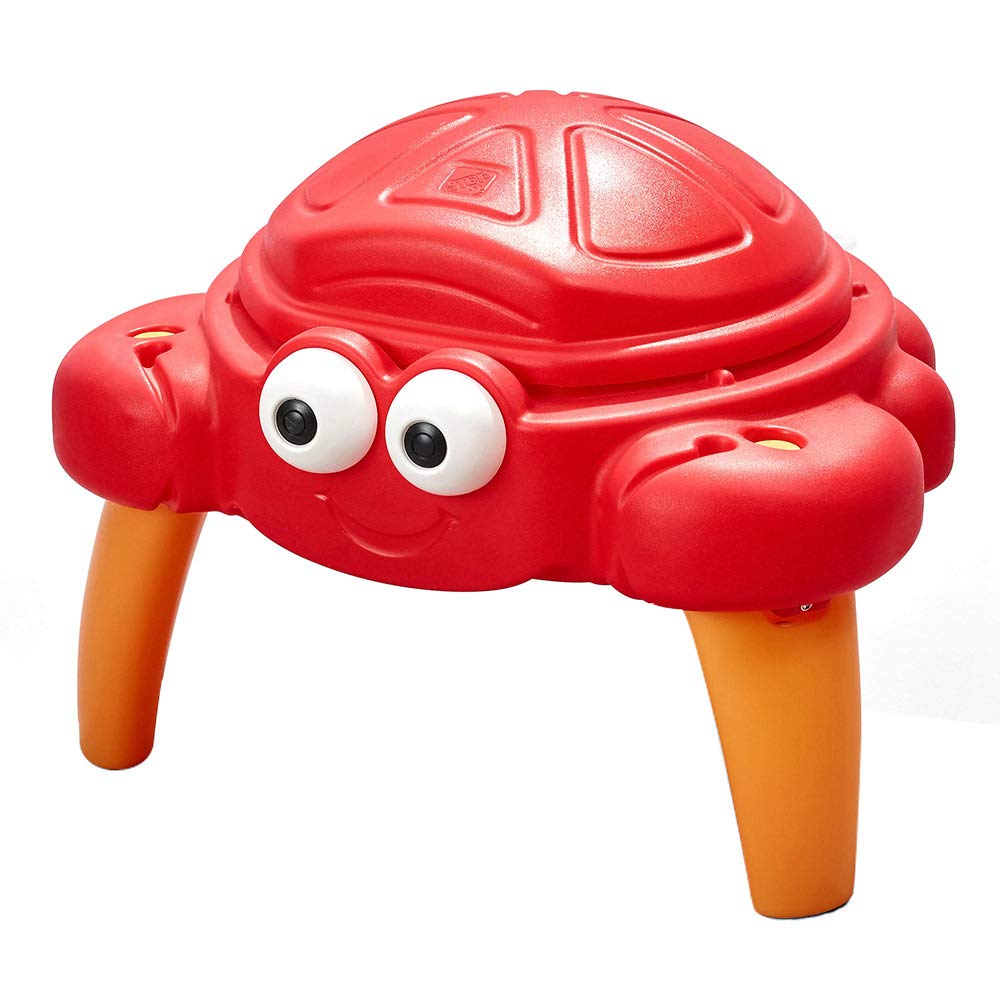
Mess-free summer activity station.
Step2 Crabbie Sandsational Water Table Dual sand/water play promotes sensory development; drain plug included.
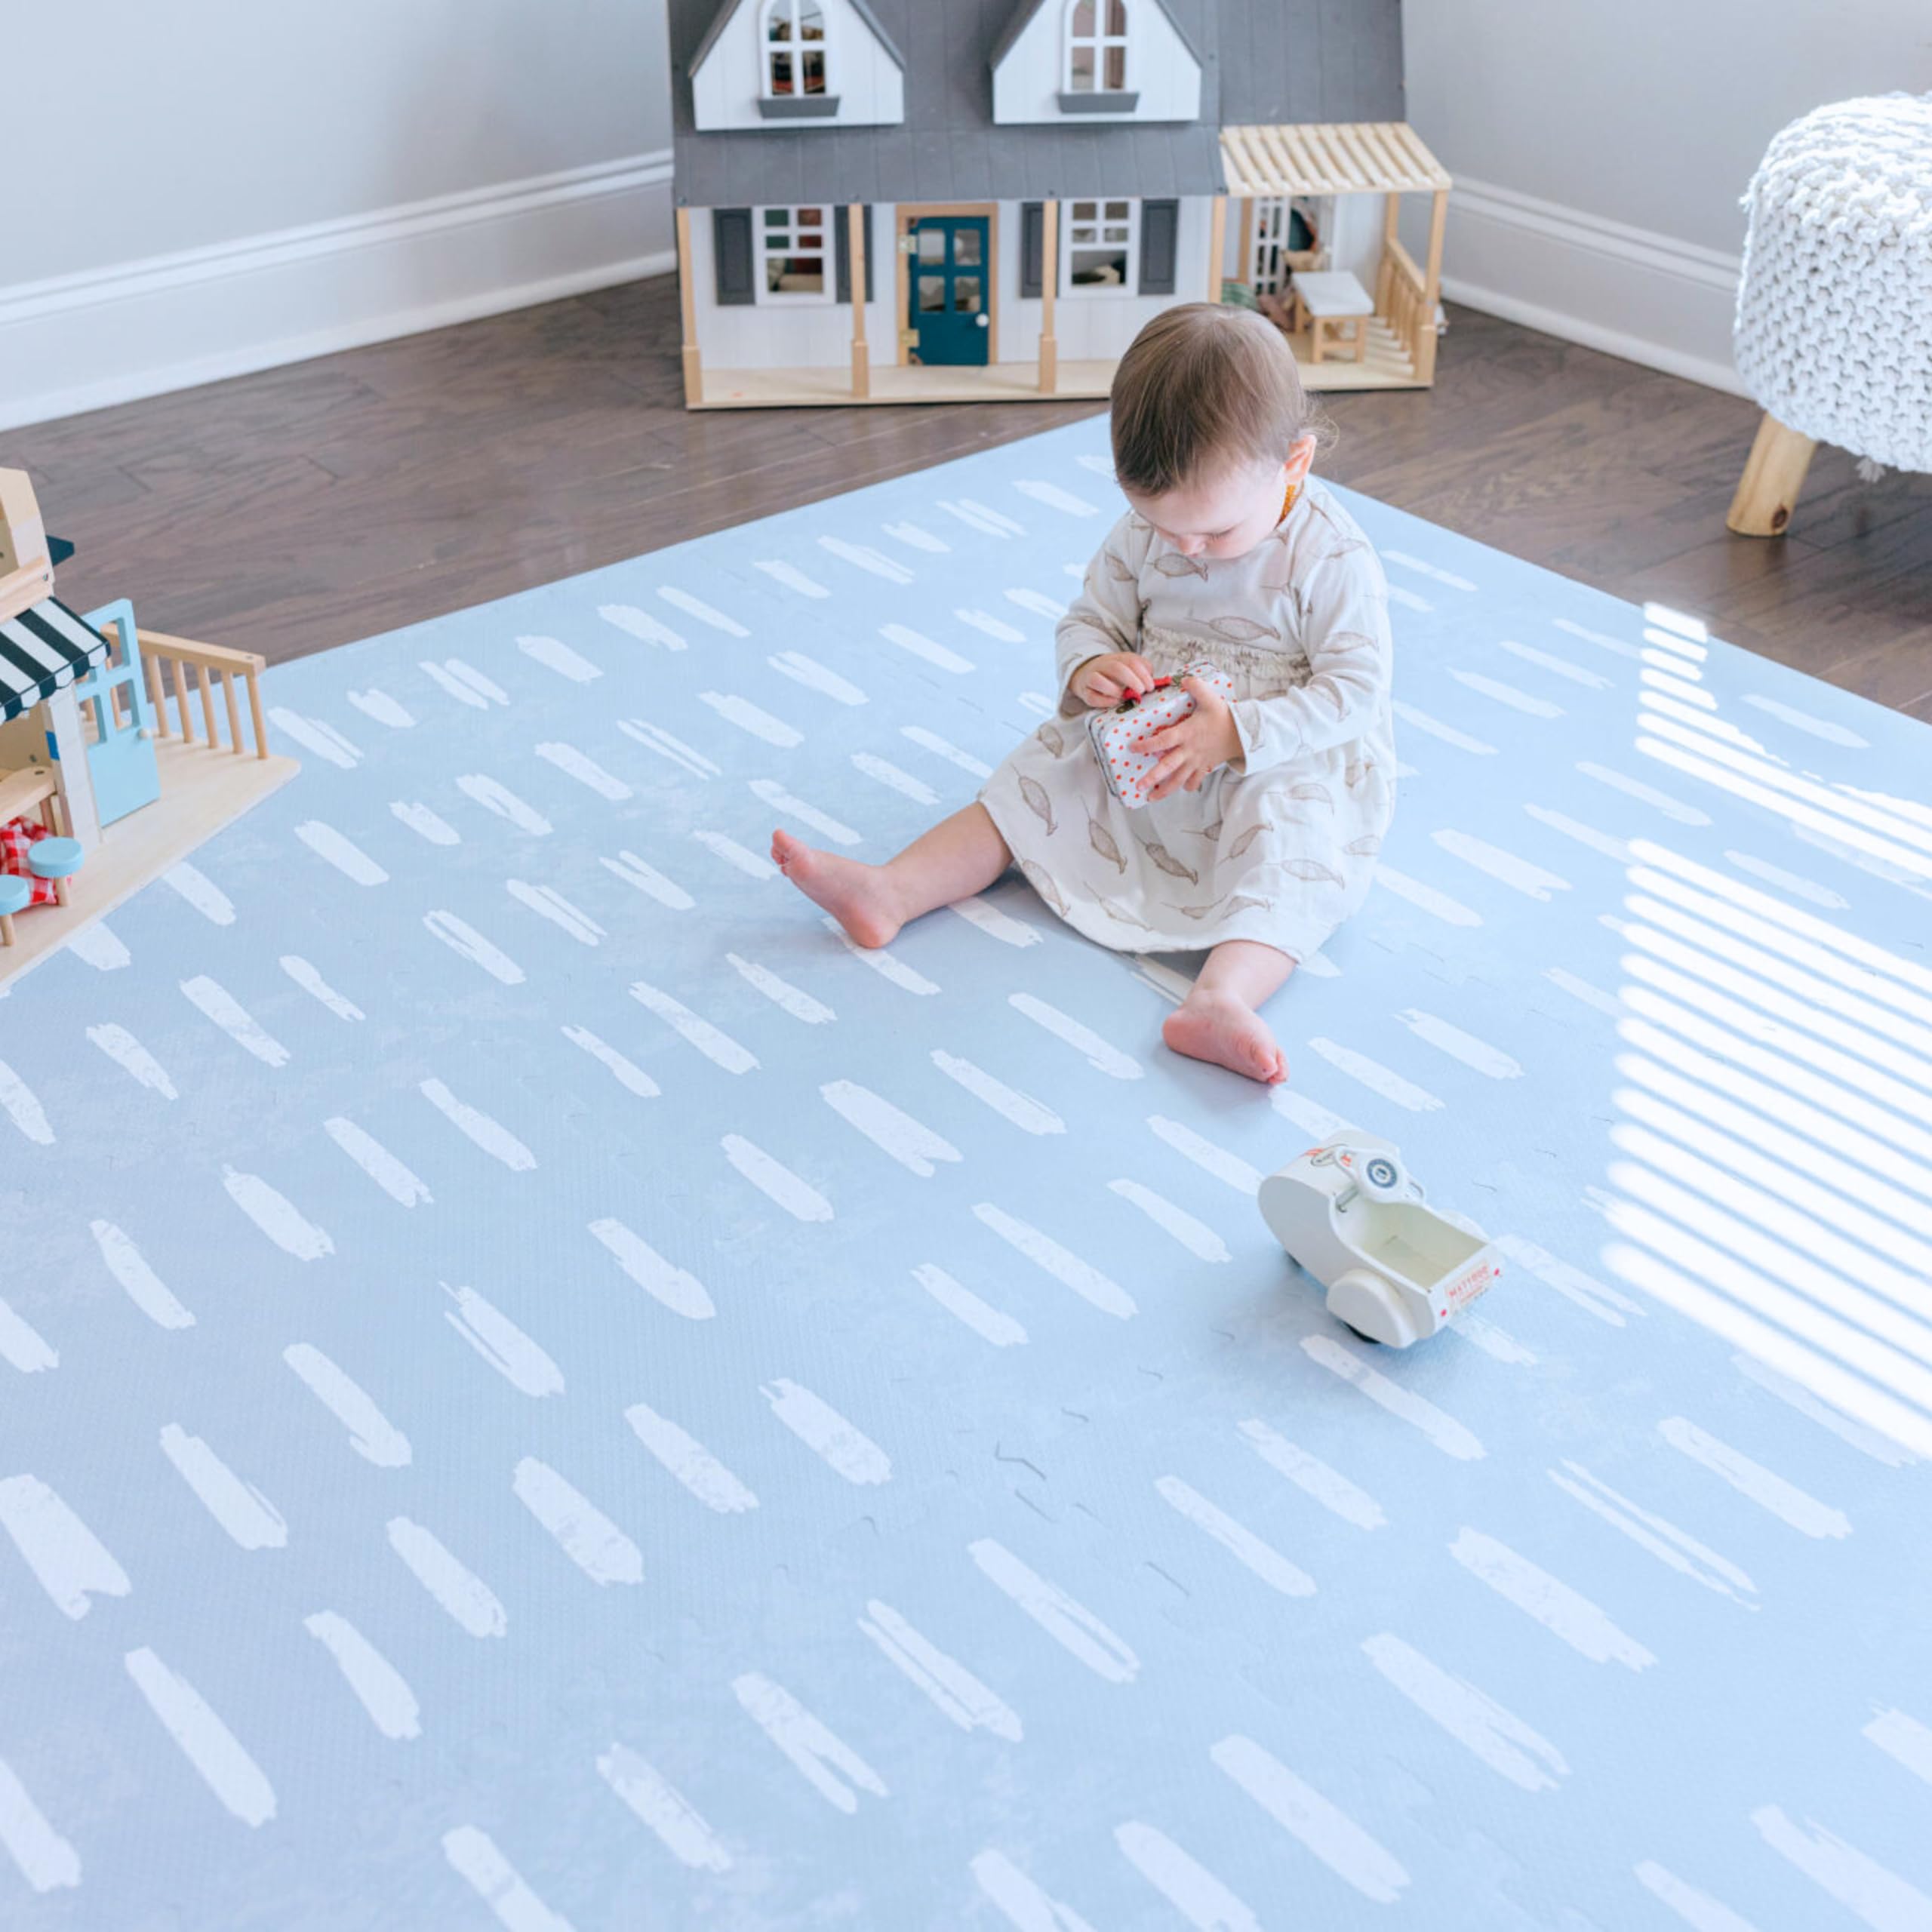
Under all structures for safety.
ProPlay 6x6 Kids Play Mat Set Interlocking EVA foam absorbs shocks up to 10 ft falls.

Edge cardio zone.
Little Tikes 3-Foot Trampoline Compact bouncer builds balance; handlebar for toddlers.