Ever dreamed of owning a custom acoustic guitar but turned off by the high cost of professional builds? Acoustic guitar kits let you create your own instrument for a fraction of the price, turning a fun hobby into a lifelong passion. Many first-time builders feel overwhelmed by the parts, but with the right steps, it's achievable even if you've never held a screwdriver in a luthier's context.
In this guide, you'll learn everything from unpacking to final setup, resulting in a fully playable guitar ready for strumming your favorite tunes. We'll cover 10 clear steps, using simple tools and techniques. Expect 20-30 hours spread over 3-5 days, mostly waiting for glue to dry—perfect for beginners with patience.
By the end, you'll have pro-level satisfaction, intimate knowledge of your guitar's anatomy, and skills to maintain or upgrade it forever.
▸What You'll Need
- •Acoustic guitar kit (e.g., steel-string DIY kit with pre-cut body, neck, frets)
- •Titebond Original or Titebond II wood glue (required for joints)
- •Clamps: 10-20 spring clamps and 4-6 bar clamps (required)
- •Sandpaper assortment (80-400 grit, required)
- •Screwdrivers (Phillips and flathead, required)
- •Nut files or nut saw (optional for custom nut)
- •Guitar strings (light gauge .012-.053, required)
- •Electronic tuner (required for setup)
- •Finishing oil or lacquer spray (optional for protection)
- •Ruler or straightedge (for checking neck relief)
Estimated Time: 20-30 hours over 3-5 days (includes drying times)
Difficulty: beginner
▸Step-by-Step Instructions
Step 1: Unpack and Inventory Parts
Start by carefully opening your guitar kit box in a clean, well-lit workspace. Lay out all components: body sides, top, back, neck, fretboard (if separate), bridge, tuners, nut, saddle, braces, kerfing strips, and hardware like screws and truss rod wrench.
Compare against the kit's instruction sheet or parts list to ensure nothing's missing or damaged. This prevents frustration later. Success looks like all parts organized on a table, matching the diagram perfectly.
Why it matters: Missing parts halt progress; inspection catches defects early.
💡 Tips:
- •Take photos of the inventory for reference.
- •Label parts if not pre-marked.
⚠️ Warnings:
- •Avoid forcing bent parts—contact seller if damaged.
Step 2: Sand Body Components
Using 80-150 grit sandpaper, lightly sand the body top, back, sides, and braces to remove any mill marks or fuzz. Work in the direction of the grain, keeping surfaces flat—use a sanding block for evenness.
Progress to 220 grit for smoothness. Wipe dust with a tack cloth. Expect a silky feel; uneven sanding causes glue failures or poor tone.
This step ensures strong bonds and great finish adhesion.
💡 Tips:
- •Sand lightly—kits are prepped to avoid over-removal.
- •Vacuum dust immediately.
⚠️ Warnings:
- •Don't round edges; maintain sharp bindings for pro look.
Step 3: Glue Kerfing and Braces to Sides
Apply thin layer of wood glue to kerfing strips (notched wood lining sides). Clamp them inside the body sides using spring clamps every inch. Let dry 4-6 hours.
Glue X-brace or tone bars to top per template, clamp gently. Dry another 4 hours. Success: Rigid, square body shell without glue squeeze-out excess.
Why: Provides structural integrity for string tension.
💡 Tips:
- •Use wax paper under braces to prevent sticking.
- •Check squareness with a square tool.
⚠️ Warnings:
- •Excess glue warps wood—wipe immediately with damp cloth.
Step 4: Attach Top and Back to Sides
Glue top to lined sides, aligning edges perfectly. Use bar clamps around perimeter, tightening evenly. Repeat for back. Dry overnight (12+ hours).
Tape edges if kit suggests to minimize squeeze-out. Result: Complete hollow body resonating when tapped.
Critical for airtight seal and projection.
💡 Tips:
- •Work quickly—glue sets in 5-10 min.
- •Place weights on top for flatness.
⚠️ Warnings:
- •Misalignment shows forever; use clamps as vise.
Step 5: Install Neck to Body
Dry-fit neck into pocket (most kits bolt-on or dovetail). For glue: Apply to joint, tap in with mallet, clamp securely. Dry 24 hours.
Bolt-on: Secure with screws per instructions. Check neck angle with straightedge—10-12° backward for proper action.
Success: Neck protrudes straight, no twists.
💡 Tips:
- •Shim if needed for perfect fit.
- •Heat glue joint lightly if stuck.
⚠️ Warnings:
- •Wrong angle ruins playability—measure twice.
Step 6: Finish Sand and Apply Finish
Sand entire guitar to 320-400 grit. Apply oil (Tru-Oil) or spray lacquer in thin coats, sanding between. Cure 24-48 hours.
Buff to shine. Protects wood, enhances tone.
Expect glossy, professional look.
💡 Tips:
- •Thin coats prevent runs.
- •Oil warms tone faster.
⚠️ Warnings:
- •Dust-free room or imperfections lock in.
Step 7: Install Hardware: Tuners, Nut, Bridge
Drill tuner holes per template, install tuners. Slot nut if needed, glue in place. Glue bridge to top (position by bridge pin holes).
Secure with cam clamps if provided. Dry 2 hours.
Success: Hardware snug, bridge centered.
💡 Tips:
- •Mark tuner positions lightly.
- •Heat-fit nut if tight.
⚠️ Warnings:
- •Off-center bridge = intonation nightmare.
Step 8: String Up and Initial Tune
Install strings, stretch them, tune to pitch using clip-on tuner. Expect detuning—repeat 3-4 times.
Guitar playable now!
💡 Tips:
- •Light gauge for low tension.
- •Lubricate nut slots.
⚠️ Warnings:
- •Don't over-tighten tuners.
Step 9: Perform Basic Setup
Adjust truss rod for slight neck relief (0.010" at 8th fret). Set action: 3/64" bass, 2/64" treble at 12th fret. File saddle if high.
Check intonation by fretting 12th—adjust saddle.
Success: Buzz-free, comfortable play.
💡 Tips:
- •Use feeler gauges.
- •Setup in stages.
⚠️ Warnings:
- •Small truss adjustments only.
Step 10: Final Test and Play
Play chords/scales, listen for tone. Fine-tune setup over days as it settles.
Celebrate your build!
💡 Tips:
- •Record first play for memory.
▸Pro Tips
- •Work in 70-80°F humidity-controlled room to prevent wood cracks.
- •Always dry-fit before gluing—saves heartbreak.
- •Use painter's tape to protect areas during sanding.
- •Stretch strings vigorously post-install for stability.
- •Invest in a good tuner app if no clip-on.
- •Let everything over-dry; rushed builds fail.
- •Play daily first week to settle in.
▸Common Mistakes to Avoid
- •Skipping inventory—leads to incomplete builds.
- •Over-gluing joints—warps wood and muffles sound.
- •Rushing dry times—weak bonds break under tension.
- •Ignoring neck angle—causes high action or buzz.
- •Poor sanding—finish looks amateur.
▸Troubleshooting
Problem: Bridge lifts off top
Solution: Re-glue with hot hide glue or CA; ensure dry top.
Problem: Fret buzz
Solution: Check relief/action; file frets or raise saddle.
Problem: Neck twists
Solution: Loosen truss, clamp straight, readjust.
Problem: Muffled tone
Solution: Verify brace placement; open soundhole fully.
Problem: Tuners slip
Solution: Add tuner lube or replace bushings.
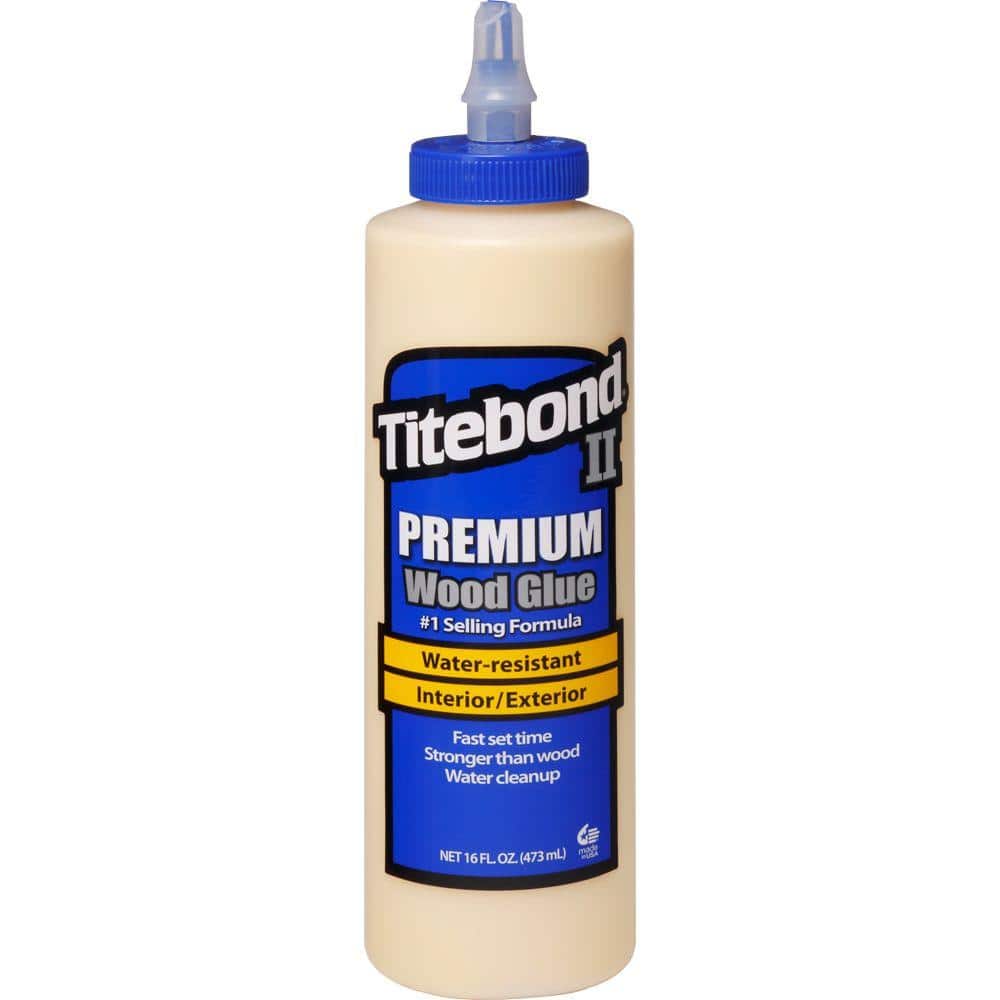
Titebond 5004 II Premium Wood Glue (ASIN: B00AYVQ8VY)
Industry standard for luthiers—strong, waterproof bond ideal for guitar joints (ASIN ensures exact match).
Best for: Gluing braces, kerfing, neck, and bridge.
Price Range: $10-$15
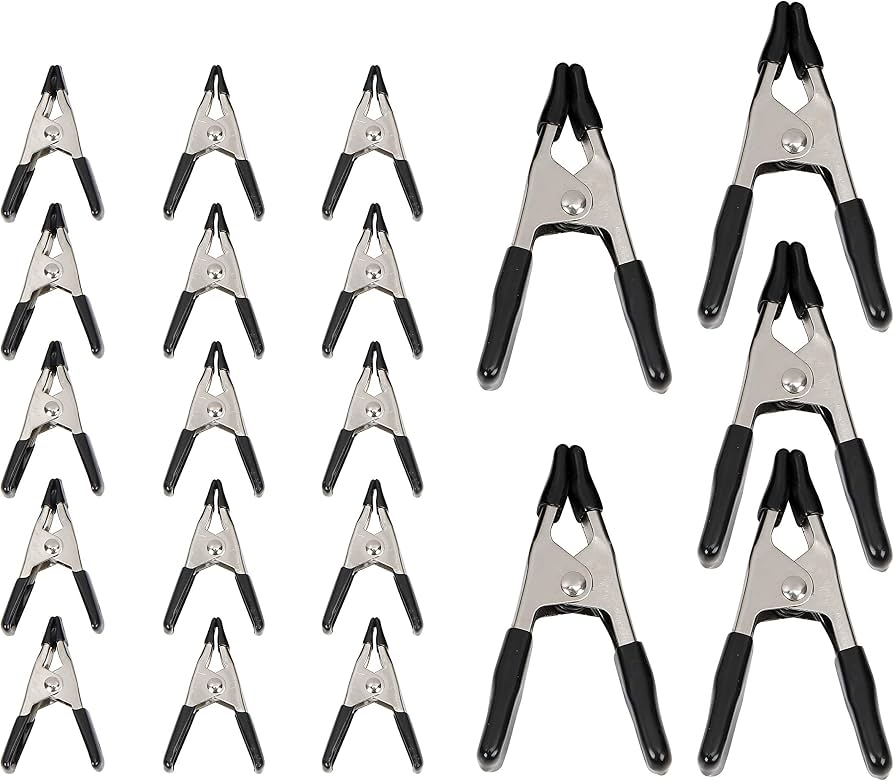
Neiko 20-Piece Spring Clamp Set (ASIN: B07D7N4J8G)
Affordable, quick-release for precise clamping without marks.
Best for: Kerfing, braces, and body assembly.
Price Range: $12-$18
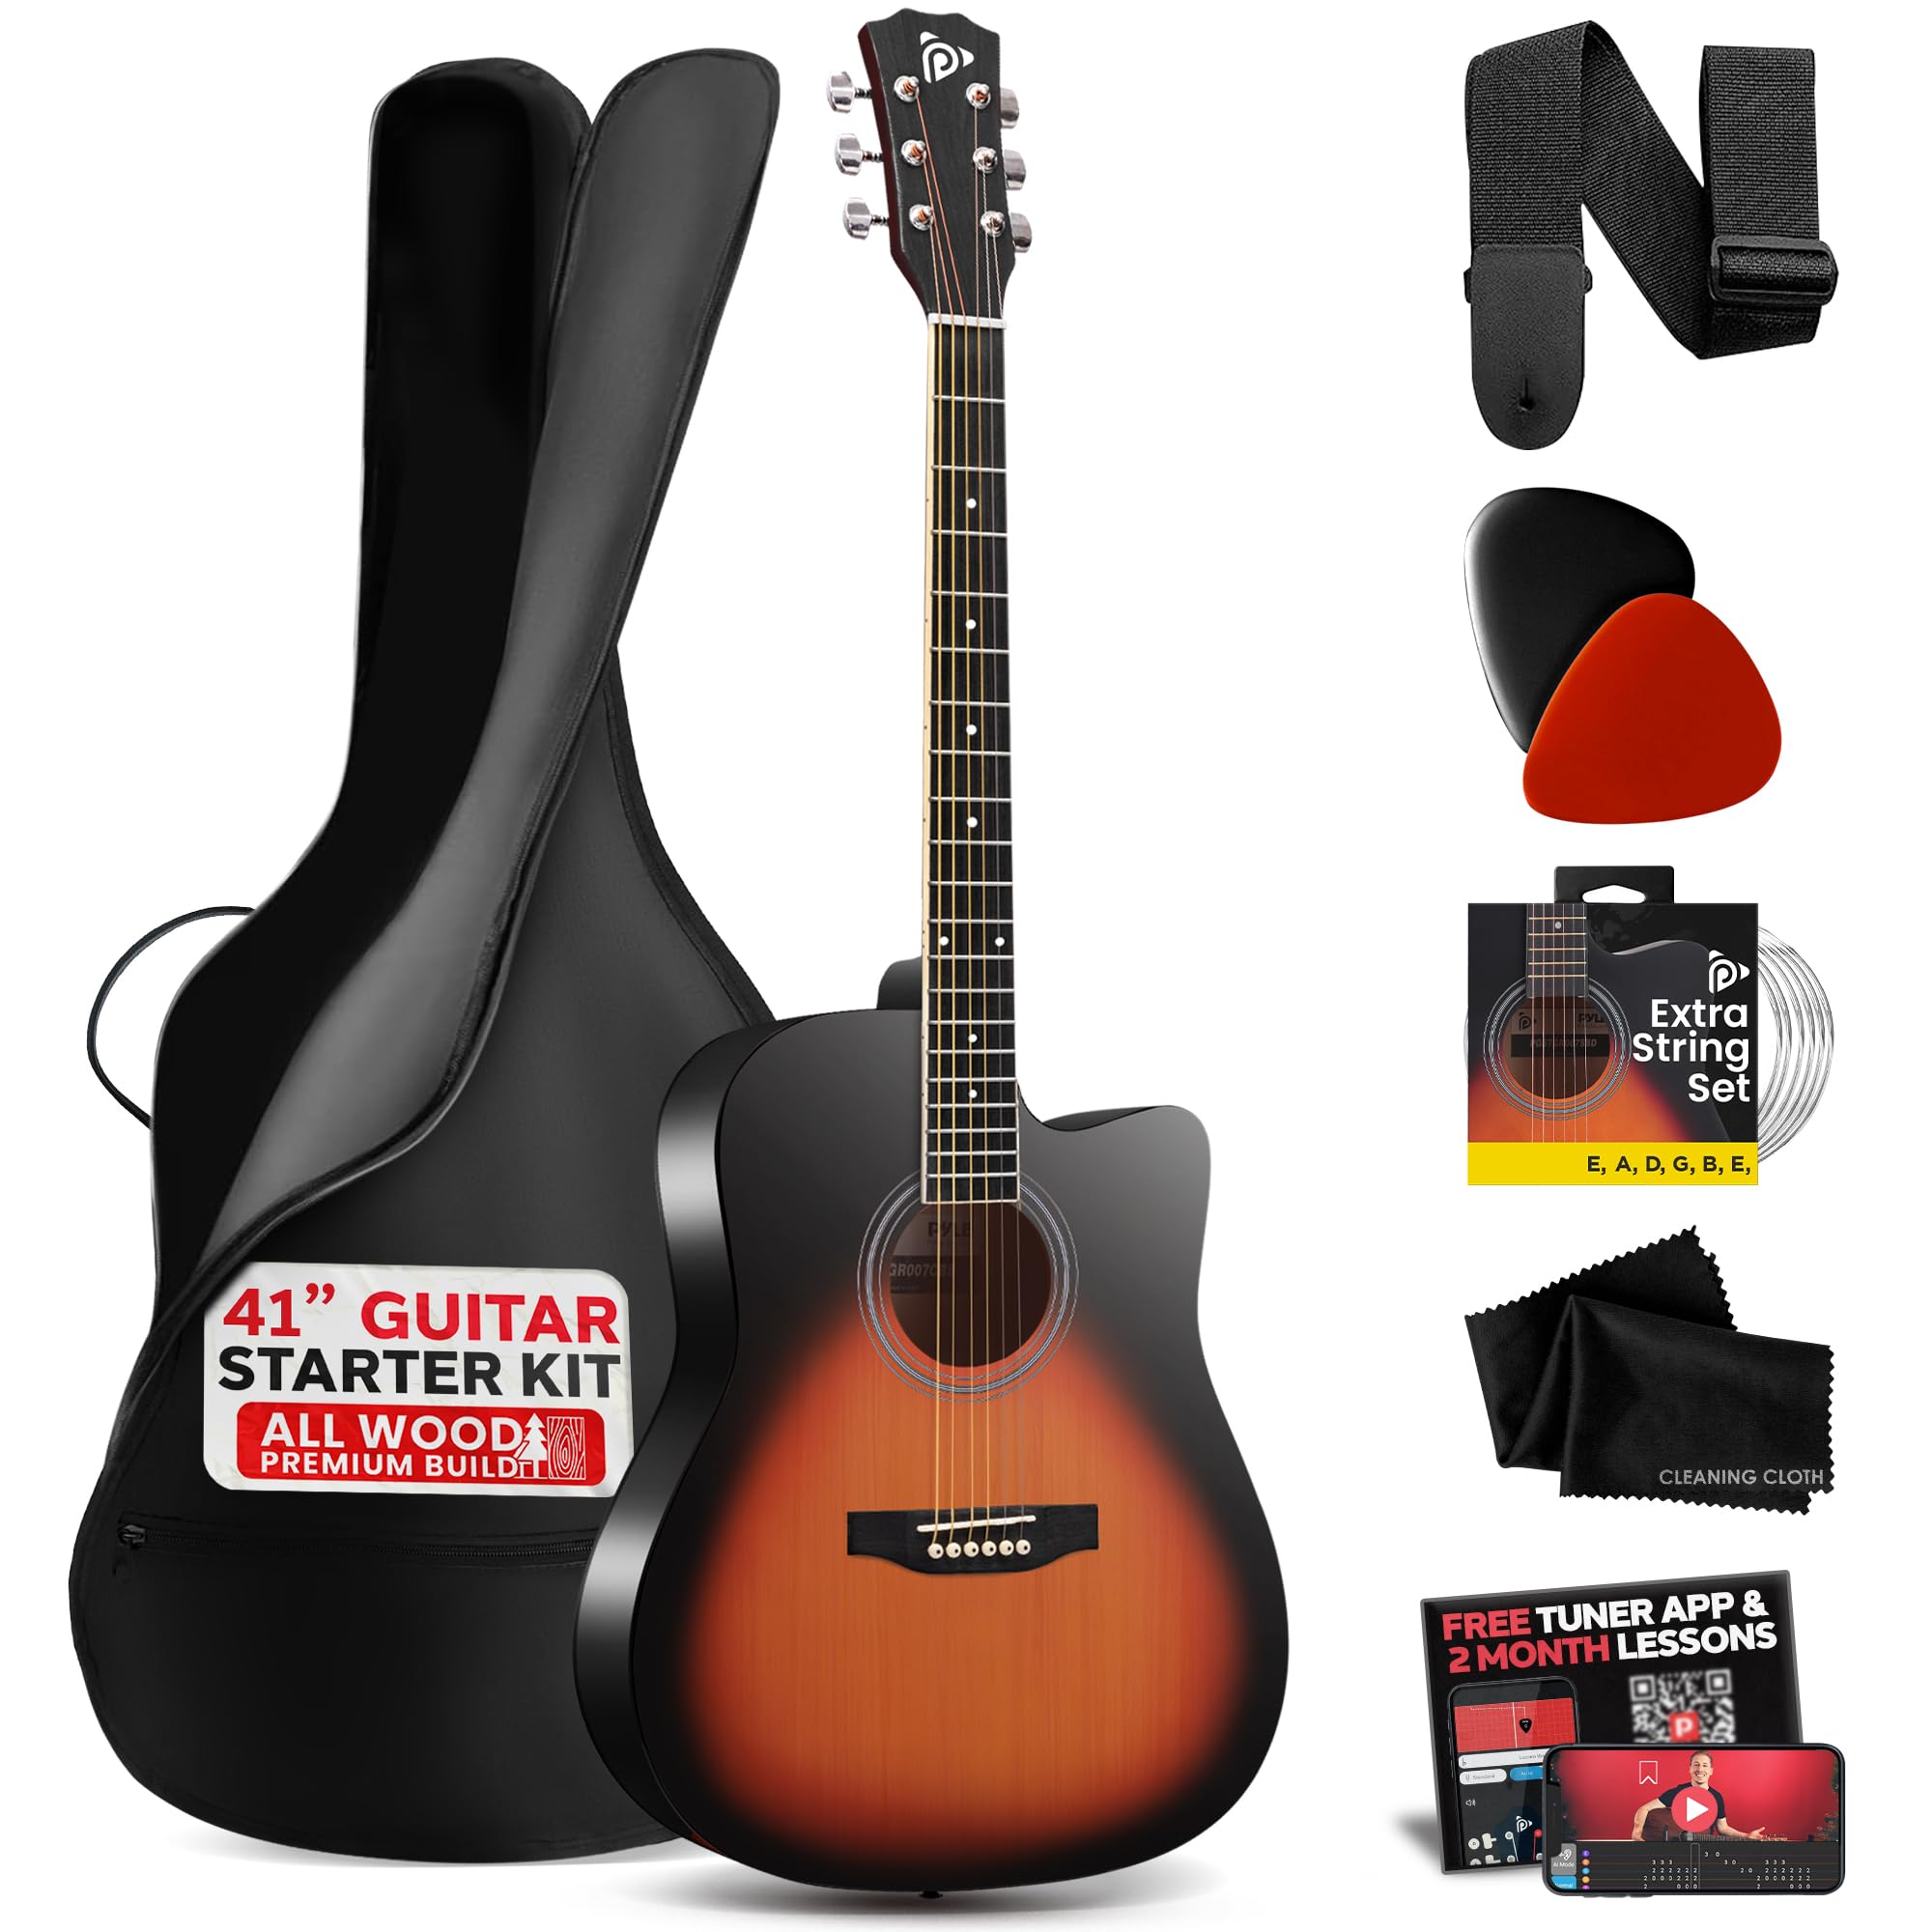
Big LB Music Steel String Acoustic Guitar DIY Kit (ASIN: B07P5Z3Z3Z)
Beginner-friendly pre-cut kit with all wood parts, clear instructions.
Best for: Core kit for first build.
Price Range: $150-$200
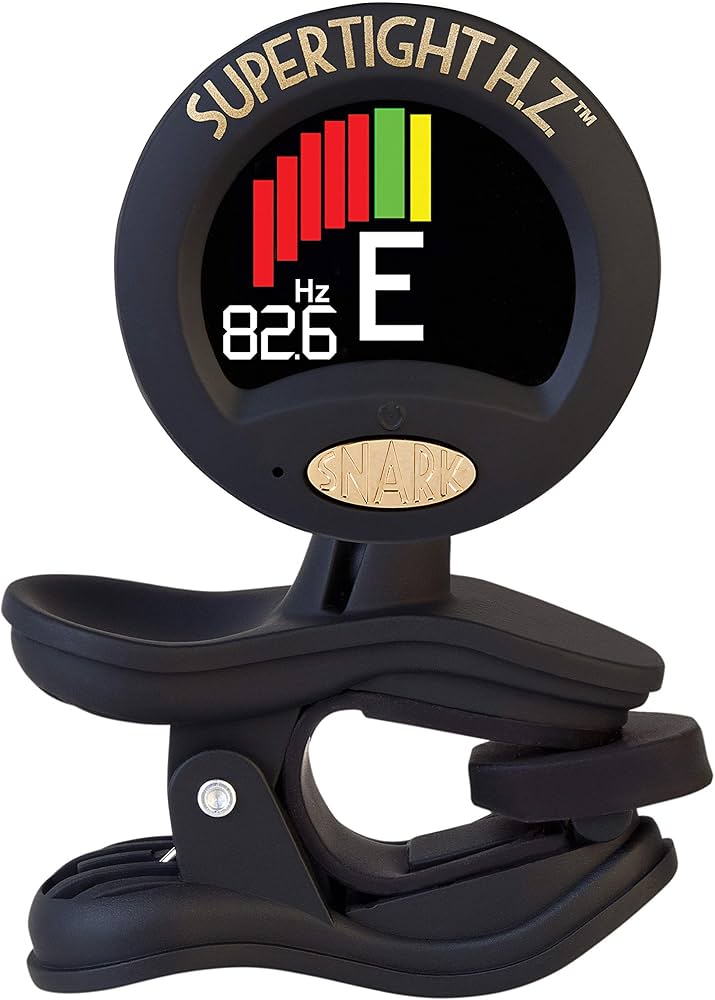
Snark ST-8HZ Clip-On Tuner (ASIN: B00K3ENLH8)
Accurate, vibration-based for new guitars; swivel display.
Best for: Setup, tuning, and intonation.
Price Range: $14-$20
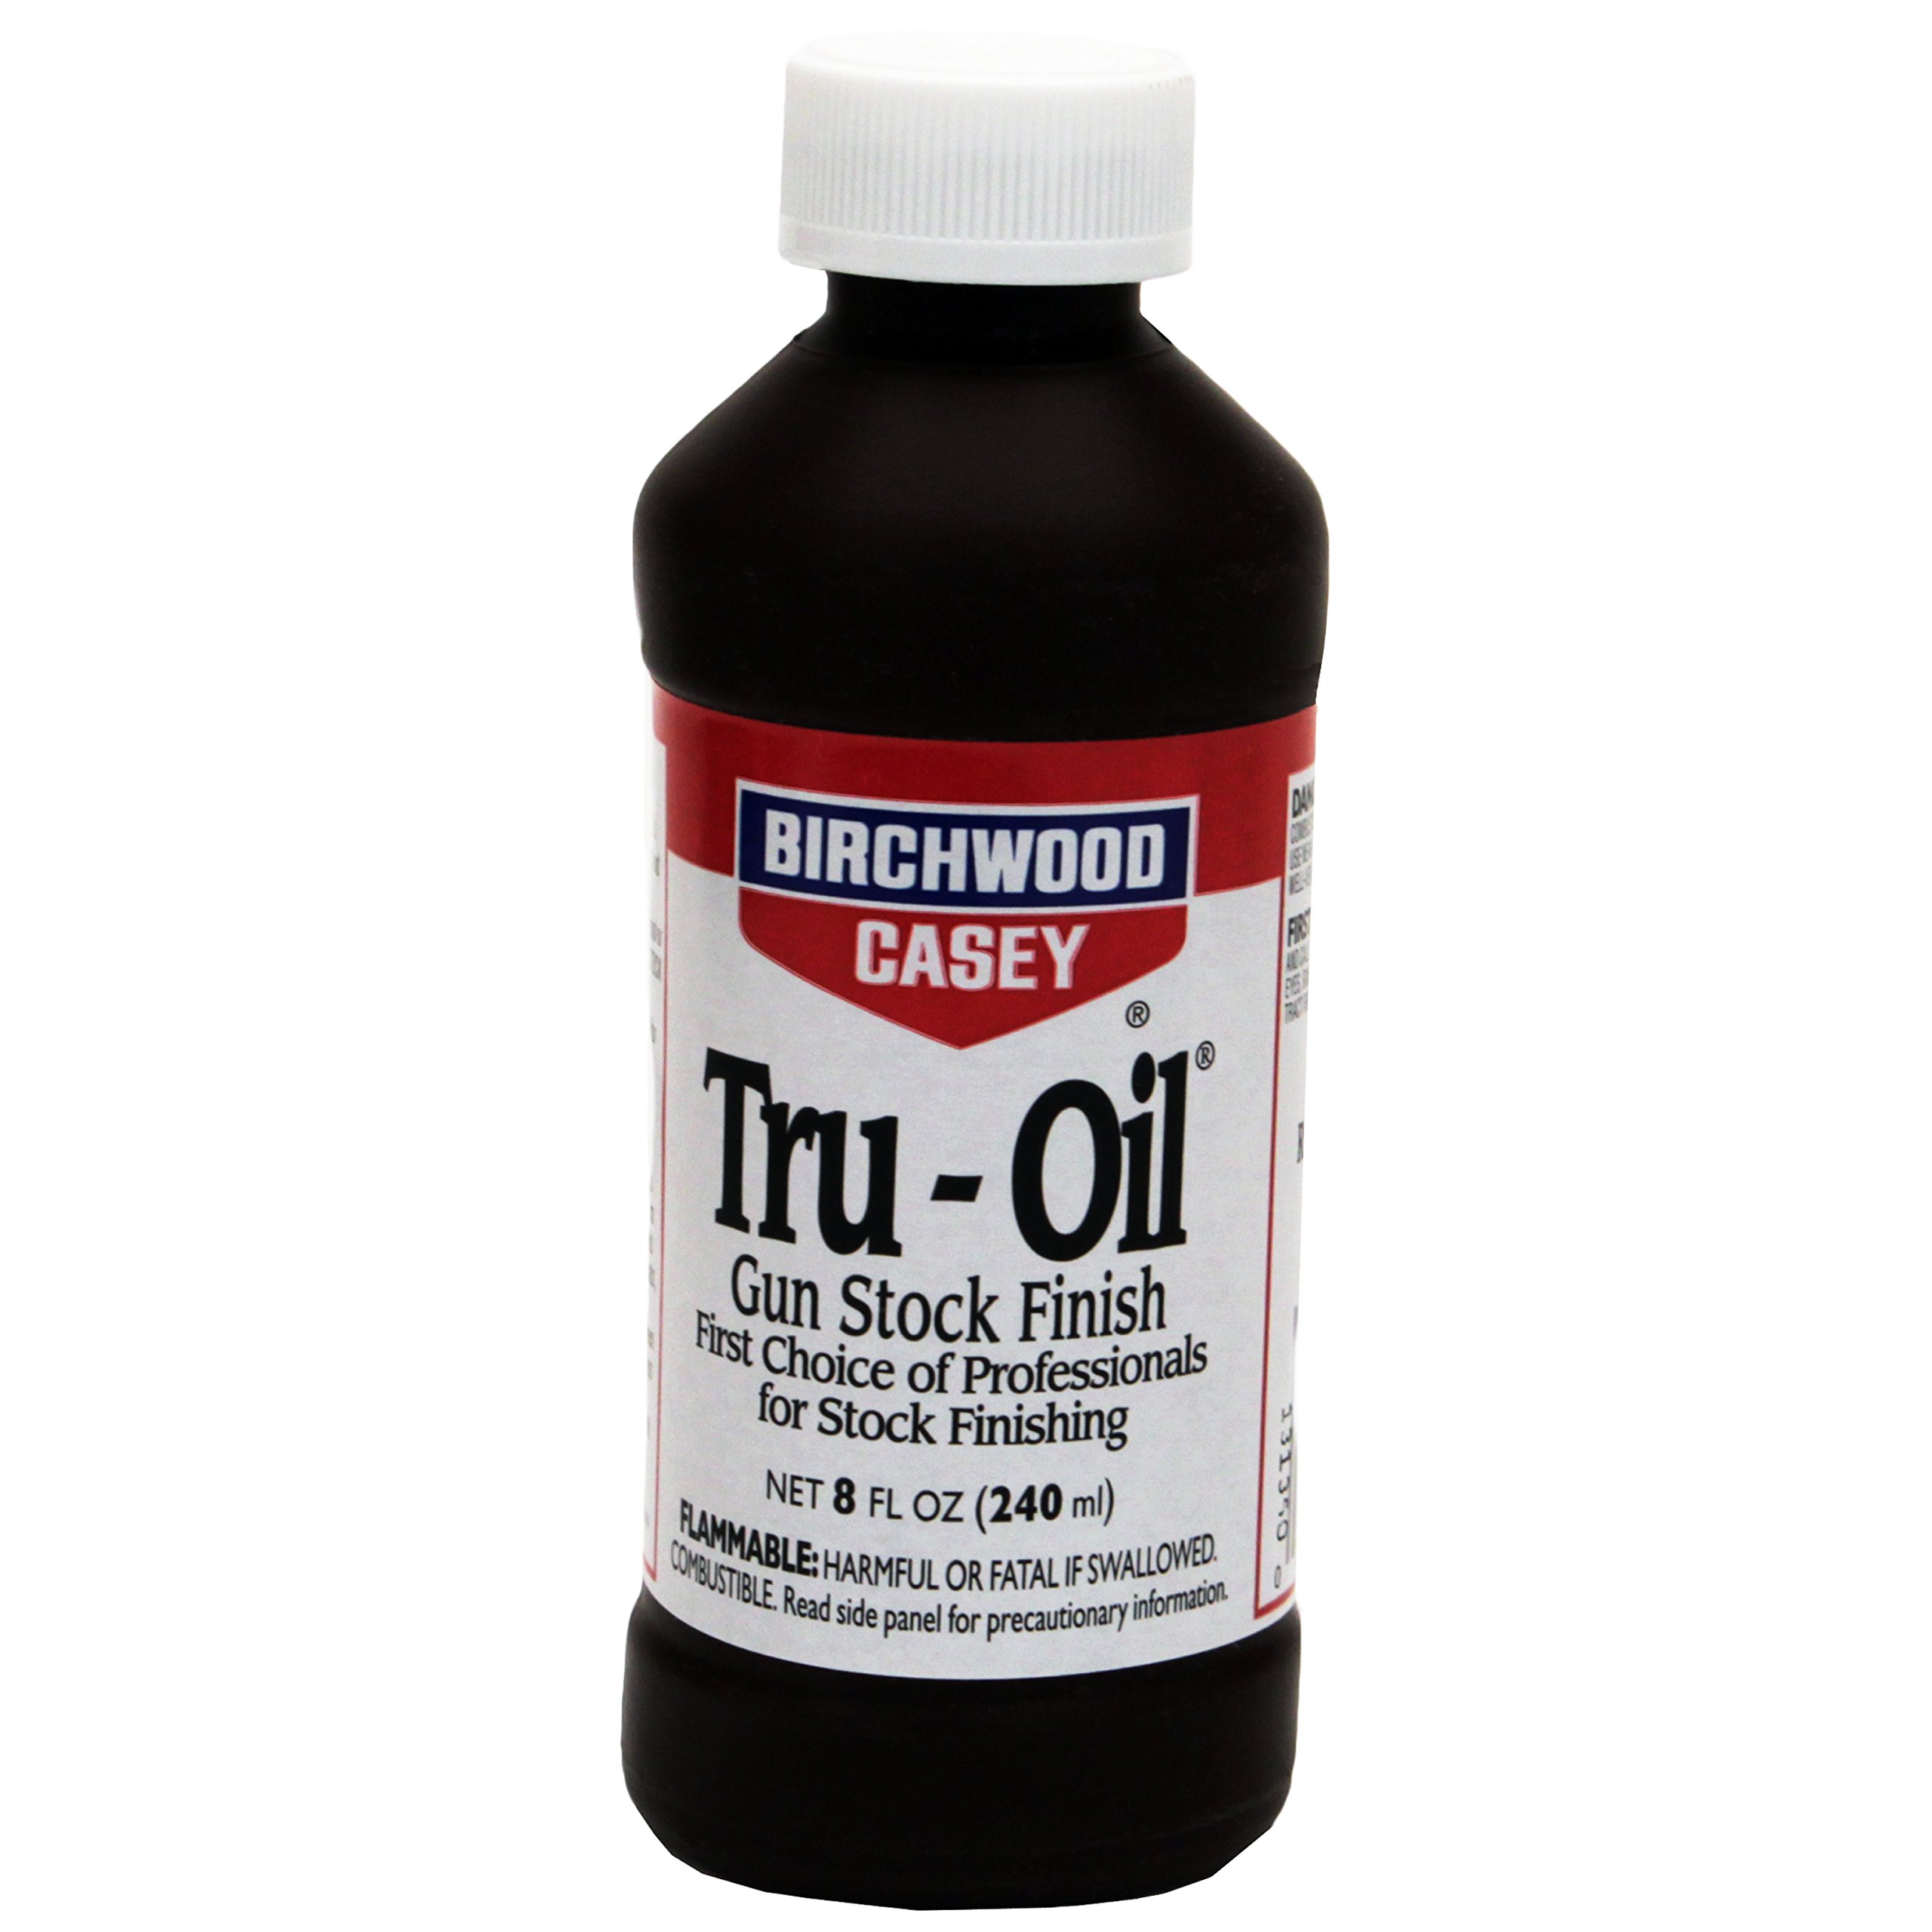
Birchwood Casey Tru-Oil Gun Stock Finish (ASIN: B0002E2Q7M)
Easy hand-rubbed oil for warm tone and protection on bare wood.
Best for: Final body finish.
Price Range: $12-$18