Running a small business often means juggling endless receipts, invoices, and expenses on spreadsheets that lead to errors, lost data, and tax headaches. Setting up dedicated accounting software eliminates these pains, automating tracking, invoicing, and reporting for accurate books and peace of mind.
In this guide, you'll learn how to select the best software, create your company profile, connect banks, and test everything—tailored for beginners with no prior experience. We'll use popular tools like QuickBooks Online and Xero as examples, but the steps apply generally.
Expect a straightforward process taking 1-2 hours. No accounting degree required—just follow along for organized finances that save time and money.
▸What You'll Need
- •Computer or laptop with stable internet access
- •Business details: legal name, address, EIN/SSN, fiscal year start date, bank/credit card login credentials
- •Email address for account creation
- •Credit card or bank info for software subscription (free trials available)
- •Optional: Scanned receipts or prior financial data for import
Estimated Time: 1-2 hours
Difficulty: beginner
▸Step-by-Step Instructions
Step 1: Choose the Right Accounting Software
Start by researching and selecting software that fits your business size, needs, and budget. For small businesses, cloud-based options like QuickBooks Online, Xero, or FreshBooks are ideal due to ease of use, mobile access, and automatic updates.
Compare features: invoicing, expense tracking, payroll integration, and reporting. Sign up for free trials (usually 14-30 days) to test. QuickBooks is great for U.S. taxes; Xero excels in multi-currency.
Success looks like: A shortlist of 2-3 tools with accounts created. Expect 15-20 minutes here.
💡 Tips:
- •Read reviews on sites like G2 or Capterra.
- •Consider integrations with your bank or payment processors like Stripe.
⚠️ Warnings:
- •Avoid free tools like Wave if you need advanced payroll—they lack depth for growth.
Step 2: Sign Up and Create Your Account
Visit the software's website (e.g., quickbooks.intuit.com or xero.com) and click 'Start Free Trial' or 'Sign Up.' Enter your email, create a strong password, and verify via email.
Choose a plan: Starter/Simple Start for solos ($15-30/month). Skip advanced features initially.
Success looks like: Logged into your dashboard with a welcome screen. This takes 5-10 minutes.
💡 Tips:
Step 3: Set Up Your Company Profile
Navigate to 'Company Settings' or 'Account & Settings.' Enter business name, address, EIN/SSN, industry, fiscal year (e.g., Jan 1), and currency.
Upload your logo for branded invoices. Set base currency and tax rates.
Success looks like: Profile saved with a preview of your company info on an invoice. Why it matters: Accurate setup prevents reporting errors.
💡 Tips:
- •Double-check EIN—typos cause IRS issues.
⚠️ Warnings:
- •Don't skip fiscal year; it affects reports.
Step 4: Invite Team Members and Set Permissions
Go to 'Users' or 'Team' section. Invite accountants or employees via email. Assign roles: Admin (full access), Billing (invoicing only), Reports (view-only).
This ensures security and collaboration.
Success looks like: Invites sent and accepted. Skip if solo (5 minutes).
💡 Tips:
- •Limit admin access to trusted users only.
Step 5: Connect Bank and Credit Card Accounts
In 'Banking' or 'Connected Accounts,' search for your bank (e.g., Chase, Wells Fargo). Enter login credentials securely—the software uses bank-level encryption.
Authorize and let it import 90 days of transactions automatically.
Success looks like: Transactions downloading and categorizing. Crucial for real-time tracking.
💡 Tips:
- •Enable 2FA on your bank for extra security.
⚠️ Warnings:
- •If connection fails, use manual CSV import as backup.
Step 6: Customize Chart of Accounts
Review/edit 'Chart of Accounts' (income, expenses, assets categories). Add custom ones like 'Office Supplies' or delete unused.
Match your business (e.g., add 'Freelance Income' for consultants).
Success looks like: Tailored list ready for categorization. Takes 10-15 minutes.
💡 Tips:
- •Use defaults first—customize later.
Step 7: Enter Opening Balances
Input starting balances for bank, assets, equity from prior records. Use 'Opening Balance Equity' account.
Import from Excel if available.
Success looks like: Balance sheet balancing to zero net change.
⚠️ Warnings:
- •Consult an accountant for accuracy if complex.
Step 8: Test with Sample Transactions and Reports
Create a test invoice, expense, and payment. Run a Profit & Loss report.
Review for accuracy.
Success looks like: Reports matching test data. Go live!
💡 Tips:
- •Set up recurring bills for subscriptions.
Step 9: Configure Backups, Taxes, and Security
Enable auto-backups, set sales tax rules, and turn on multi-factor authentication (MFA).
Schedule reports.
Success looks like: Secure, automated system.
▸Pro Tips
- •Start with free trial to test without commitment.
- •Integrate with payment apps like PayPal early for seamless deposits.
- •Use mobile apps for on-the-go expense snaps.
- •Tag transactions consistently for better insights.
- •Review monthly reports to catch issues fast.
- •Export data quarterly for your accountant.
- •Enable notifications for uncategorized transactions.
▸Common Mistakes to Avoid
- •Skipping bank connections—leads to manual entry drudgery.
- •Incorrect fiscal year setup—messes up tax filings.
- •Over-customizing chart of accounts initially—stick to basics.
- •Ignoring security like MFA—risks data breaches.
- •Not testing transactions—discovers errors later.
▸Troubleshooting
Problem: Bank won't connect
Solution: Update credentials, check if bank supports (most do), or upload CSV. Contact support if persistent.
Problem: Transactions not categorizing
Solution: Train rules in banking tab: e.g., 'Starbucks' to 'Meals.' Review manually first week.
Problem: Balances not matching prior records
Solution: Re-enter opening balances or consult CPA. Use reconciliation tool.
Problem: Software slow or crashes
Solution: Clear cache, update browser/app, or contact support. Switch to desktop version if needed.
Intuit QuickBooks Desktop Pro Plus 2024
Full-featured offline software perfect for small businesses preferring local data control with robust invoicing and reporting.
Best for: Ideal for retail shops or those without reliable internet; includes 1-year support.
Price Range: $399-$549
QuickBooks Online For Dummies, 2024 Edition
Beginner-friendly book with screenshots and tips specific to setup and daily use.
Best for: Reference guide while configuring; great for non-accountants learning QuickBooks Online.
Price Range: $20-$30
Xero Accounting Software (Starter Plan)
Cloud-based, intuitive for beginners with unlimited invoices and bank reconciliation.
Best for: Service-based businesses needing multi-user access without desktop install.
Price Range: $15-$20/month
WD 5TB Elements Portable External Hard Drive
Secure offline backups for your exported accounting data to prevent loss.
Best for: Weekly backups for businesses handling sensitive financial info.
Price Range: $110-$130
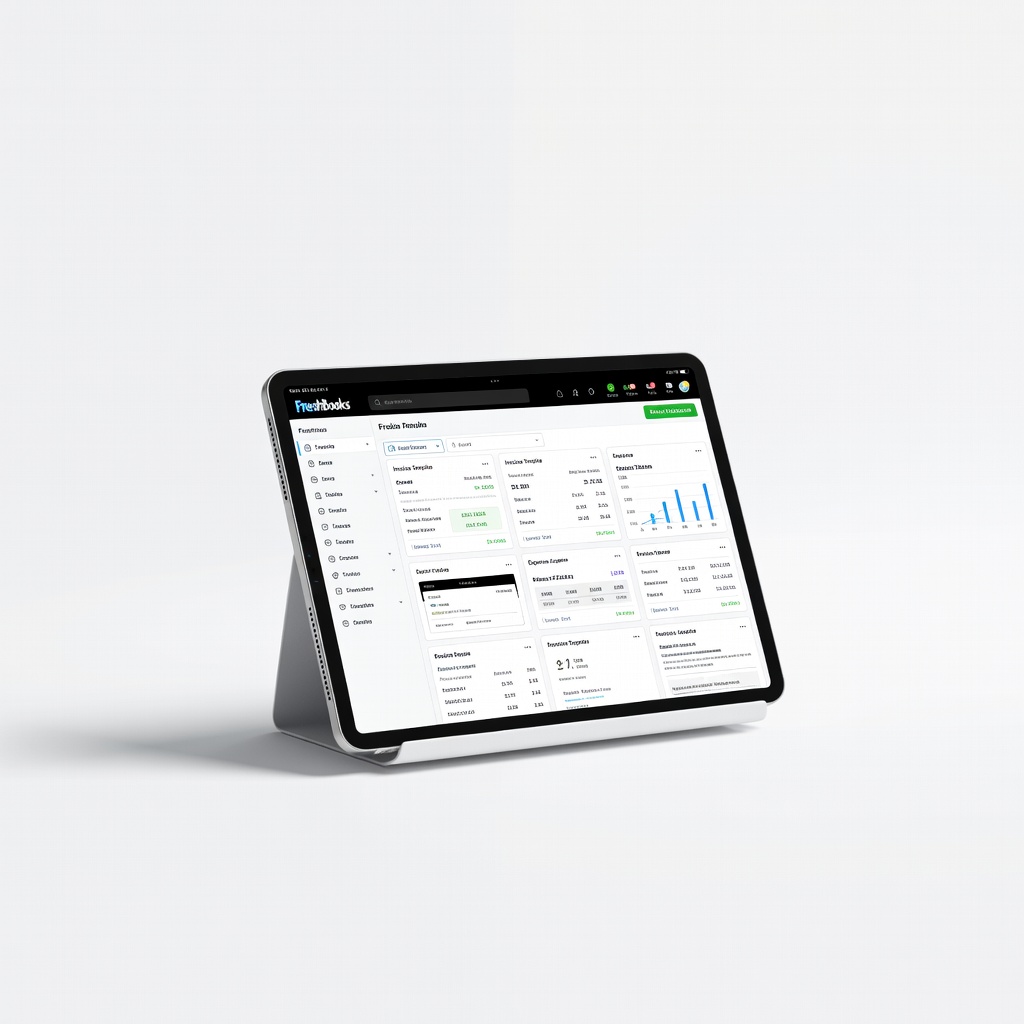
FreshBooks Cloud Accounting Software
Simplified invoicing and time tracking tailored for freelancers and small teams.
Best for: Creative agencies or consultants focused on client billing over complex inventory.
Price Range: $19-$50/month