Vinyl enthusiasts know that a poorly set up turntable can turn a pristine record into a muddy mess of distortion and rumble. Whether you're upgrading from a basic player or fine-tuning a high-end model, optimal setup is crucial for capturing the warm, detailed sound that makes analog audio irresistible. Common pain points like tracking errors, wow and flutter, or ground hum often stem from overlooked setup steps, robbing you of the full sonic experience.
In this advanced guide, you'll learn to assemble, align, and calibrate your turntable for peak performance. We'll cover everything from leveling the plinth to fine-tuning cartridge tracking force and anti-skate, drawing on pro audio principles to help you achieve professional results. By the end, your system will deliver clear highs, tight bass, and immersive stereo imaging.
Expect this process to take 1-2 hours, depending on your model's complexity. It's geared toward advanced users comfortable with tools like protractors and scales, but we'll explain key concepts along the way to build your confidence.
▸What You'll Need
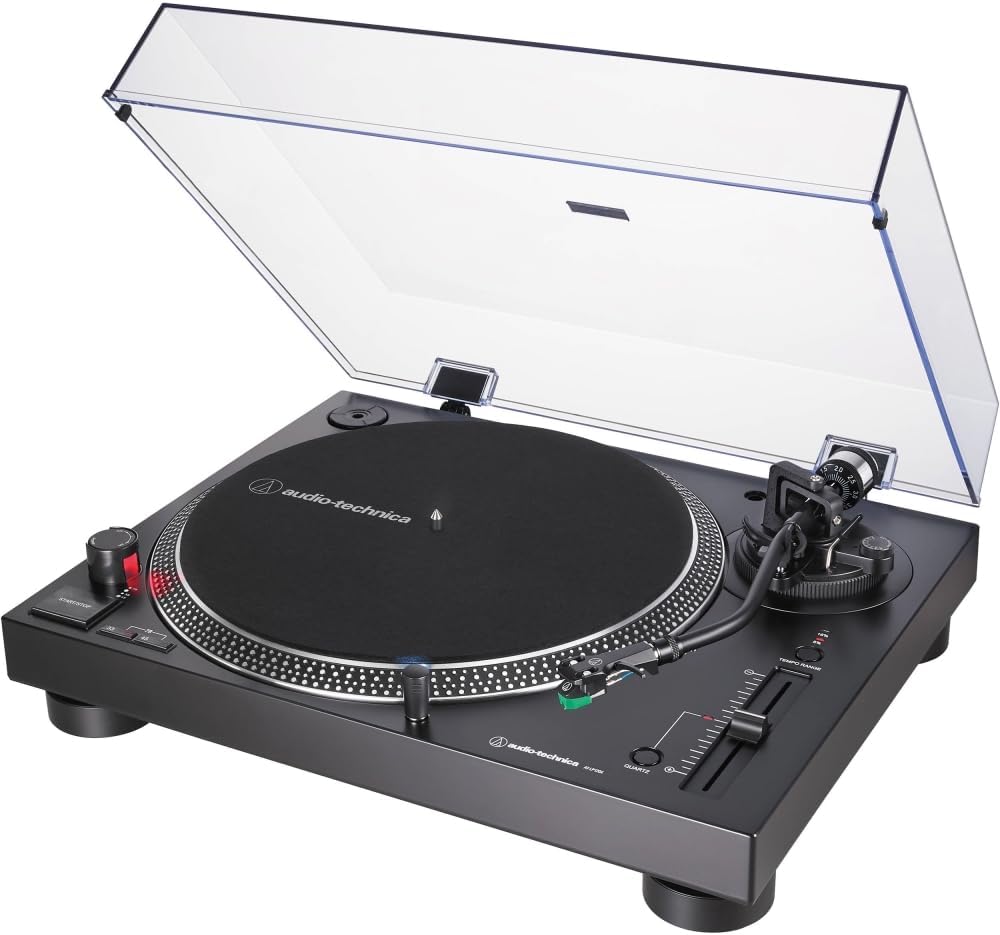
- •Turntable (fully assembled or kit, e.g., Audio-Technica AT-LP120X or similar direct-drive model)
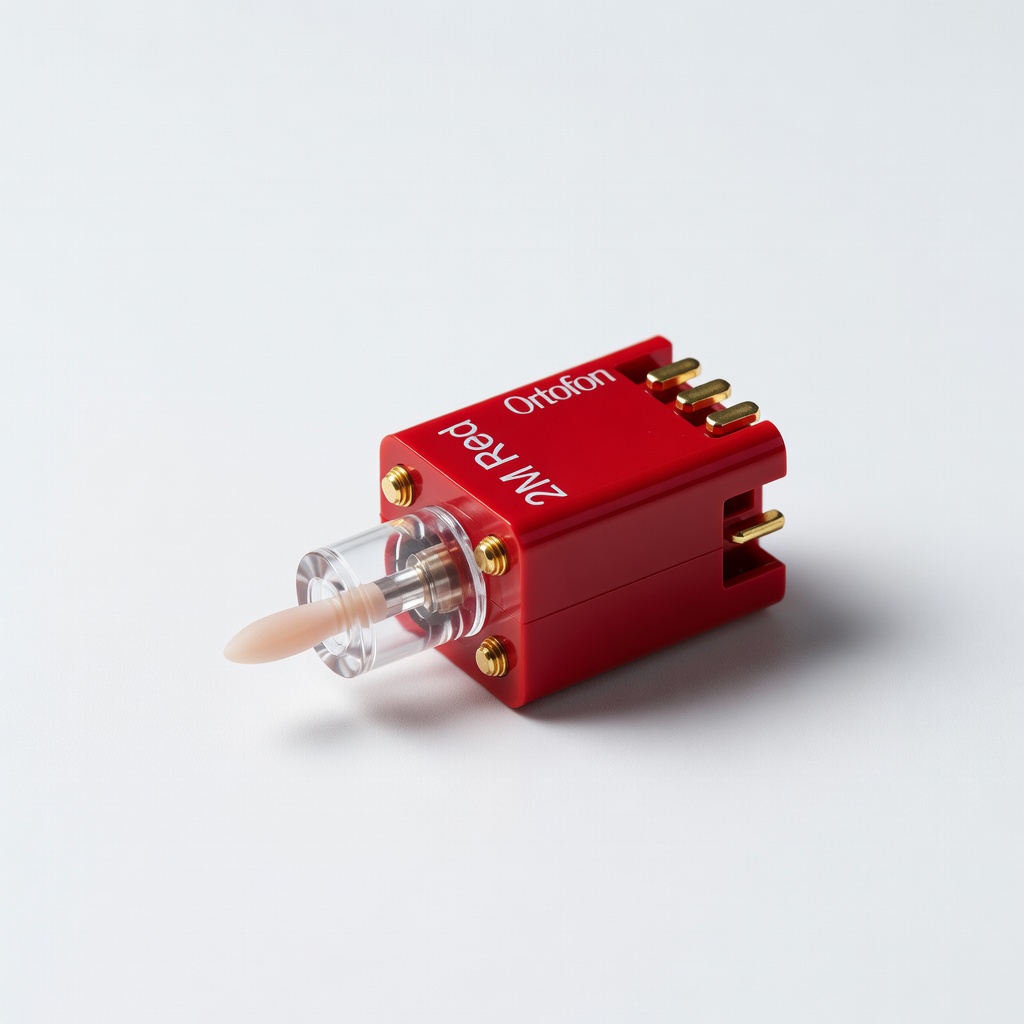
- •Cartridge and stylus (pre-installed or separate, e.g., Ortofon 2M Red)
- •Phono preamplifier (built-in or external if your amp lacks one)
- •Amplifier and speakers (stereo system with RCA inputs)
- •Bubble level or digital angle finder (required for precise leveling)
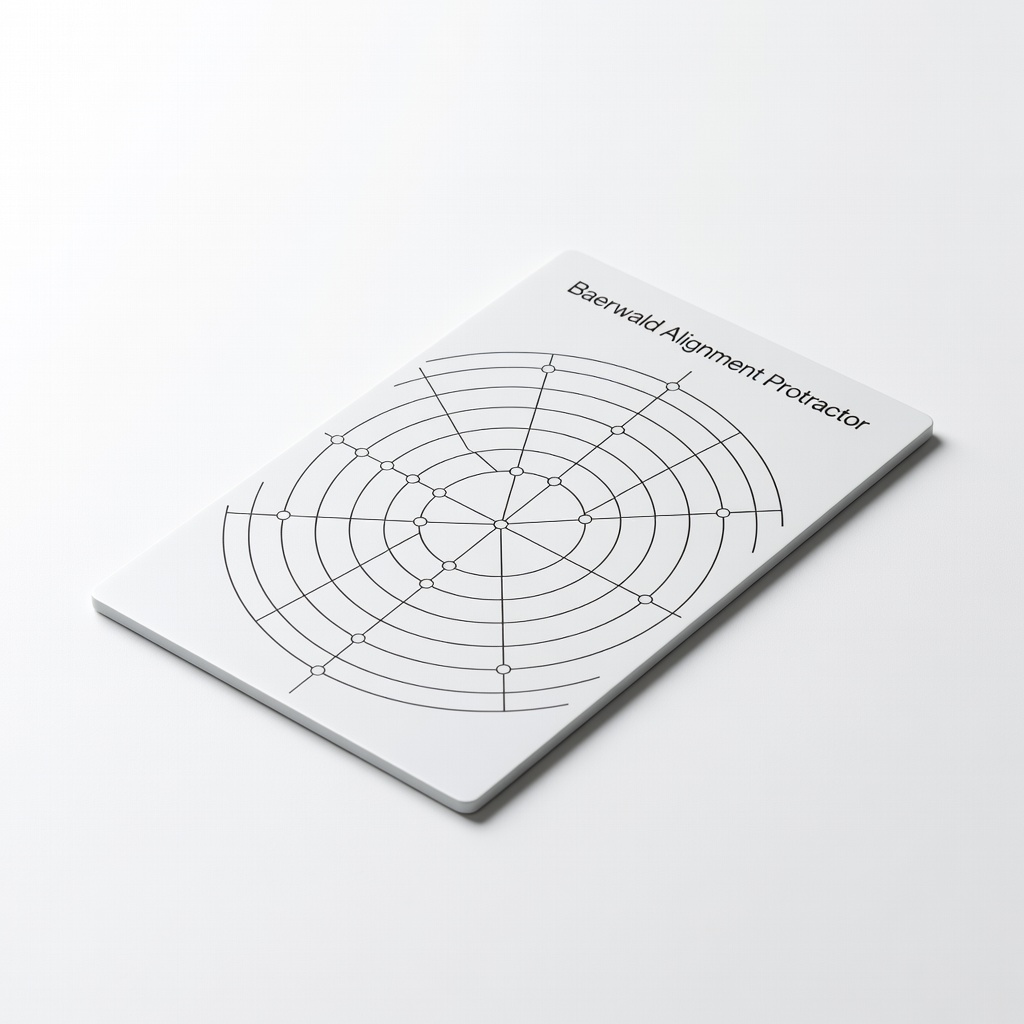
- •Cartridge alignment protractor (e.g., two-point or Baerwald template)
- •Stylus force gauge (electronic or mechanical scale, 0.01g accuracy)
- •Phillips and flathead screwdrivers (for tonearm adjustments)
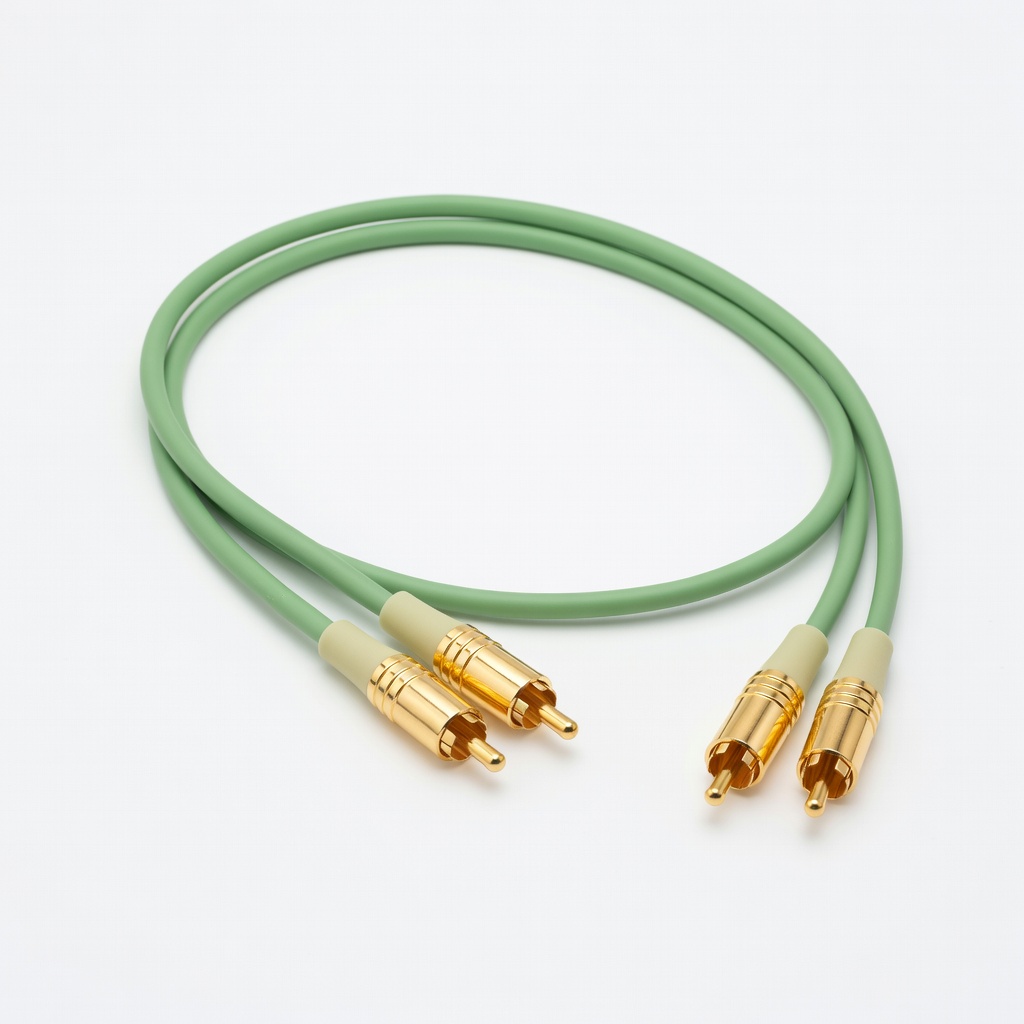
- •RCA cables and ground wire (high-quality shielded for low noise)
- •Test records or alignment discs (optional but recommended for calibration)
- •Cleaning supplies: stylus brush and record cleaner (optional for initial setup)
Estimated Time: 1-2 hours
Difficulty: advanced
▸Step-by-Step Instructions
Step 1: Unbox and Inspect Components
Begin by carefully unboxing your turntable and laying out all parts on a clean, static-free surface. Check for damage to the platter, tonearm, and dust cover. Verify inclusions like the headshell, counterweight, and manual.
This step ensures nothing is missing or broken before assembly, preventing frustration later. For advanced users, note any model-specific quirks, such as belt-drive vs. direct-drive mechanisms, which affect speed stability.
Success looks like all components accounted for and the plinth (base) ready for placement. Refer to the manual for exploded diagrams if needed.
💡 Tips:
- •Work in a well-lit area to spot defects easily.
- •Photograph the box contents for warranty claims.
⚠️ Warnings:
- •Avoid touching the stylus tip to prevent bending it.
Step 2: Choose and Prepare the Setup Location
Select a stable, vibration-free surface like a dedicated audio rack or solid wood shelf, away from speakers to minimize feedback. Ensure it's level roughly and has space for cables.
Why it matters: Vibrations cause acoustic feedback and rumble, degrading sound quality. For optimal sound, isolate the turntable from foot traffic and HVAC drafts.
Expect a quiet, accessible spot; use felt pads under the feet if the surface is uneven.
💡 Tips:
- •Place near your amp for short cable runs to reduce signal loss.
- •Use an isolation platform if in a lively room.
⚠️ Warnings:
- •Don't place on carpet or near subwoofers—vibrations will ruin tracking.
Step 3: Level the Turntable Plinth
Place a bubble level on the platter and adjust the turntable's feet (usually three or four) until the bubble centers perfectly. For precision, use a digital level to confirm within 0.5 degrees.
Leveling is foundational for even stylus tracking, preventing uneven wear on records and distortion in playback. Uneven setups lead to 'wow' (speed variations) and poor channel balance.
Success: The platter spins smoothly without wobbling; recheck after any moves.
💡 Tips:
- •Level front-to-back first, then side-to-side.
- •Mark foot positions with tape for quick re-leveling.
⚠️ Warnings:
- •Over-tightening feet can crack the plinth—turn gently.
Step 4: Install the Cartridge and Headshell
If not pre-installed, mount the cartridge to the headshell using the provided screws. Connect the four color-coded wires (red, green, white, blue) to the corresponding pins—ensure secure but not overtightened fits.
This step aligns the diamond tip precisely with the groove, critical for accurate stereo imaging and frequency response. For advanced setups, verify cantilever alignment visually.
Expect a snug connection; the headshell should slide easily onto the tonearm later.
💡 Tips:
- •Use a small mirror to check wire connections.
- •Apply a drop of threadlocker to screws for vibration resistance.
⚠️ Warnings:
- •Incorrect wiring swaps channels, causing reversed stereo.
Step 5: Attach the Counterweight and Set Tracking Force
Slide the counterweight onto the tonearm's rear stub and lock it. Zero the balance by rotating it until the arm floats parallel to the platter. Then, using your stylus force gauge, set the tracking force to the cartridge's spec (e.g., 1.8g for Ortofon 2M Red) by turning the dial.
Proper force prevents skipping and groove damage while optimizing bass response. Too light causes mistracking; too heavy wears records.
Success: Arm balances horizontally, and gauge reads exact grams—no floating or sagging.
💡 Tips:
- •Calibrate the gauge on a flat surface first.
- •Use the manufacturer's chart for exact force.
⚠️ Warnings:
- •Never set force without balancing—risks stylus damage.
Step 6: Align the Cartridge with a Protractor
Place the alignment protractor on the platter. Position the headshell so the stylus tip hits the outer null point, then align the cartridge body parallel to the grid lines using an overhang gauge if needed. Secure and check the inner null point.
Alignment minimizes distortion across the record surface, ensuring flat frequency response. Baerwald or Stevenson methods suit advanced users for different priorities (low distortion vs. balance).
Expect the cartridge to look square to the lines; recheck after tightening.
💡 Tips:
- •Print a free protractor if not included.
- •Use a lighted magnifier for precision.
⚠️ Warnings:
- •Misalignment causes inner-groove distortion—double-check both points.
Step 7: Configure Anti-Skate and Speed
Set anti-skate to match tracking force (dial to 1.8 if force is 1.8g). For speed, select 33⅓ or 45 RPM via the switch; calibrate with a strobe disc under platter light if your model allows fine-tuning.
Anti-skate counters stylus pull toward groove center, preventing mistracking. Accurate speed avoids pitch issues, vital for rhythmic genres.
Success: Dial matches force, and speed reads steady on a test record.
💡 Tips:
- •Test anti-skate with a blank record—arm shouldn't drift.
- •Use a phone app for speed verification.
⚠️ Warnings:
- •Over-anti-skate causes outer-wall distortion.
Step 8: Connect to Amplifier and Test Playback
Attach RCA cables from turntable outputs to phono inputs (or line if preamp built-in). Connect the ground wire to the amp's post. Power on, place a record, cue the arm, and play—listen for hum-free, balanced sound.
Connections ensure low-noise signal transfer; grounding eliminates 60Hz hum. Test with familiar tracks to verify imaging and dynamics.
Success: Clean playback with no buzz, even stereo separation, and true-to-source fidelity.
💡 Tips:
- •Use gold-plated cables for better conductivity.
- •Break in new stylus with 10-20 hours of play.
⚠️ Warnings:
- •Reverse polarity on RCAs swaps channels.
▸Pro Tips
- •Invest in a digital tracking scale for repeatable 0.01g accuracy over time.
- •Recheck alignment every 6 months or after 200 hours of play to maintain sound quality.
- •Use a carbon fiber dust cover to shield from dust without resonances.
- •For belt-drive models, replace the belt every 5 years to prevent speed drift.
- •Experiment with VTA (vertical tracking angle) adjustment for tonal tweaks—slight arm height changes alter warmth.
- •Record setup parameters in a log for quick troubleshooting.
- •Isolate power with a dedicated outlet or conditioner to reduce electrical noise.
▸Common Mistakes to Avoid
- •Skipping leveling: Leads to uneven tracking and record wear—always use a level tool first.
- •Incorrect cartridge alignment: Causes distortion, especially on inner tracks—use a protractor every setup.
- •Forgetting to ground the system: Results in persistent hum—ensure the wire connects securely.
- •Setting anti-skate too high or low: Mistracks grooves, muddying bass—match exactly to tracking force.
- •Using low-quality cables: Introduces noise and signal loss—opt for shielded RCAs from the start.
▸Troubleshooting
Problem: Humming or buzzing noise
Solution: Check ground wire connection; reroute cables away from power cords. If persists, replace with better-shielded RCAs.
Problem: Distorted or skipping playback
Solution: Verify tracking force and alignment; clean stylus and record. Adjust anti-skate if arm drifts.
Problem: Uneven speed (wow/flutter)
Solution: Re-level the plinth and check belt tension (for belt-drives). Use a strobe disc to calibrate RPM.
Problem: One channel quieter than the other
Solution: Inspect cartridge wiring for loose connections; swap RCA cables to isolate amp issue. Seek pro help for cartridge faults.
Problem: Excessive rumble
Solution: Add isolation feet or platform; ensure away from speakers. If internal, consult technician for bearing issues.
Audio-Technica AT-LP120XUSB Direct-Drive Turntable
This reliable direct-drive model offers built-in preamp and precise speed control, ideal for advanced setups seeking stability without constant recalibration.
Best for: Perfect for home audio systems needing USB ripping and versatile connectivity for optimal sound tuning.
Price Range: $349
Ortofon 2M Red MM Cartridge
Elliptical stylus provides excellent tracking and detail retrieval, enhancing clarity and reducing distortion in high-fidelity playback.
Best for: Upgrade for mid-range turntables to achieve audiophile sound from standard records without needing a high-end arm.
Price Range: $99
Digital Stylus Force Gauge Scale
Offers 0.01g precision for accurate tracking force, far superior to mechanical gauges for consistent setup and longevity.
Best for: Essential for fine-tuning during initial setup and periodic maintenance to prevent record wear.
Price Range: $25-$35
Baerwald Alignment Protractor
Universal template ensures optimal cartridge geometry for low-distortion playback across the entire record surface.
Best for: Use during cartridge installation to align for balanced sound, especially on longer LPs.
Price Range: $10-$15
AudioQuest Evergreen RCA Interconnect Cables
High-purity copper conductors minimize noise and preserve signal integrity, elevating overall sound quality.
Best for: Connect turntable to amp for clean, detailed audio transmission in noise-prone environments.
Price Range: $50-$70