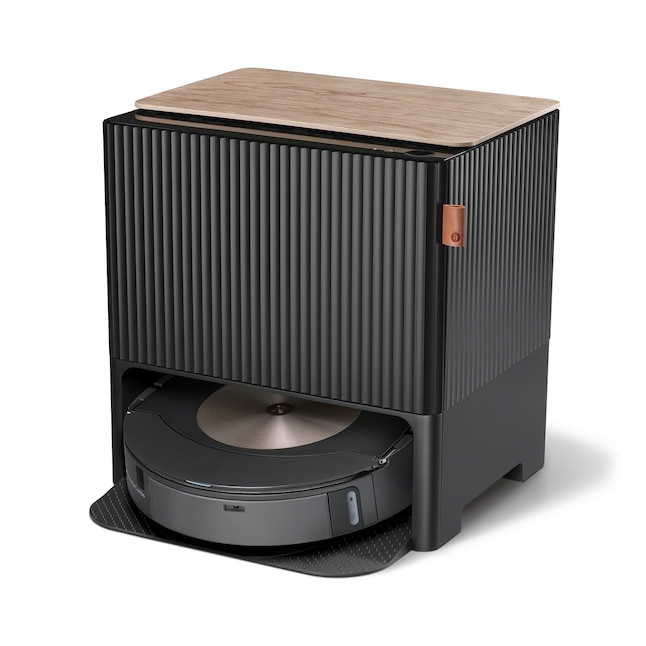
iRobot Roomba i3 EVO
Ideal for medium-sized homes needing reliable mapping and pet hair pickup.
$250-$350
iRobot Roomba i3 EVO Excellent for beginners with easy app setup and self-emptying base to reduce maintenance.
Get the App
Better experience on mobile
Get your new robot vacuum up and running in under 30 minutes with this beginner-friendly guide to effortless floor cleaning.
Setting up a robot vacuum for the first time can feel intimidating if you're new to smart home tech, but it's actually straightforward and transformative. Imagine coming home to sparkling floors without lifting a finger— that's the magic of a well-set-up robot vacuum. Many beginners skip steps and end up frustrated with mapping issues or poor performance, but following a simple process ensures smooth operation from day one.
In this guide, you'll learn everything from unboxing to launching your first cleaning cycle. We'll cover the essentials for popular models like Roomba and Eufy, focusing on clear, actionable steps. The whole setup takes about 20-30 minutes and requires no advanced skills—just basic smartphone use and a bit of patience.
By the end, your robot vacuum will be mapping your home, avoiding obstacles, and keeping dust at bay. Let's dive in and make your floors future-proof.
Estimated Time: 20-30 minutes Difficulty: beginner
Start by carefully opening the packaging of your new robot vacuum. Remove the main unit, charging dock, and any accessories like side brushes, remote control, or cleaning tools. Place all items on a clean, flat surface away from clutter to avoid losing small parts.
This step is crucial because it lets you inspect everything for damage right away—most manufacturers offer easy returns if something's missing or broken. Expect to find a quick-start guide inside; skim it for model-specific notes, but this tutorial covers the general process.
Why it matters: Proper unboxing prevents setup delays and ensures you're familiar with components before powering on.
💡 Tips:
⚠️ Warnings:
Check that all parts are present: the robot vacuum, dock, brushes, and filters. If side brushes aren't attached, snap them into place on the underside of the unit— they usually click securely. Insert or replace the dust bin and filter if needed; refer to the manual for your model.
This preparation matters because clean, properly installed parts ensure optimal suction and navigation from the start. You'll notice the brushes spinning freely once installed, confirming they're ready.
For mopping models, attach the water tank or pad now, but skip if it's a dry-only vacuum.
💡 Tips:
⚠️ Warnings:
Choose a central, open location for the dock, like near an outlet in a hallway, away from stairs or rugs that could block it. Plug in the power adapter and attach the dock's magnetic strips if included. Place the robot vacuum on the dock—it should light up or make a sound indicating it's charging.
The dock is the vacuum's 'home base,' so positioning it well helps with auto-docking after cleans. Expect the battery indicator to show charging status; full charge takes 2-4 hours, but start setup now.
Why it matters: Poor dock placement leads to failed returns and interrupted sessions.
💡 Tips:
⚠️ Warnings:
On your smartphone, go to the App Store (iOS) or Google Play (Android) and search for your vacuum's app—e.g., 'iRobot Home' for Roomba or 'EufyHome' for Eufy. Install it and create an account if prompted, using your email.
The app is the brain of your setup, allowing scheduling, mapping, and control. You'll see a welcome screen guiding you through pairing—expect this to take 2-3 minutes.
This step connects your vacuum to smart features, making it more than just a basic cleaner.
💡 Tips:
⚠️ Warnings:
Open the app, select 'Add Device,' and follow prompts to put the vacuum in pairing mode (usually by pressing the home and spot buttons for 3 seconds). Connect to your 2.4GHz Wi-Fi network—avoid 5GHz as it's incompatible with most models.
Pairing syncs the vacuum to your home network for remote control. Success looks like a confirmation message and the vacuum's lights flashing green.
Why it matters: Without Wi-Fi, you lose app features like live mapping and voice control with Alexa or Google.
💡 Tips:
⚠️ Warnings:
In the app, check for firmware updates and install them—the vacuum may need to be on the dock. Then, run a sensor calibration if available (often automatic on first use) by placing it in an open room.
Updates fix bugs and improve performance, while calibration ensures accurate obstacle detection. Expect the app to show progress bars; the vacuum might move slightly during this.
This step optimizes your device for your specific home layout.
💡 Tips:
⚠️ Warnings:
Clear the floor of obstacles, then start a mapping run via the app or buttons. Let it roam for 10-15 minutes to build your home's map.
This initial run teaches the vacuum your space, avoiding furniture and stairs. Success: It returns to dock without issues, and the app shows a basic floor plan.
Why it matters: Good mapping means efficient, thorough cleans in the future.
💡 Tips:
⚠️ Warnings:
In the app, set schedules, no-go zones, and suction levels. Run a short test clean in one room to verify everything works.
Customization tailors the vacuum to your needs, like quiet mode for nights. Expect smooth operation with minimal noise.
This finalizes setup, ensuring reliability.
💡 Tips:
⚠️ Warnings:
Problem: Vacuum won't connect to app
Solution: Ensure Bluetooth is on, restart the vacuum and phone, and verify 2.4GHz Wi-Fi. Reset by holding the clean button for 20 seconds if needed.
Problem: Doesn't charge on dock
Solution: Check for debris on contacts; clean with a dry cloth. Ensure the dock is plugged in firmly and try a different outlet.
Problem: Gets stuck during mapping
Solution: Clear obstacles and restart the run. If persistent, recalibrate sensors in an open area or check for loose brushes.
Problem: App shows errors
Solution: Update the app and vacuum firmware. Log out/in or reinstall if issues continue; contact support for model-specific help.
Excellent for beginners with easy app setup and self-emptying base to reduce maintenance.
Best for: Ideal for medium-sized homes needing reliable mapping and pet hair pickup.
Price Range: $250-$350
Budget-friendly with quiet operation and no app required for basic use, but app enhances setup.
Best for: Great for small apartments where simplicity trumps smart features.
Price Range: $150-$200
Advanced mapping and voice control integration make first-time setup intuitive.
Best for: Suits larger homes with multiple floors and heavy traffic.
Price Range: $300-$450
Helps during setup by creating no-go zones without app boundaries.
Best for: Use for pet areas or stairs to prevent unwanted exploration.
Price Range: $40-$60
Keeps air clean and suction strong from the start; essential for allergy sufferers.
Best for: Install during initial setup or replace every 2-3 months.
Price Range: $10-$20 per pack
Ideal for medium-sized homes needing reliable mapping and pet hair pickup.
iRobot Roomba i3 EVO Excellent for beginners with easy app setup and self-emptying base to reduce maintenance.
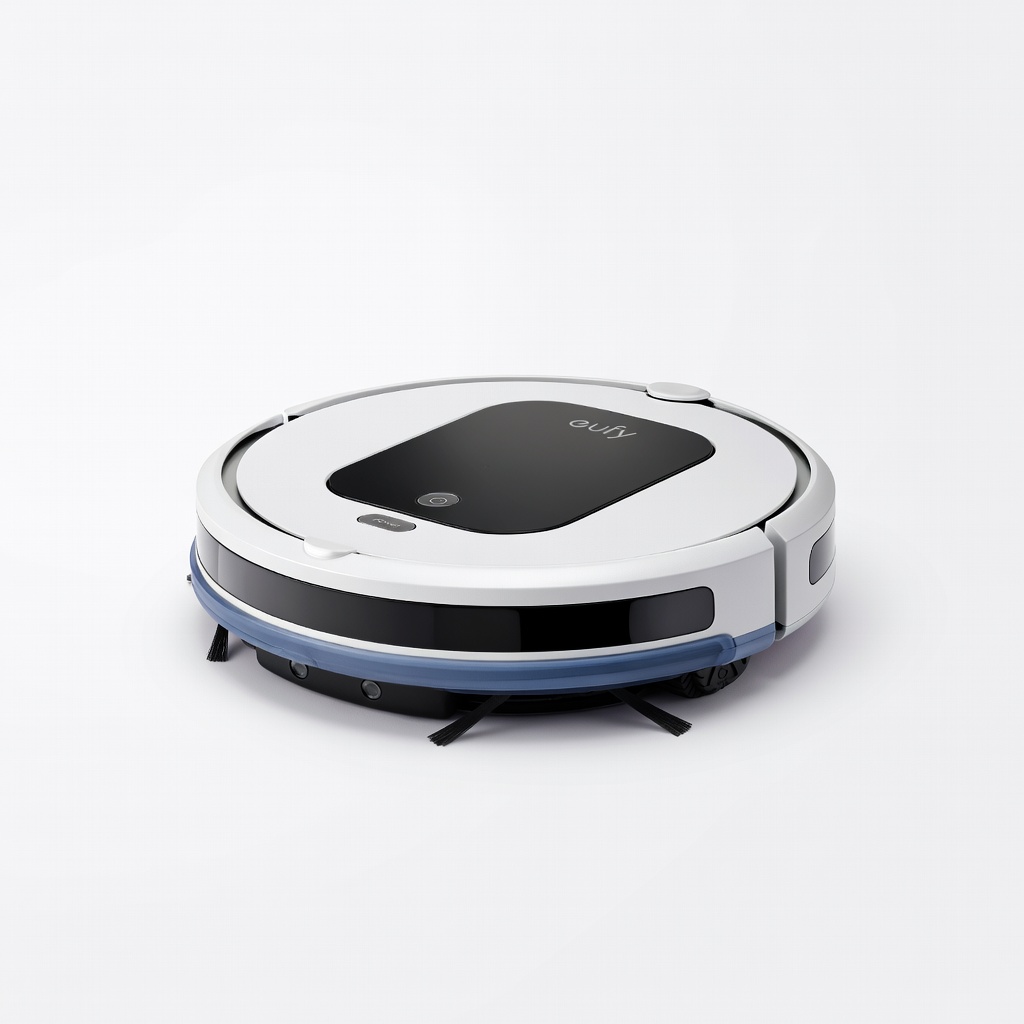
Great for small apartments where simplicity trumps smart features.
Eufy RoboVac 11S Max Budget-friendly with quiet operation and no app required for basic use, but app enhances setup.

Suits larger homes with multiple floors and heavy traffic.
Shark IQ Robot Self-Empty XL Advanced mapping and voice control integration make first-time setup intuitive.
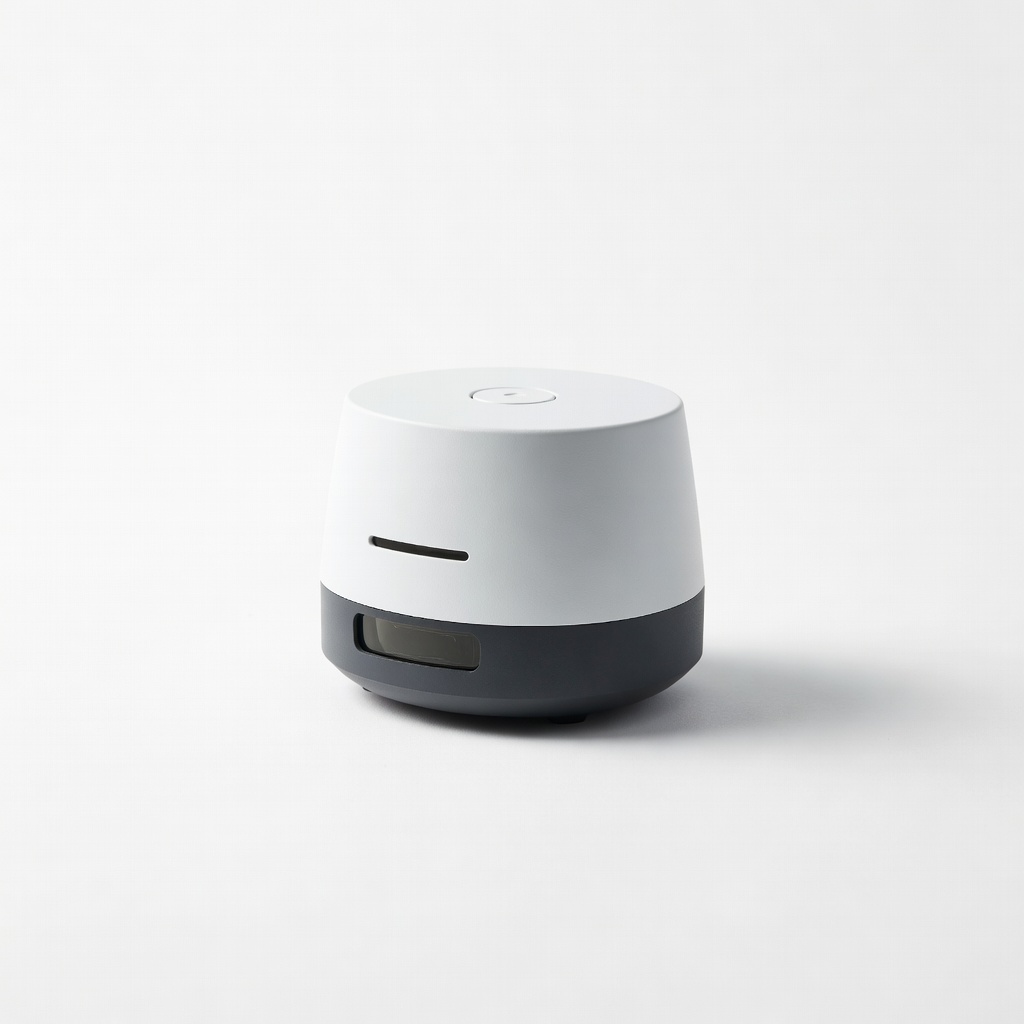
Use for pet areas or stairs to prevent unwanted exploration.
iRobot Virtual Wall Barrier Helps during setup by creating no-go zones without app boundaries.
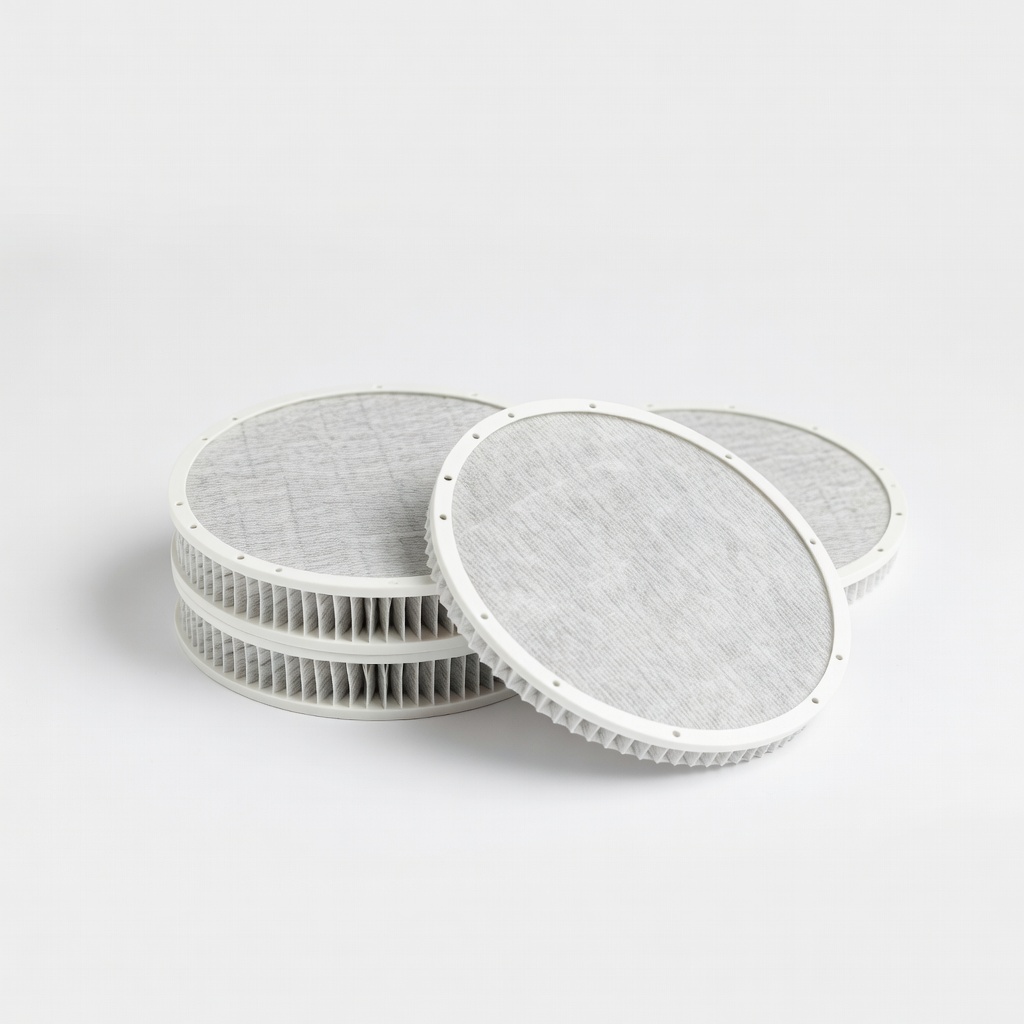
Install during initial setup or replace every 2-3 months.
Replacement HEPA Filters for Robot Vacuums Keeps air clean and suction strong from the start; essential for allergy sufferers.